Table of Contents
Most of us, gamers, want to get the best price to performance when buying a Gaming PC. When we already have it, we want the best FPS possible during our gaming sessions. And there are a few main components that make the biggest impact on gaming. And arguably the most important one of those is your graphics card.
Well, today you will learn how to extract the best performance out of your GPU for free since I will go through simple overclocking steps together with you. This is a basic overclocking guide for beginners, so in case you are more advanced, this might be not for you. But in case you never done it before – let’s jump straight to this overclocking guide!
Overclocking Disclaimer
Even though overclocking a GPU is relatively easy and safe, but before we start doing any of this, I just want to note that this video is made for informational purposes and I will not be responsible for any consequences you may get when trying to overclock your video card. So please use it at your own risk.
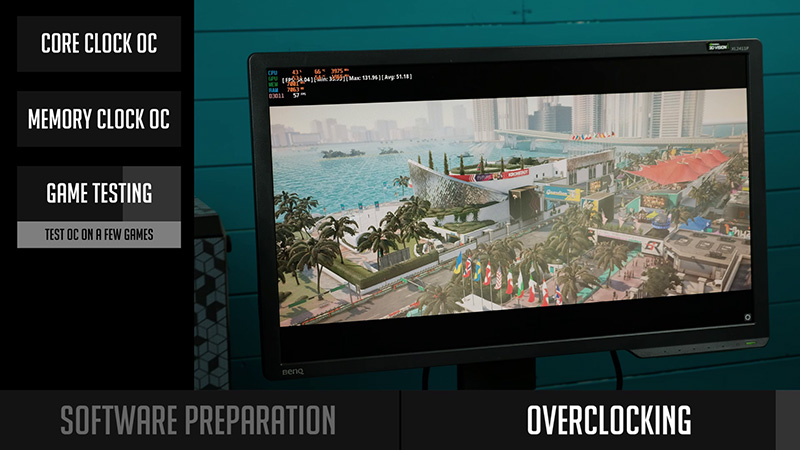
Software Preparation
So, at first, let’s prepare the needed software. And so you will need to download and install:
- MSI Afterburner – the main tool we will play around to overclock a video card. The download button is the very bottom of the Afterburner page.
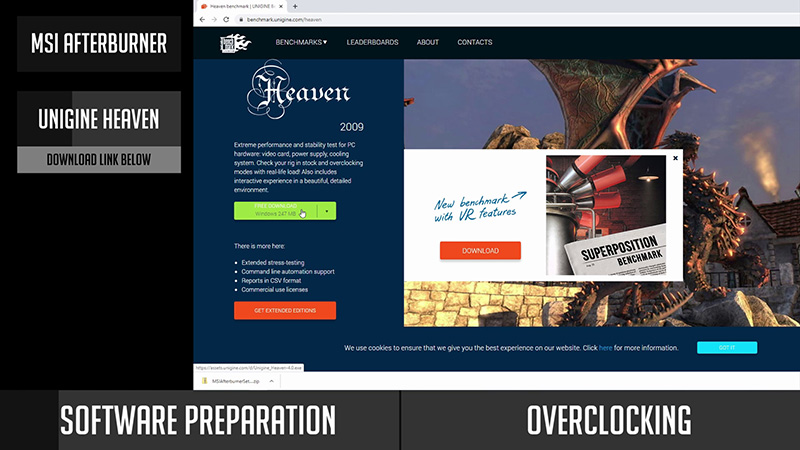
- Unigine Heaven – benchmarking tool which will help us to stress your GPU and find stable overclocking settings.
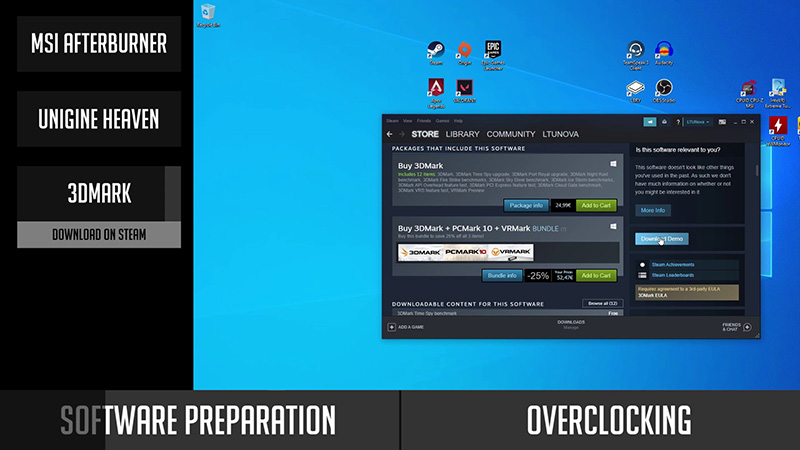
- 3DMark Demo – this one is more of the optional tool, but I still recommend downloading it, since it will help to stress-test your GPU even more.
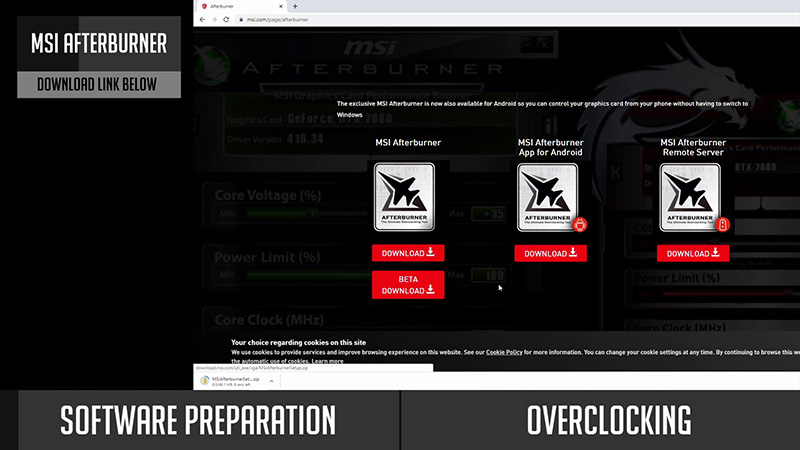
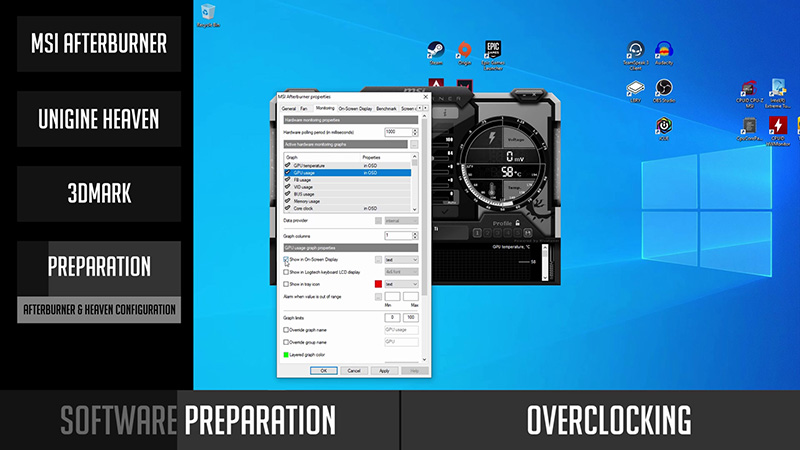
Alright, let’s install and prepare MSI Afterburner.
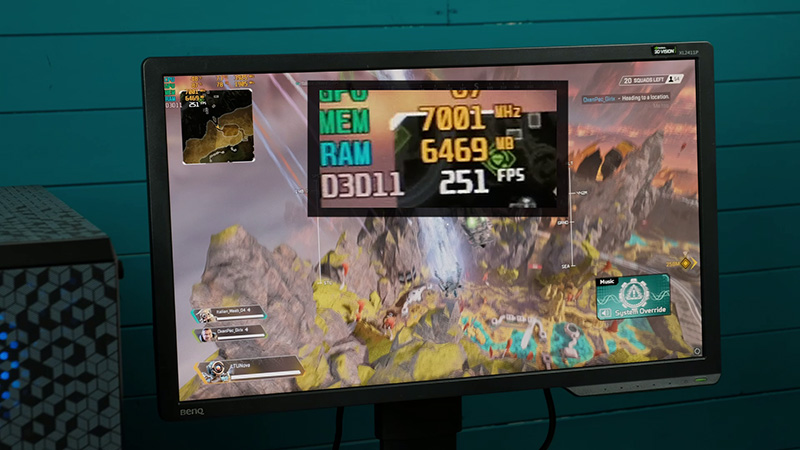
After installation is finished, launch Afterburner and go to settings, then the monitoring tab, and let’s enable a few things here. Go to the GPU temperature and tick “Show in On-Screen Display“. Do the same for “GPU usage“, “Core Clock” and “Memory Clock“.
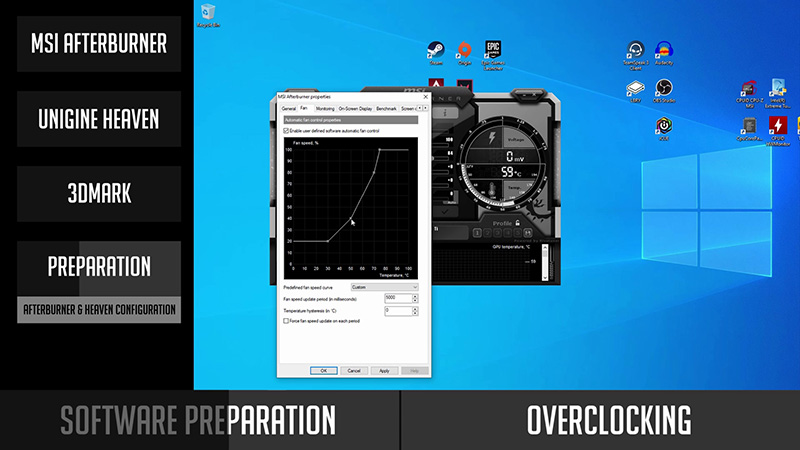
The second step is to set a custom FAN curve. Go to the “Fan” tab and enable a custom fan curve control. You can play around with this, even if you are not overclocking your video card. Anyway, you can use a similar curve to mine, but feel free to adjust it in case you want lower noise or even more aggressive cooling for your GPU.
Next, you have to launch Unigine Heaven – this is a tool we will be using to stress-test your GPU. Even though it’s quite an old benchmark, it will be enough for a fast-testing and finding nearly stable overclocking settings.
So, I will max out pretty much all of the settings and will check a full-screen mode.
In case you are overclocking a slower/older GPU, you can use lower settings. The main goal is to stress your GPU and so it should be running at around 99% during this benchmark. (you will see later on)
I’m using the highest settings since I have a GTX 1080 Ti on my end.
Overclocking Core Clock
And we are ready to start overclocking a GPU.
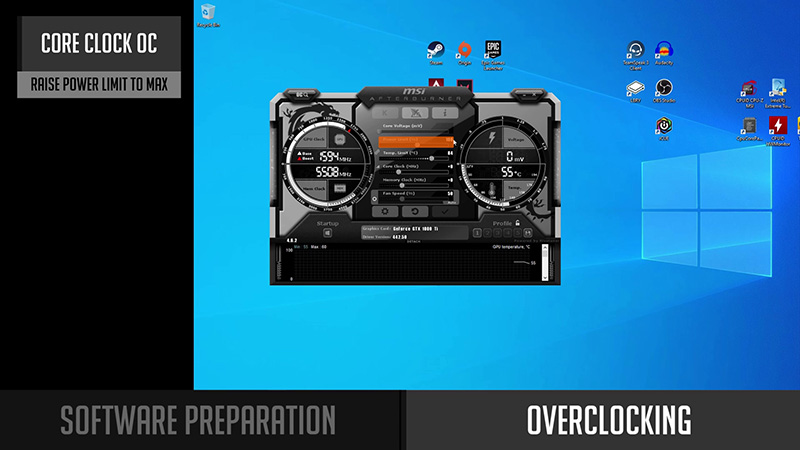


- Open MSI Afterburner and raise the “Power Limit” to MAX percentage you can. This will allow your GPU to get more power if needed. It will be different for every GPU and so for some of the cards, you will not be able to increase it at all.
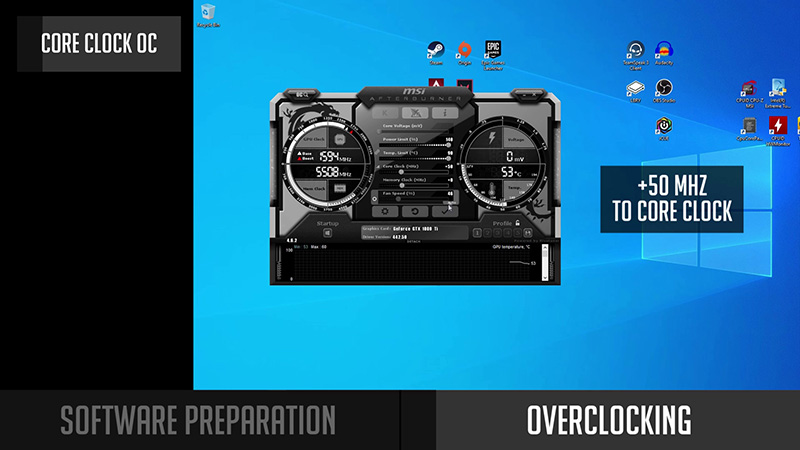
- At first, we will overclock the GPU Core Clock till we find it stable enough. It depends on each graphics card model on how much you can push it. So let’s start with adding +50 MHz for starters and click apply. Later on, we will keep increasing this number until your GPU will become unstable.
- Open Unigine Heaven with already prepared setting and click “Run”. Benchmark will start running and you should be able to see GPU temperature, usage, and Core clock at the top left corner. Let the benchmark run for a minute or so.
In case everything is running normally and it’s not crashing or you do not see any artifacts on a screen, exit the benchmark and get back to MSI Afterburner again. You can increase Core clock by +10 or +20 Mhz more, apply and start a benchmark again.
Let it run for a minute and if it’s running fine, increase Core clock again. Repeat this until benchmark crashes or you start to see some anomalies on your screen. Most of the time only a benchmark and/or MSI Afterburner will crash. So you need to launch them again. But in some cases, you may need to restart your PC.
But also, keep an eye on your GPU temperature and core clock number. Since higher temperatures can result in dropping your core clock automatically, and so your overclock will not give any benefit and you need to lower your clock or make even better cooling of your graphics card. - Confirming stable Core clock – when a benchmark crashes, lower your core clock to the last stable number you had. And then, leave Unigine Heaven for a long time like 15 to 20 minutes.
- If it runs smoothly for a while, it means you found quite a stable Core clock. But I would suggest running one more benchmark before jumping into gaming. You should run one of the 3DMark benchmarks depending on how good is your GPU. But in most cases, Fire Strike will be the one to go for. But before that, go to MSI Afterburner and untick “Show in On-Screen Display” for all parameters we used to have on-screen. This is needed in most cases or 3dMark will not work properly.
In case the benchmark runs smoothly and you get a score at the end – your Core clock is quite stable and you can jump to the next step.
In case it crashes – lower your core clock again by a few MHz and try running Fire Strike again.
After you get a pretty stable Core clock, I would suggest saving settings in MSI Afterburner. You just have to click the save button here and click any of these numbers.
Overclocking Memory Clock
Alright, we have quite stable Core clock and so, we will overclock GPUs Memory Clock as-well.
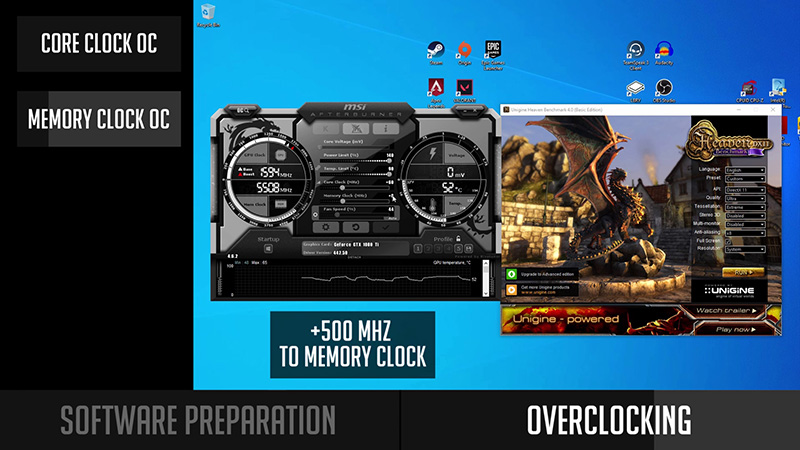
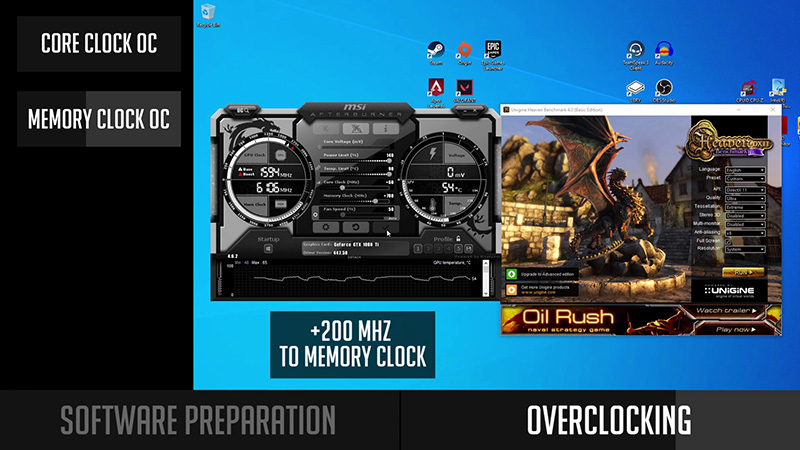
- The process is pretty much the same as with Core clock, but the numbers are a bit higher. You could start with around +500 MHz on your memory. And repeat the Unigine Heaven benchmark just like with Core Clock testing. Let it run for a minute, and then increase by 30 ar 50 MHz or decrease in case it’s unstable.
- After you find a stable Memory Clock in unigene heaven we can test it with the 3DMark Fire Strike benchmark. But before that, go to MSI Afterburner and untick “Show in On-Screen Display” for all parameters we used to have on-screen. This is needed in most cases or 3dMark will nor work properly. Then, just start 3DMark Fire Strike and let it run as-well and adjust Core and Memory clocks if needed.

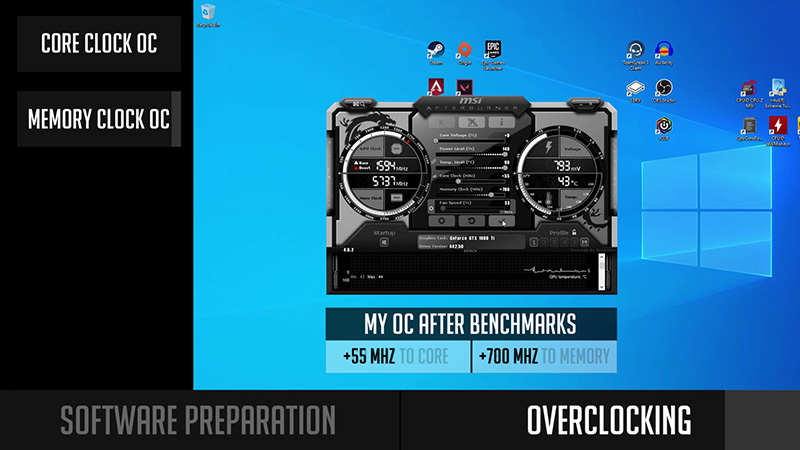
Congratulations, you found more or less stable overclocking settings for your graphics card. So after this trial and error marathon, I would recommend lowering your core clock by -5 MHz or so and your memory clock by 20 or 30 MHz. As well as saving your settings in MSI Afterburner.
Gaming Phase
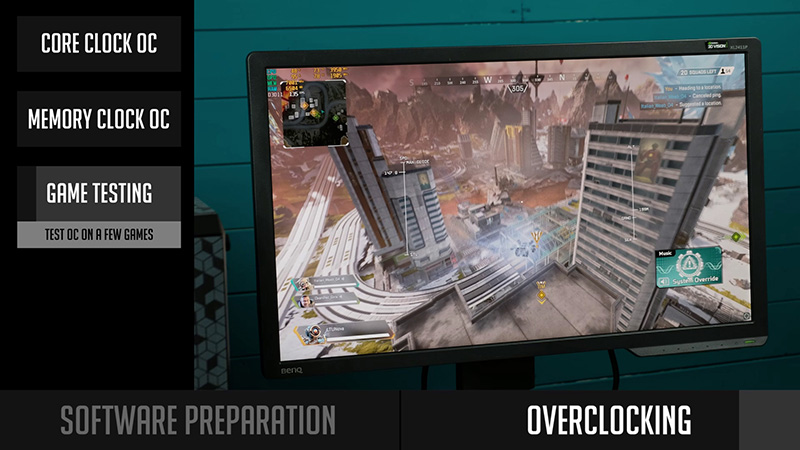
And then, it’s the last testing phase – gaming. Launch and play games you normally play. There might be a situation where your game will also crash.
And in that case, you will need to lower your core and memory clock a little and test your game again. More games you will test, more stable overclock settings you will be able to get.
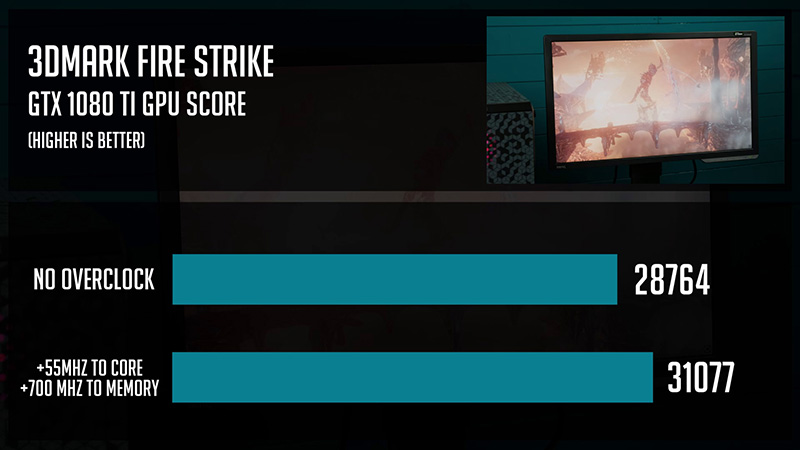
Well, that’s it, you overclocked your GPU and got a free performance out of it. Now you can benchmark your GPU before and after overclock in Fire Strike or Game benchmarks so you could see what gains you got.
In most of the cases, the increase in benchmarks will be around 5% and in-game even less. Sure, it might be more and in some cases, the performance will increase by up to 10%, but as I mentioned before, 5% is more common. But hey, it’s a free performance and it does not cost you anything.
Anyway, my 3DMark Fire Strike GPU score increased around ~8%.
In case you have any questions or doubts, just leave a comment below my Youtube video and I will get back to you guys.
I hope this guide was useful and in case you liked it, subscribe via email (you will find it on the right side under the “Posts by month”) so you do not miss upcoming PC hardware unboxing / Gaming PC build and guide blogs.
Thank you so much for reading / watching my video and see you soon.
GPUs on Amazon
RTX 2060 Super
https://geni.us/t5okVQA
RTX 3060
https://geni.us/BxXfP15
RX 5700XT
https://geni.us/Pehg9s
Disclosure: EpicGameTech gets a small commission when you purchase something via our Amazon links. It doesn’t cost you anything extra since that comes from Amazon’s end. So, please be aware, the links provided to Amazon are affiliate links.