Table of Contents
What’s up guys welcome back. While I’m waiting for some parts to arrive so I could bring you guys a few amazing Gaming PC Builds, I’ve decided to make a shorter series focused on how-to guides.
And the first one will be dedicated to a Ryzen 5 3600 processor unboxing and installation. So, after watching this video, you will know what is included when buying Ryzen CPU as well as how to install your Ryzen 5 3600 CPU by yourself. Actually, you will be able to install any Ryzen or Intel CPU, since pretty much the same steps are required. Well, let’s get started.
Ryzen 5 3600 Overview

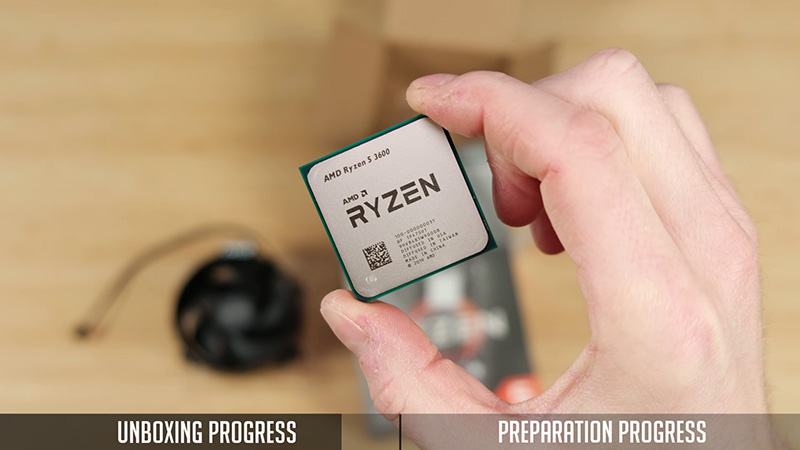
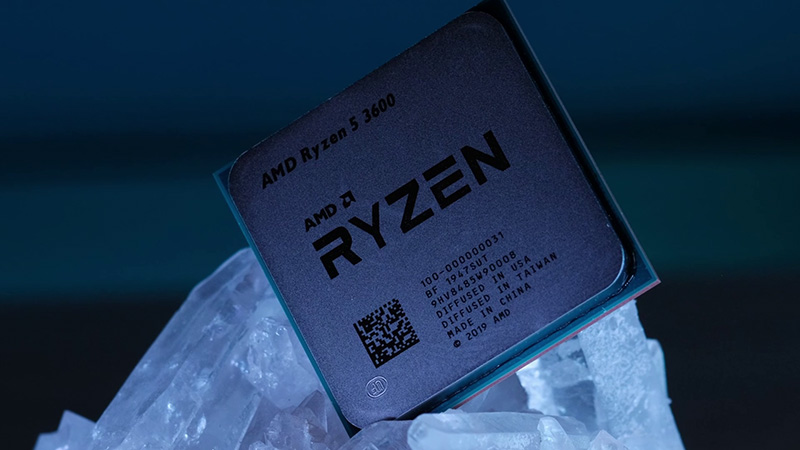
So, Ryzen 5 3600 is a 3rd gen 6 core 12 thread CPU and the clock speed is between 3.6 GHz and 4.2 GHz
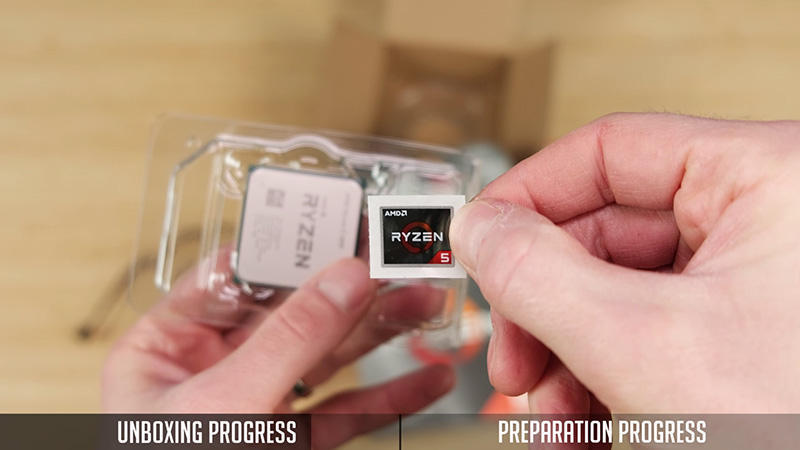
It comes in quite a nice box and a CPU itself is already visible on one side of the box.
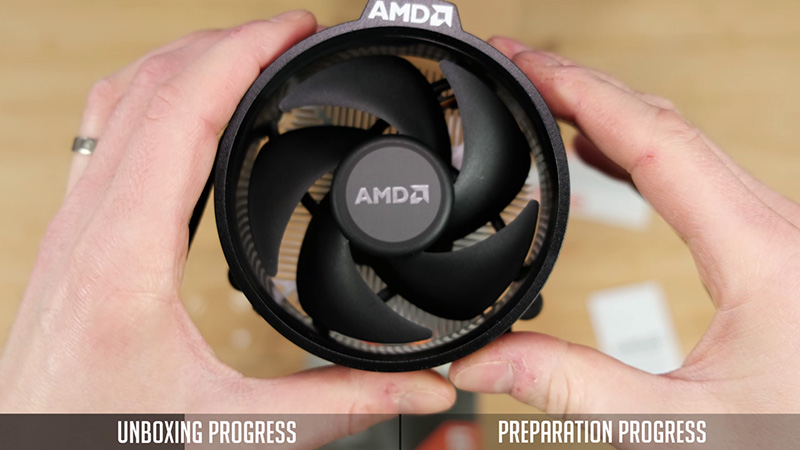
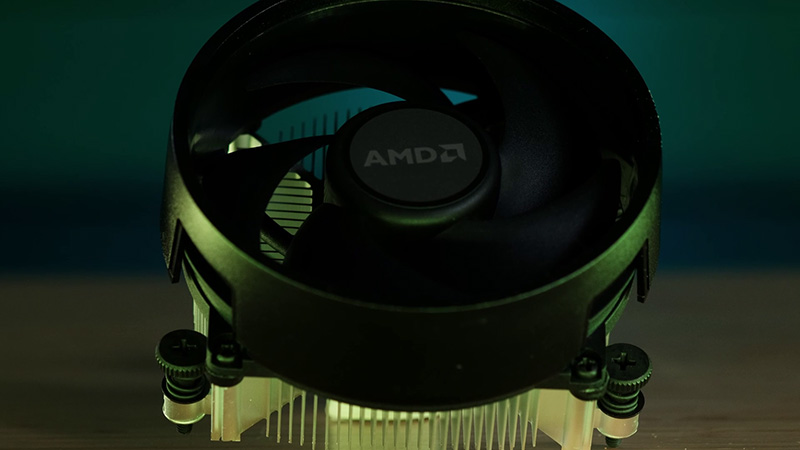
Also, there is an included Wraith Stealth cooler witch is quite a nice looking one compared to Intel’s stock solution. Anyway, it’s quite a nice benefit, since you do not need to spend extra money on an aftermarket cooler. So, Wraith Stealth will handle your CPU just fine, although it might get a bit noisy on a higher CPU load. It has already pre-applied thermal paste, so you do not even need to worry about that. Just be careful, and do not take off the bottom protection, since your hands can get dirty very quickly. And then, you will actually need to clean it, buy a new thermal paste and re-apply it.
Also, you will find an included sticker with a Ryzen logo. It could be useful, in case you will decide to decorate your PC Case later on.
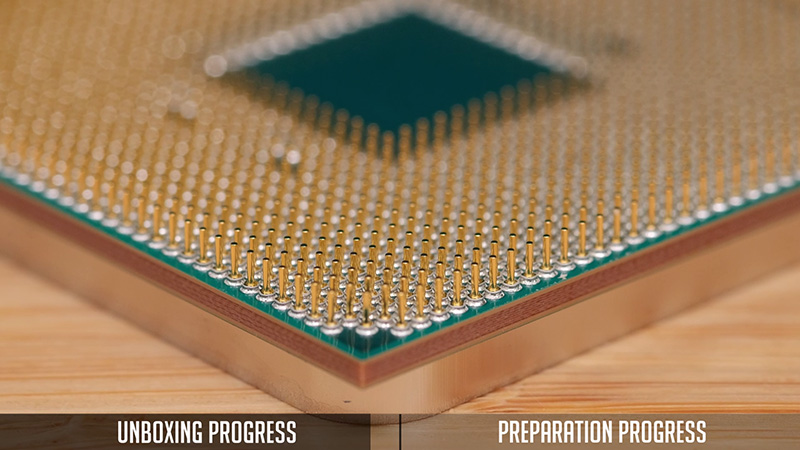
The main external difference between modern AMD and Intel CPU’s is that AMD is using pins on a processor while Intel is using pins in a motherboard socket. So be careful with those pins and do not bend them.
Preparation
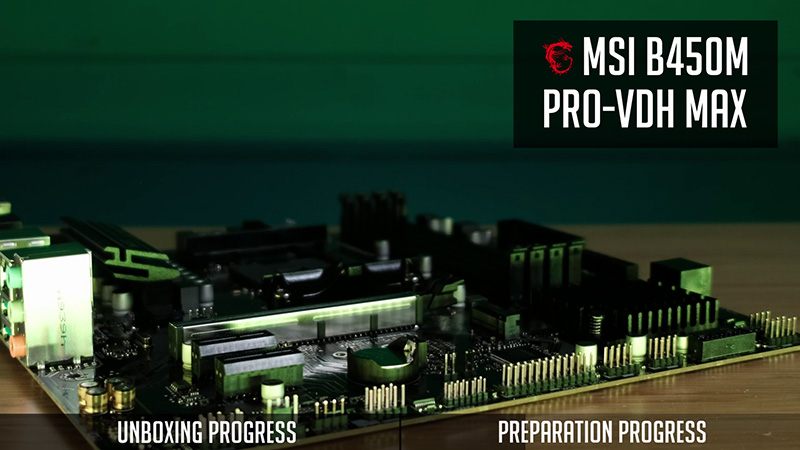
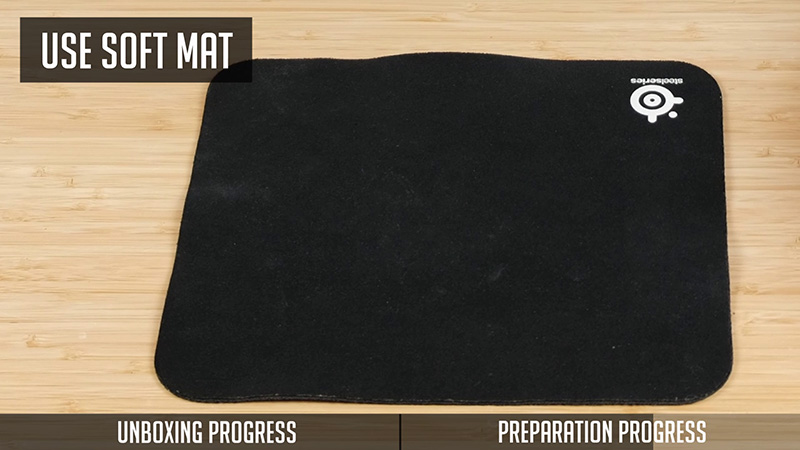
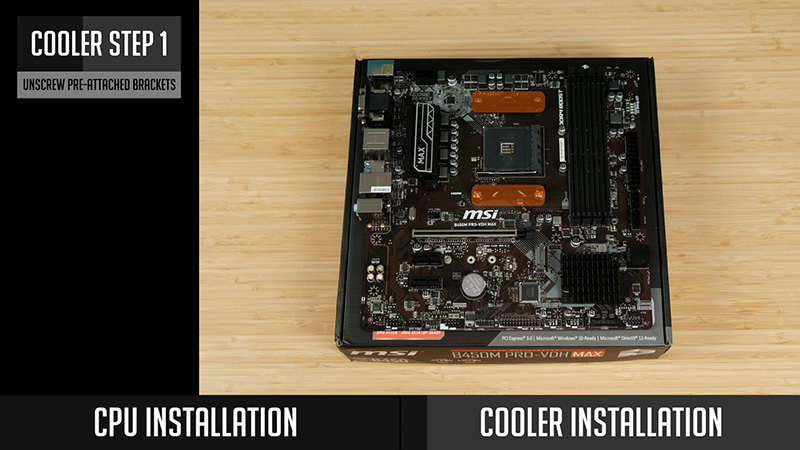
So, it’s time for a CPU installation. I will be using MSI B450m pro-vdh-max motherboard, but the same process applies to any AM4 platform motherboard. I would advise you to place a motherboard on some kind of mat – for example – mouse pad or you could use your motherboard box as well. Just to keep your table and motherboard safe.
CPU Installation
And now, you are ready to install your CPU.
- The first thing to do is to lift a retention arm near a CPU socket.
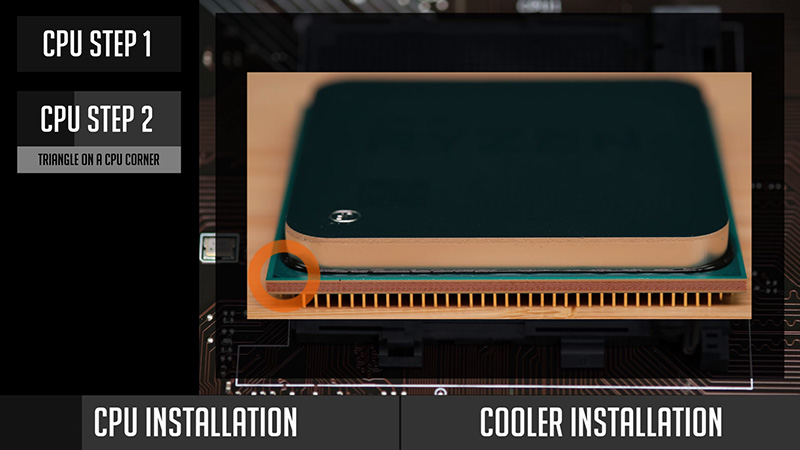
- Then take your CPU and check for a small triangle on one of the corners.
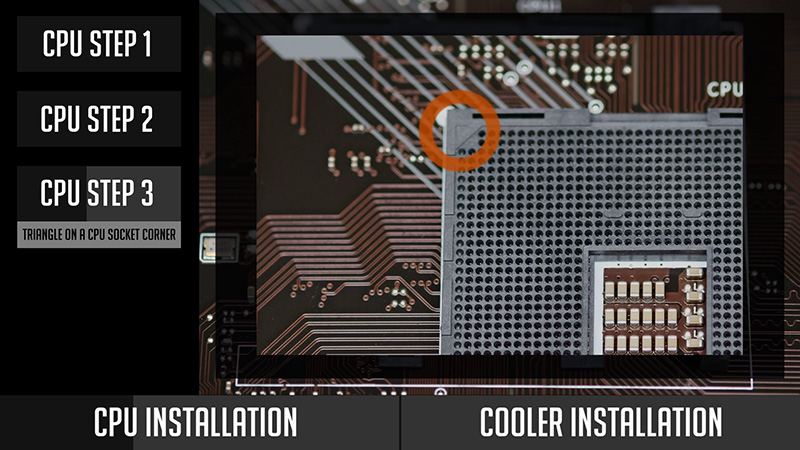
- Find a similar triangle on your motherboards CPU socket as-well.
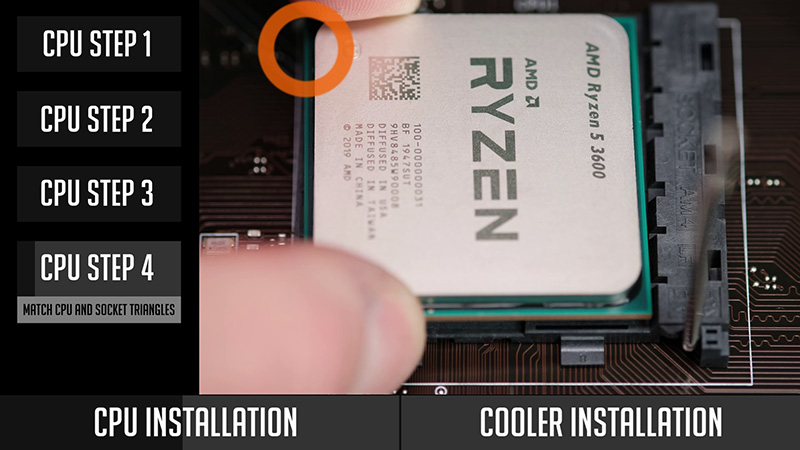
- So, you have to match the triangle on a CPU and on a socket and place a CPU into a socket gently. It should automatically fit into a place and so do not apply any force to a CPU.
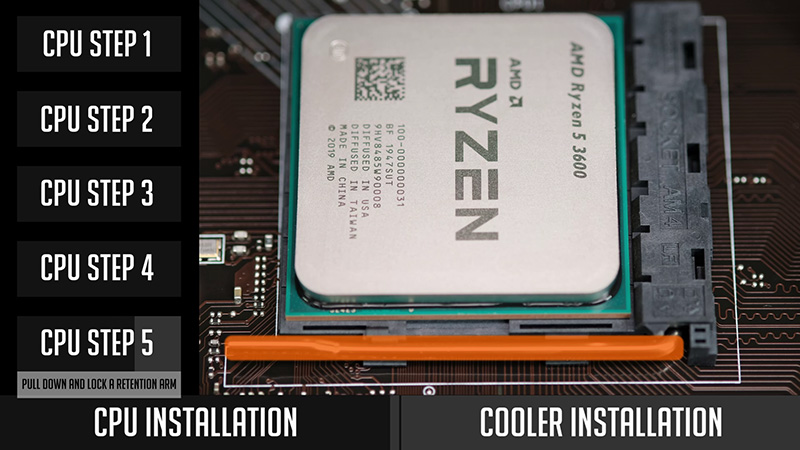
In case it does not sit well in a socket, do not push it. Gently take a CPU from a socket and check again if you really matched the triangles and retention arm is lifted. After you check everything, place a CPU again and it should fit perfectly. - Pull down a retention arm and lock it in place.

Congratulations, you made it and installed your CPU. So what’s next?
Stock Cooler Installation
Well, you need to install your cooler. I will install included Wraith Stealth, but in case you bought an aftermarket cooler, you will need to check its manual since mounting steps can be different
Also, do not forget, you might need to apply a thermal paste by yourself since not all aftermarket CPU coolers come with a pre-applied paste. But in my case, I do not have to worry about it.
Anyway, let’s start:
- At first, you will have to unscrew two brackets that come pre-attached to a motherboard.
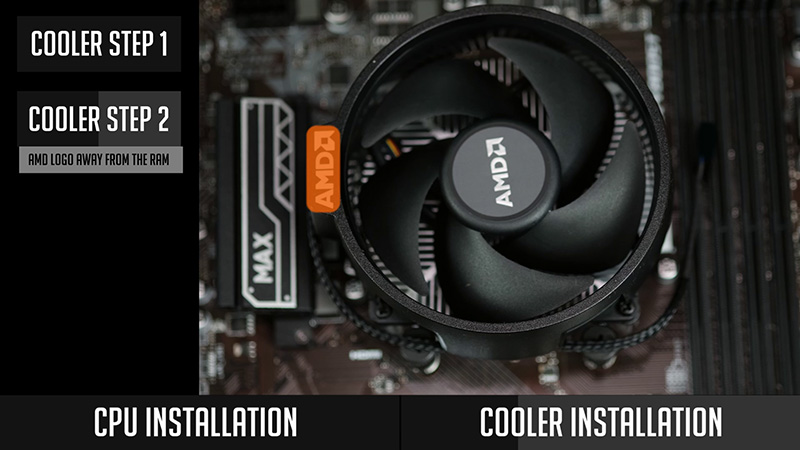
- There are two ways on how you can mount Wraith Stealth cooler. AMD logo can be facing towards the ram or away from it. I would suggest mounting it away from the ram and so you will have less RAM clearance issues.
Since you could have let’s say quite tall RGB RAM sticks. - Put your cooler in place and start screwing in a diagonal pattern. You might need to apply some pressure while screwing since screws are spring-loaded. But do not screw one side straight to the end. Do it gradually with every side and eventually tighten them off.
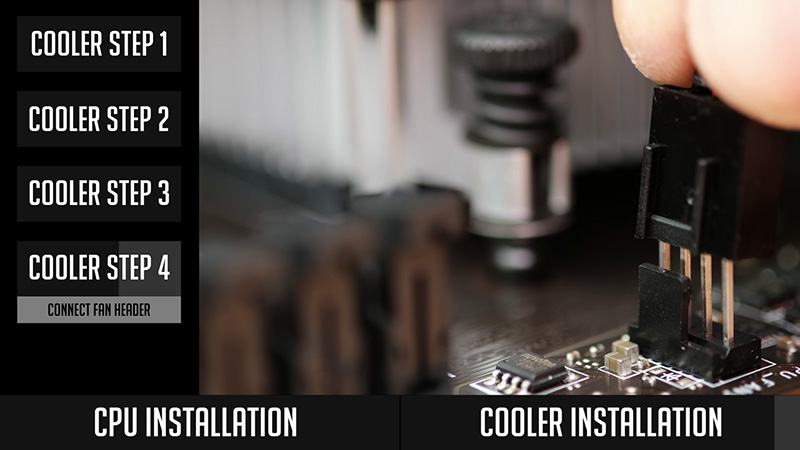
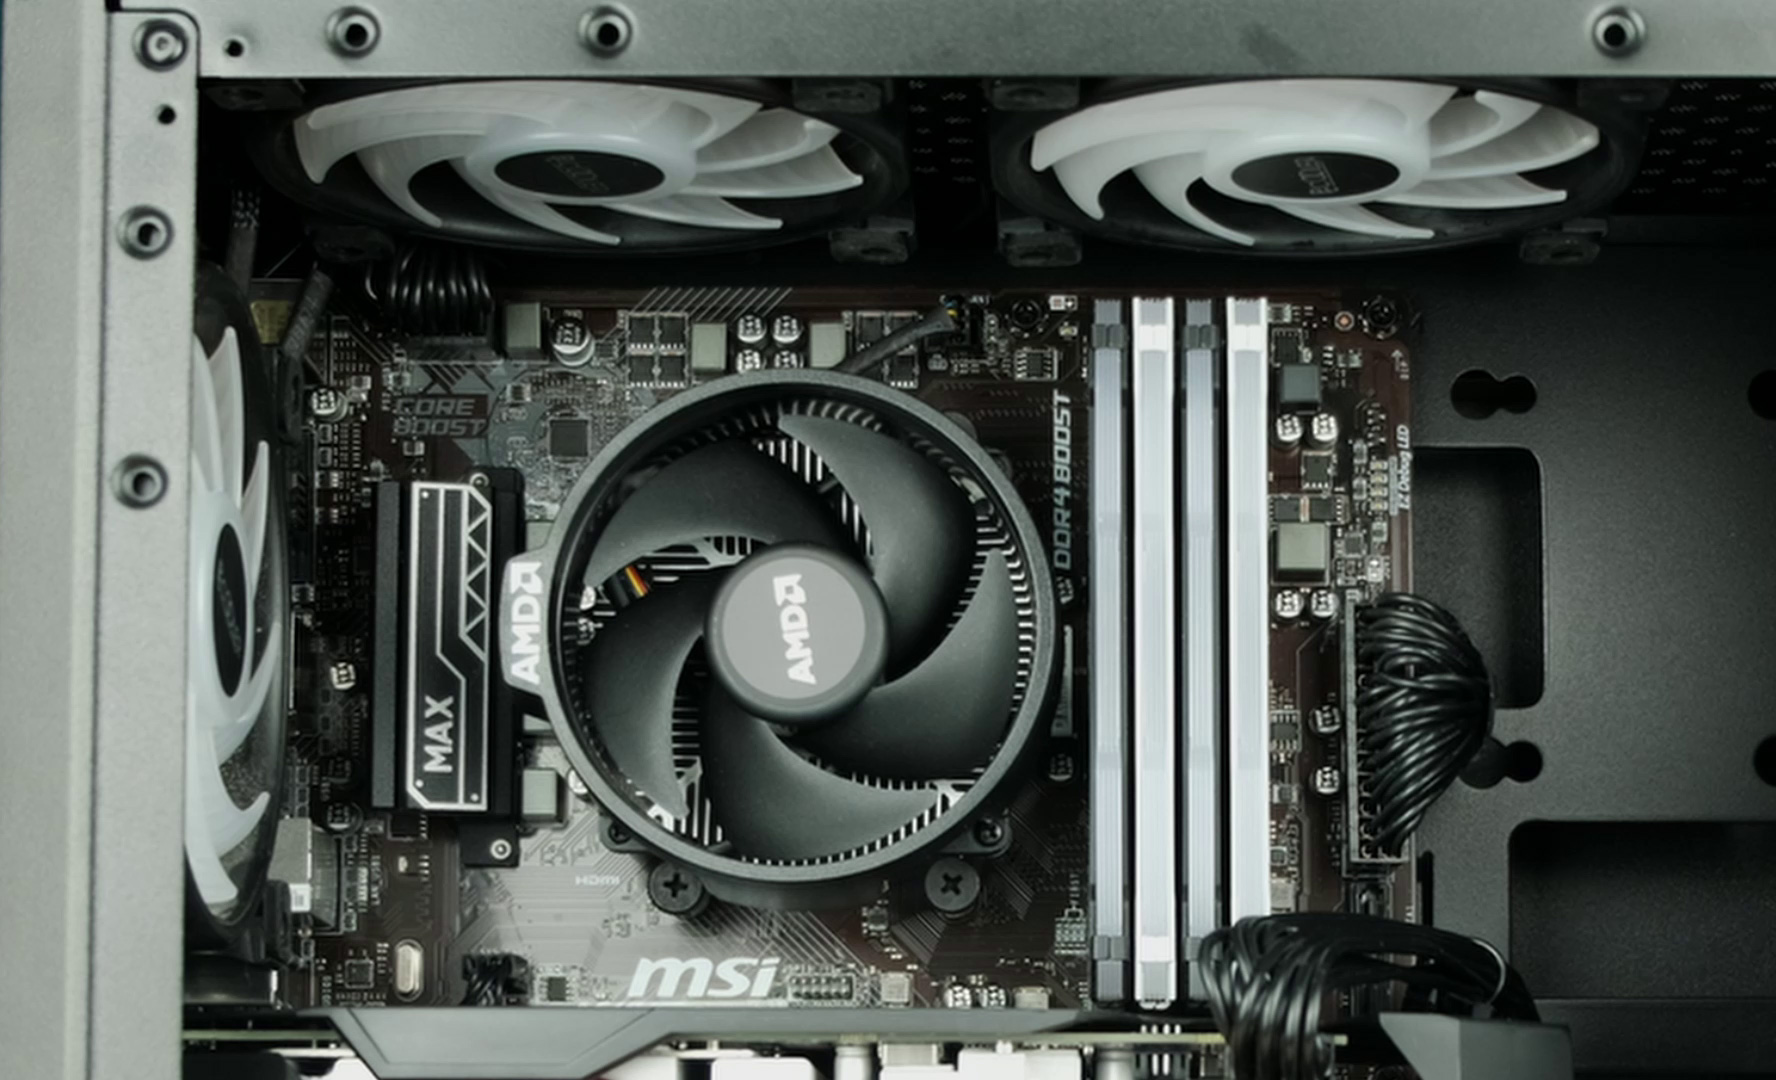
Nice! Good job, your CPU cooler is installed as-well. - The last step is to connect the fan header to your motherboards CPU fan header. It should be located near your CPU but it may be slightly in a different place for each specific motherboard. And you are done. You successfully installed your CPU and cooler.

So, now you know how how to install Ryzen 5 3600 CPU. And so I hope this guide was useful and in case you liked it, do not forget to visit our YouTube channel and subscribe since more guides are coming up.
In case you have any questions or doubts, just leave a comment under a YouTube video and I will get back to you guys.
And see you soon.
Links to Amazon
Ryzen 5 3600 – https://geni.us/5fgB2tP
Ryzen 7 3700x – https://geni.us/zsxKza
Ryzen 9 3900x – https://geni.us/NLDXFL5
ModRight Assembly Surface – https://geni.us/FzzP
StarTech Anti-Static Mat – https://geni.us/lkHey
Ryzen 5 5600x – https://geni.us/Zoqr
Ryzen 7 5800x – https://geni.us/wYGFEg
Ryzen 9 5900x – https://geni.us/tENfXo
Disclosure: EpicGameTech gets a small commission when you purchase something via our Amazon links. It doesn’t cost you anything extra since that comes from Amazon’s end. So, please be aware, the links provided to Amazon are affiliate links.