Table of Contents
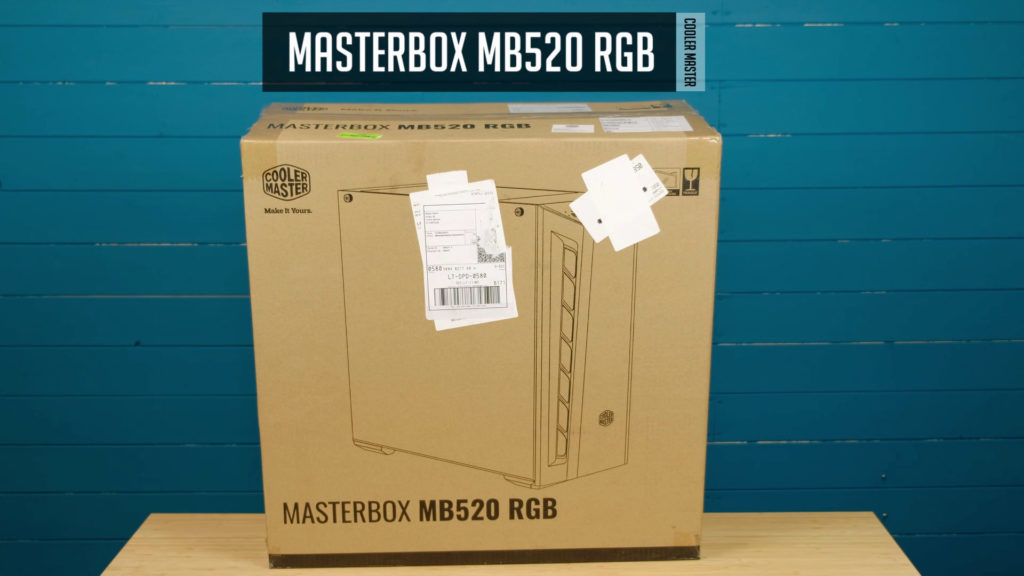
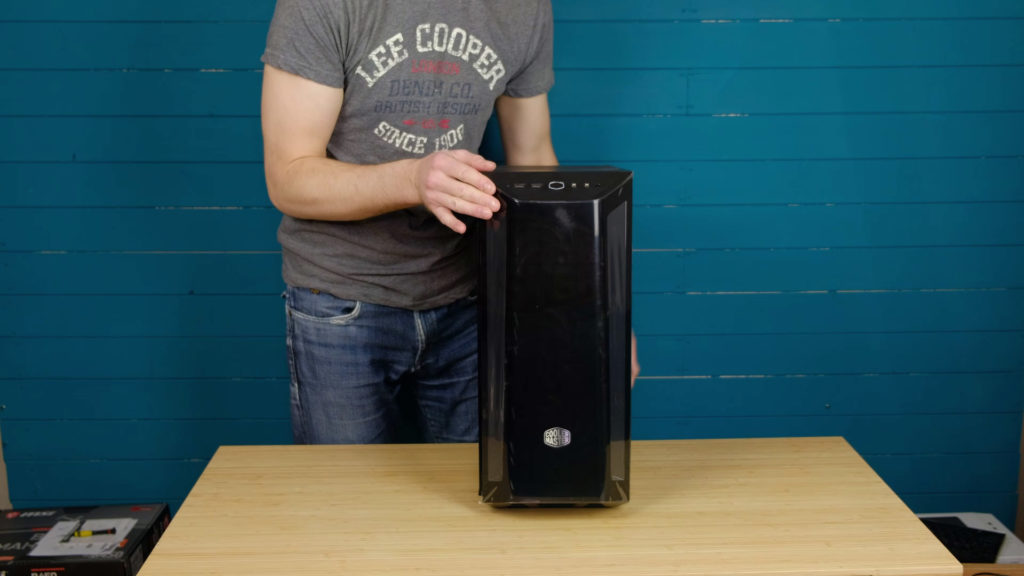
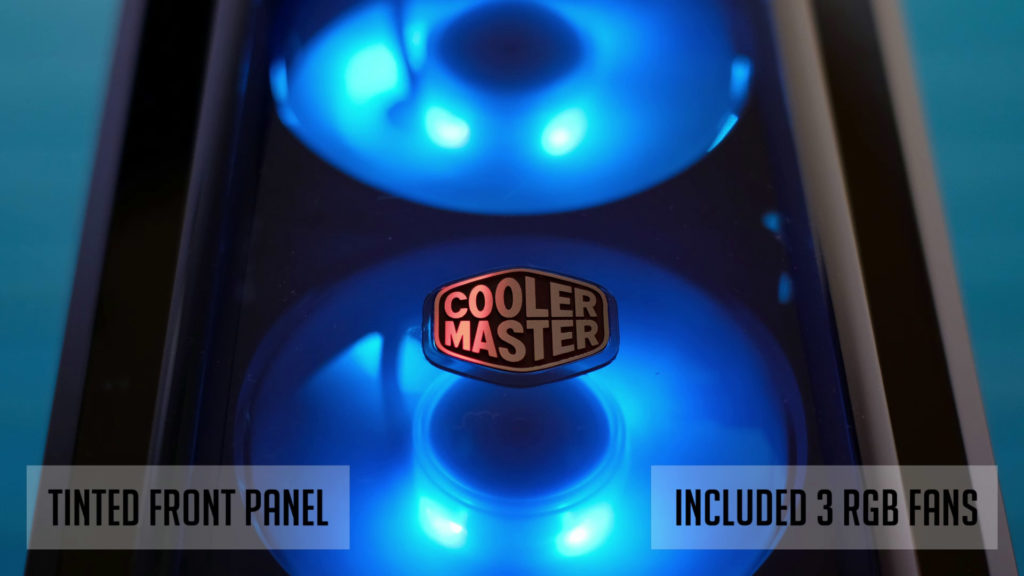
Hello, my friends. I present you a Cooler Master MASTERBOX MB520 RGB case. You can get it for under $90 us dollars and it features a tempered glass side panel, as well as three, included RGB fans at the front. But is it worth your money?
Well, I will run through an unboxing process as well as some findings together with pros and cons so you could have a better picture before buying.
Overview
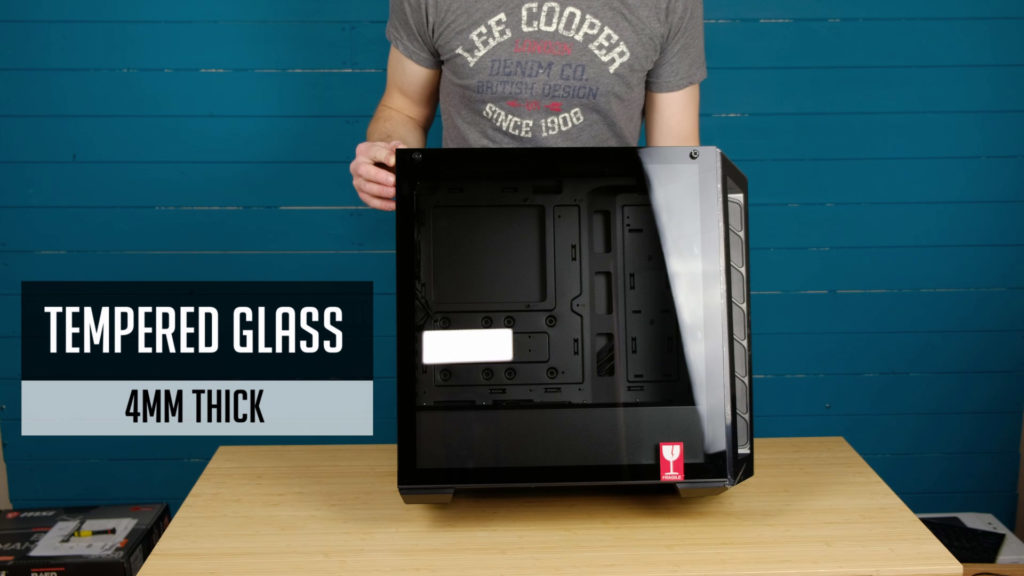
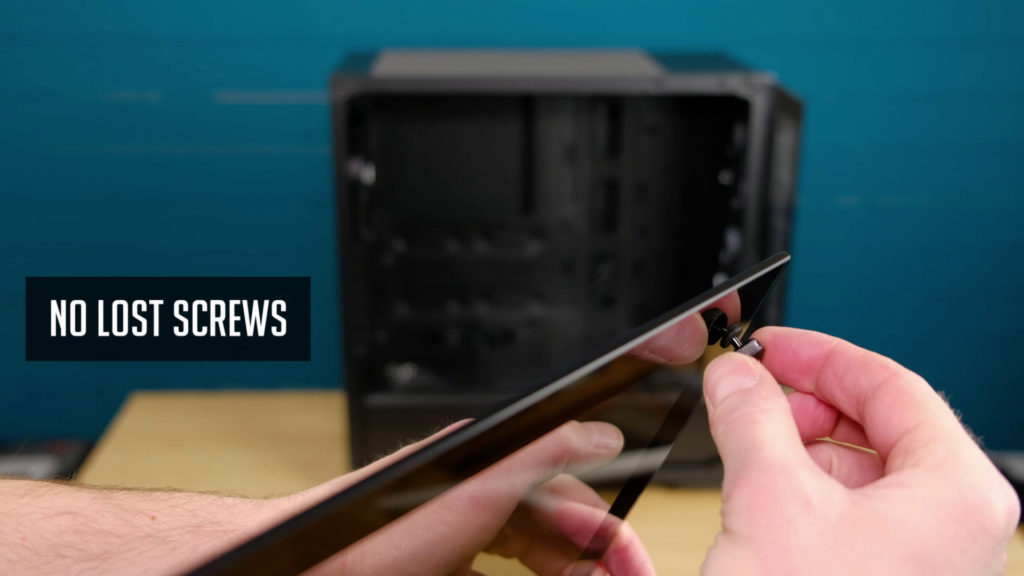
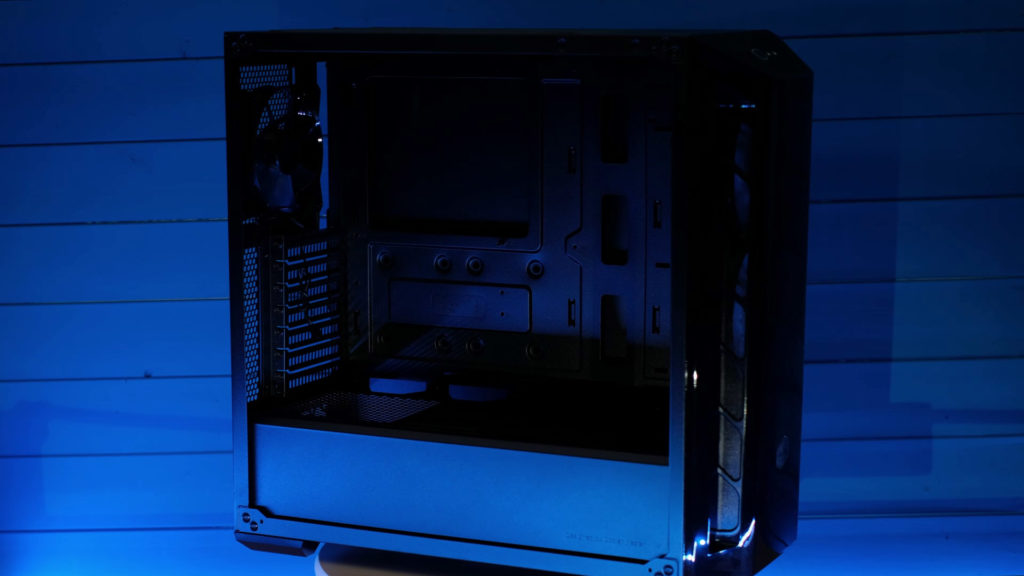
Let’s start with a side panel – it has a so-called edge-to-edge 4mm tempered glass side panel. It’s held by two screws and glass hinges on an angle during removal.
That’s nice since you do not have to worry about glass falling on your table while you trying to unscrew and remove it. Also, screws stay within a glass itself so you will never lose them for sure.
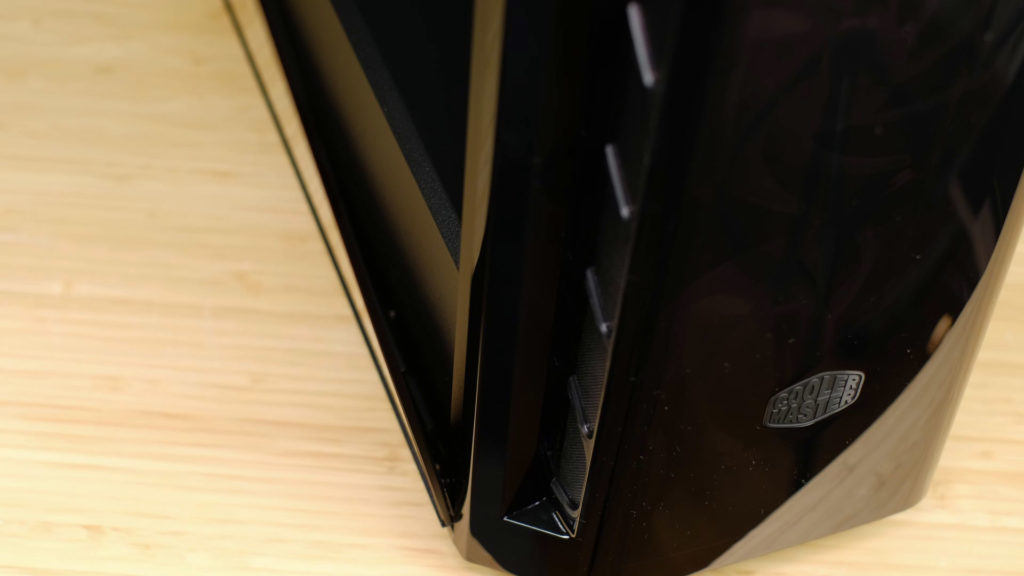
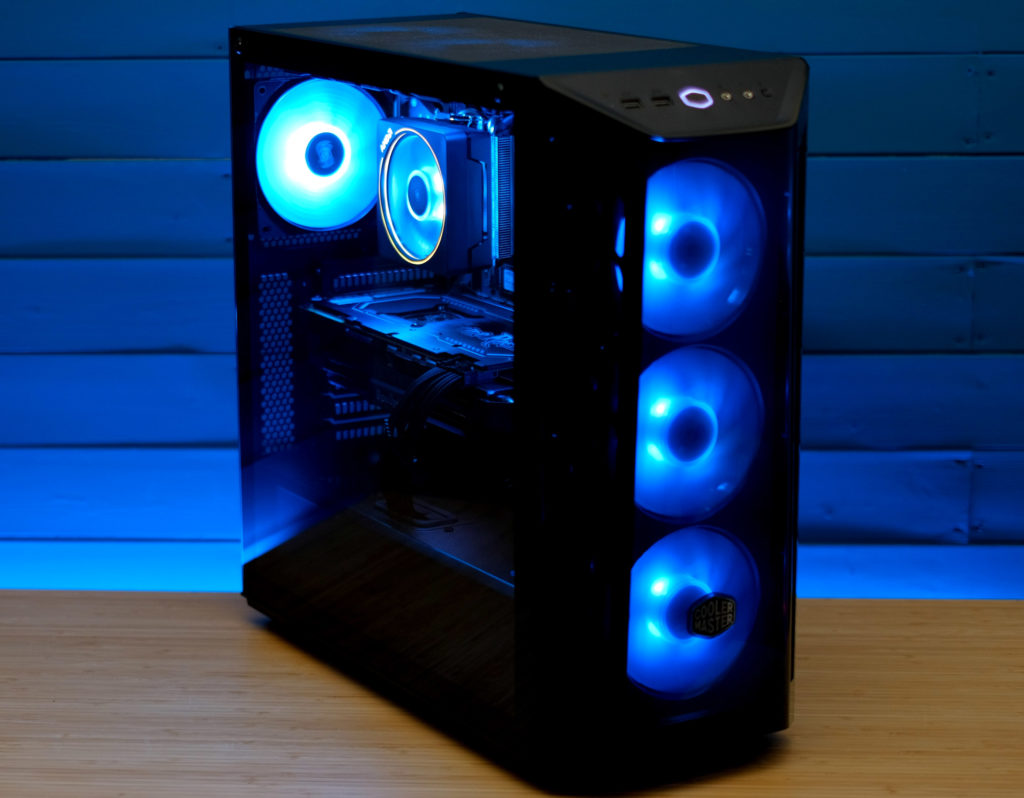
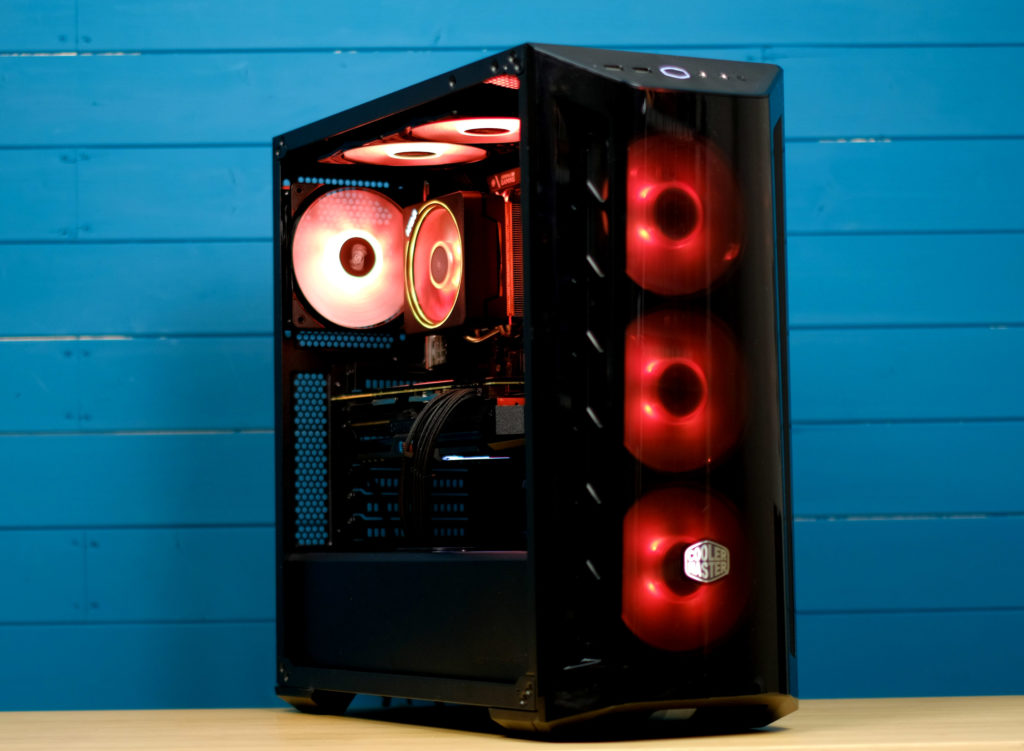
Let’s have a look at the front of the case. It’s made from transparent and tinted plastic. And so it’s quite nice to see those included RGB fans.
But since it’s not a glass one, you need to be more careful since we all know that plastic can be scratched quite easily.
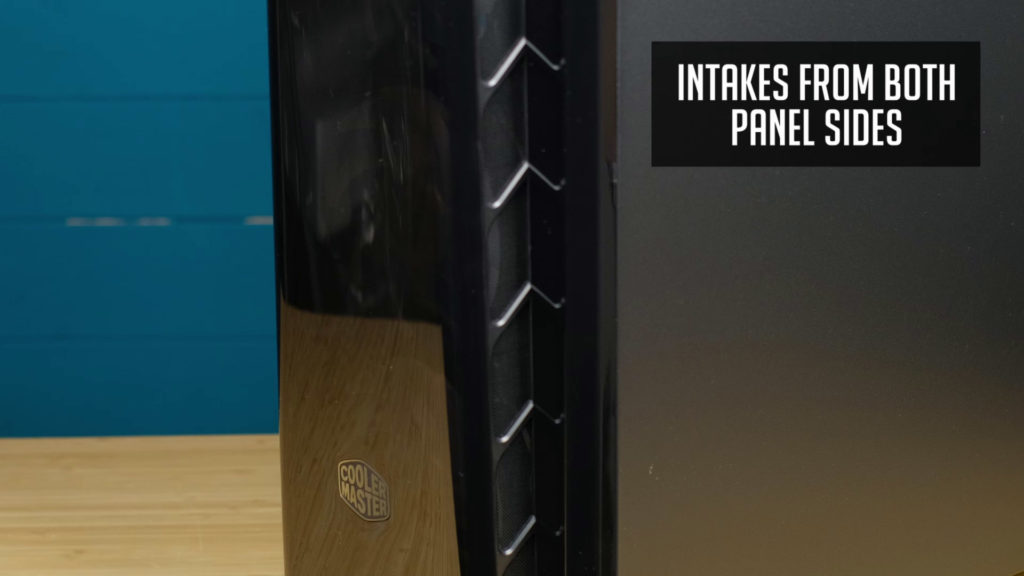
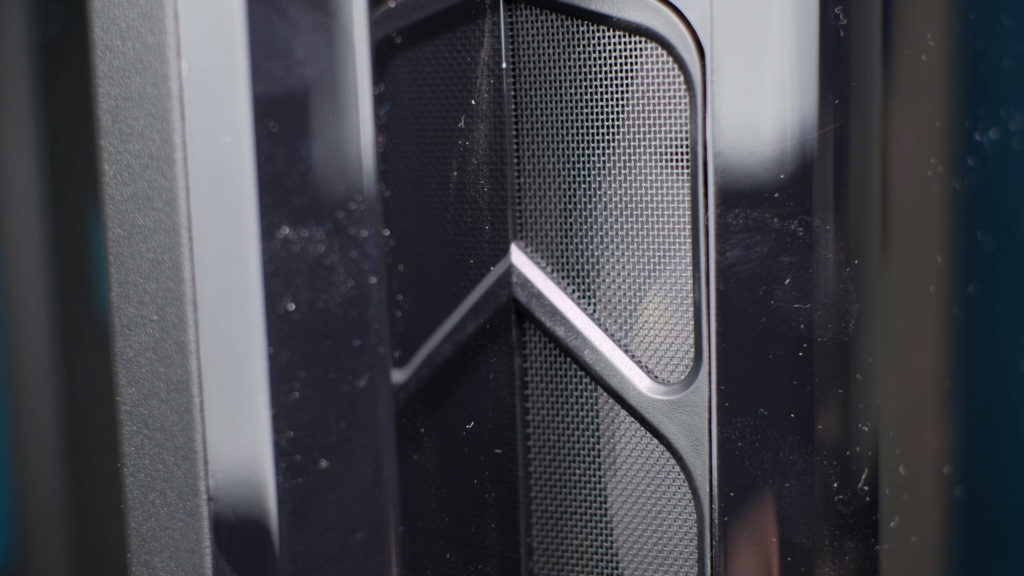
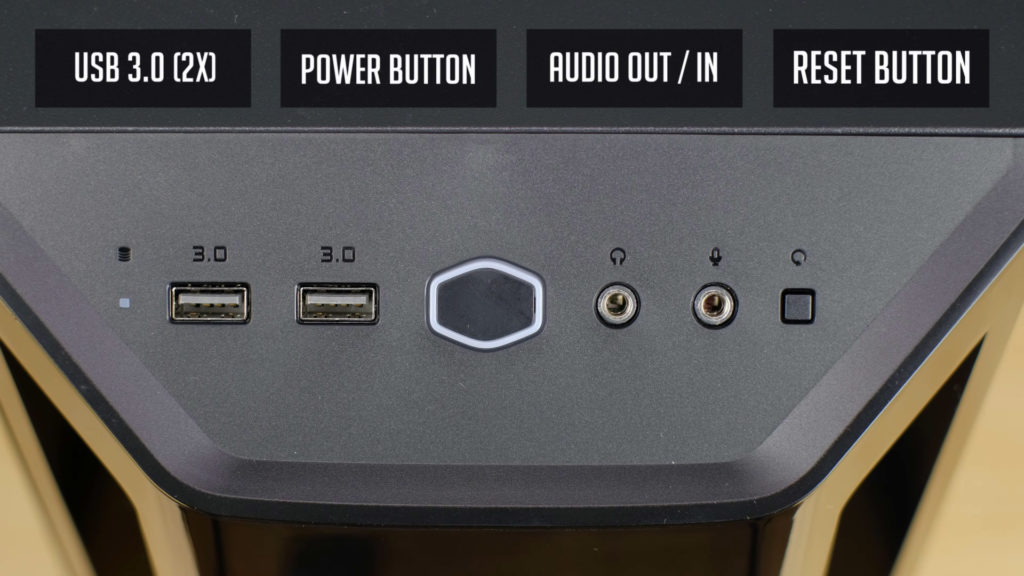
There are two intakes with dust filters on each side. Sure, in the best case scenario you want a case with a mesh-type front panel, so these intakes will provide quite an average airflow. Also, the I/O is quite basic with USB 3 ports, a power button, audio, and mic jack as well as a reset button.
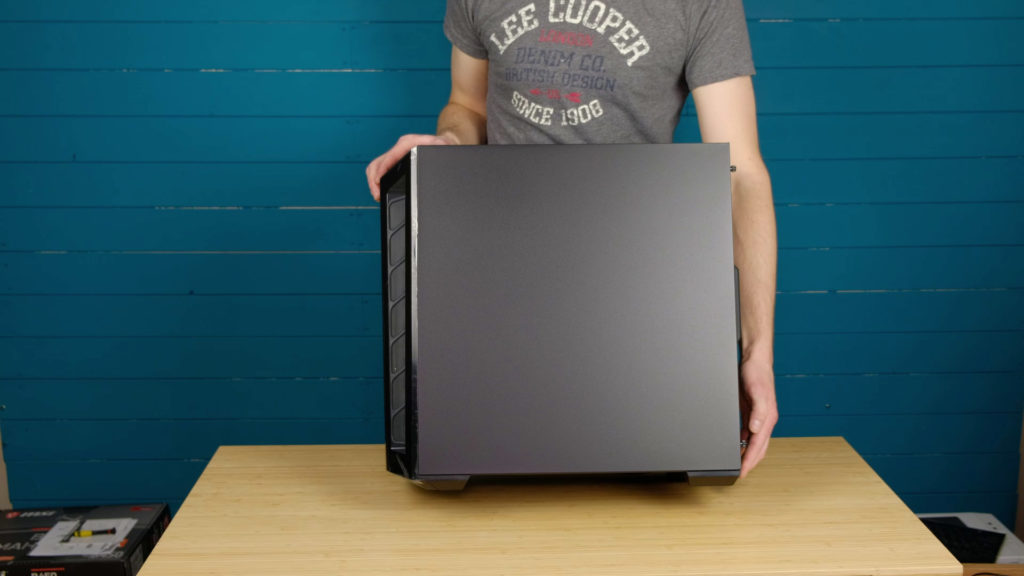
Moving forward the other side panel is fully solid, without any ridge, and held by two traditional thumbscrews.
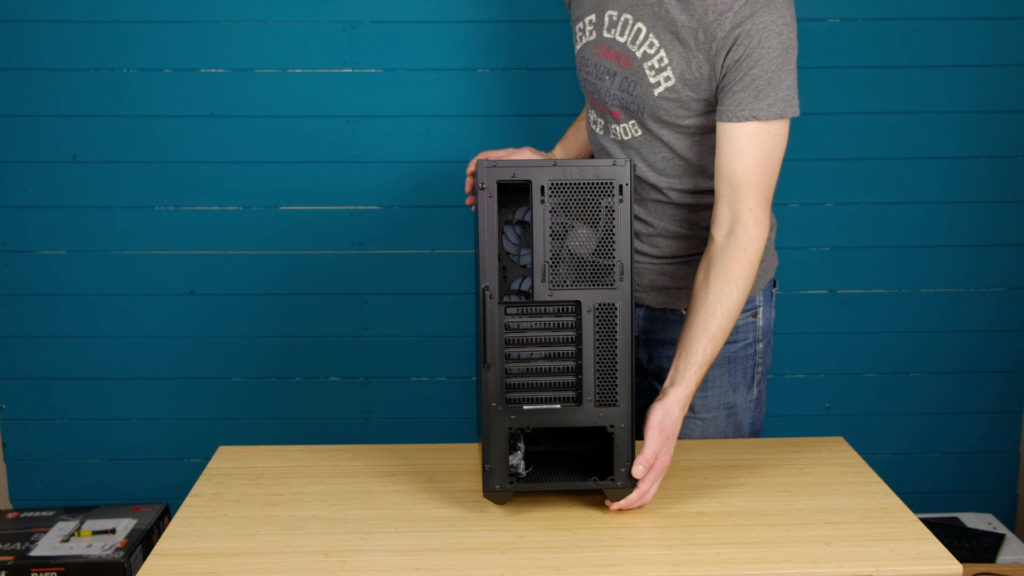
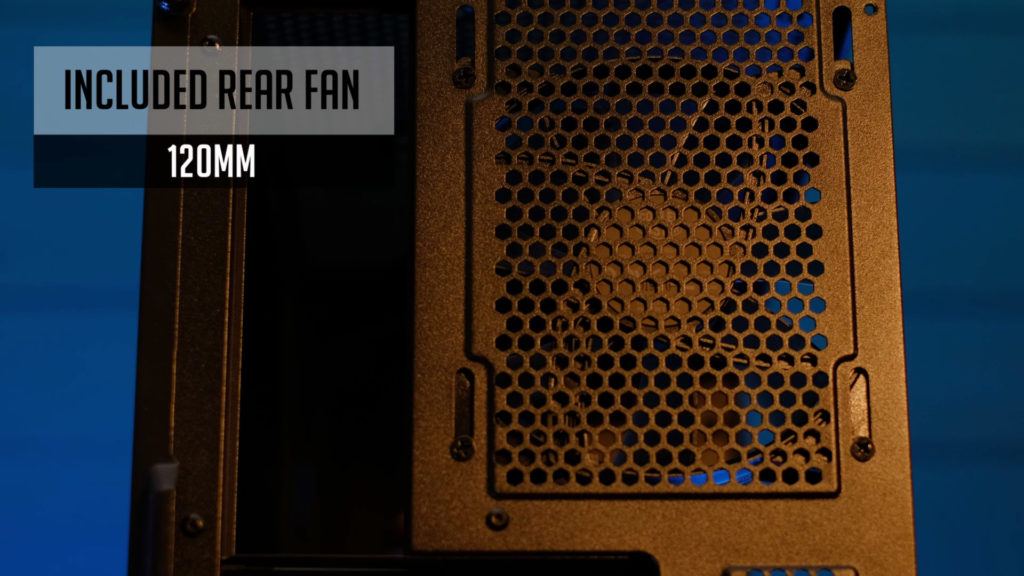
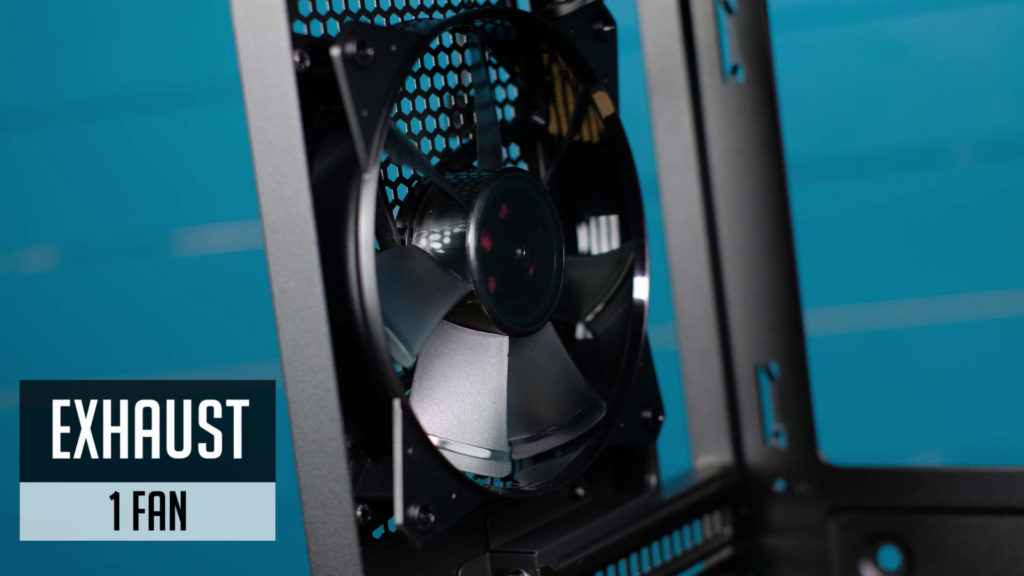
At the back of a case, we have a place for an IO shield, your PSU, and one included 120mm exhaust fan.
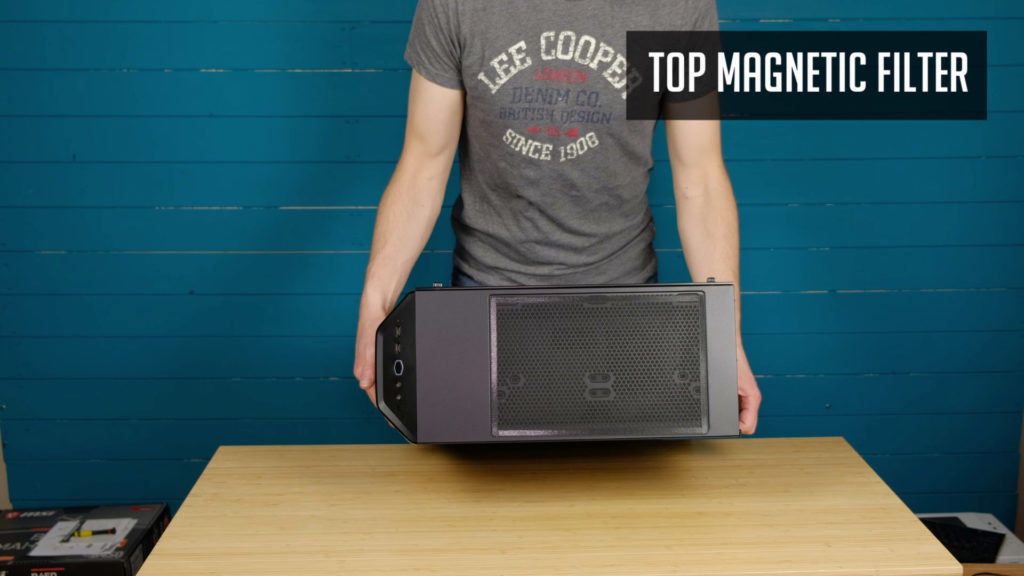
At the top, you will find a magnetic dust filter, but in most cases, it will be useless, since you will probably mount top fans if any as exhaust ones.
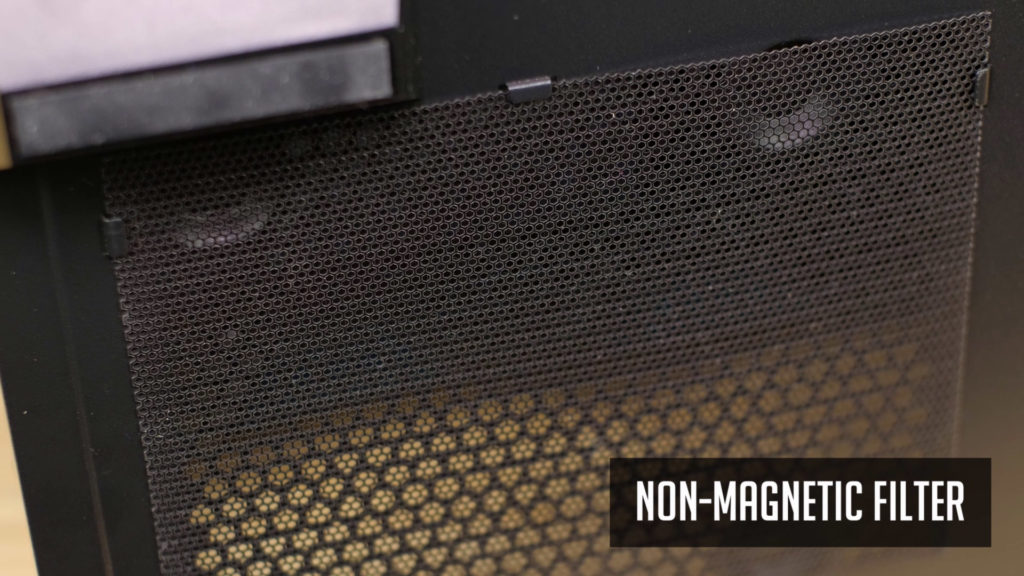
And here I’ve found the 1st thing that could be improved for sure – bottom PSU dust filter. It’s non-magnetic and the cheapest one and so you can see some space between a filter and a case. And since your PSU will suck air through this it might get dusty faster.
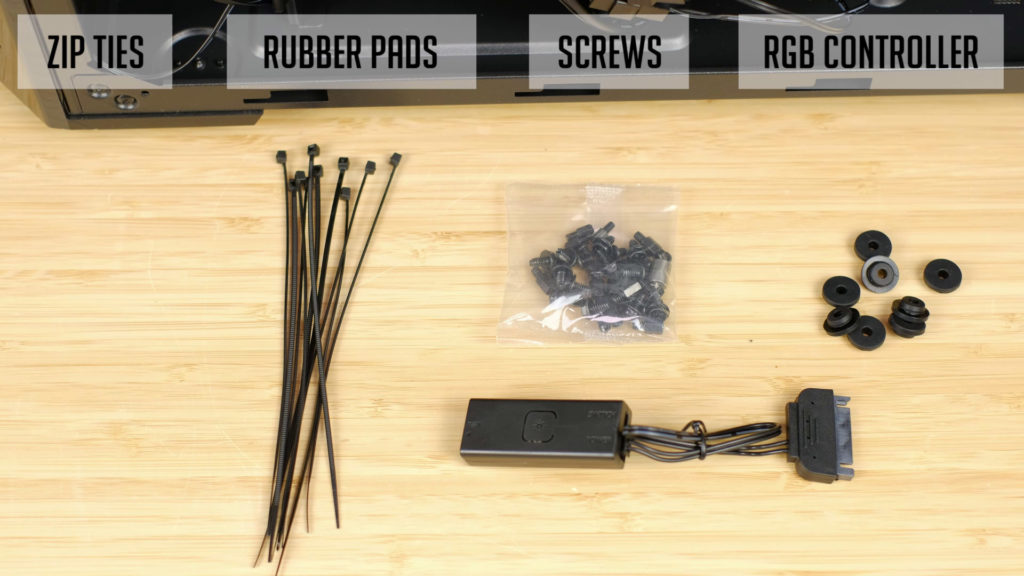
These are the accessories that come included with a Cooler Master MASTERBOX MB520 RGB case:
- Some zip ties for your cable management
- Rubber pads for mounting your 2.5-inch drives.
- Lots of screws
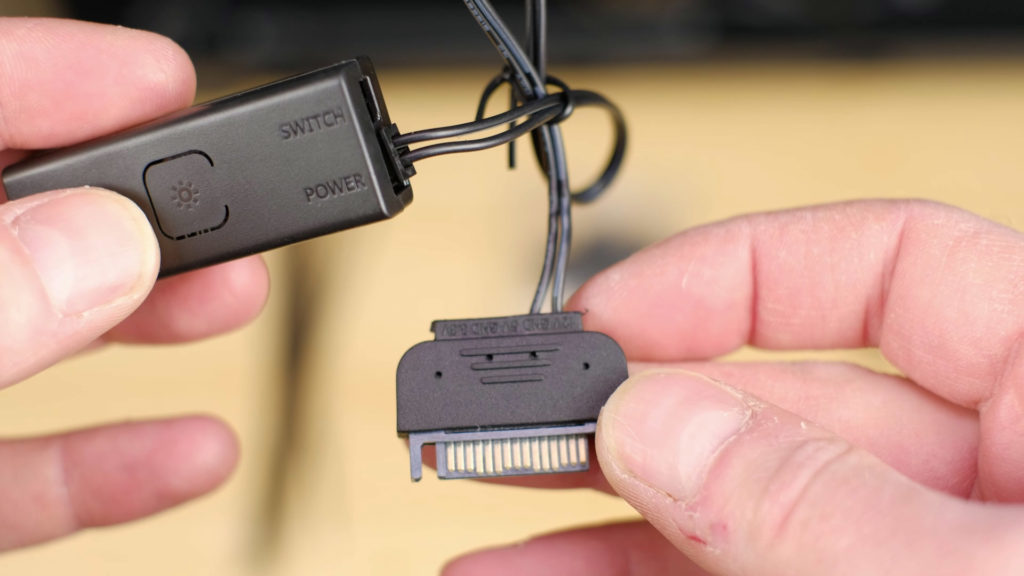
- And an RGB controller for an included RGB fans.
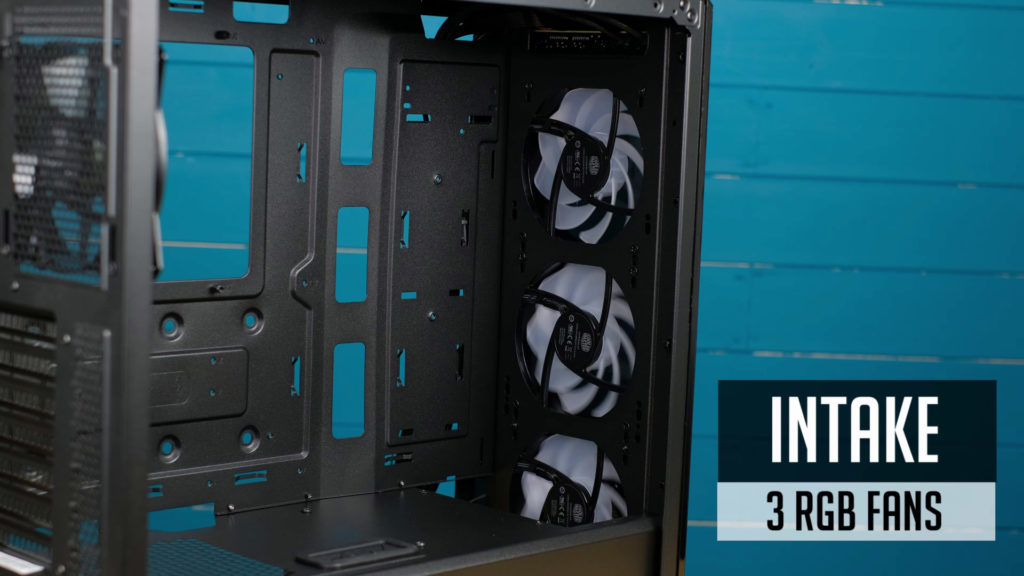
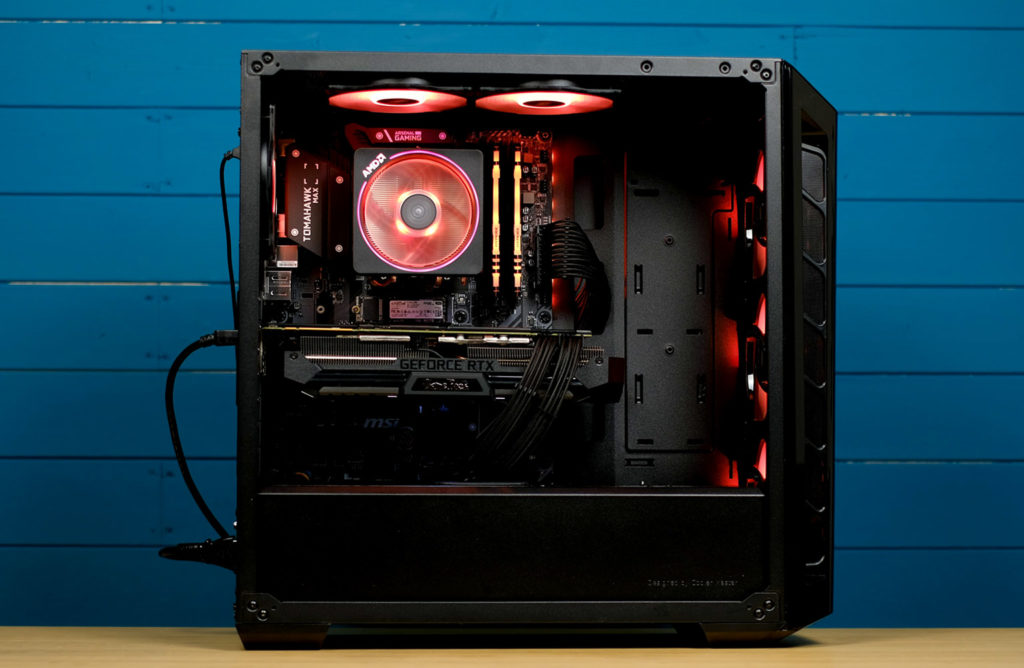
Alright, let’s have a look inside this case. So, you will find included front intake RGB fans as well as one included rear exhaust fan. And basically, this setup is really enough for most of the builds.
So in case you do not plan to add more RGB fans, you are fine with such a stock configuration. But in case you want to add a few more fans, I will leave a link to one of the best value for the money fan reviews at the top right corner.
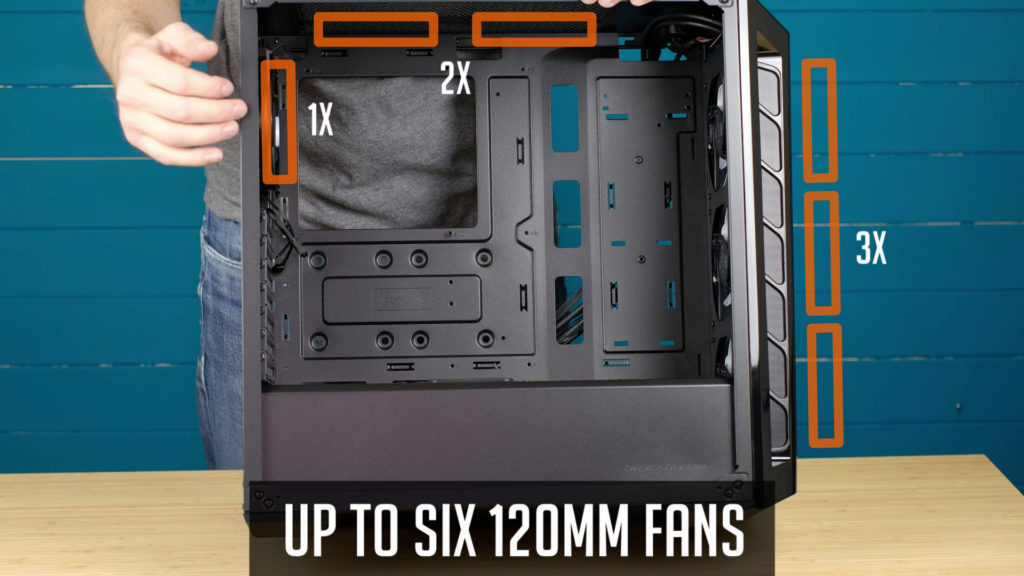
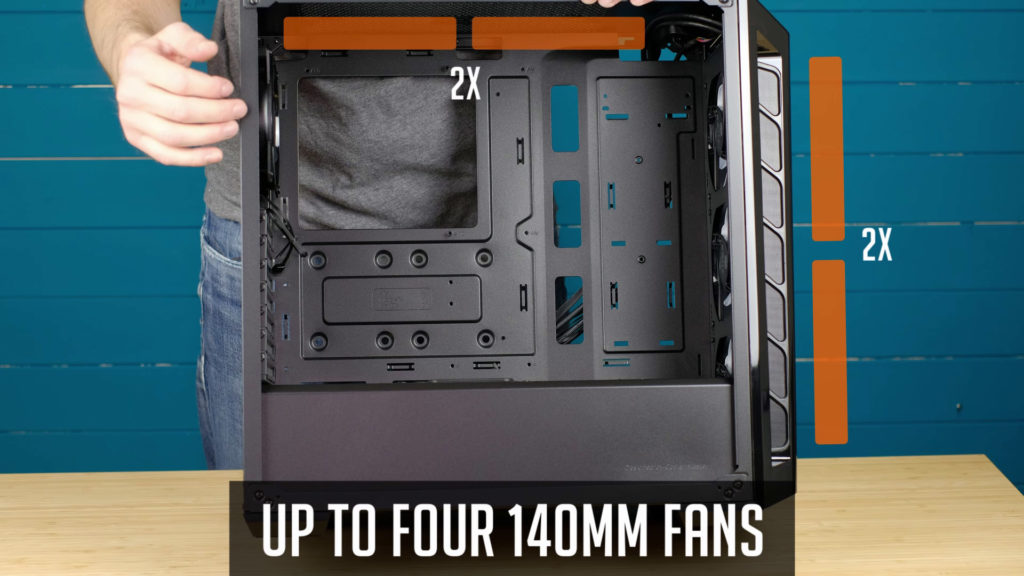
In total, you can have up to six 120mm fans – 3 at the front, two at the top and one at the back of the case. In case you decide to opt-in for 140mm fans, you can mount up to two fans at the front and the top of the case.
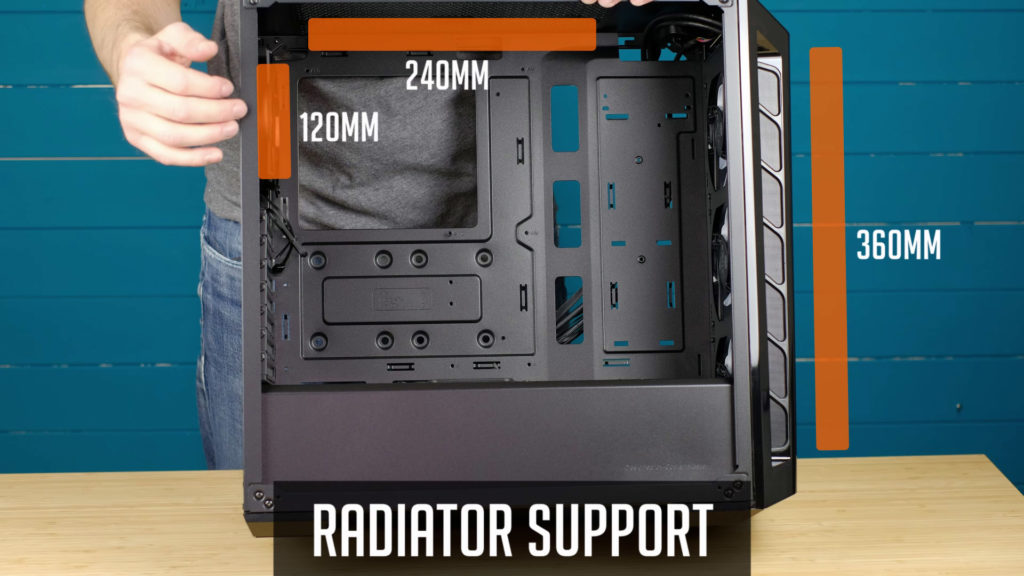
Radiator support is also quite a good one having in mind you can use up to 360mm radiator at the front, up to 240mm one at the top or 120mm rad at the back of a case.
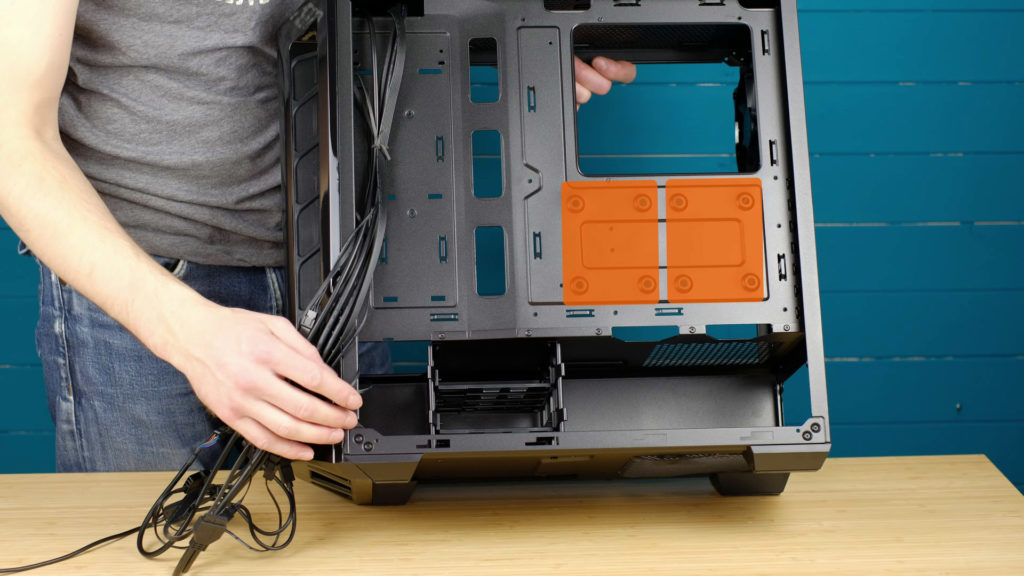
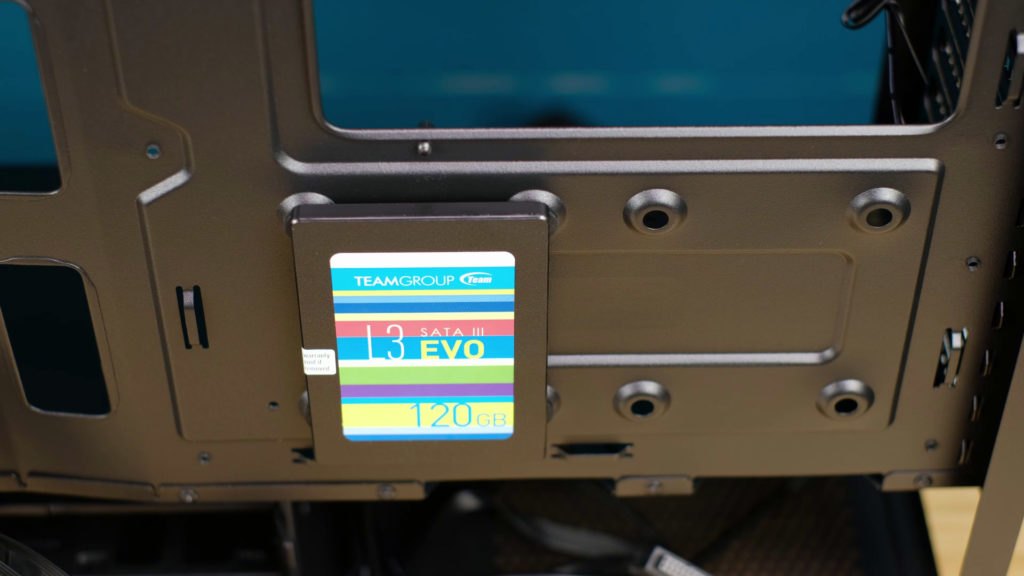
Moving forward, there are quite many places for your 2.5 inc drives including two unique mounting positions behind a motherboard. You need to use special included screws and insert rubber pads into case holes. Just like that.
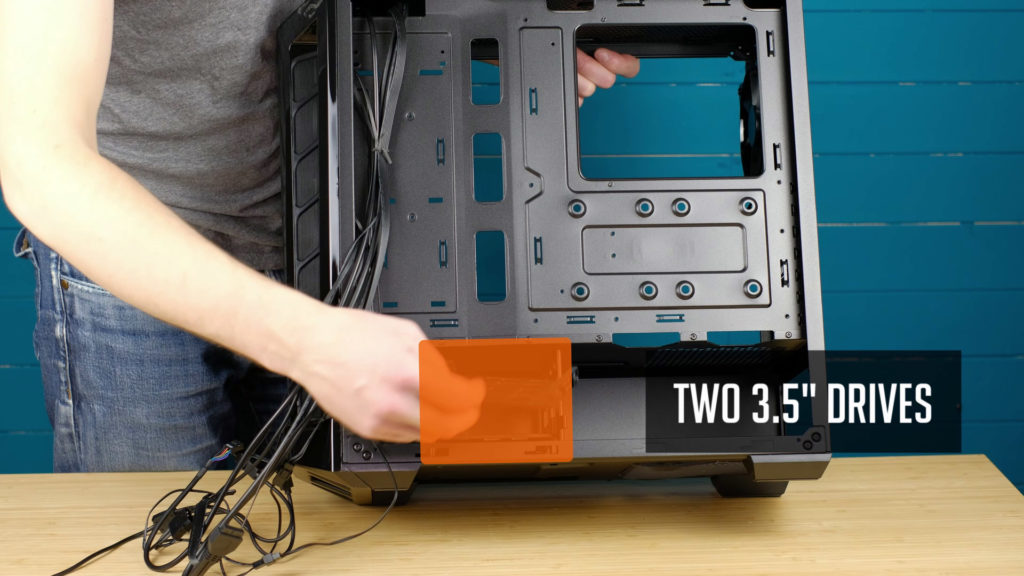
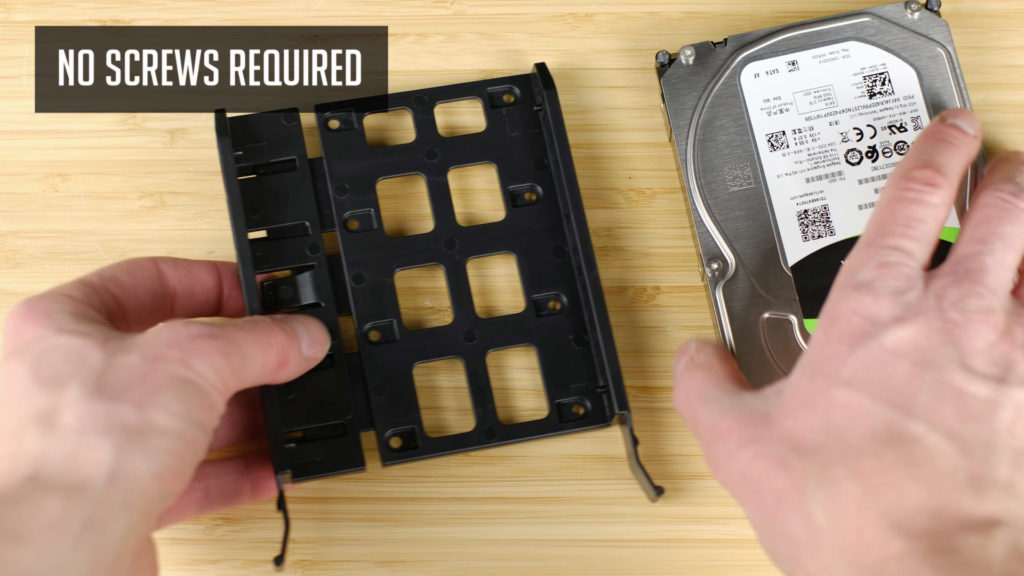
Also, you can use two 3.5 inch drives using a drive buy under a PSU shroud. No screws are required to mount your hard drives and so it makes it way easier and faster.
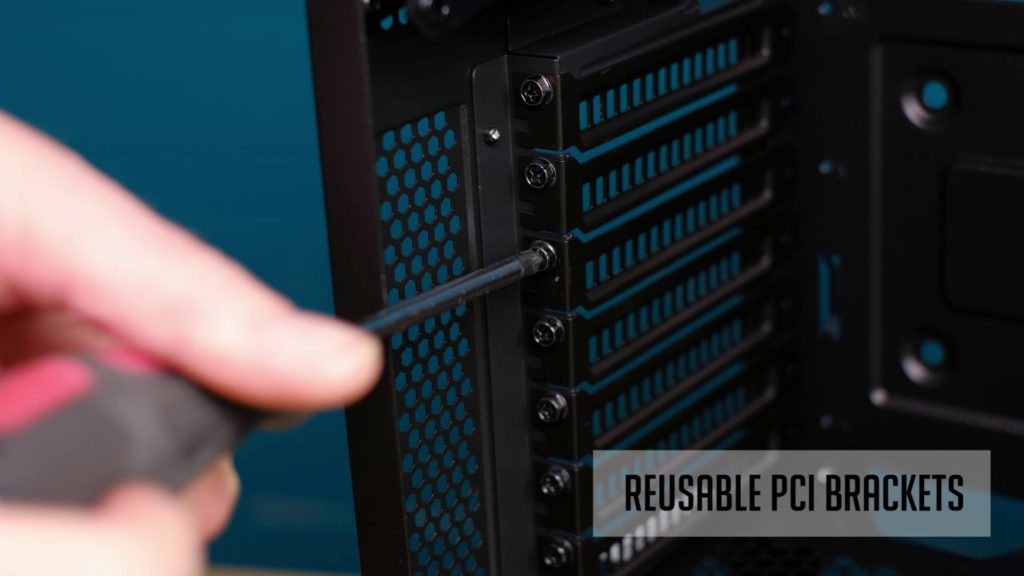
PCI-e brackets are held in place with screws, so you are able to take them off and in case of a need to screw them back again.
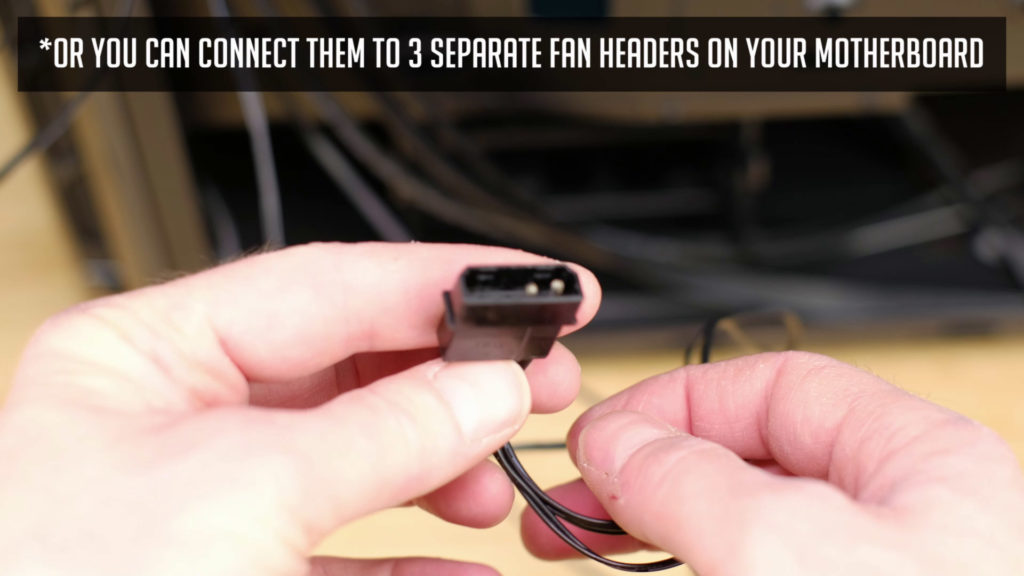
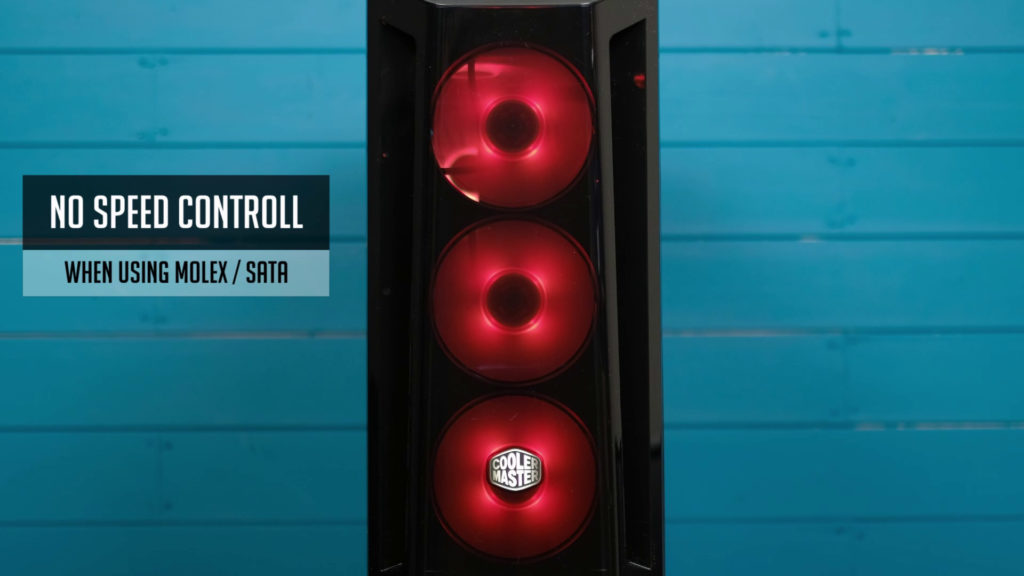
Even though it’s nice to get those included RGB fans, but all of them are connected together and you will have to use a Molex connector in order to power them up. It’s a bit disappointing for a few reasons.
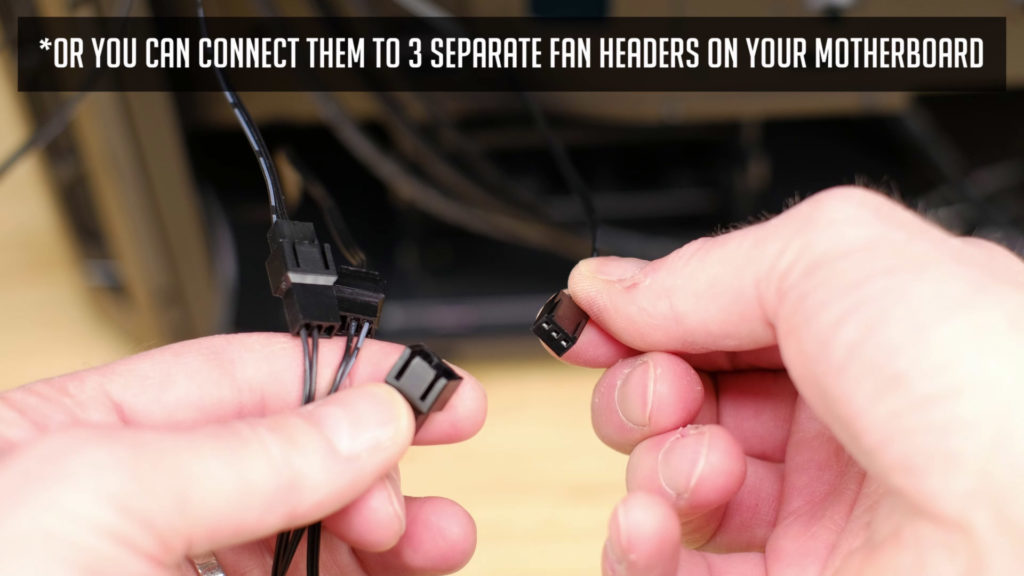
Since most probably none of your components needs a Molex connector, you will have to add additional cable in case you use a modular power supply, just to power these fans. SATA power connector would have been a better way to handle this, or even a simple fan splitter so you could plug them into your motherboard. Also, using a Molex or SATA, fans will be spinning at 100% all the time.
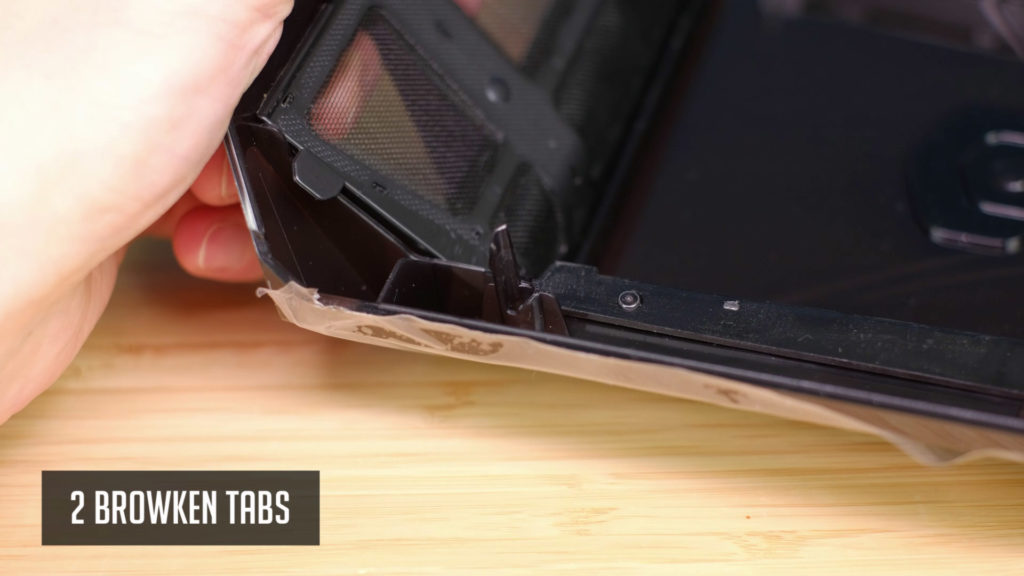
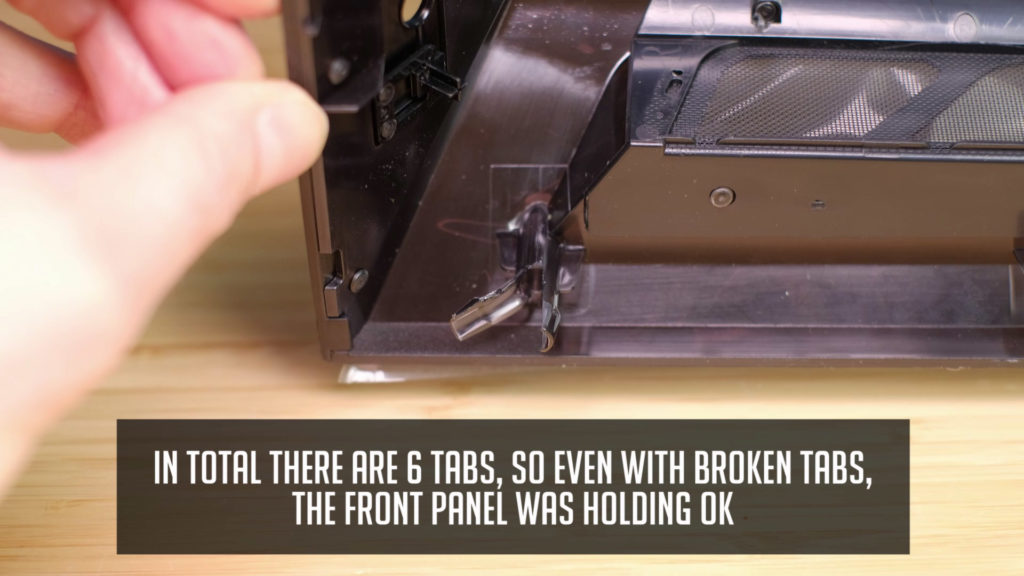
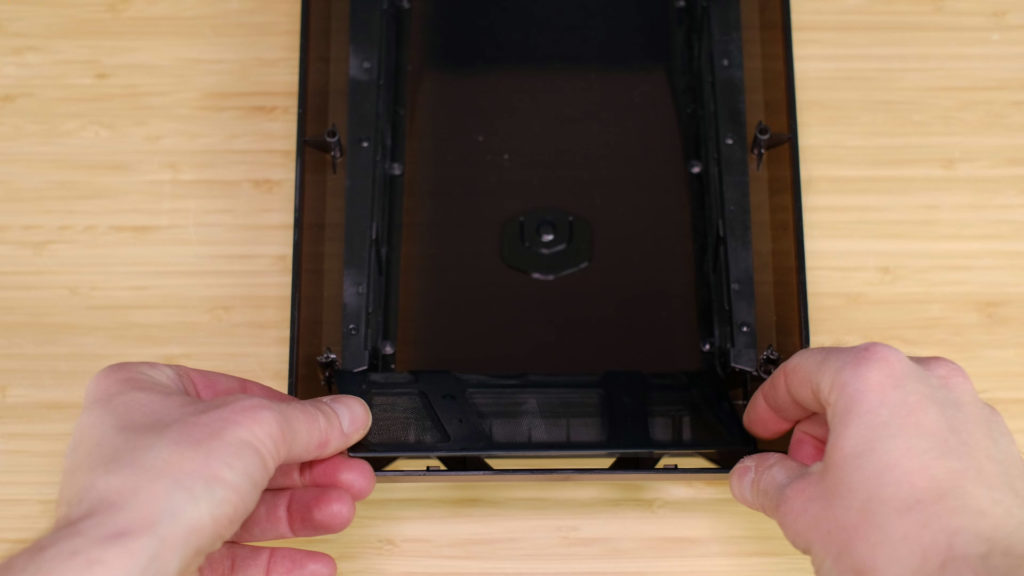
And here we have the most disappointing part of MASTERBOX MB520 – front panel removal and quality. After removing it, I found two of those tabs broken already. And no wonder, that plastic feels really cheap.
As well as one more of these tabs were bent in a way that it had to be heated or something. Not sure if it’s only me or there are any other owners of this case that faced similar issues. So, this is one of the weakest points of this pc case having in mind any of you will have to remove a front panel for cleaning dust every half a year or so.
So to sum up, I will present the main pros and cons of this case from my point of view.
Pros
- Included RGB case fans – so for those that are looking for a PC case with blink out of the box, it’s a really nice feature.
- Tempered glass side panel – Not only that, but it’s easy to remove it and not to worry about it falling on your table.
- Easy to build – that covers quite a few things like lots of drive mounting possibilities, many loops for cable management with zip ties.
- Good price point for what you get – well, it’s around $90 in the US and I found it even cheaper in other countries for around 80 us dollars.
Cons
- Poor quality of a front panel – not sure about quality control here, but even if it was exclusively a one-time case regarding those broken tabs, plastic seems to be quite a cheap one here. And having in mind you have to clean your case constantly, I assume you can brake those tabs after a few times as-well.
- No rubber grommets – while this one might be not a deal-breaker for many, but since cooler master included one for a GPU cables hole, they could have included rubber grommets to cover other holes as-well.
- Average airflow – while you get 4 fans our of the box, this case has quite an average airflow. And so, there are many pc case options to choose from with quite a better one, but sure, they will not have all the pros of this case lets say an included RGB fans.
So there you have it, quite a nice looking and affordable PC case from a Cooler Master with its pros and cons. After this overview, you should have quite a better picture of Cooler Master MASTERBOX MB520 RGB and decide to stick with or choose some kind of alternative. One of the options would be to check other case unboxing videos I have on my channel. But in case you decided to grab one for yourself, you will find a link in the description below.
In case you have any questions or doubts, just leave a comment under my Youtube video and I will get back to you guys.
Thank you so much for staying with us and see you soon.
Links to Amazon
Cooler Master MB520 RGB
https://geni.us/Hp96myU
Cooler Master MB520 ARGB
https://geni.us/SEsH8
Cooler Master TD500 Mesh
https://geni.us/RWiNP
Disclosure: EpicGameTech gets a small commission when you purchase something via our Amazon links. It doesn’t cost you anything extra since that comes from Amazon’s end. So, please be aware, the links provided to Amazon are affiliate links.
