Table of Contents
Are you guys ready to build a Gaming or a Streaming PC? We will be using one of the most popular Ryzen 5 3600 CPU and RTX 2060 Super. It was one of the best combo for around $1000 bucks a while ago (before GPU prices went crazy).
And in theory, you should be able to get much more performance for the same price with an RTX 3060 or 3060 Ti, but as we all know, it’s nearly impossible to get those for MSRP price at the moment. But maybe you can get a cheaper 2nd hand 2060 super locally? So let’s build it and check on how our combo performs in gaming.
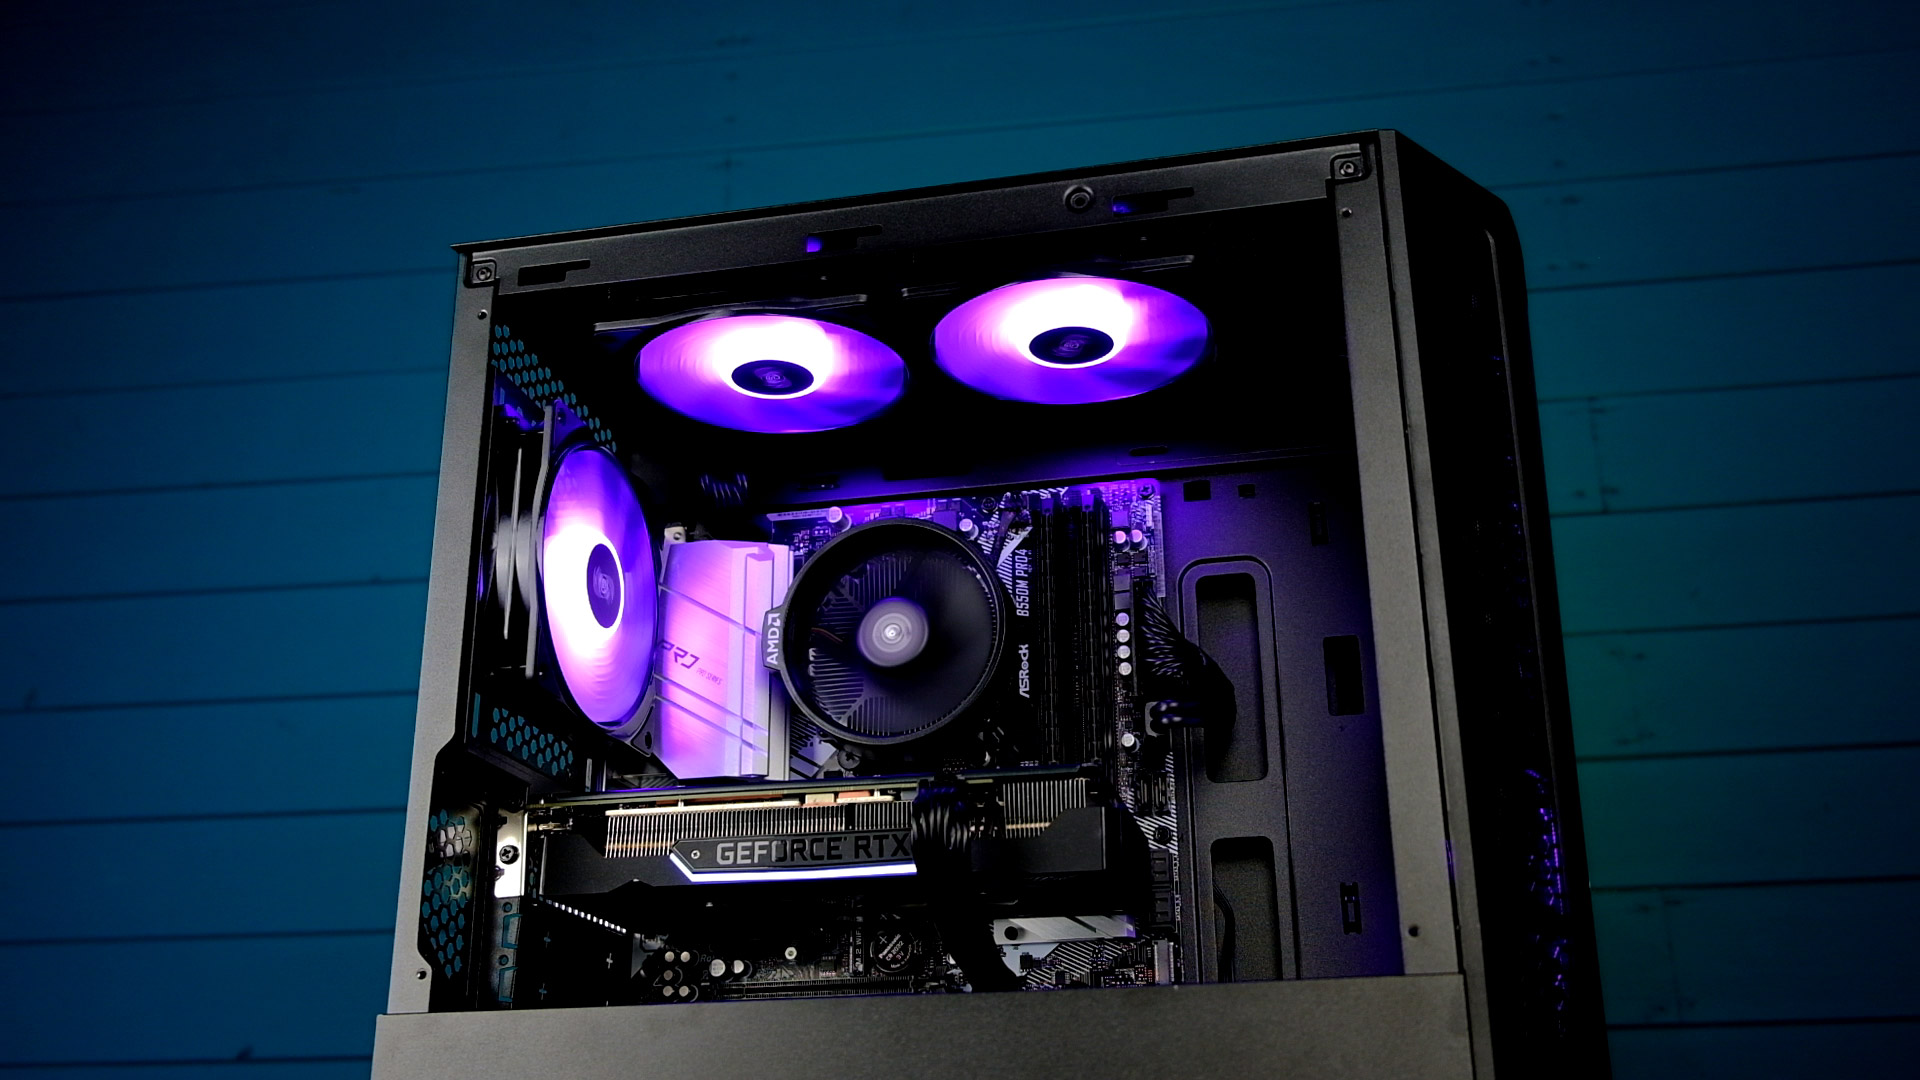
Most of the parts are oriented towards a mid-range build but also the best value you can get for your dollar, even though we got some RGB fans as well. But in general, the purpose was to make a high-fps 1080p and 1440p gaming machine.
Motherboard
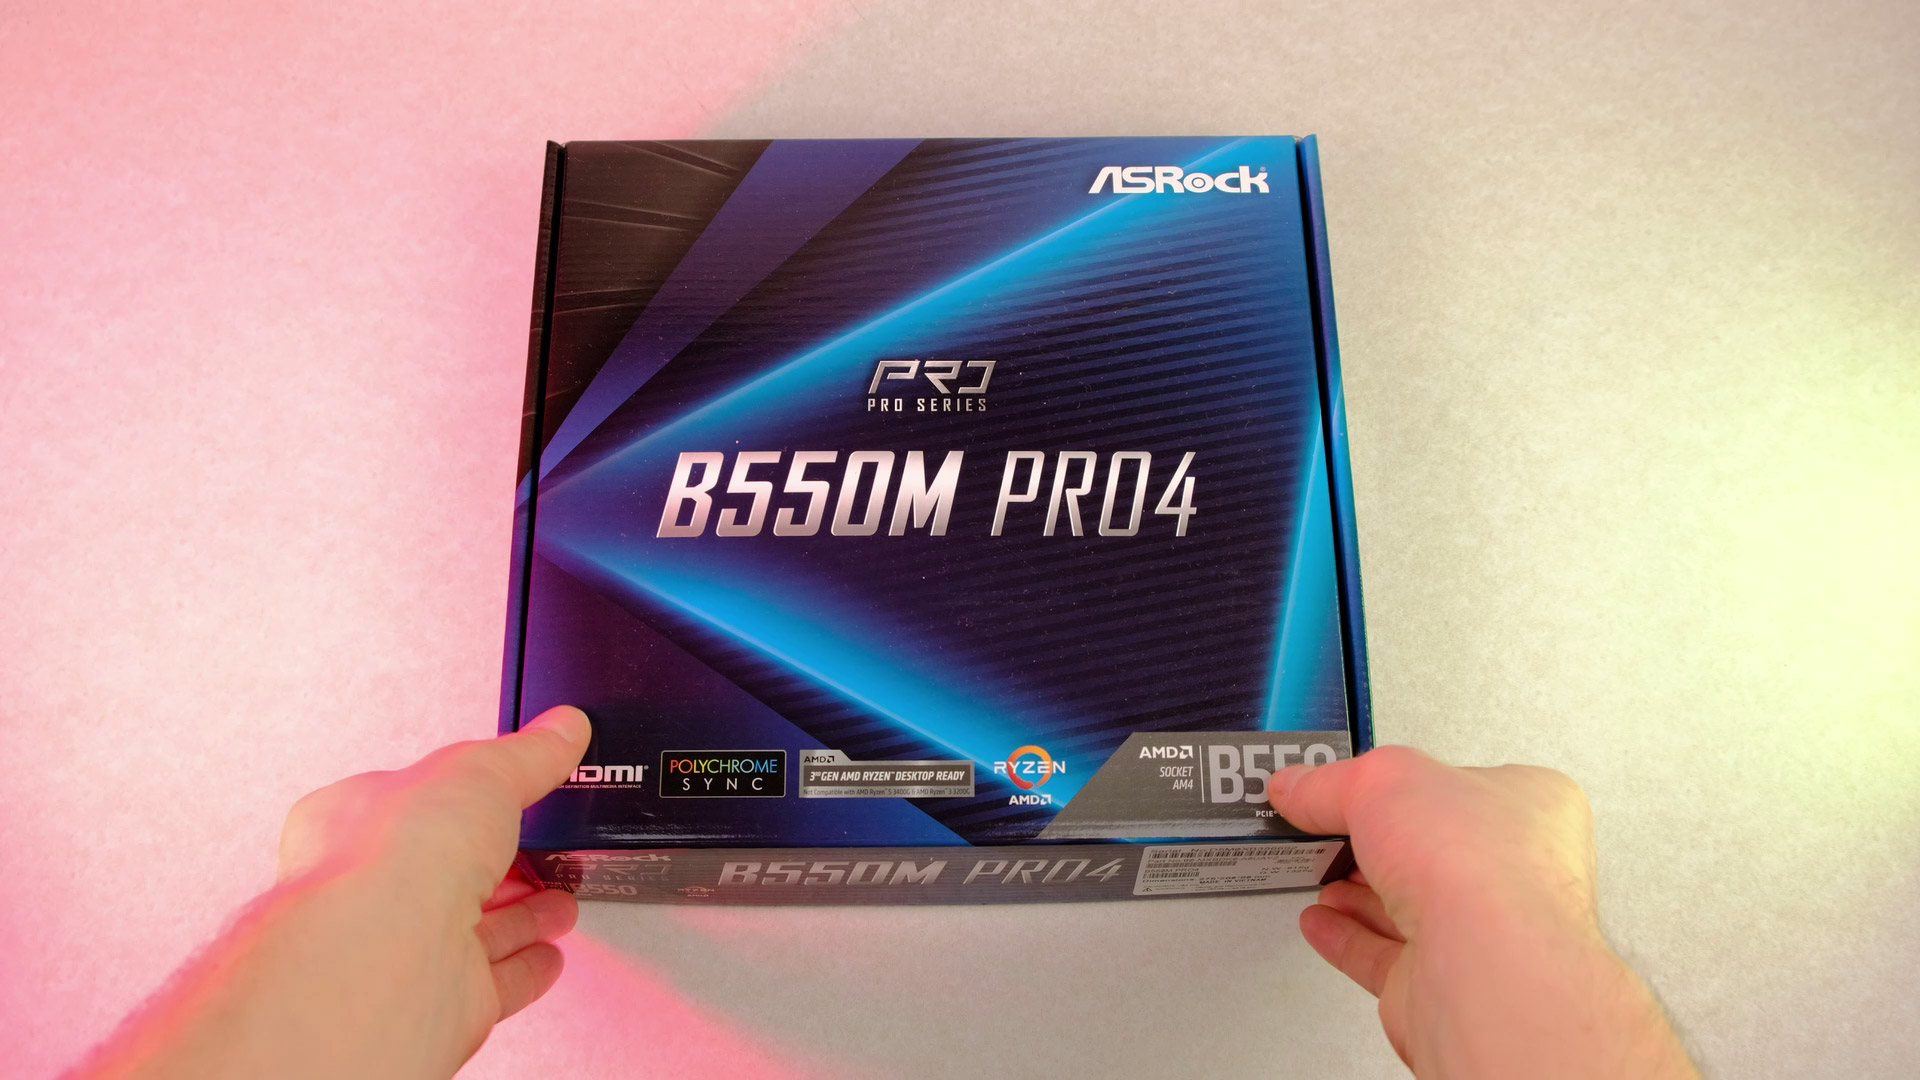

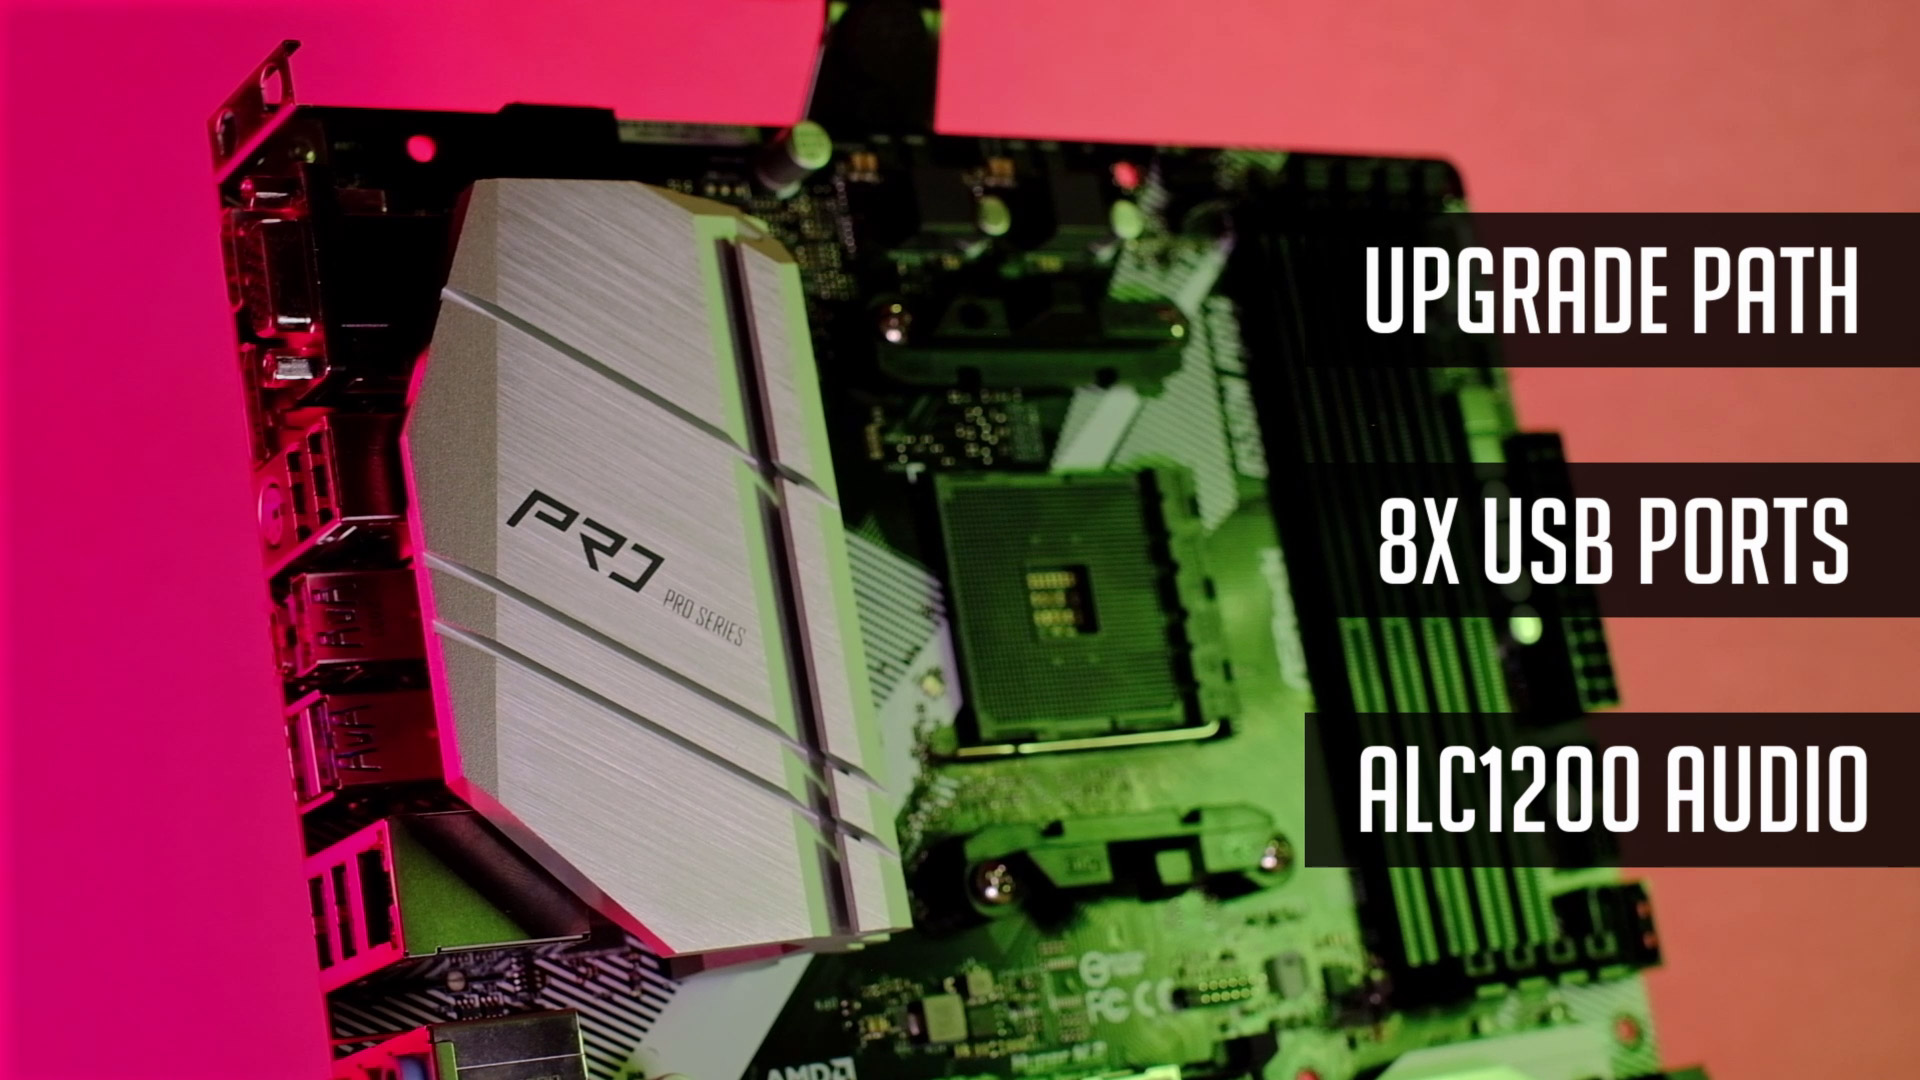
Let’s start with a motherboard. Asrock B550m Pro4 – a budget B550 motherboard with decent features like ALC1200 audio codec, plenty of USB ports, and a good CPU upgrade path. And so, later on, you can swap to Ryzen 7 5800x with no probs.
Processor (CPU)
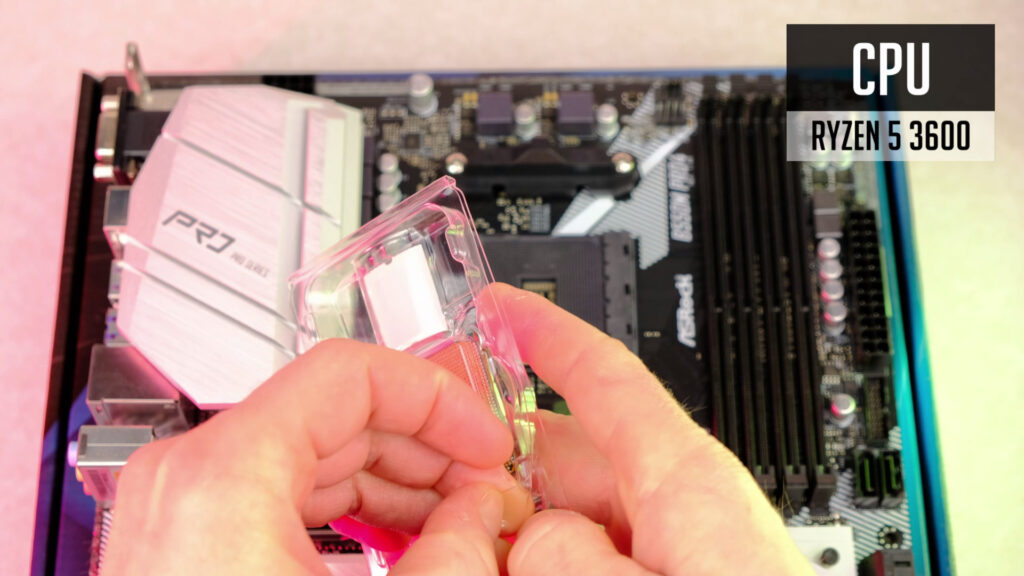
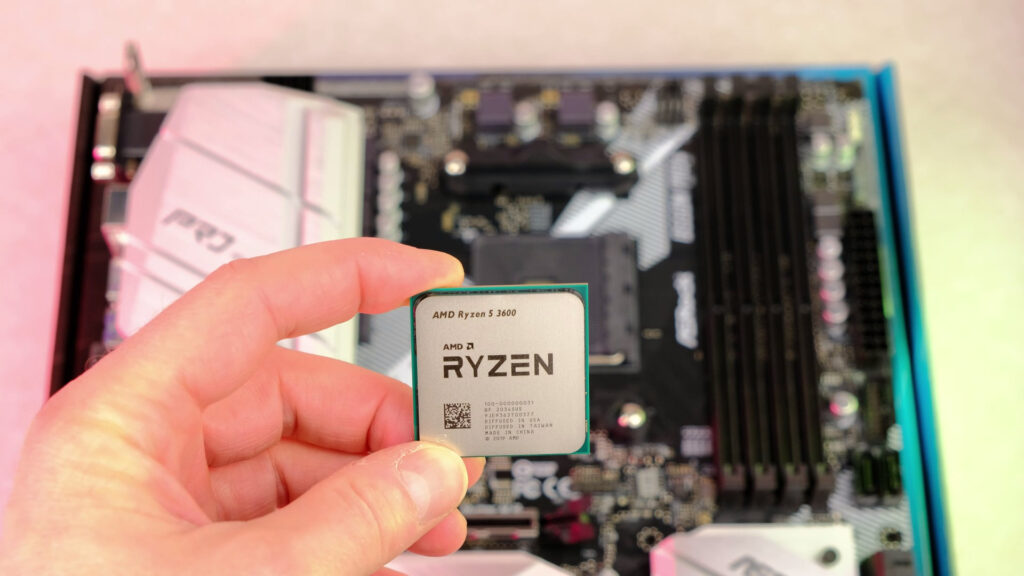
Ryzen 5 3600 – one of the best value CPUs in recent years. But be sure it’s not overpriced in your region, as I saw it’s going even for 220 us dollars in some places. And so, an intel system with a 10th gen i5-10400f could be the better value choice in such cases.
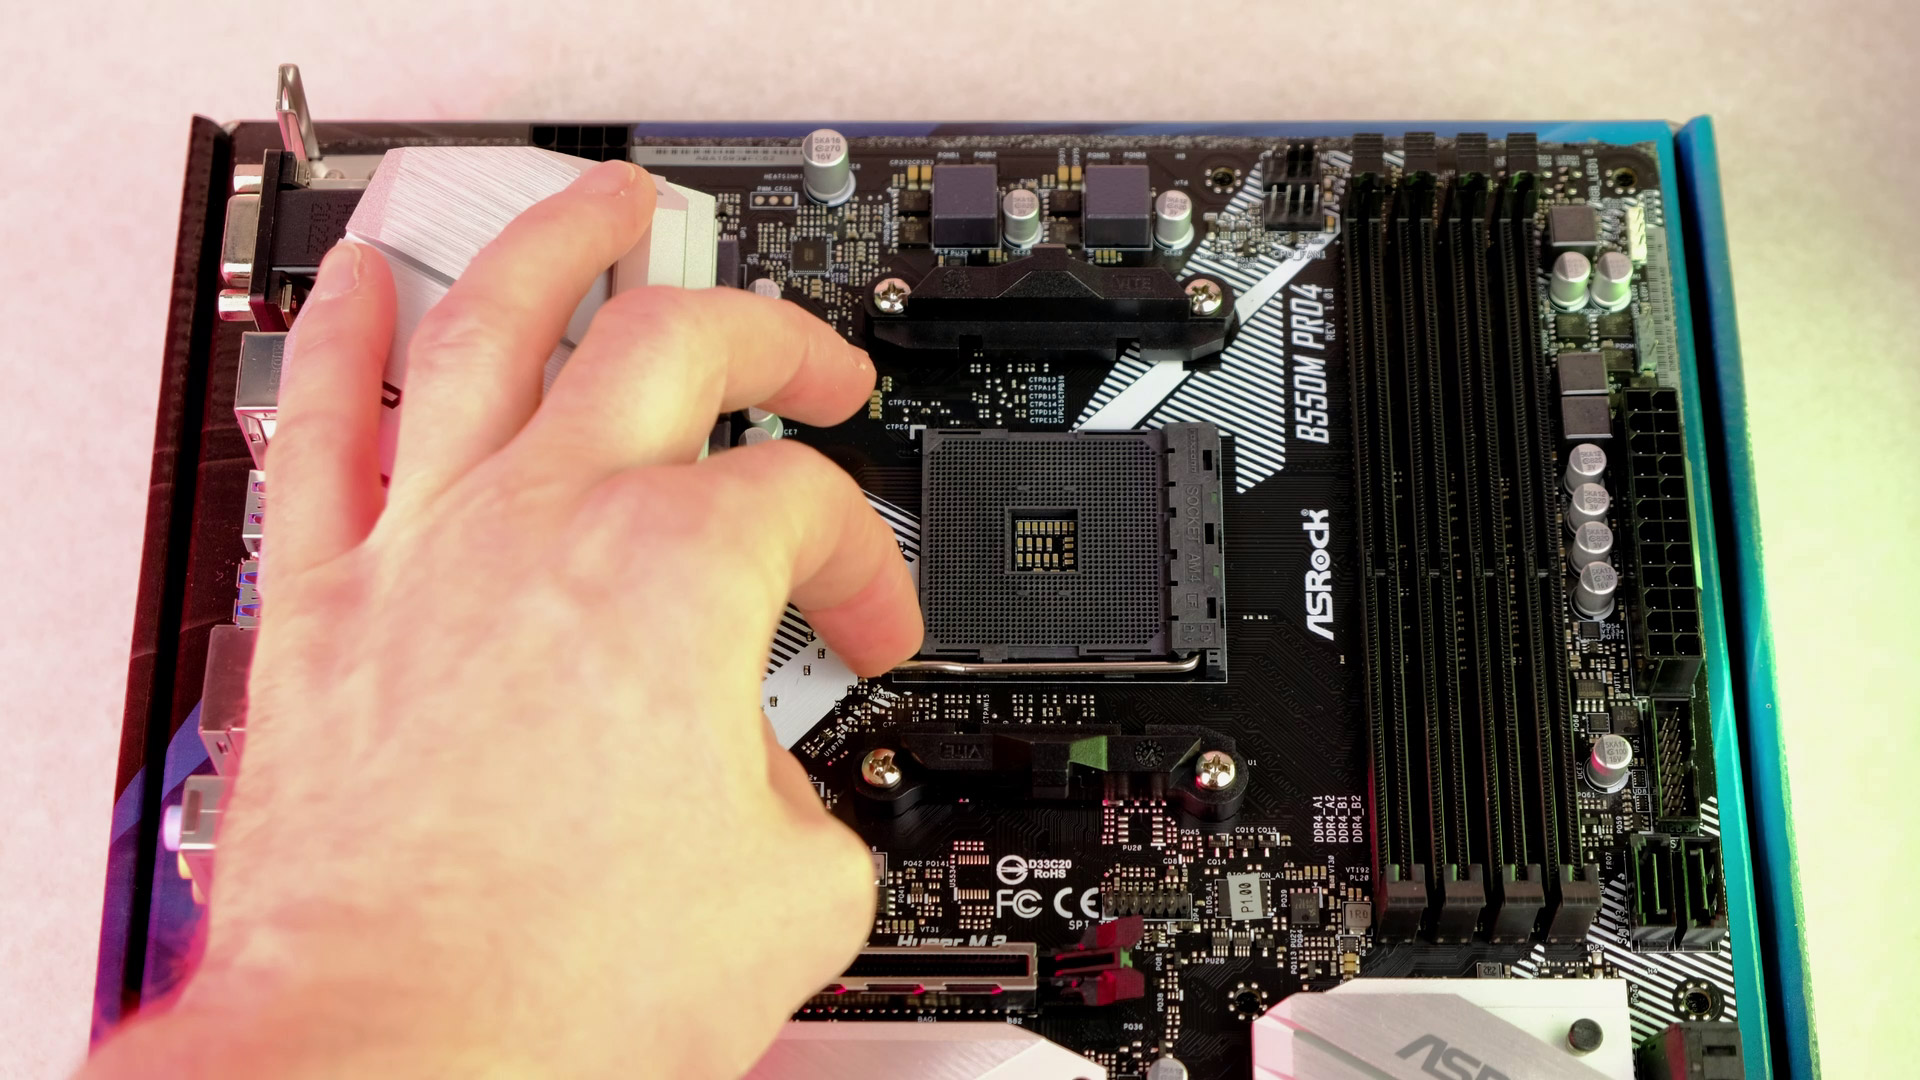
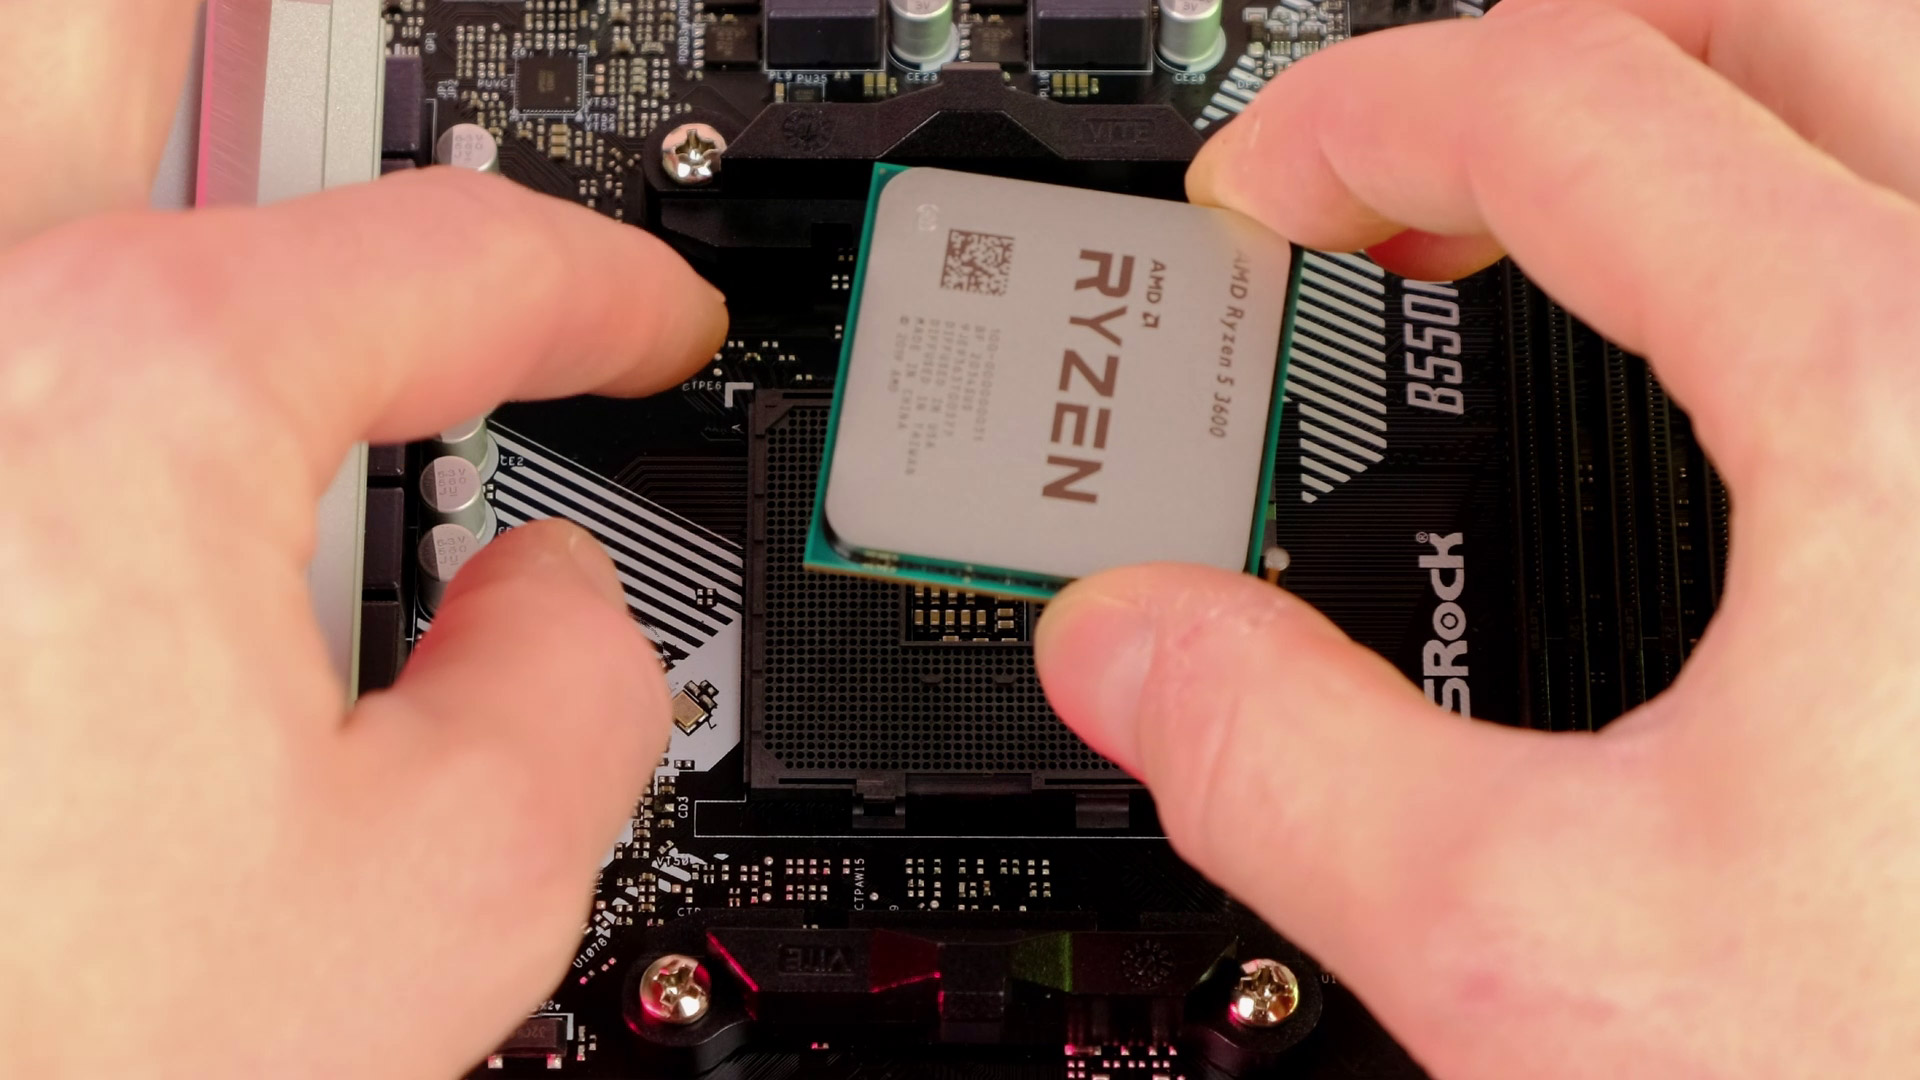
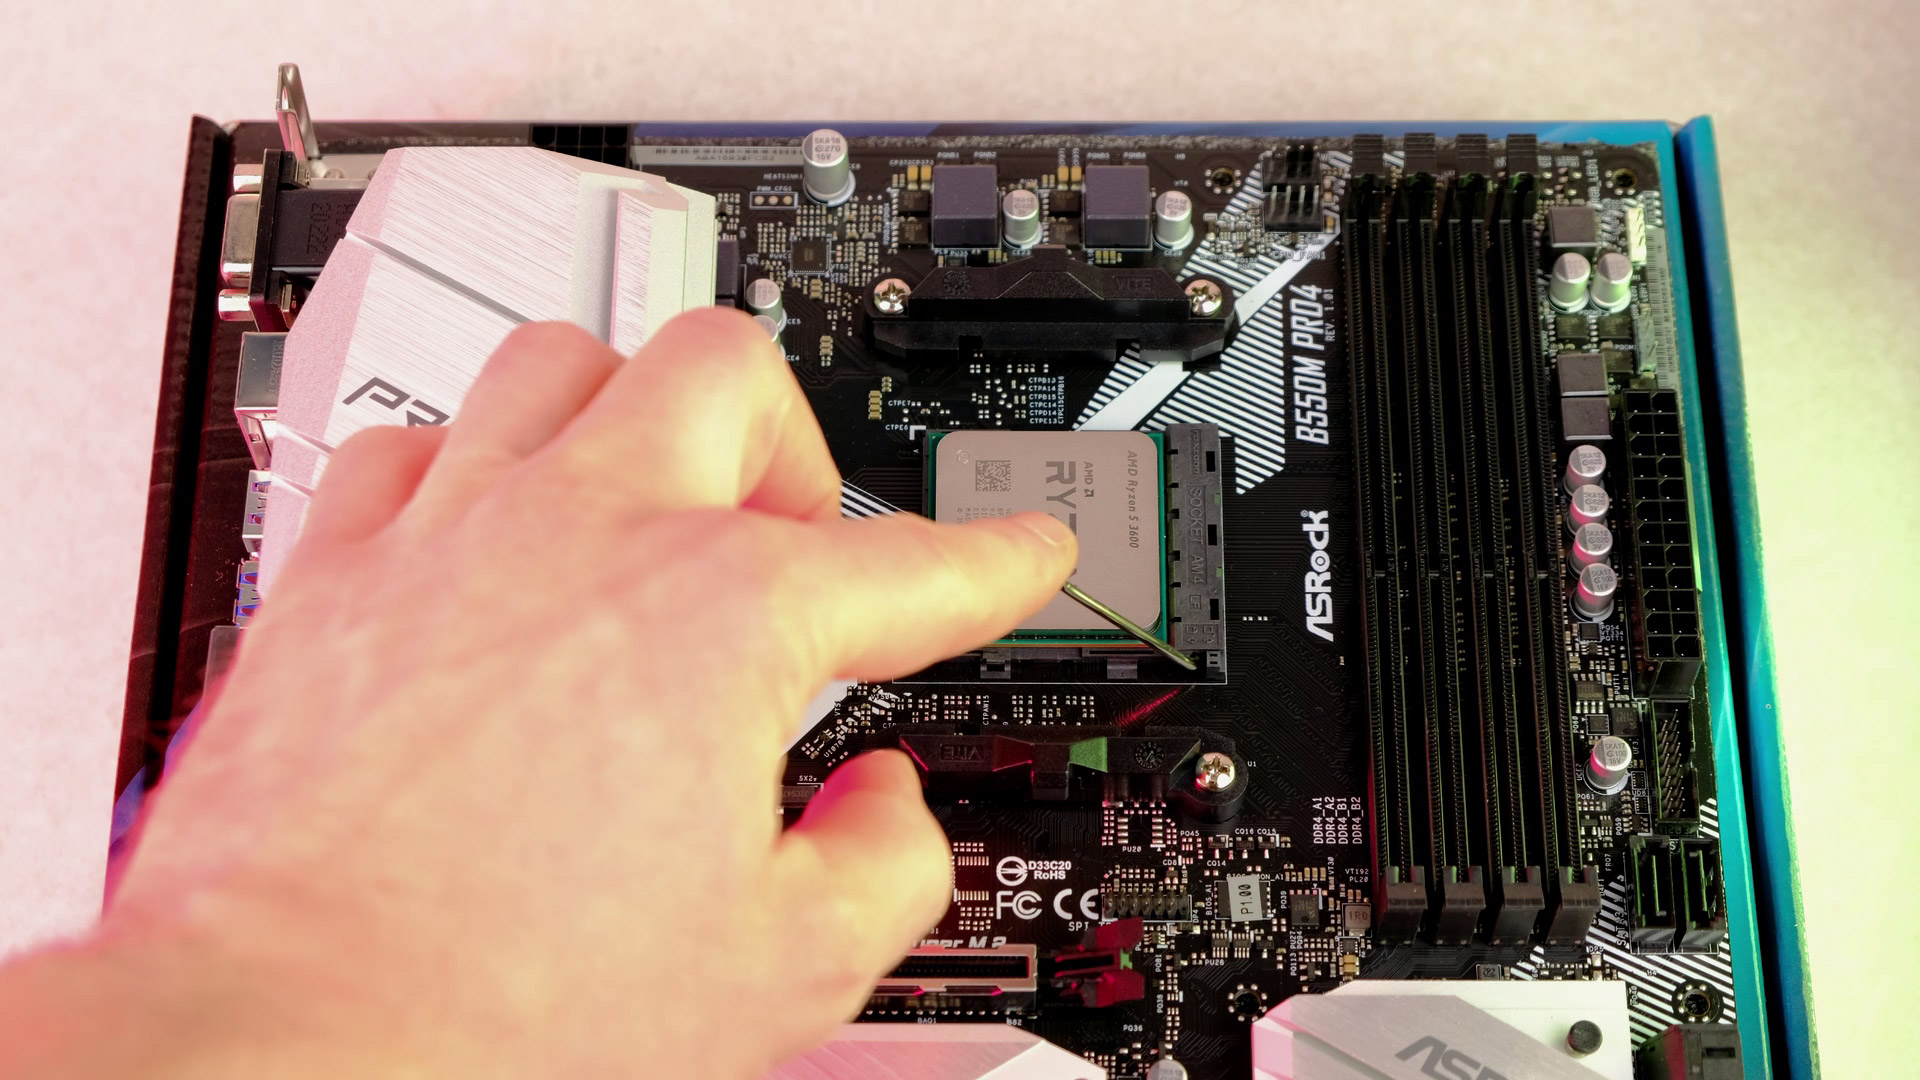
CPU installation is quite easy – pull up this arm, match the triangle on a CPU and a motherboard socket, and lock it in place. But in case you want a step-by-step guide, I will link a video at the top right corner.
Processor (CPU) Cooler
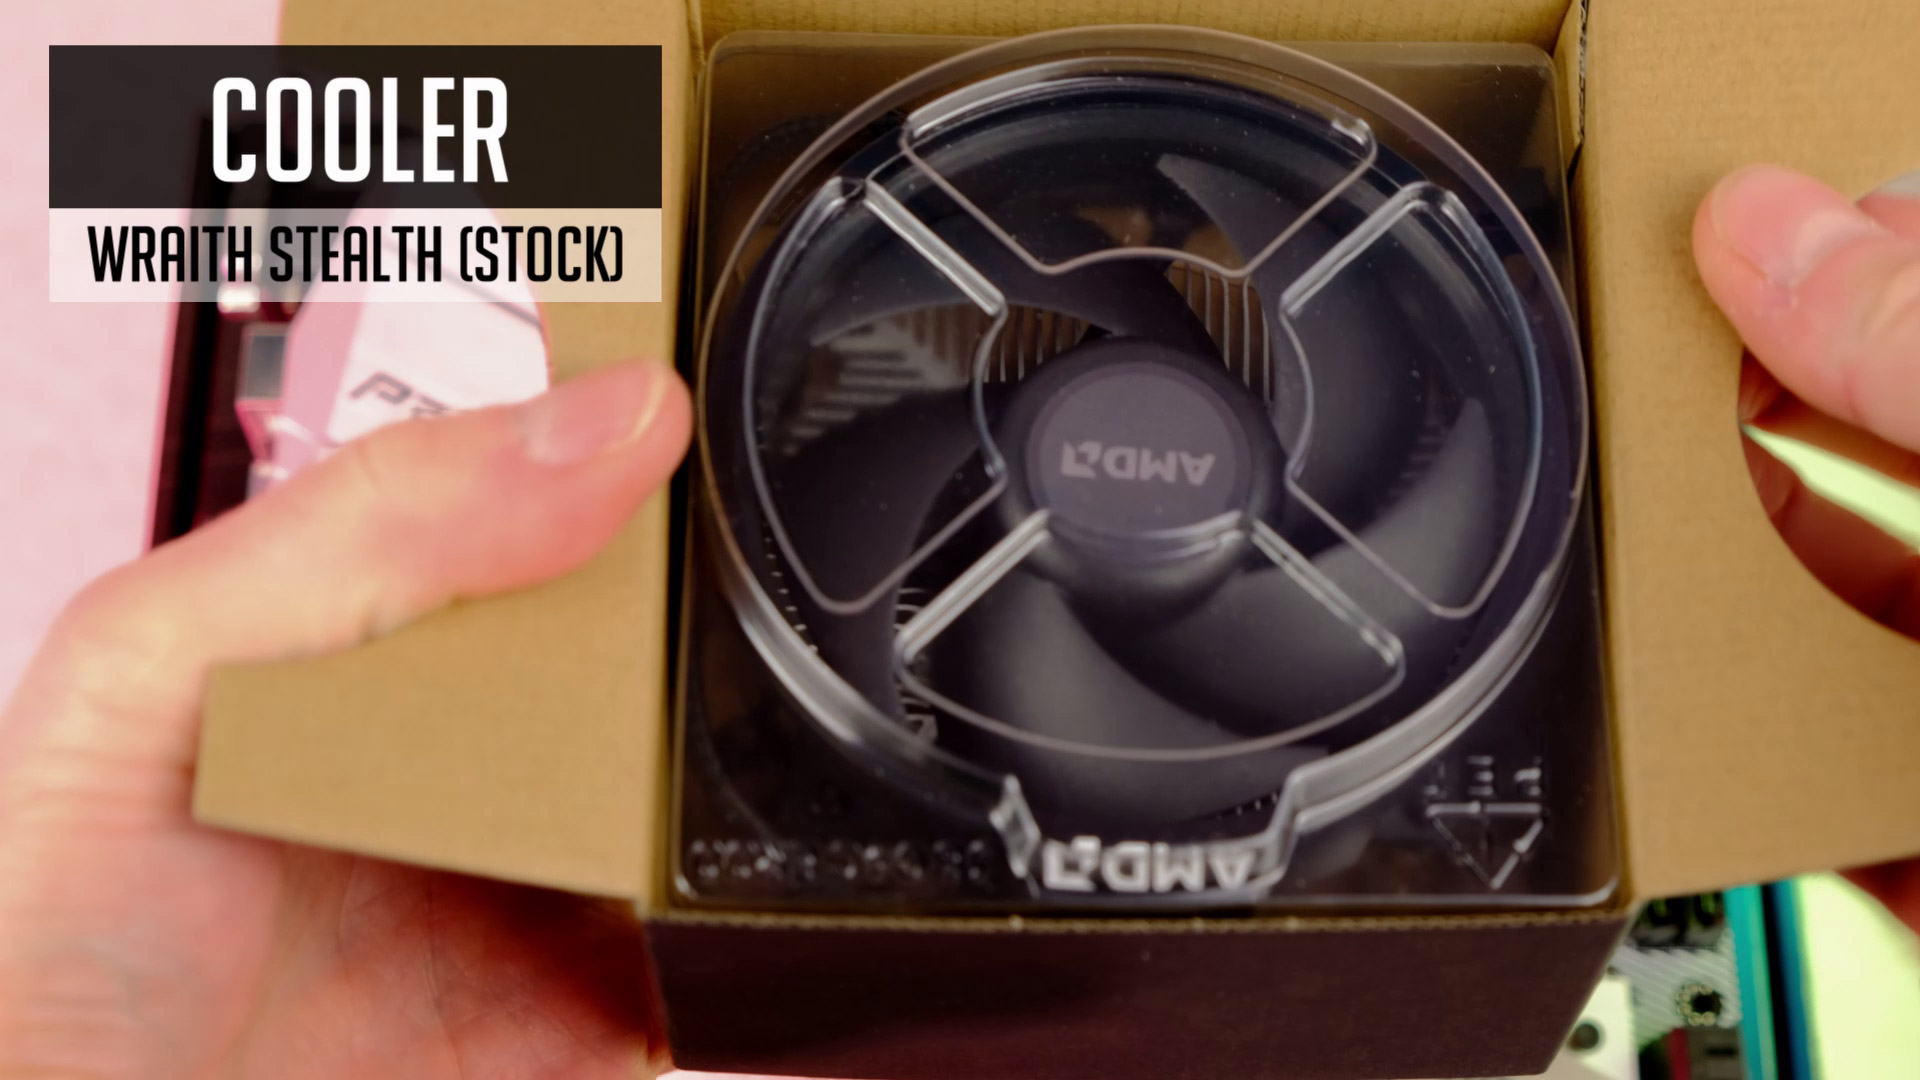
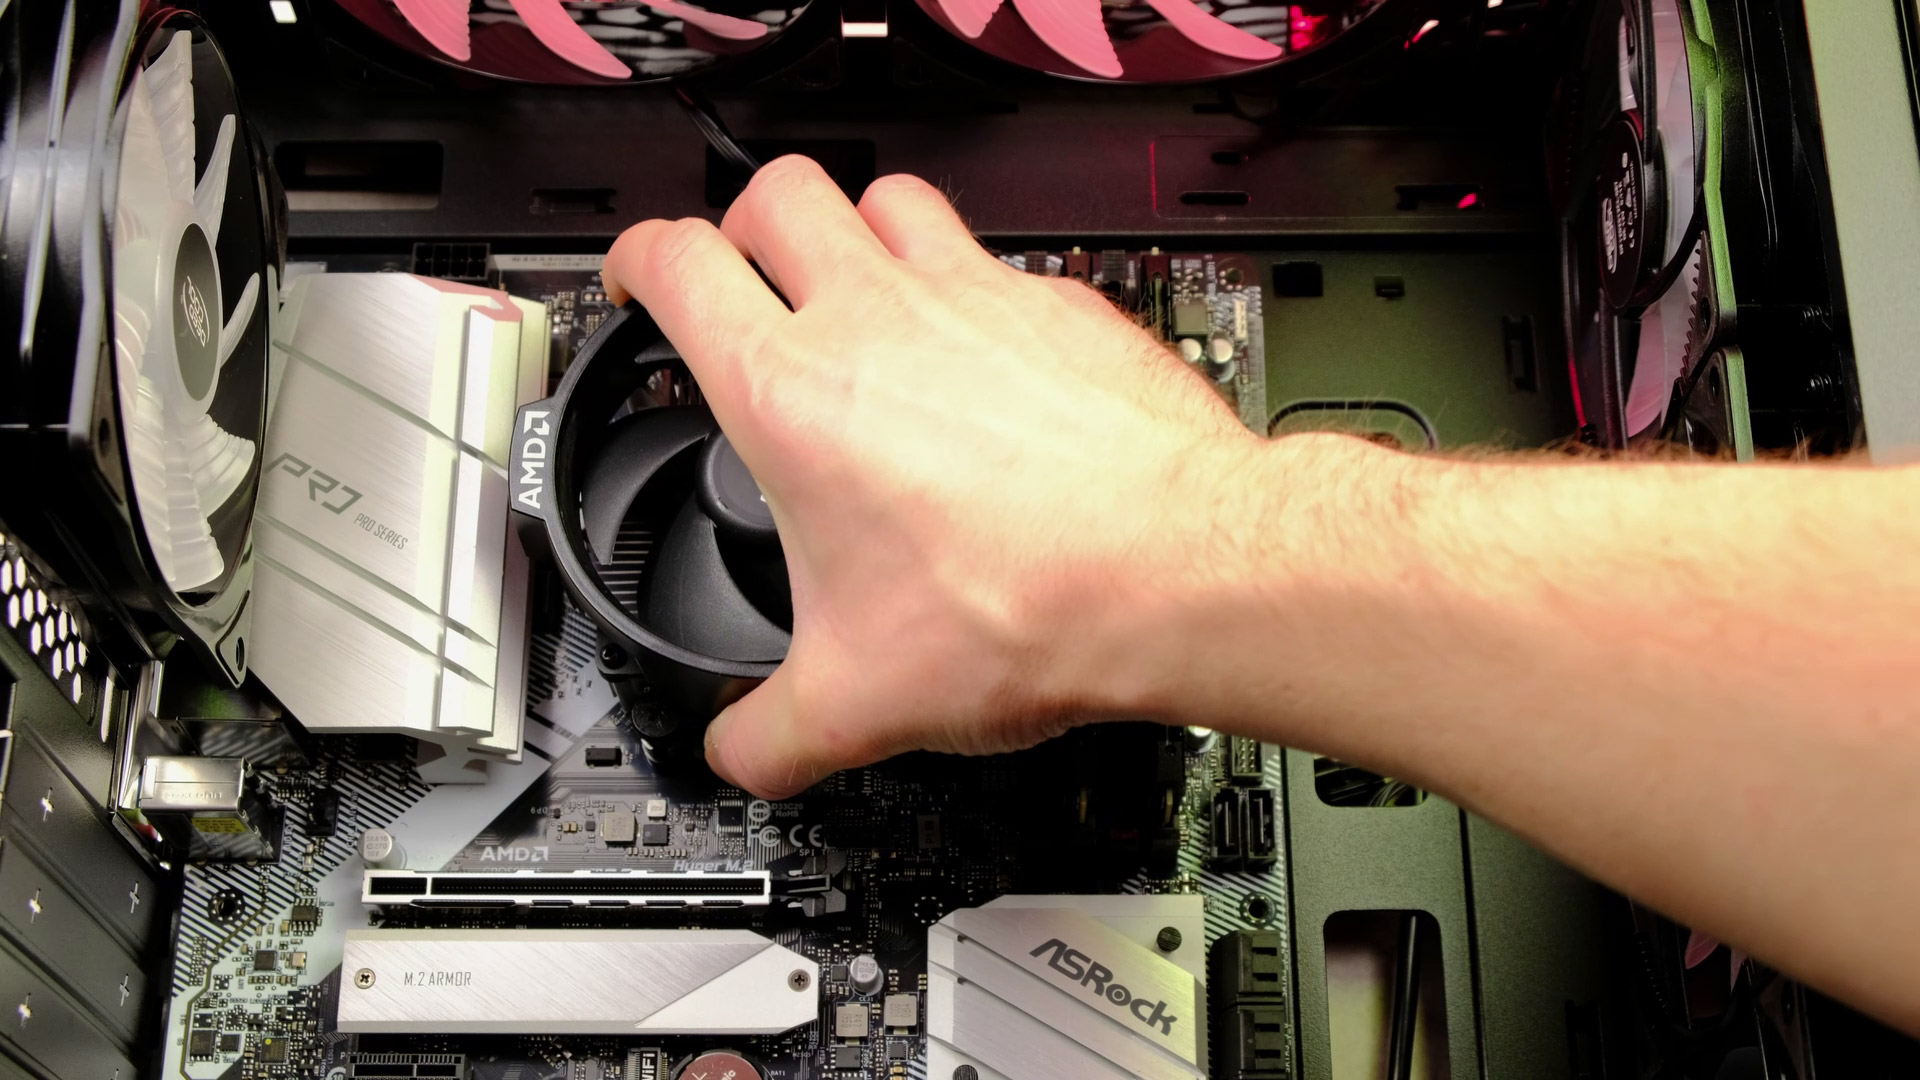
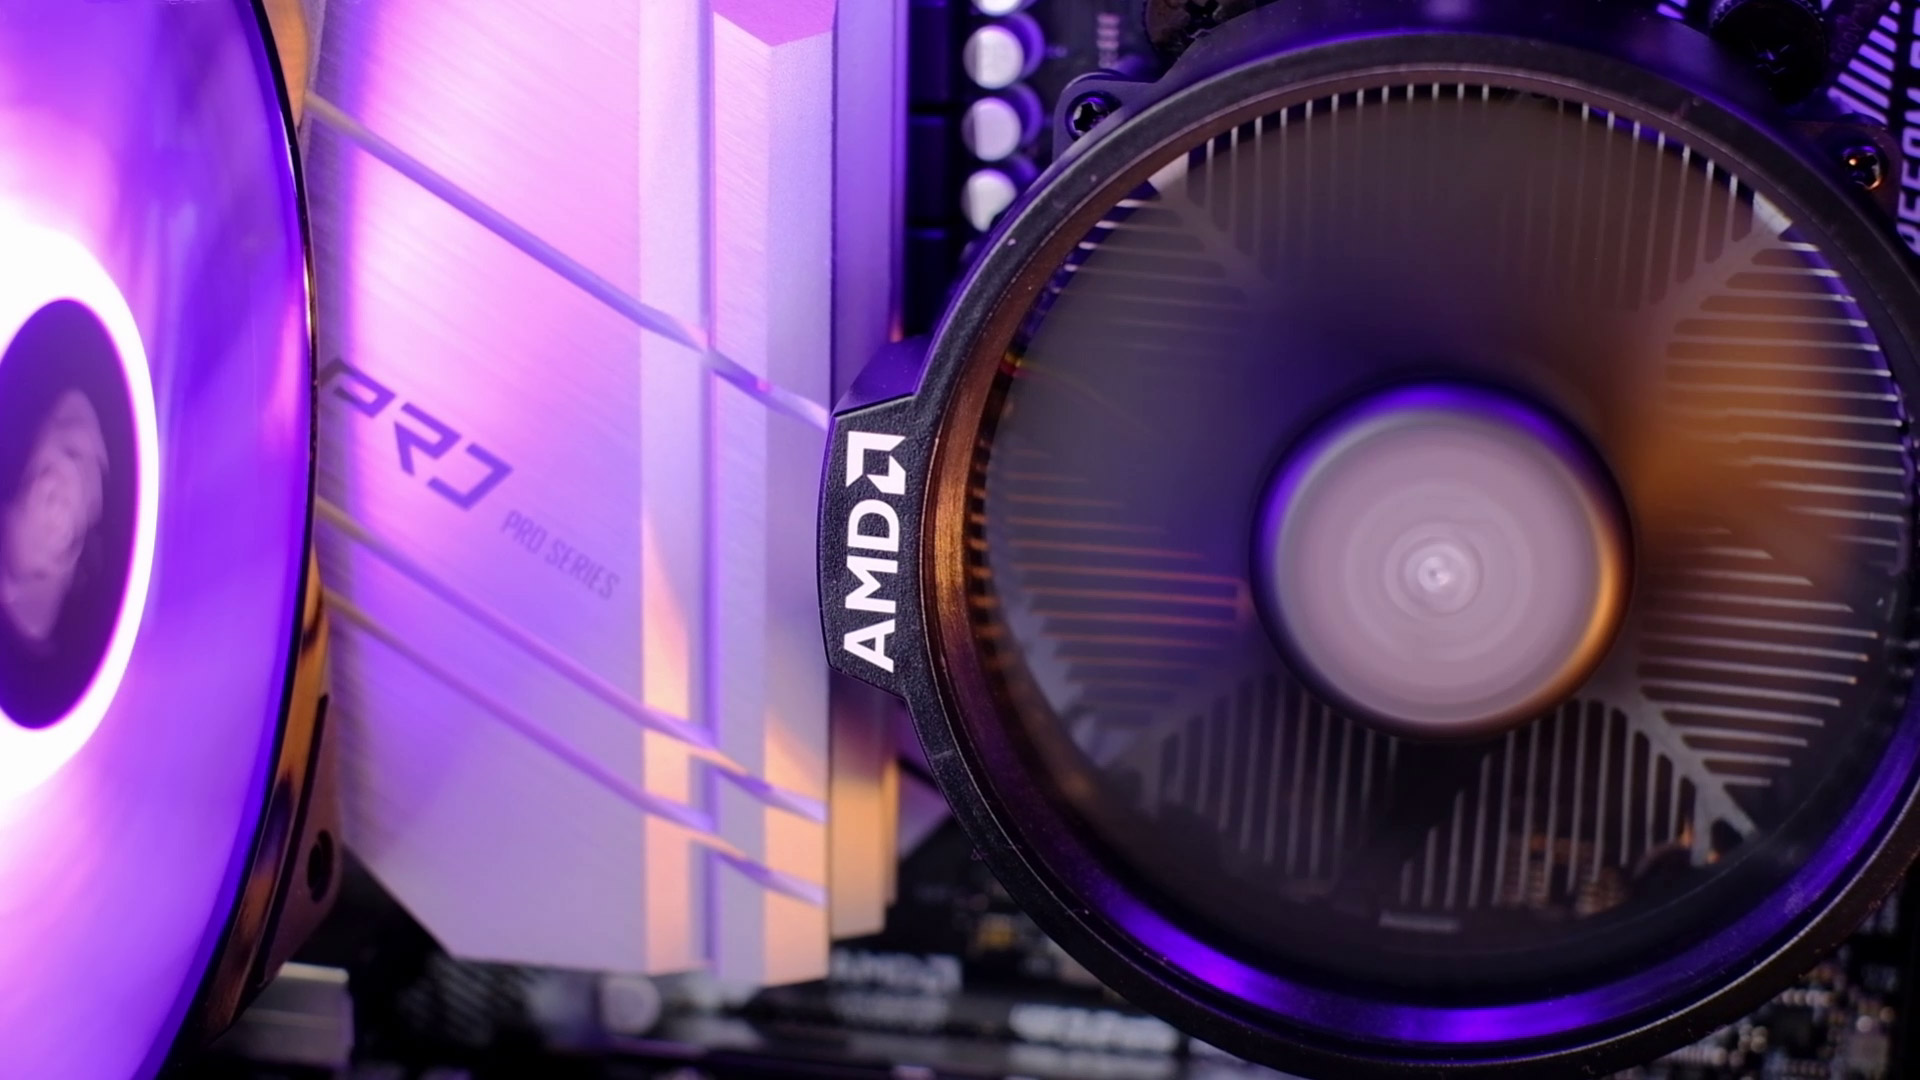
We will be using a stock CPU cooler, as it’s decent enough for maintaining Ryzen 5 temps. In case you are planning to do some productivity stuff and keep your CPU at 100% for a prolonged time, you may want to get a budget tower cooler.
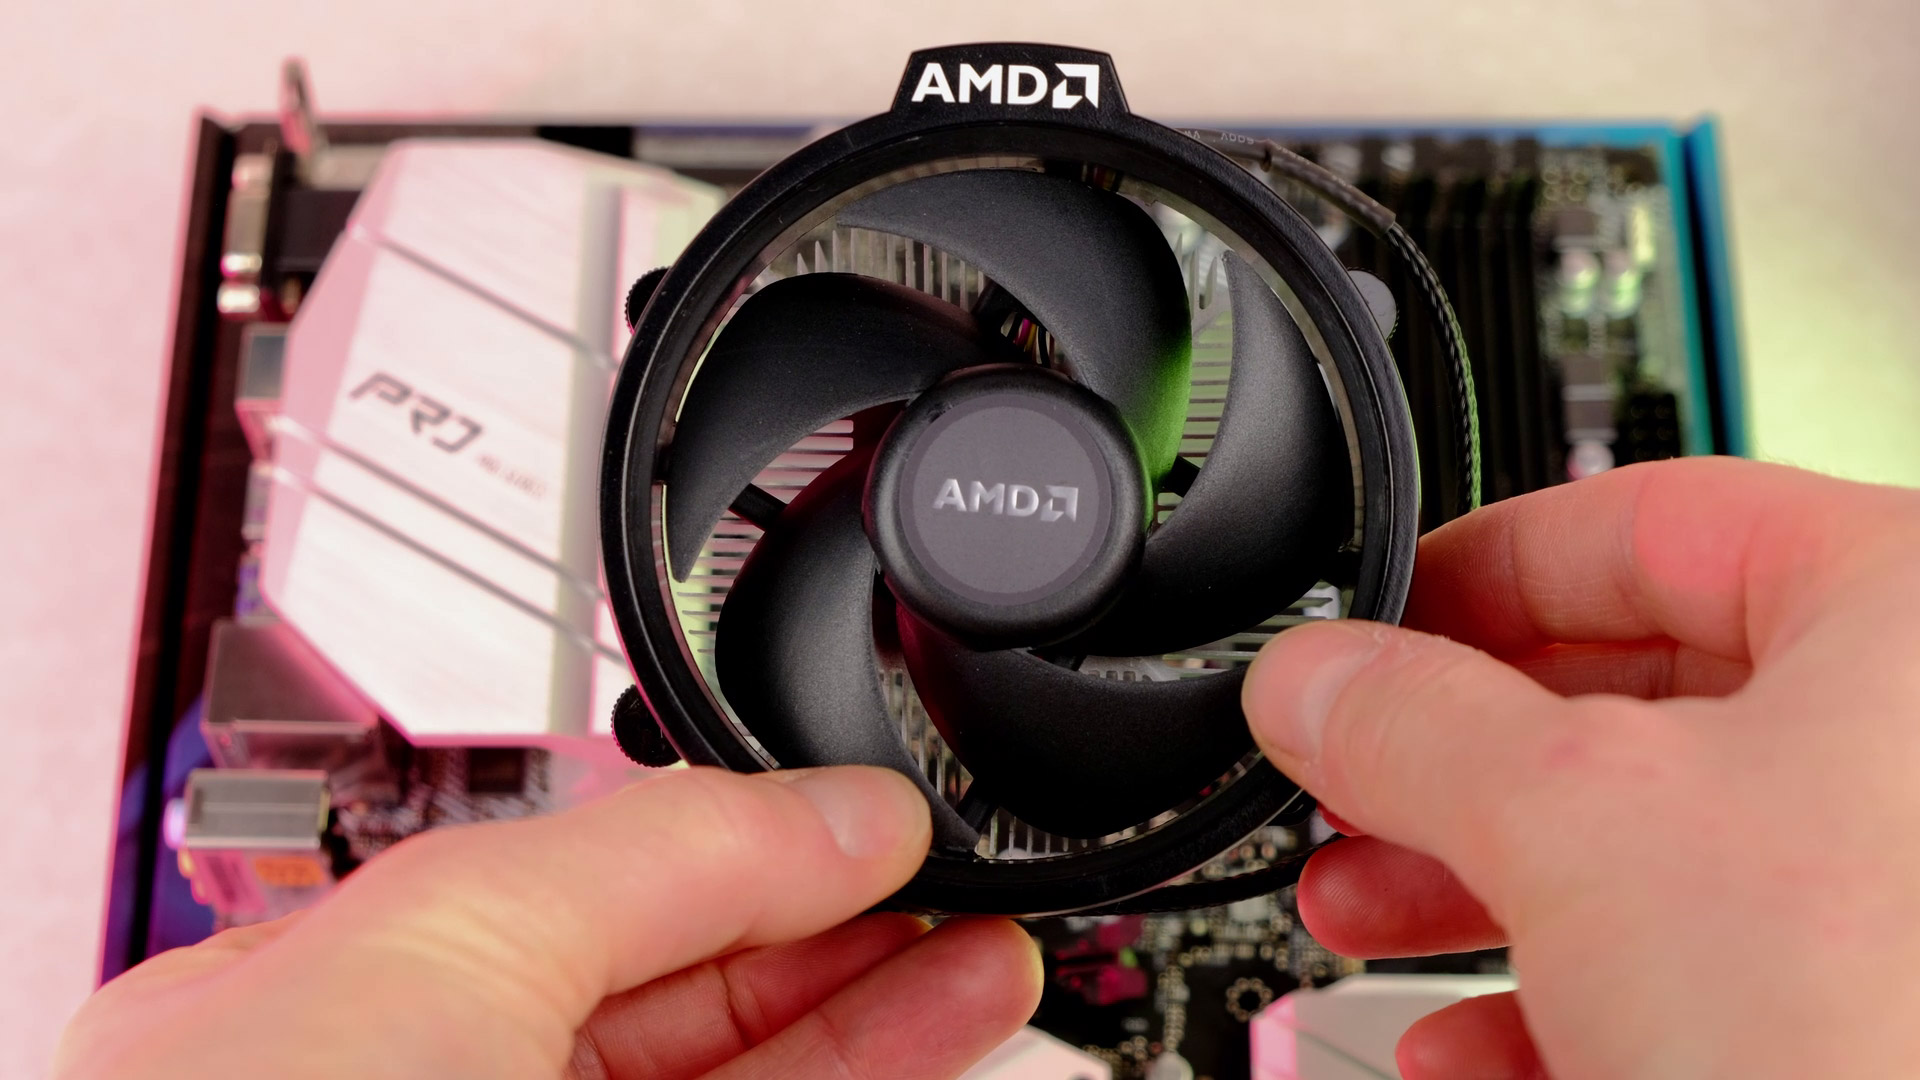
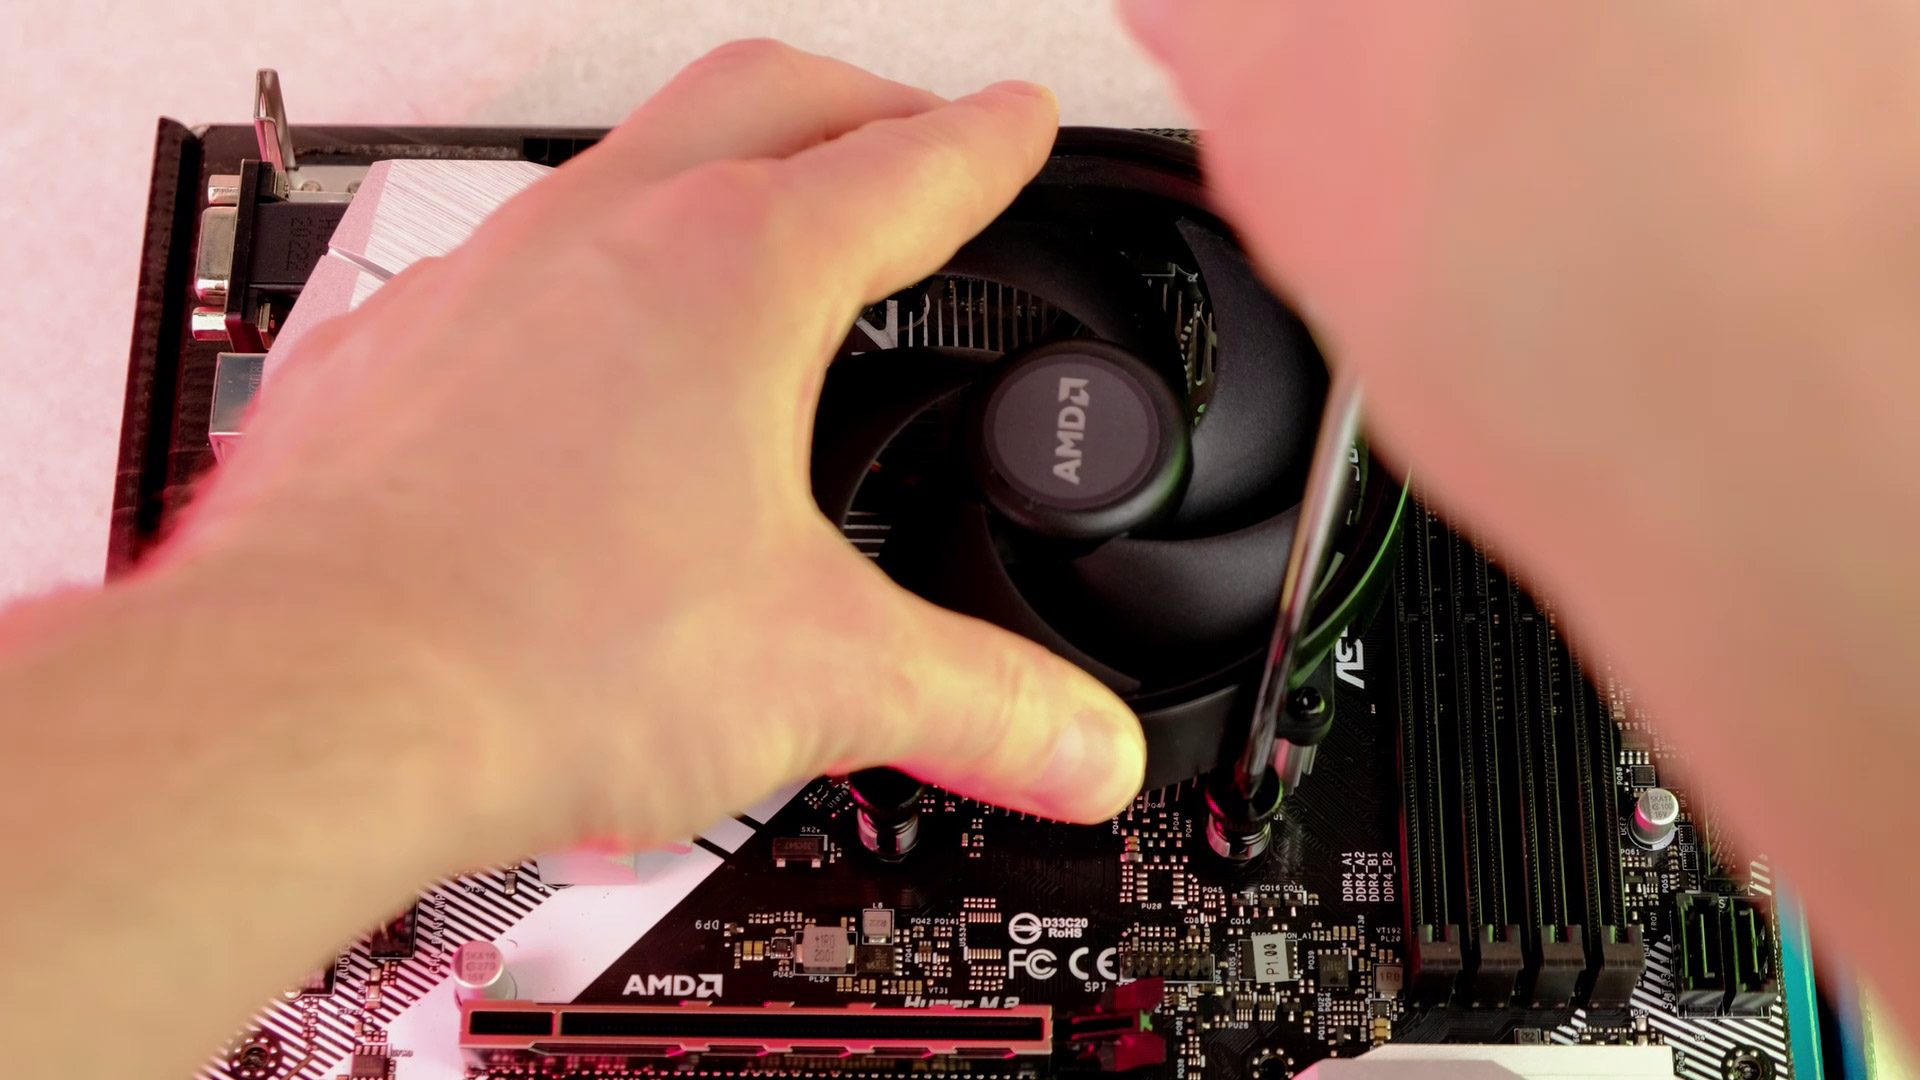
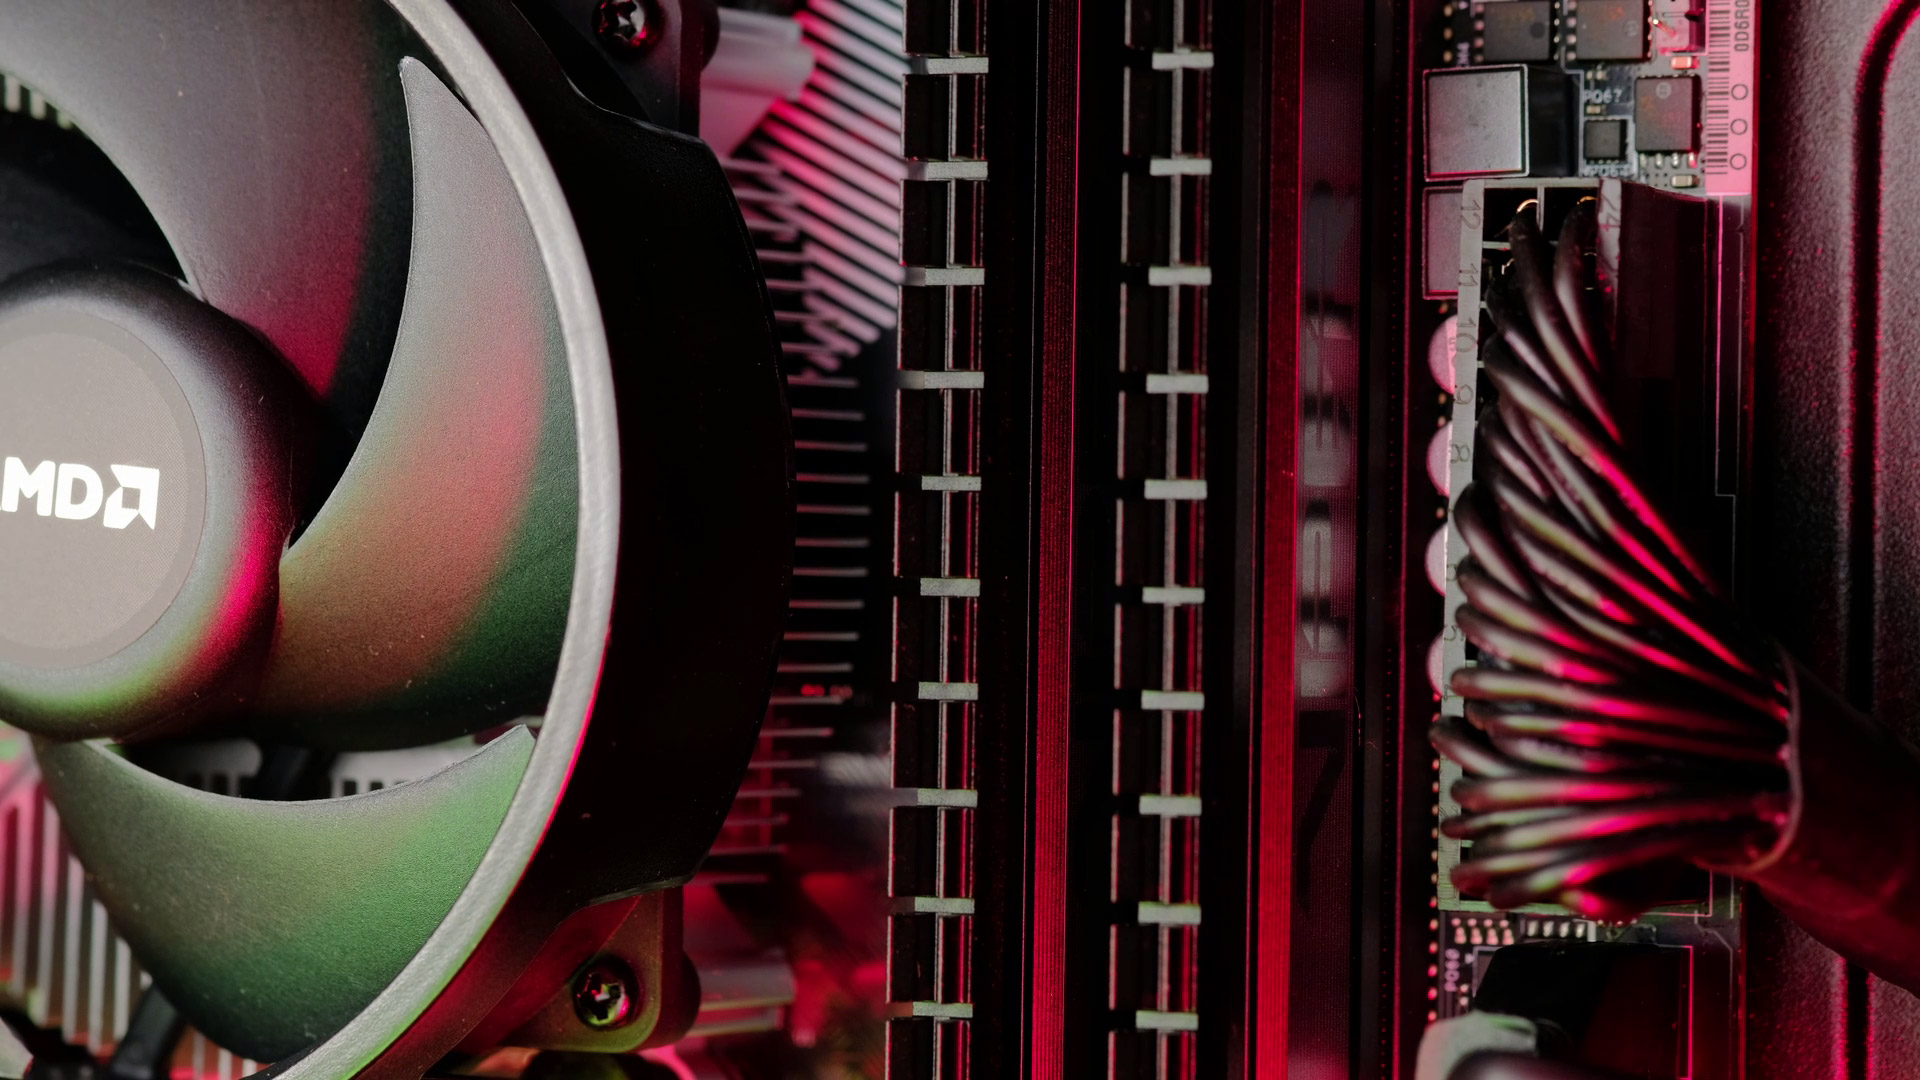
Stock cooler installation is also straightforward. No need to apply a thermal paste as it’s already pre-applied, so just place it over a CPU with the AMD logo going left. Screw in a diagonal pattern, connect to a motherboard, and you are done.
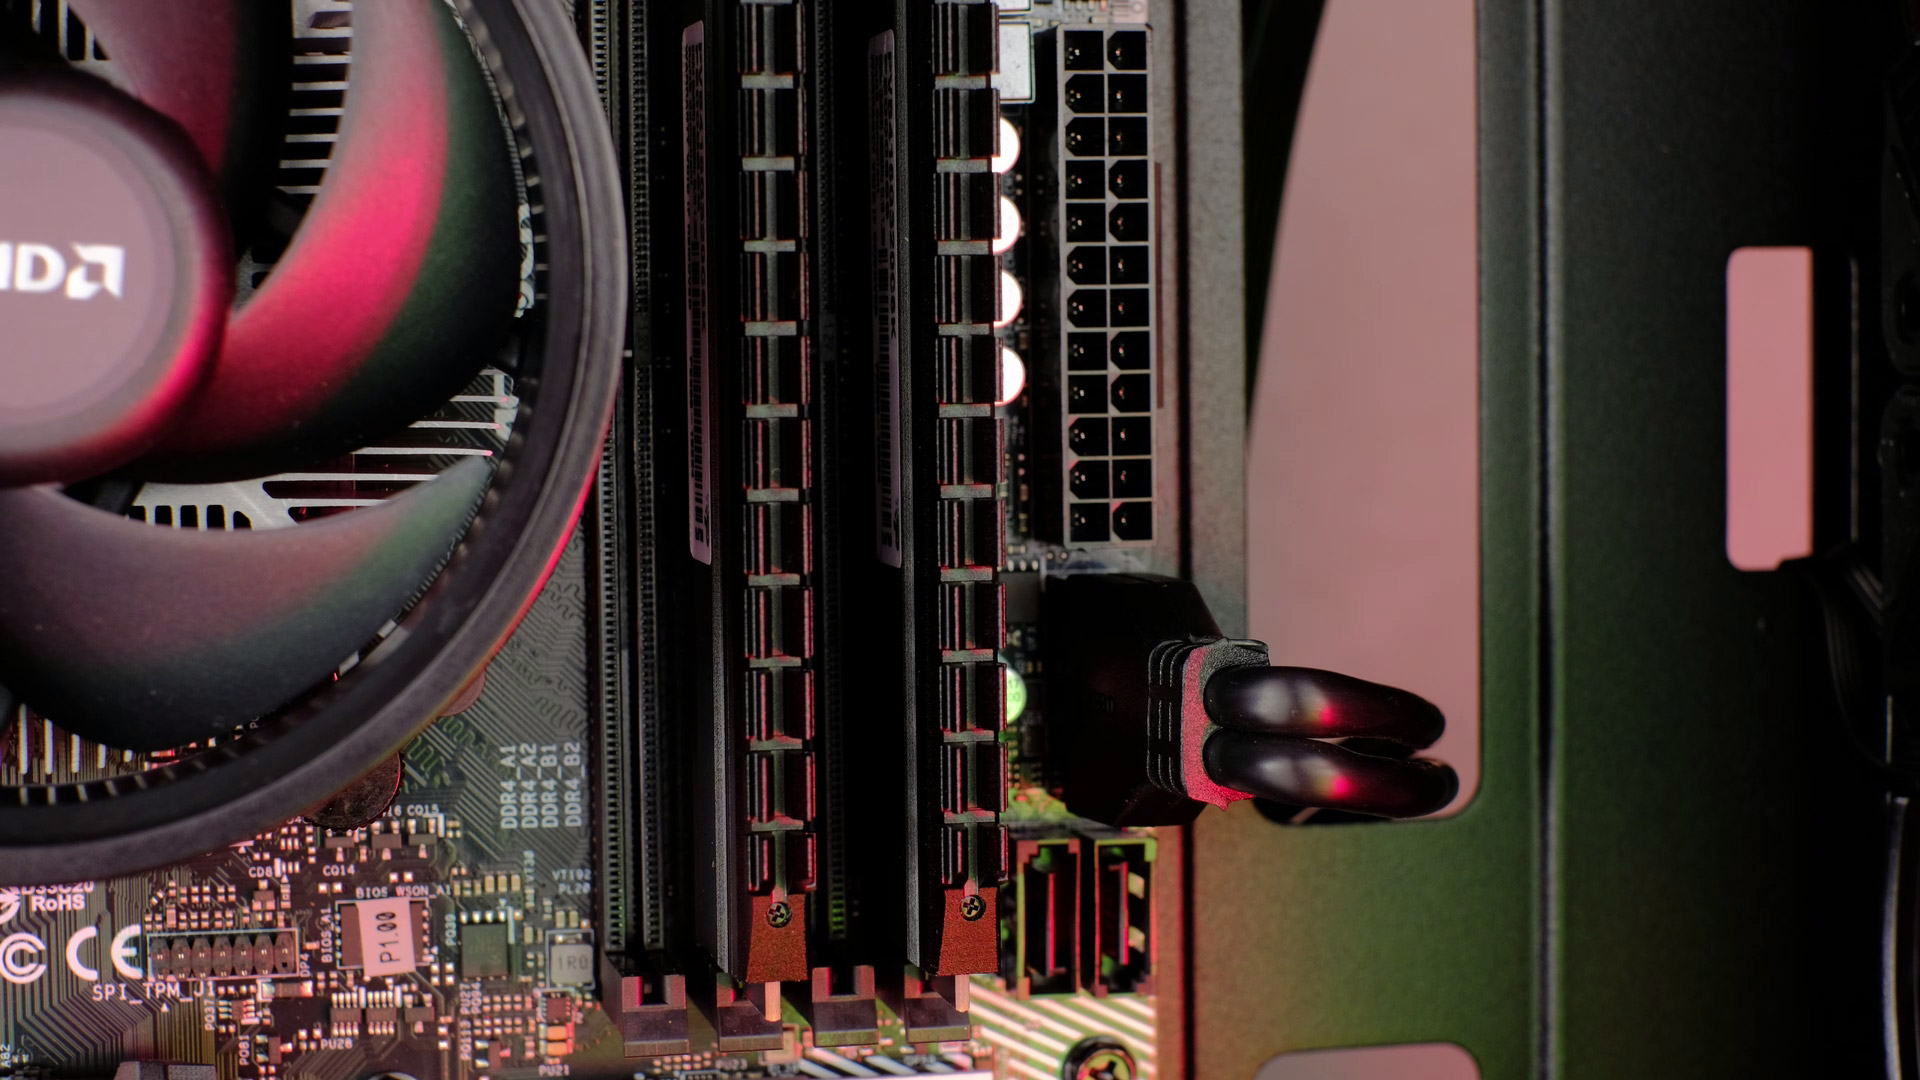
Memory (RAM)

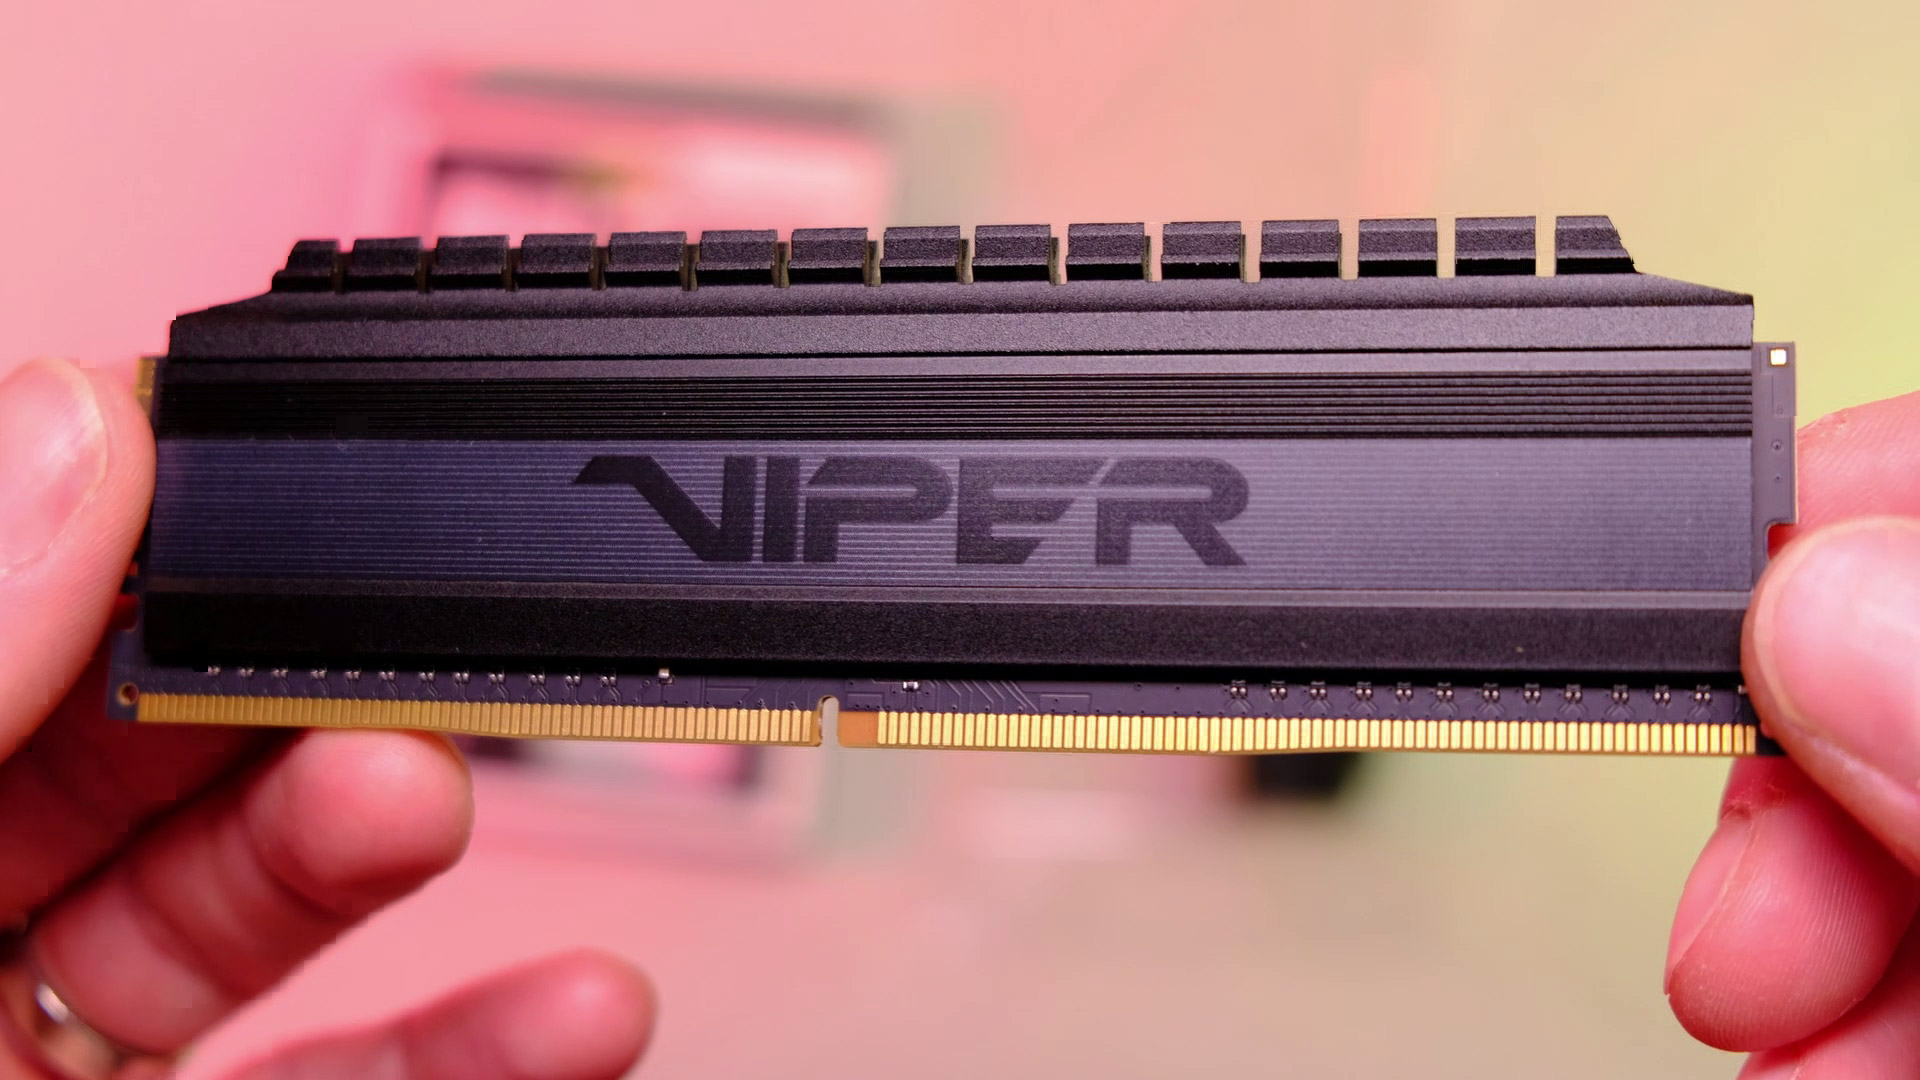
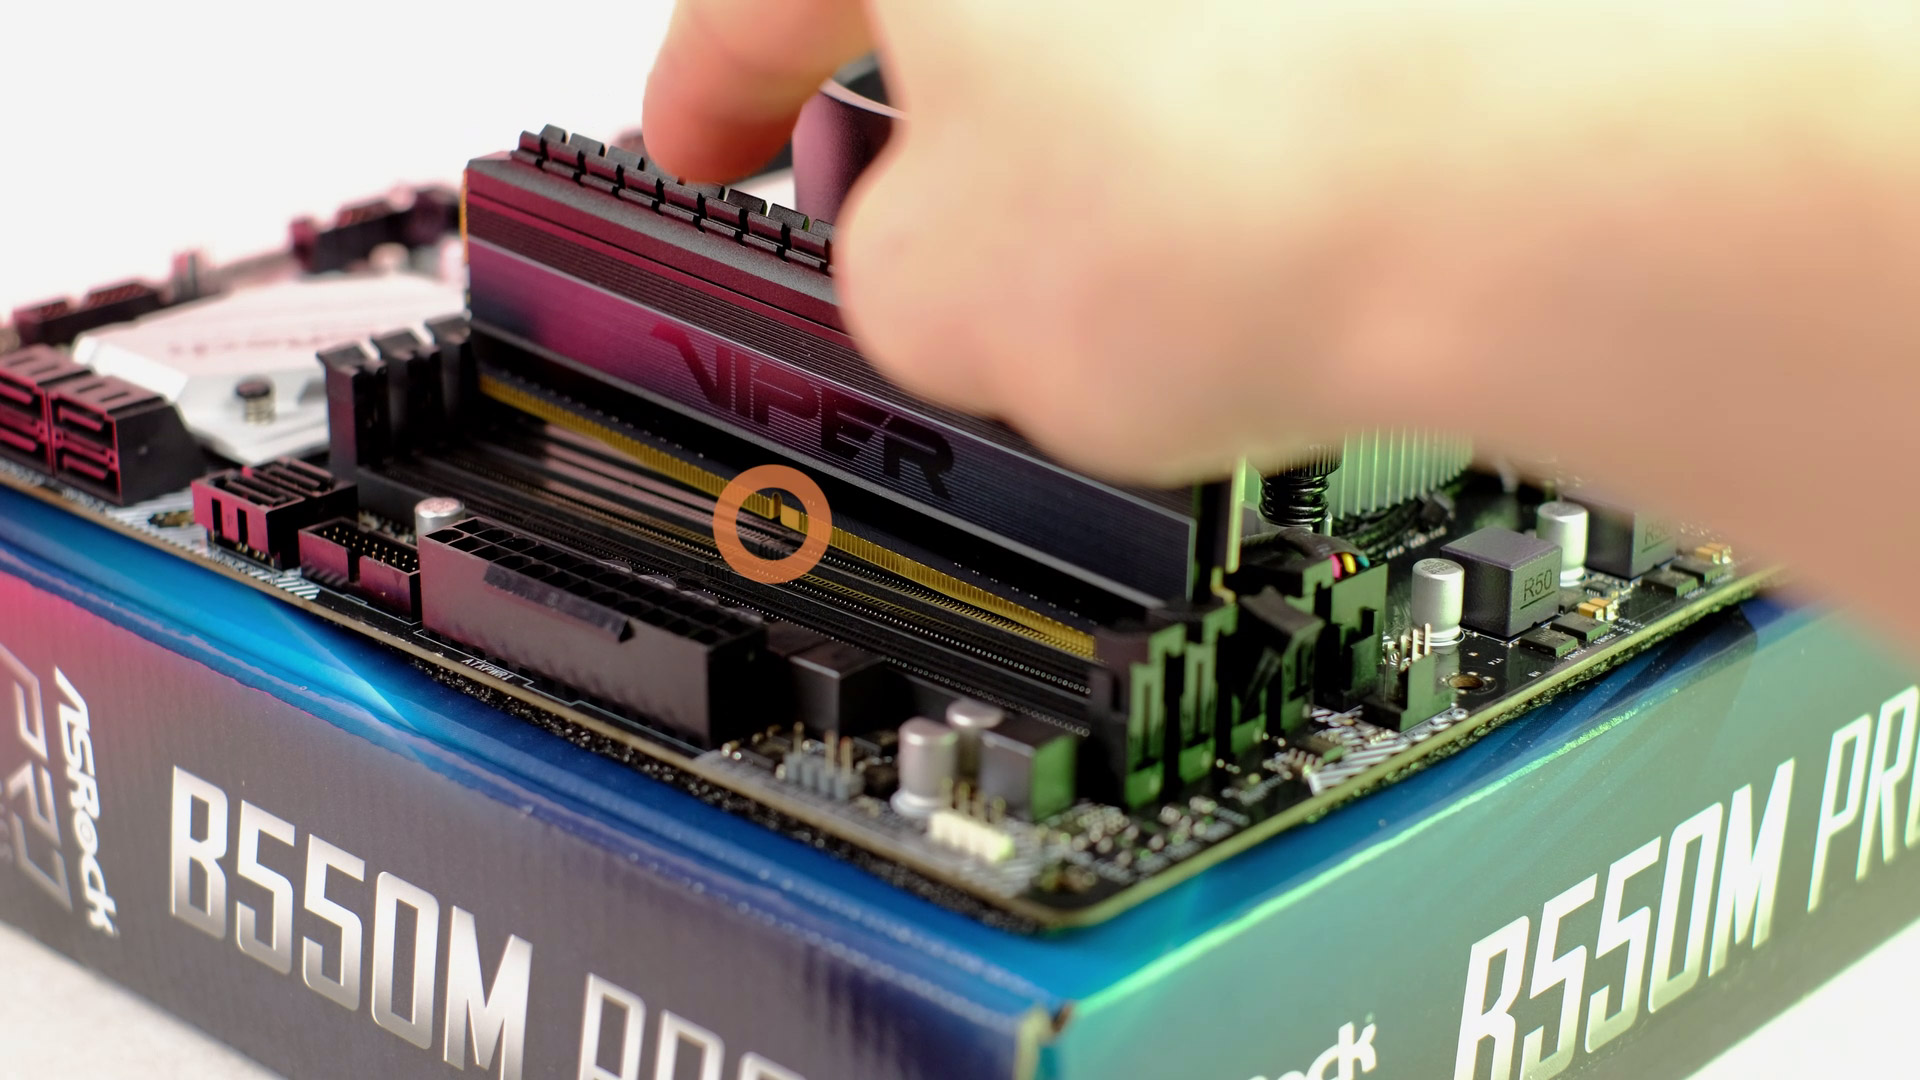
Next up we have Patriot Viper 16GB memory kit to install. And again, these sticks are non-RGB and more affordable ones. But in a value-oriented build, they will work just fine.
You should check the motherboards manual on which slots you need to install your memory kit, but most of the time, for two sticks, it’s the 2nd and 4th DIMM-slots.
Firstly, pull back this tab, then align a gap on a ram stick and slide them in.
Storage (SSD)

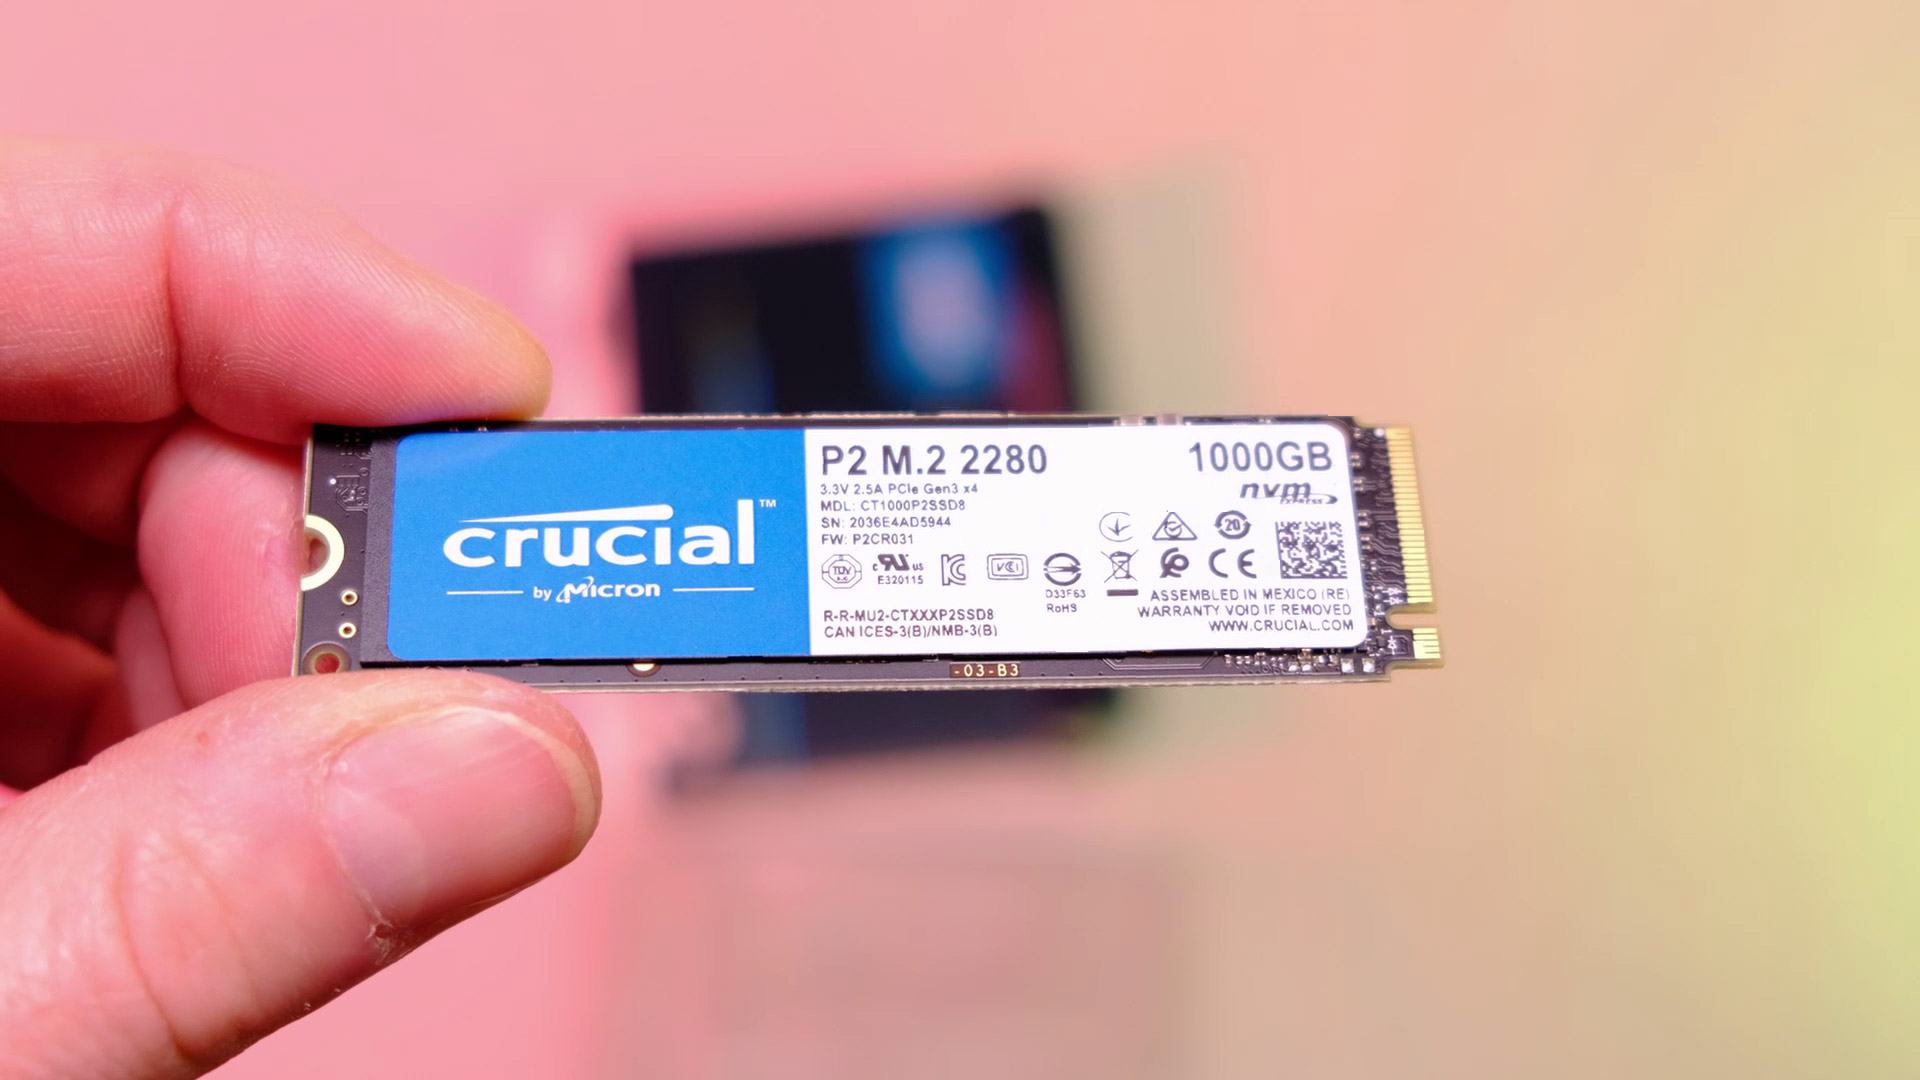
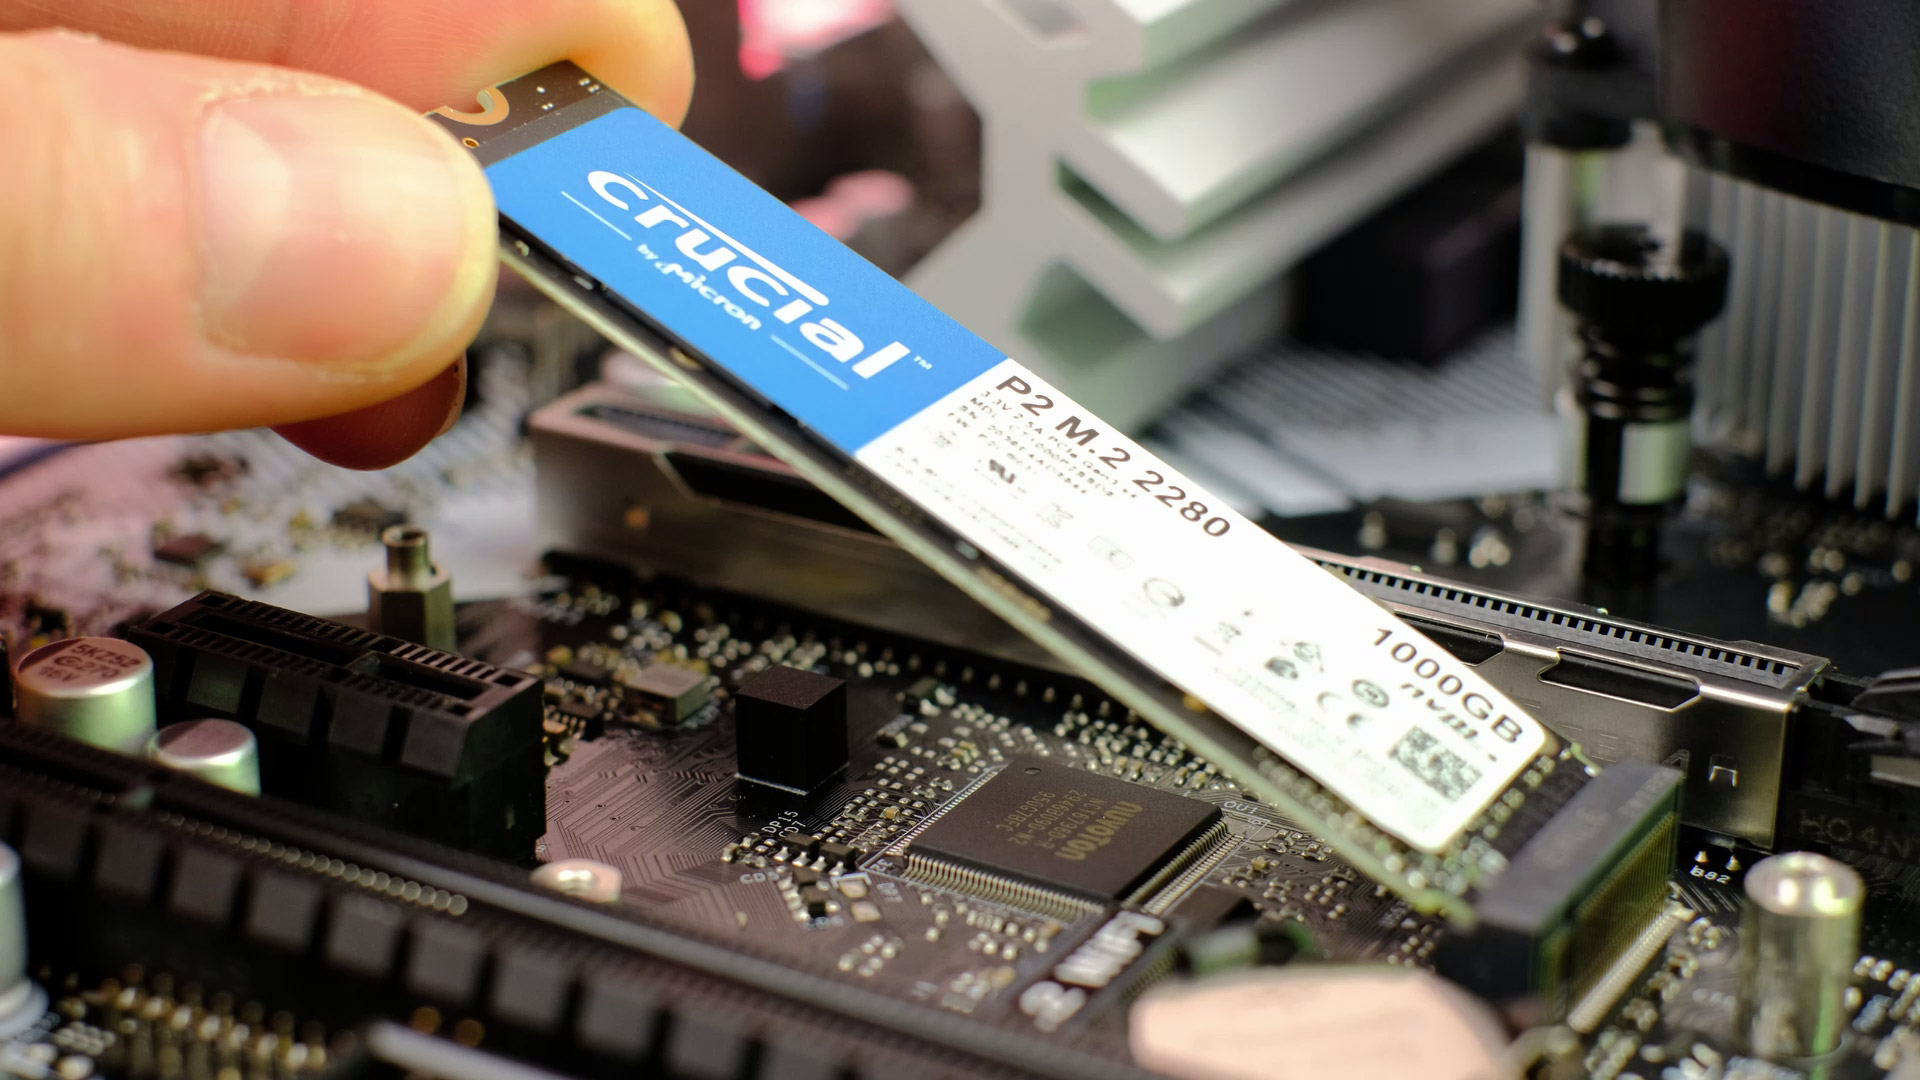
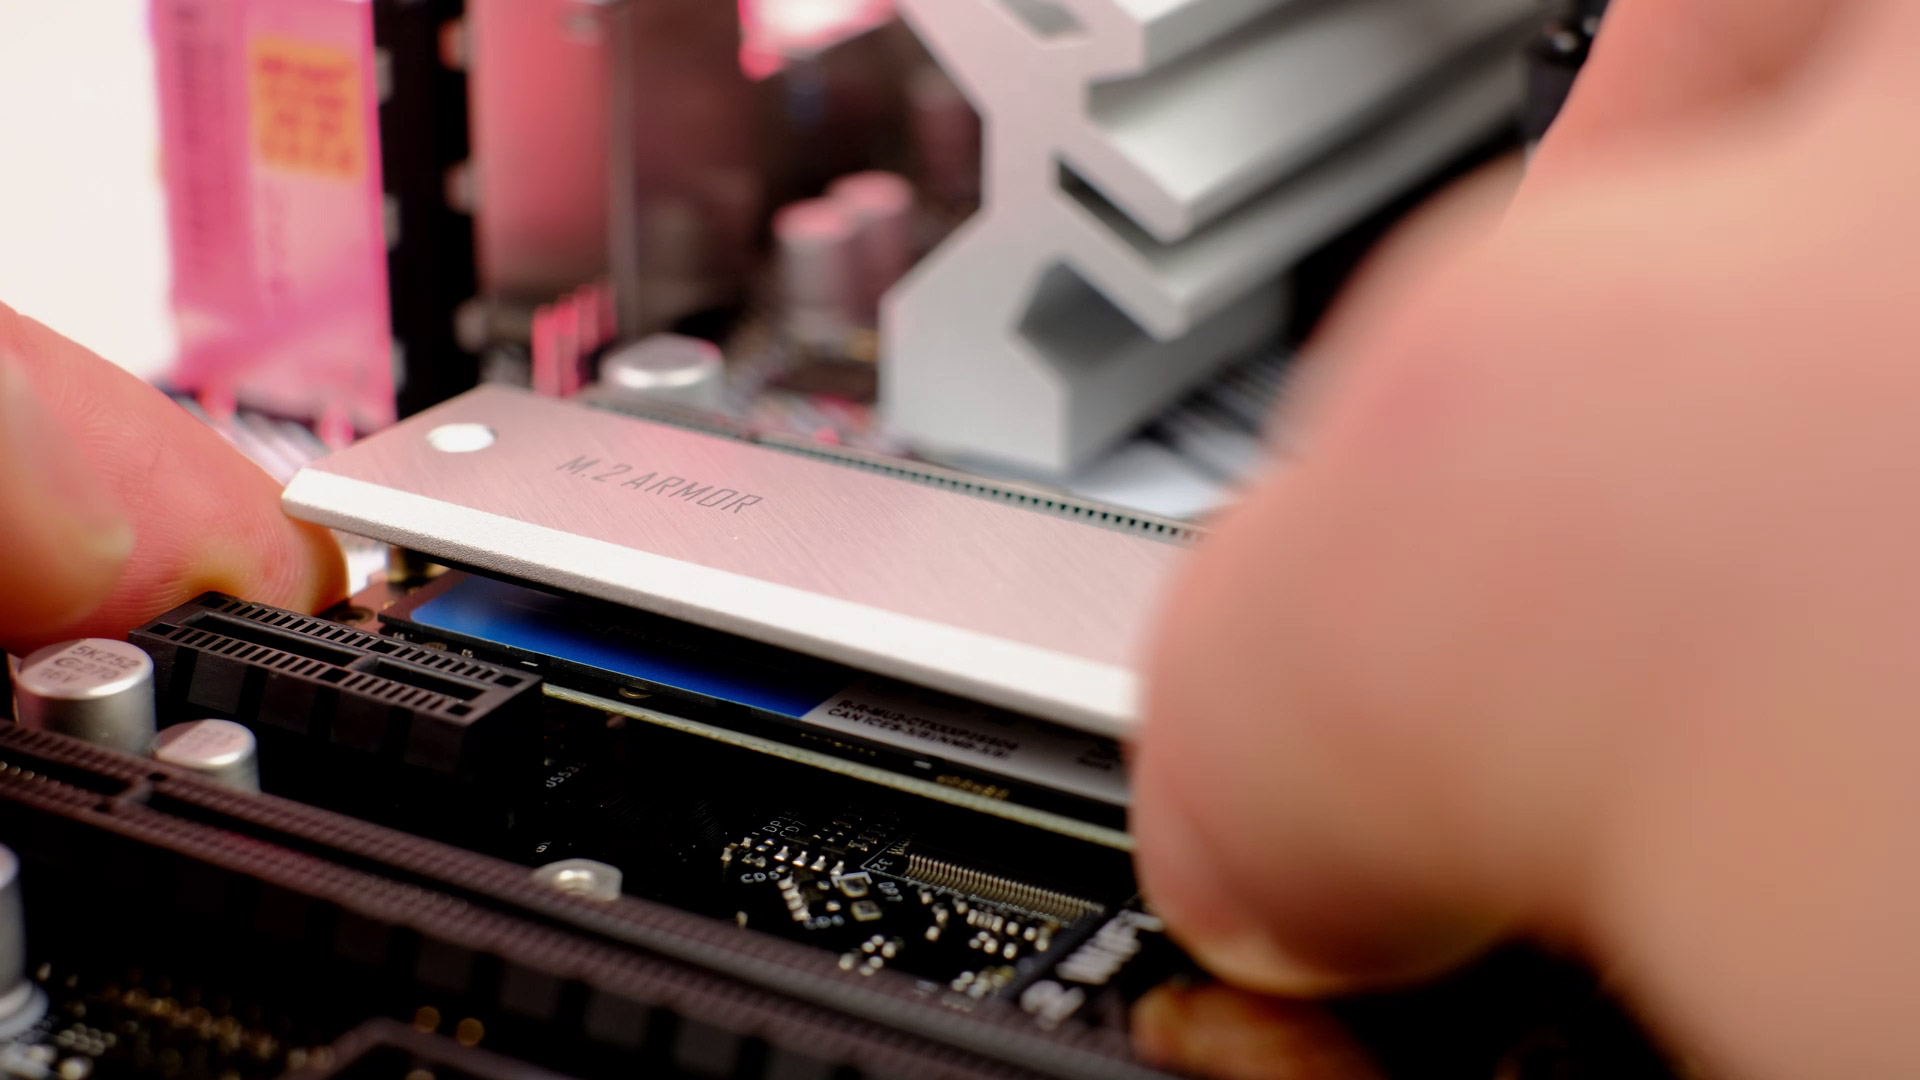
As for storage, we will be using 1TB NVME SSD from a Crucial. It’s more of a budget NVME model that can reach up to 2400 MB/s read and 1800 MB/s write speeds.
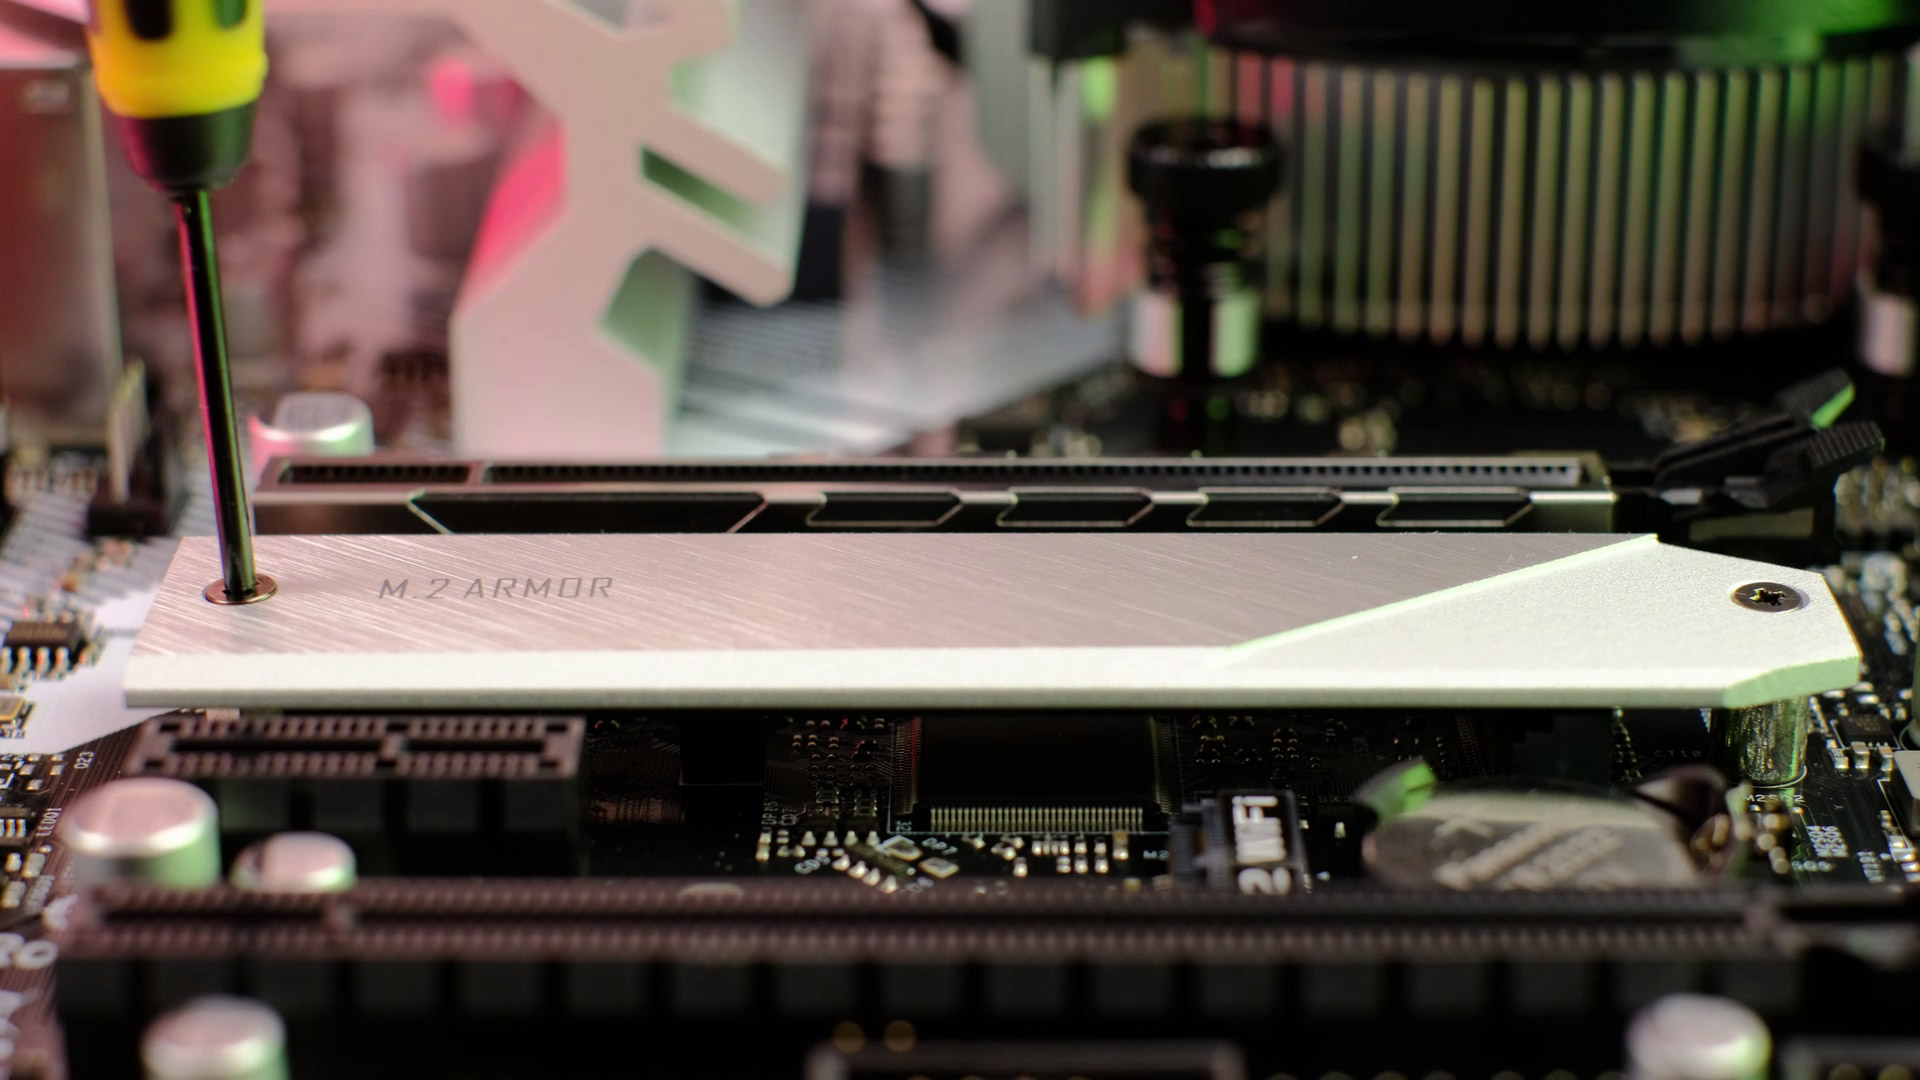
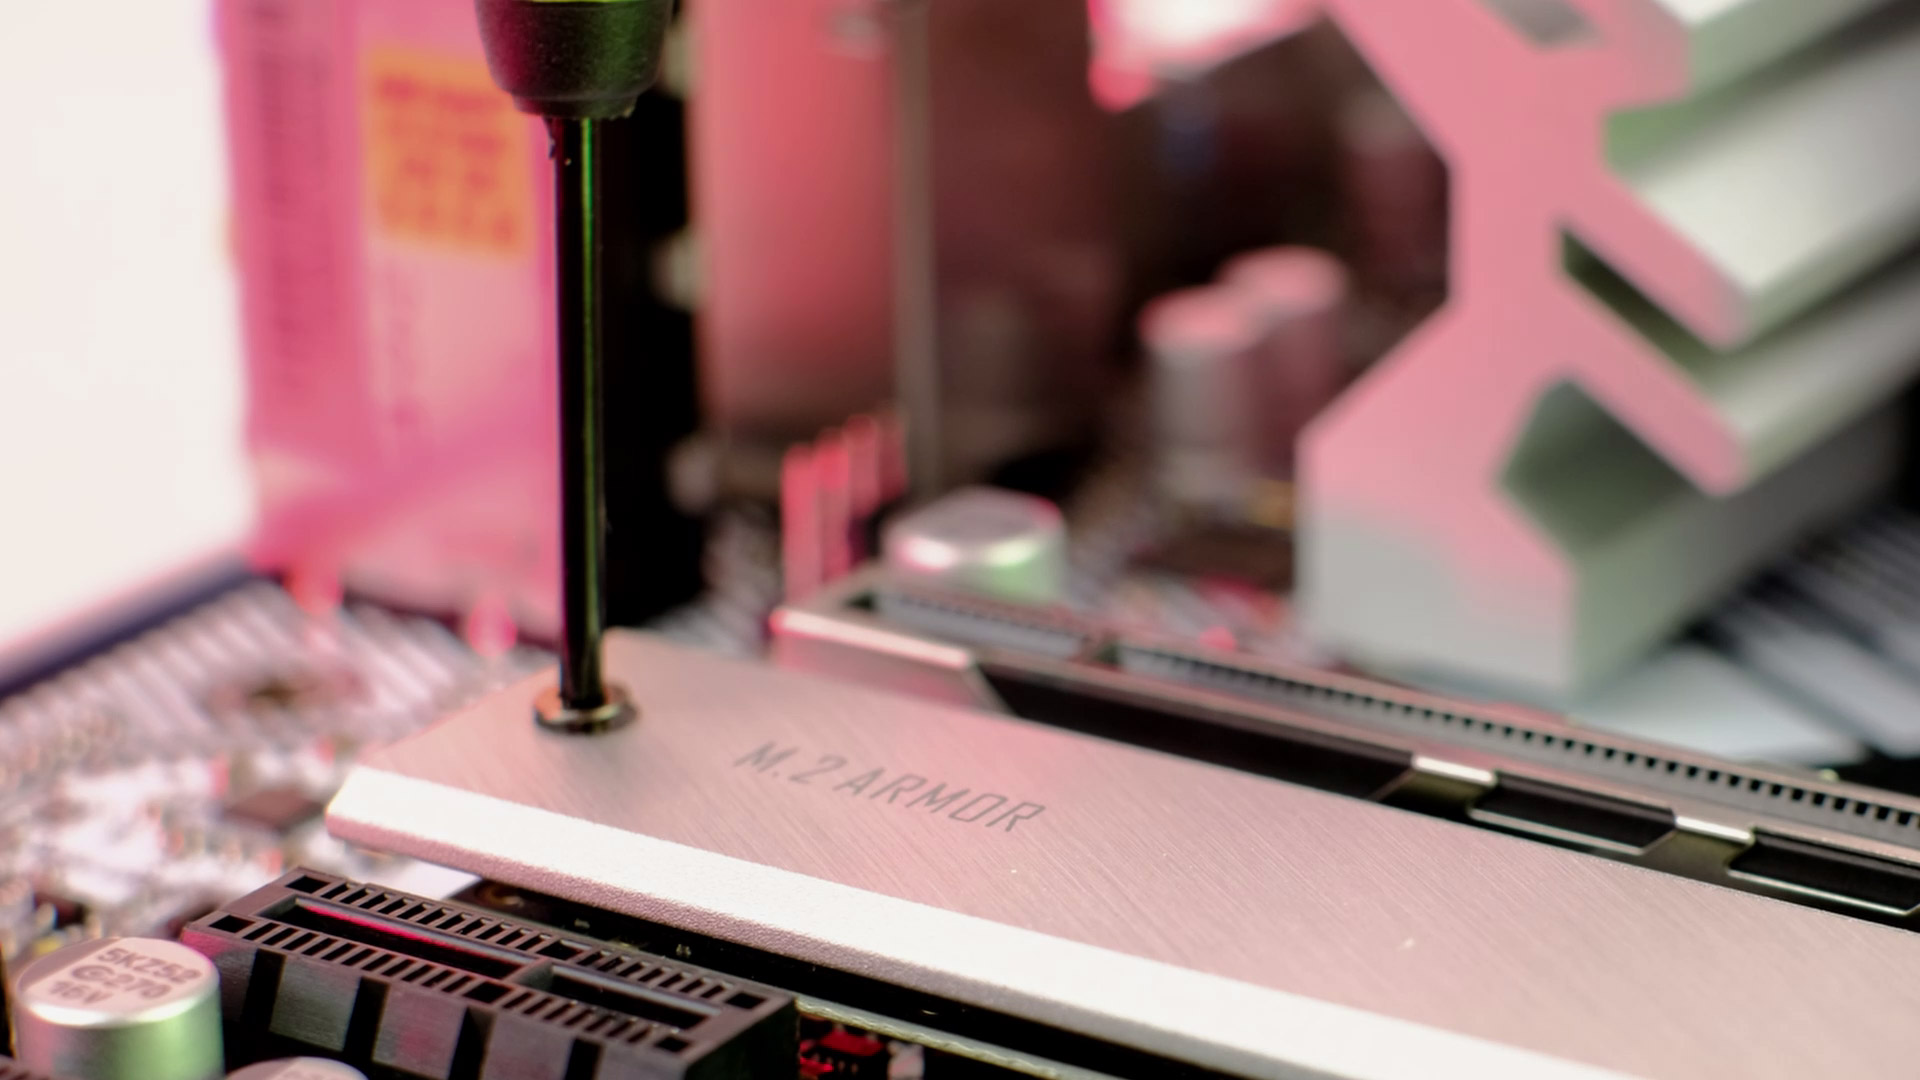
It’s 4 times faster than a regular SATA SSD so it’s definitely more than enough for gaming. Firstly remove the m.2 shield, insert your m.2 drive into a slot at around a 30-degree angle, and in some cases, you will need to use included small m.2 screw or in our case, secure it together with an m.2 shield. In case your gaming library is really huge, just add 2 or 4 TB 7200rpm hard drive.
And if you feel like building a similar PC, I will link all the parts I’m using in the description below.
So a motherboard is ready and we need to prepare our pc case.
PC Case

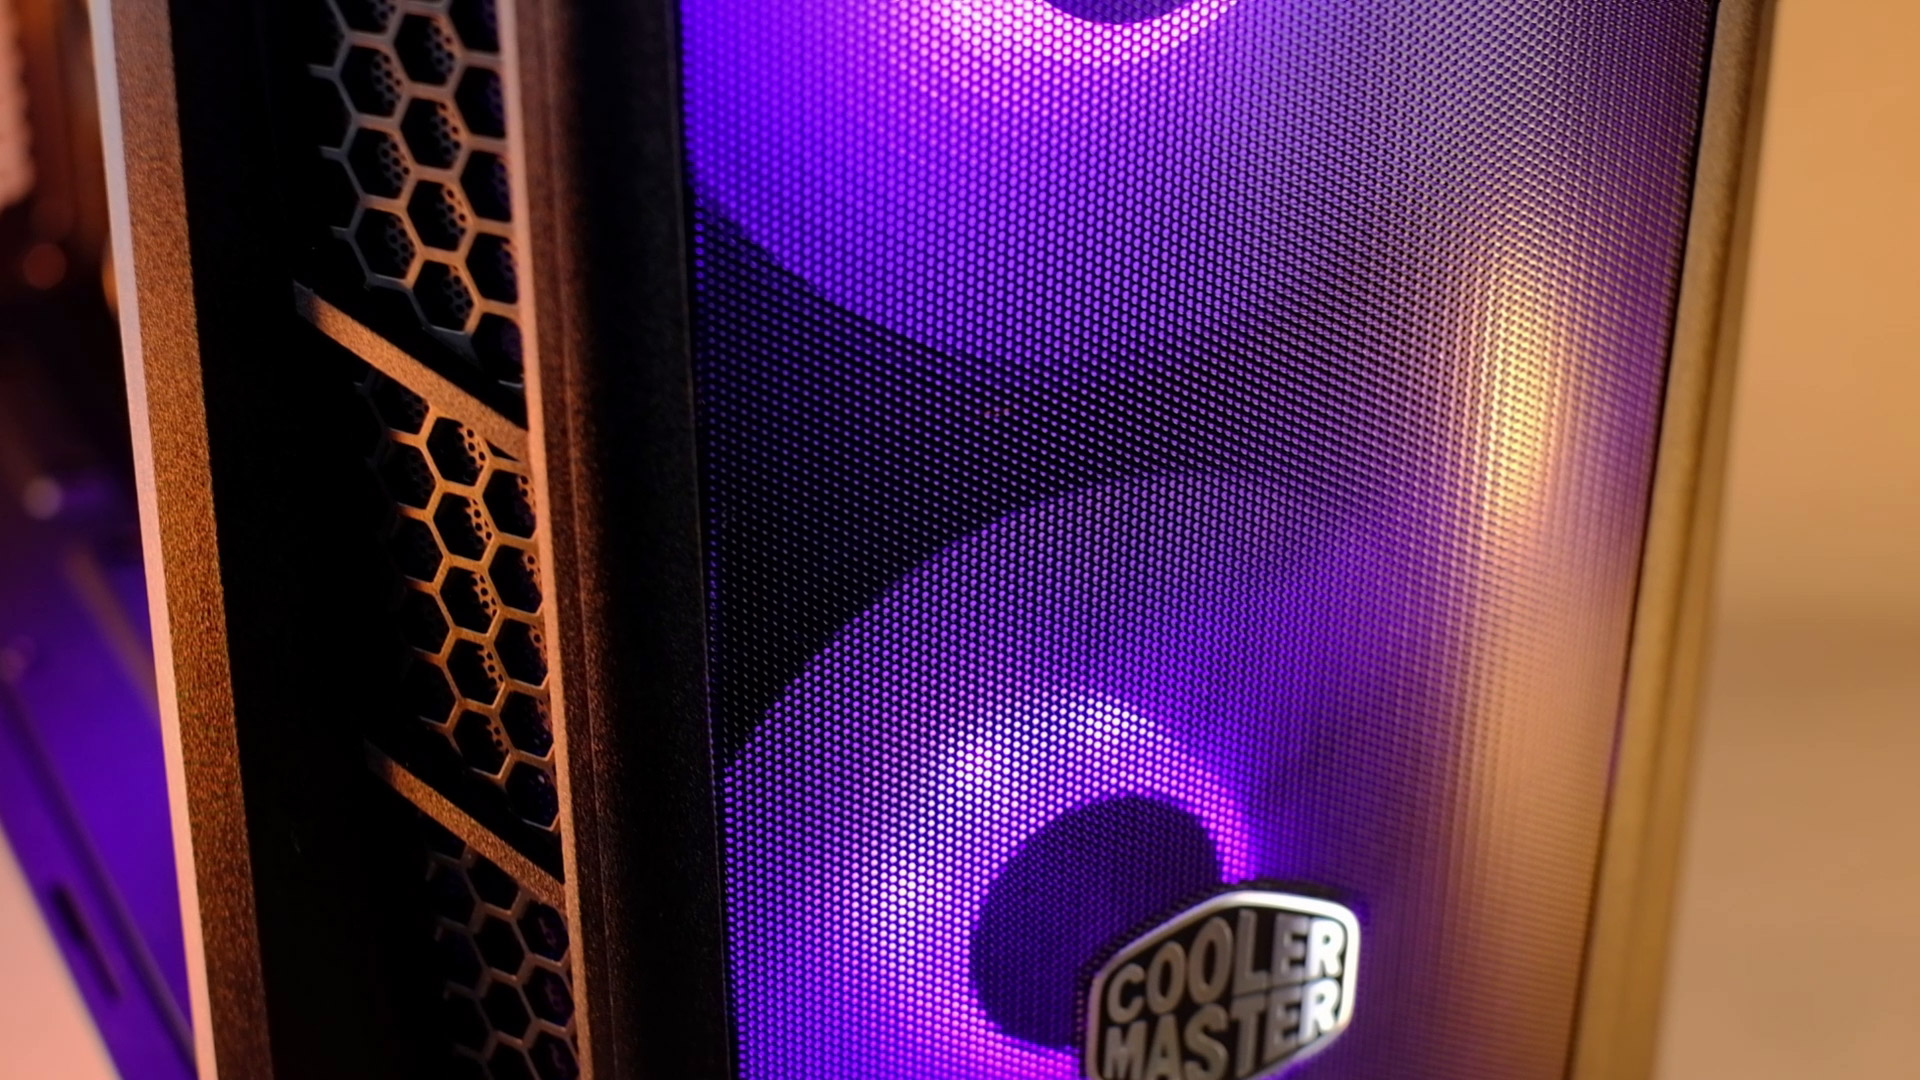
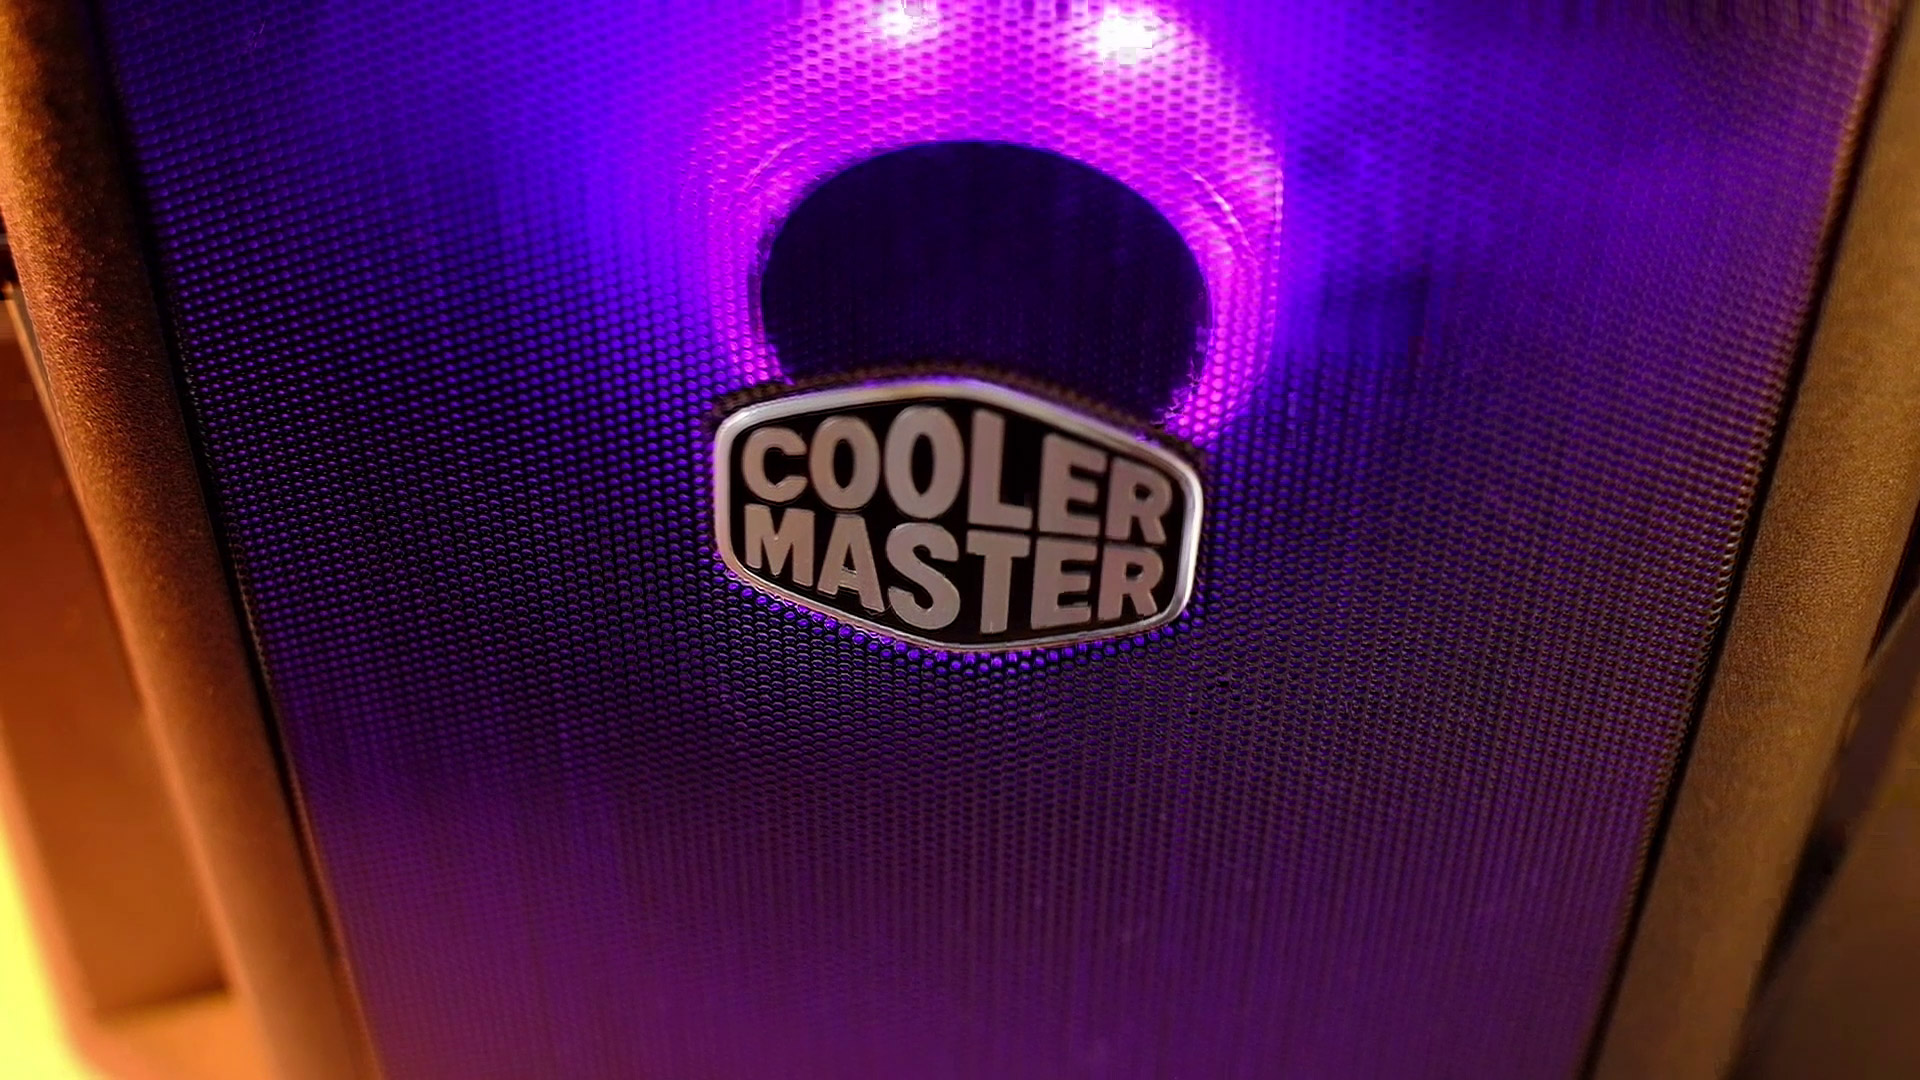
We will be using MB311L from a Cooler Master. It’s a nice budget micro ATX pc case with a mesh front panel. There is an RGB version of this case, but here I’ve got a regular one.
Fans
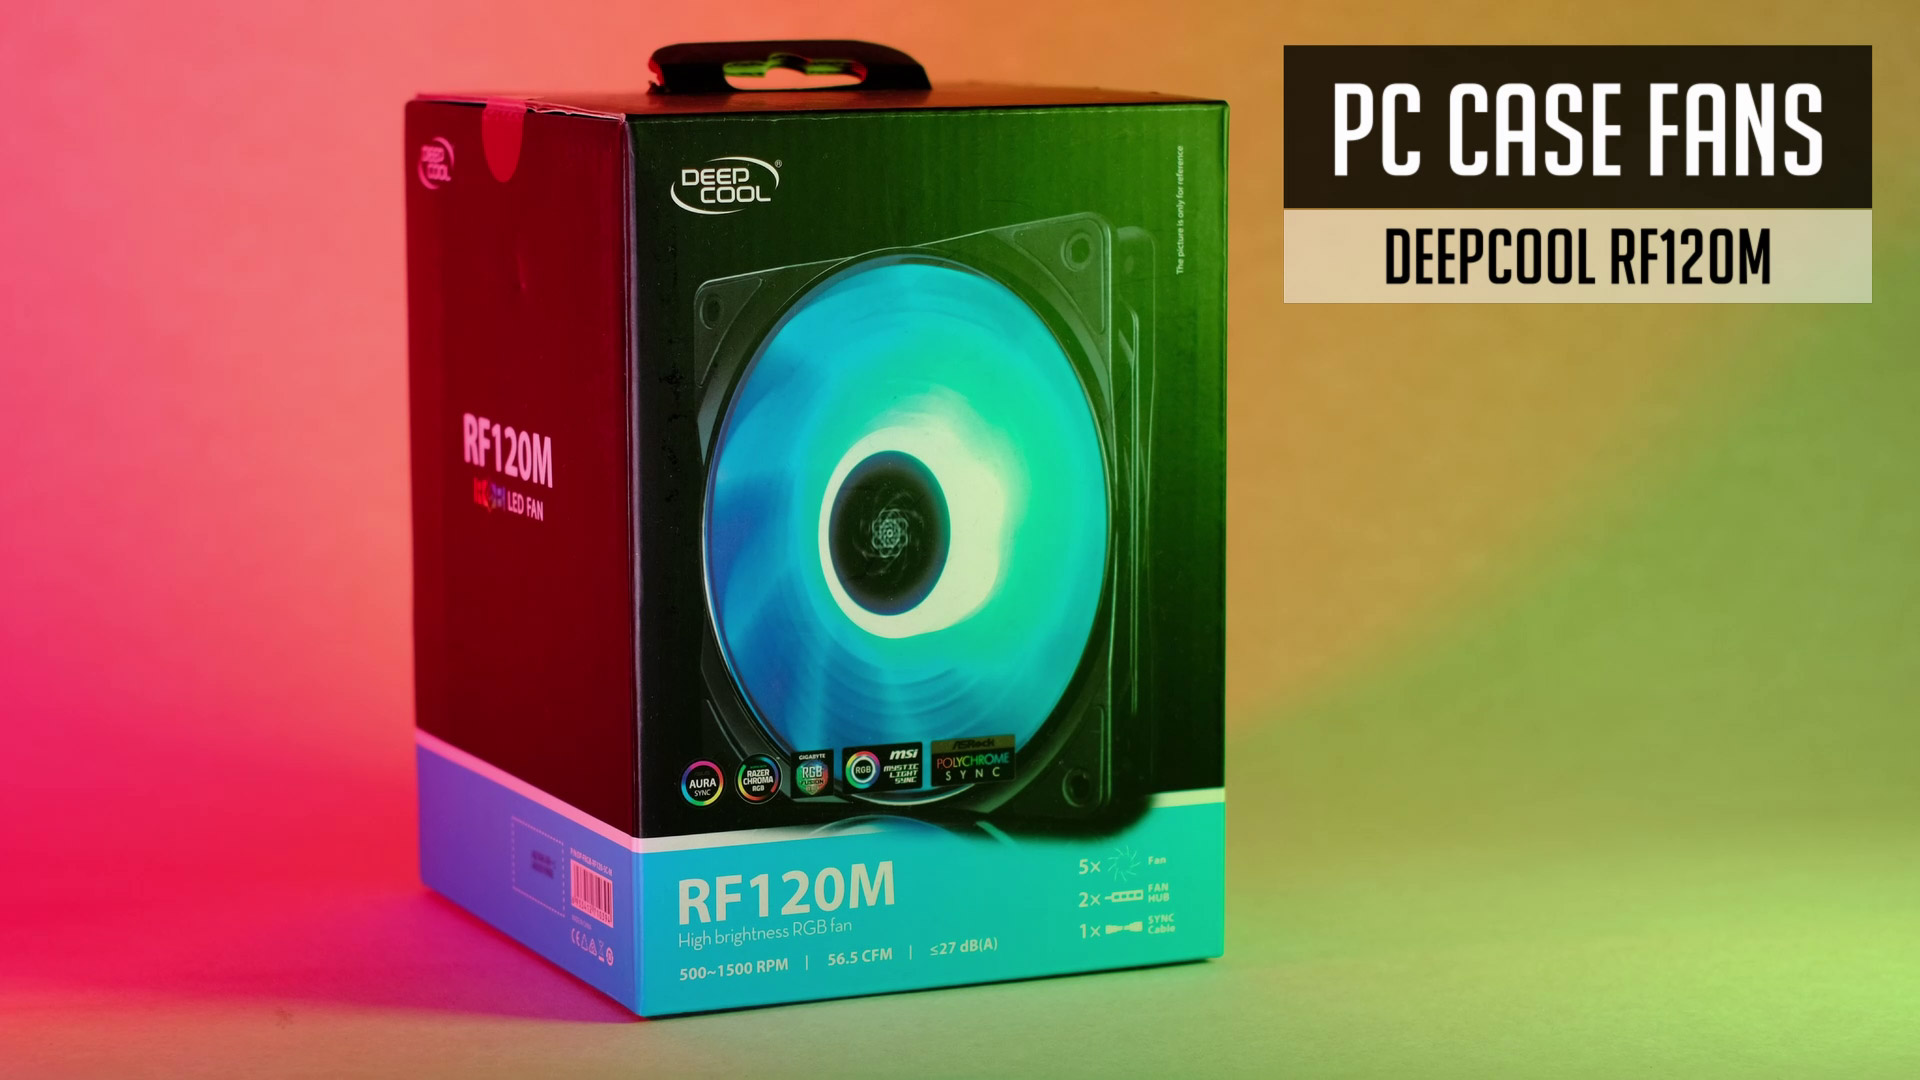
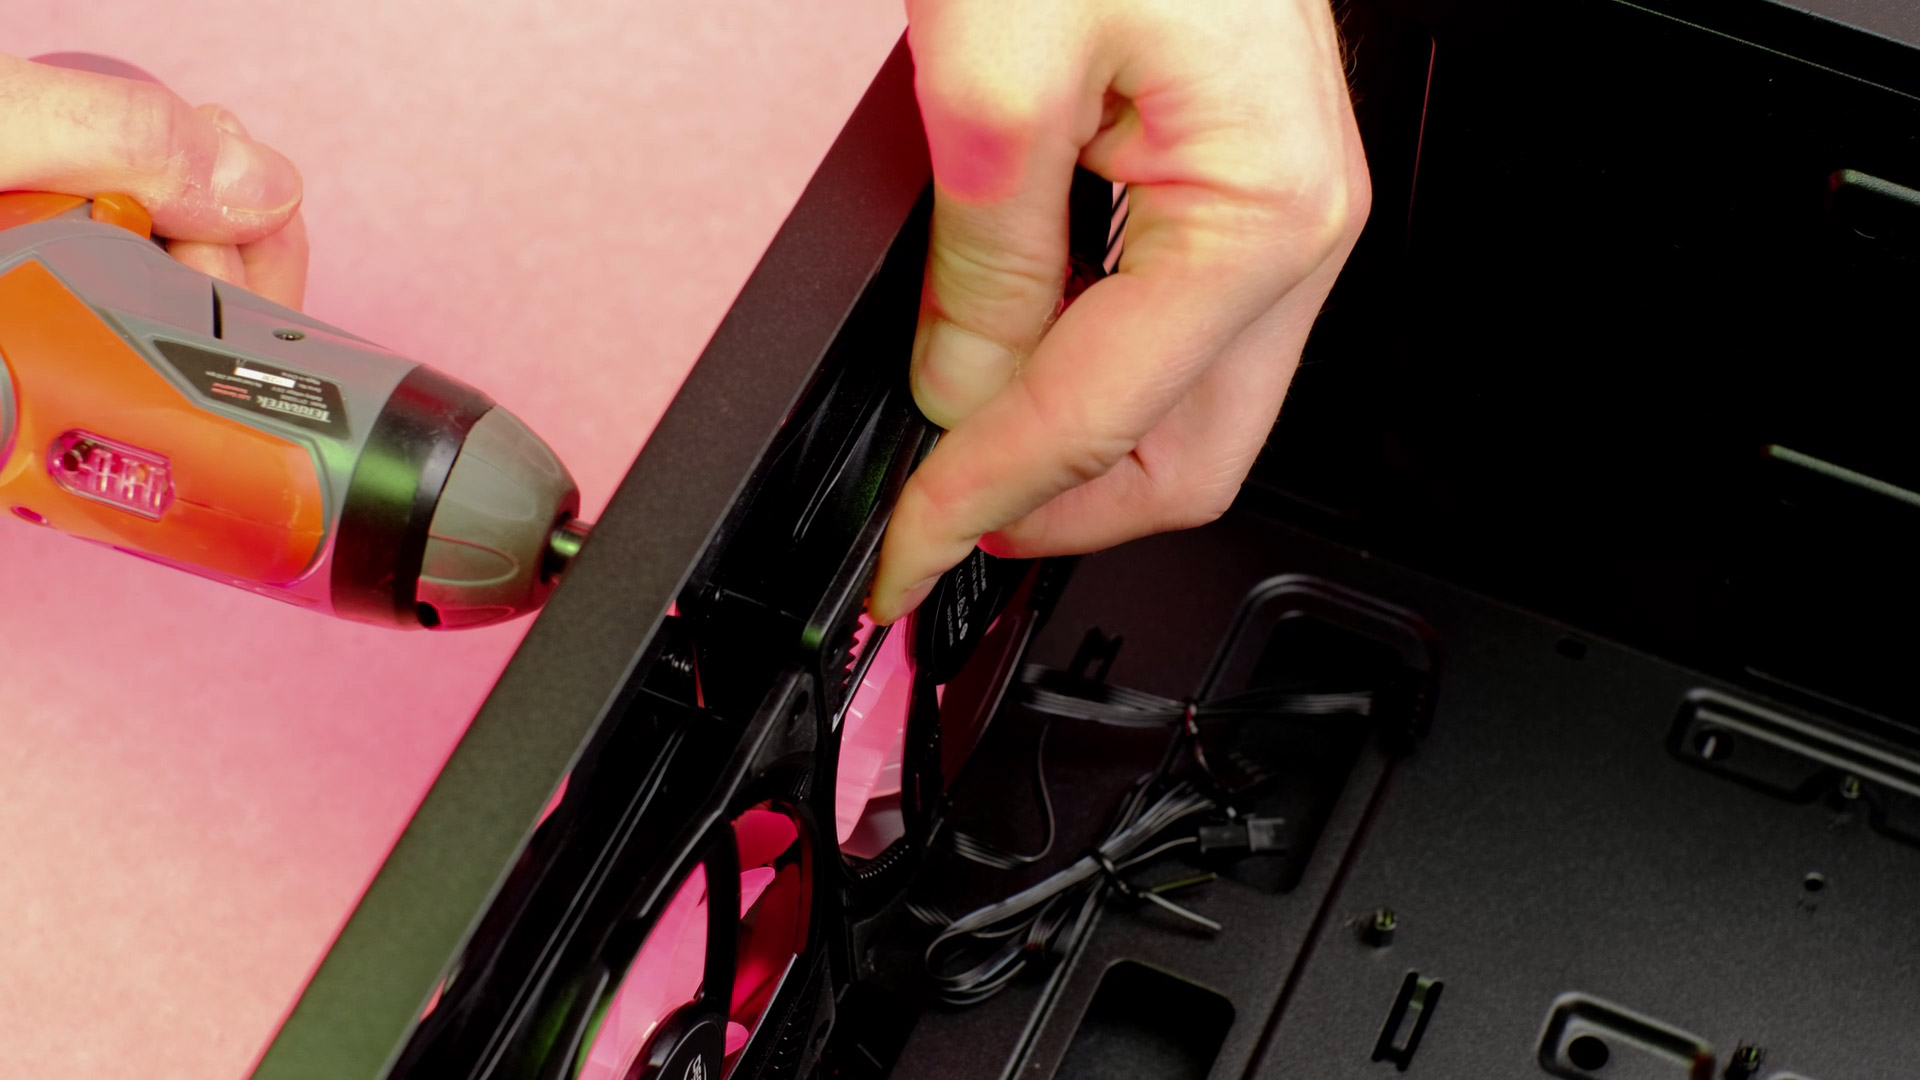
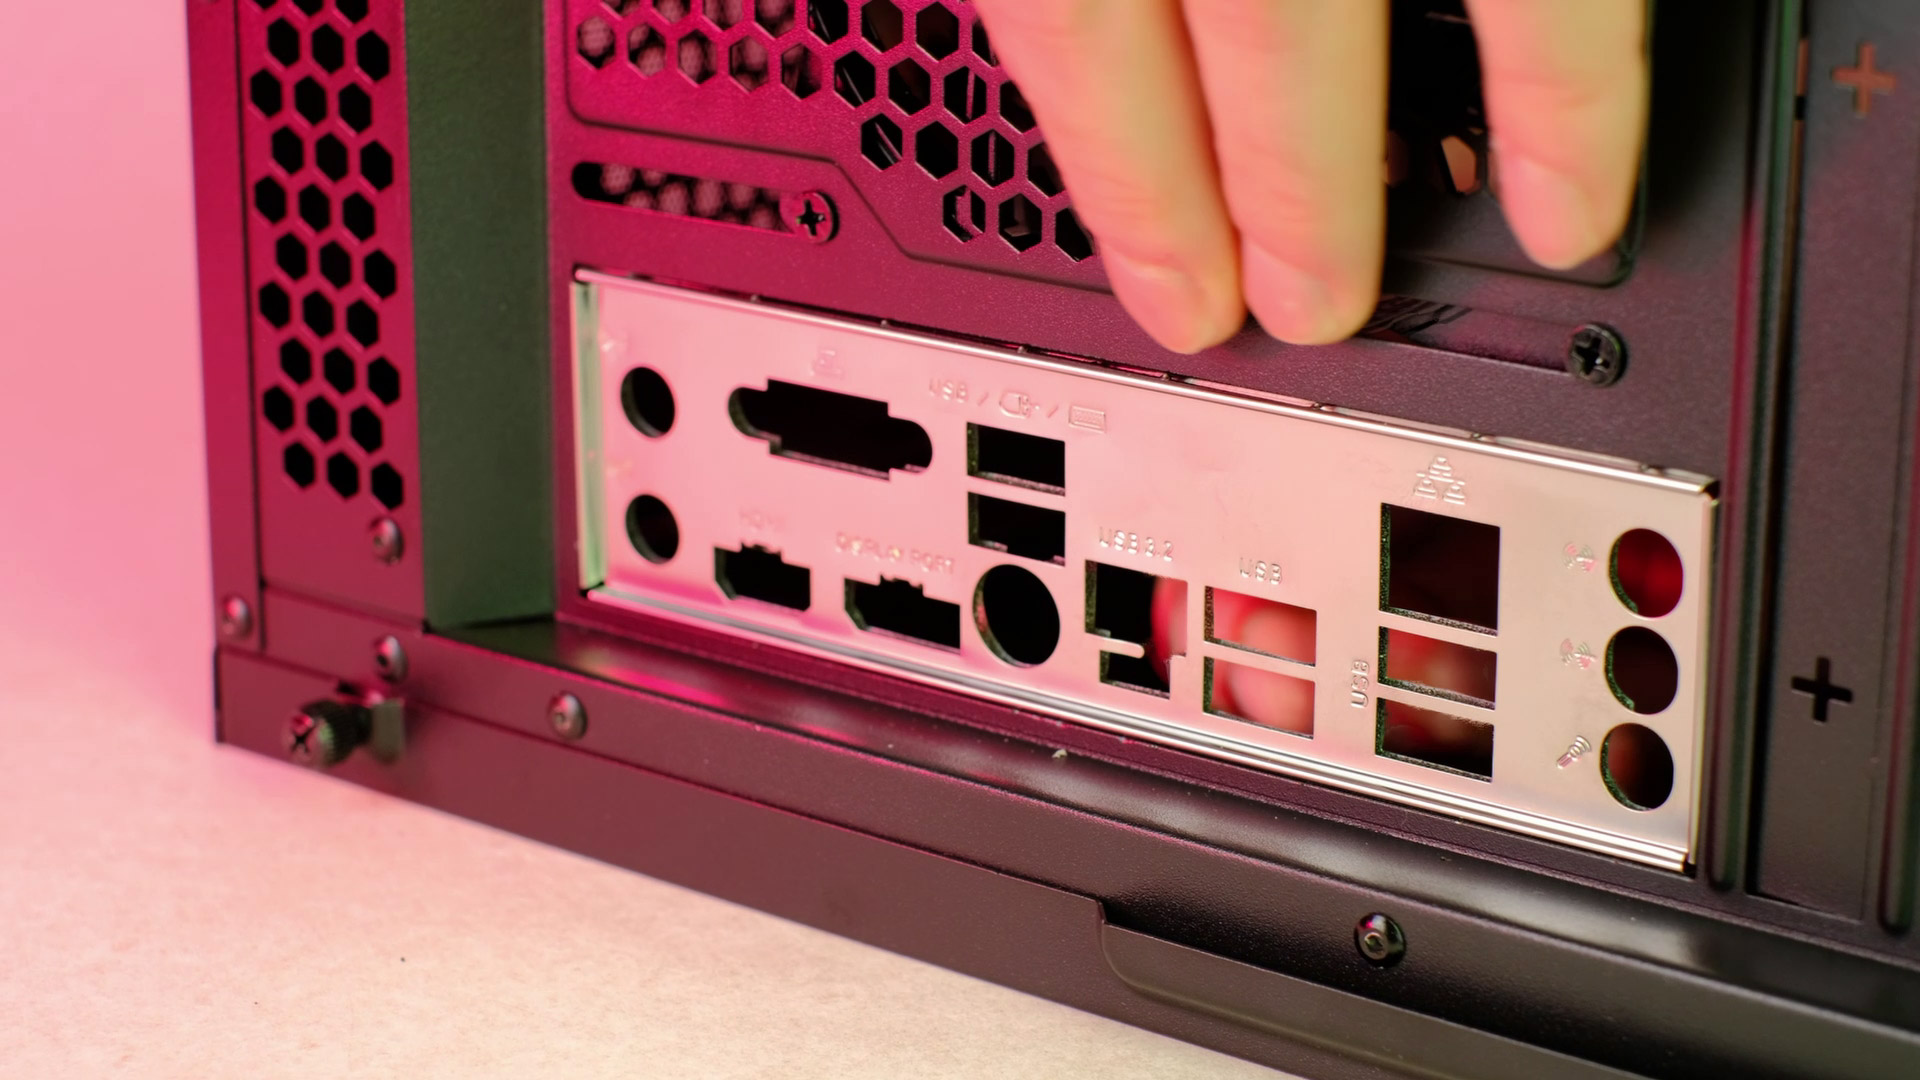
The first thing to do – insert a motherboard’s IO shield. Next, removing the rear stock fan as we will be using 5 RGB fans from a Deepcool.
Two at the front as an intake, two at the top, and one at the back as an exhaust. In this fan configuration, we will have negative air pressure, and so we will need to adjust fan speeds later on in order to achieve a neutral or slightly positive air pressure.
Add a motherboard, screw with an included screws and let’s move on to a power supply.
Power Supply (PSU)
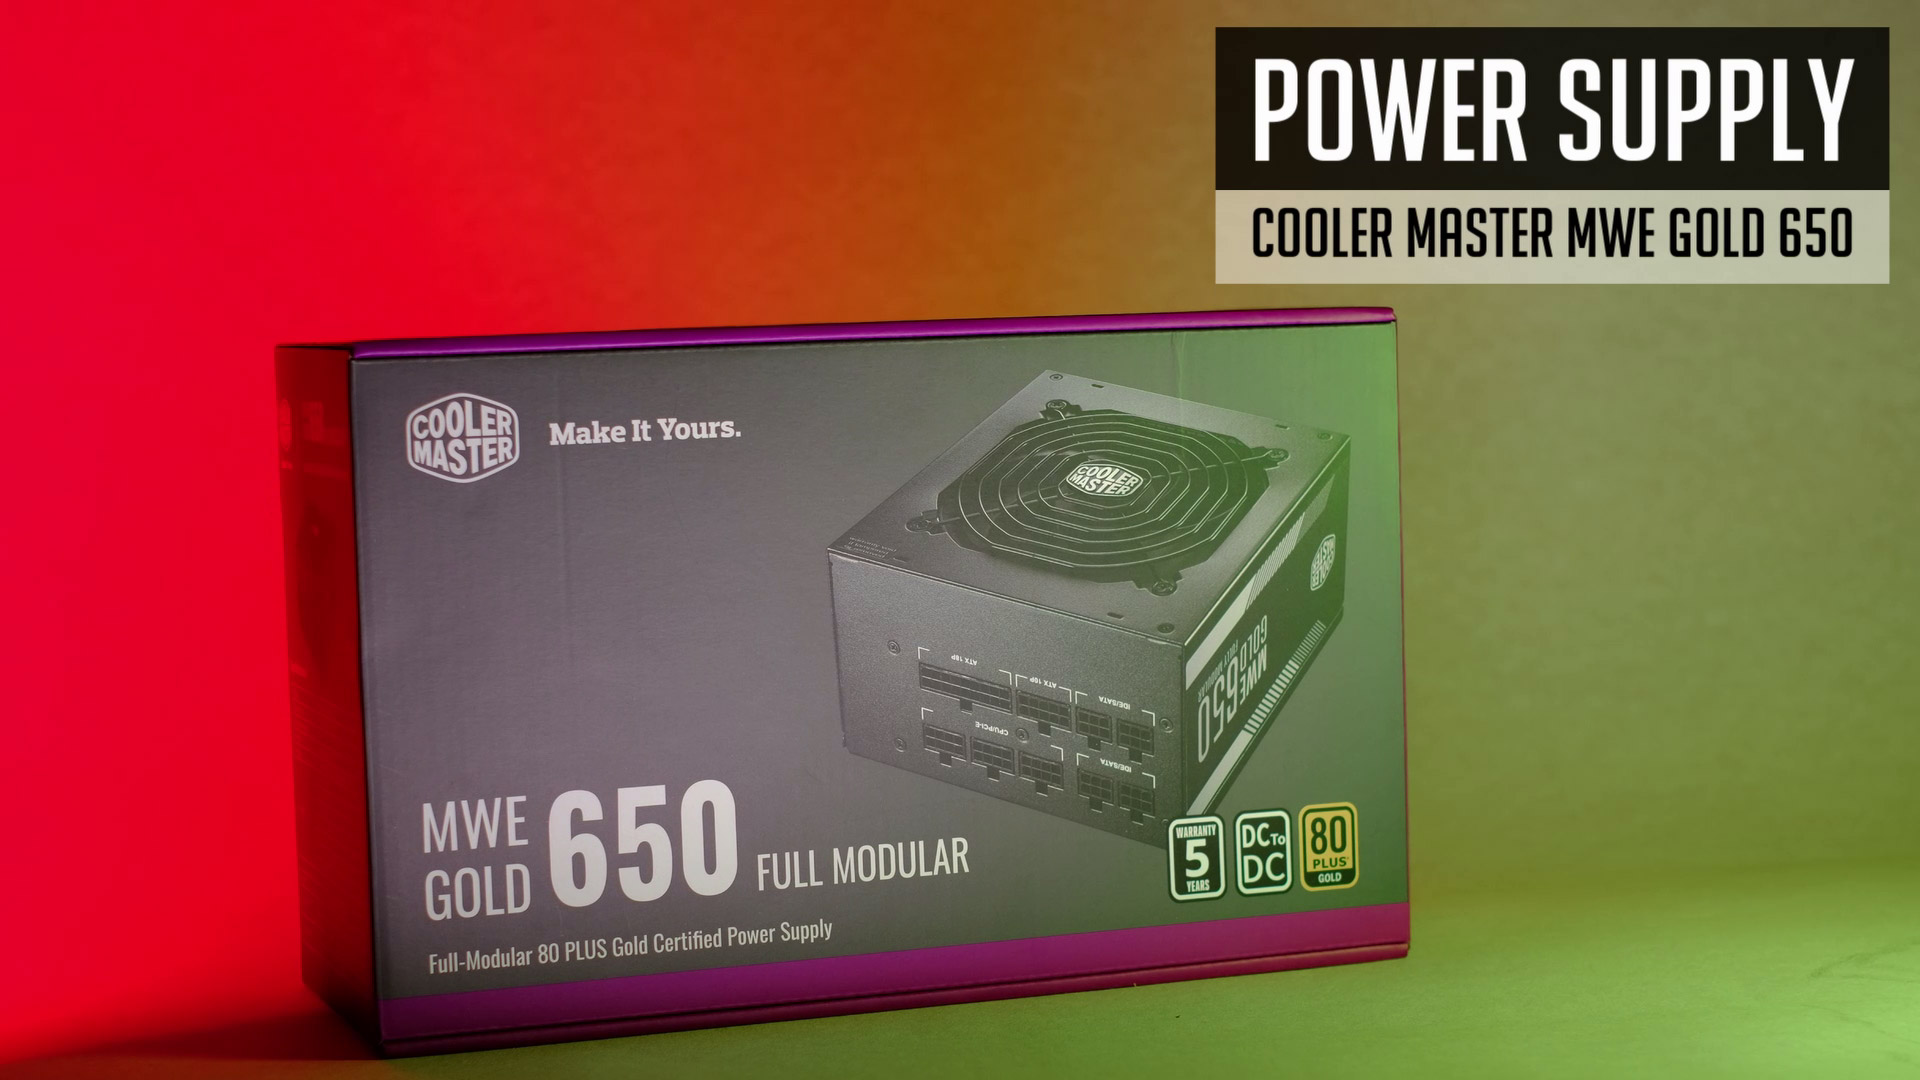
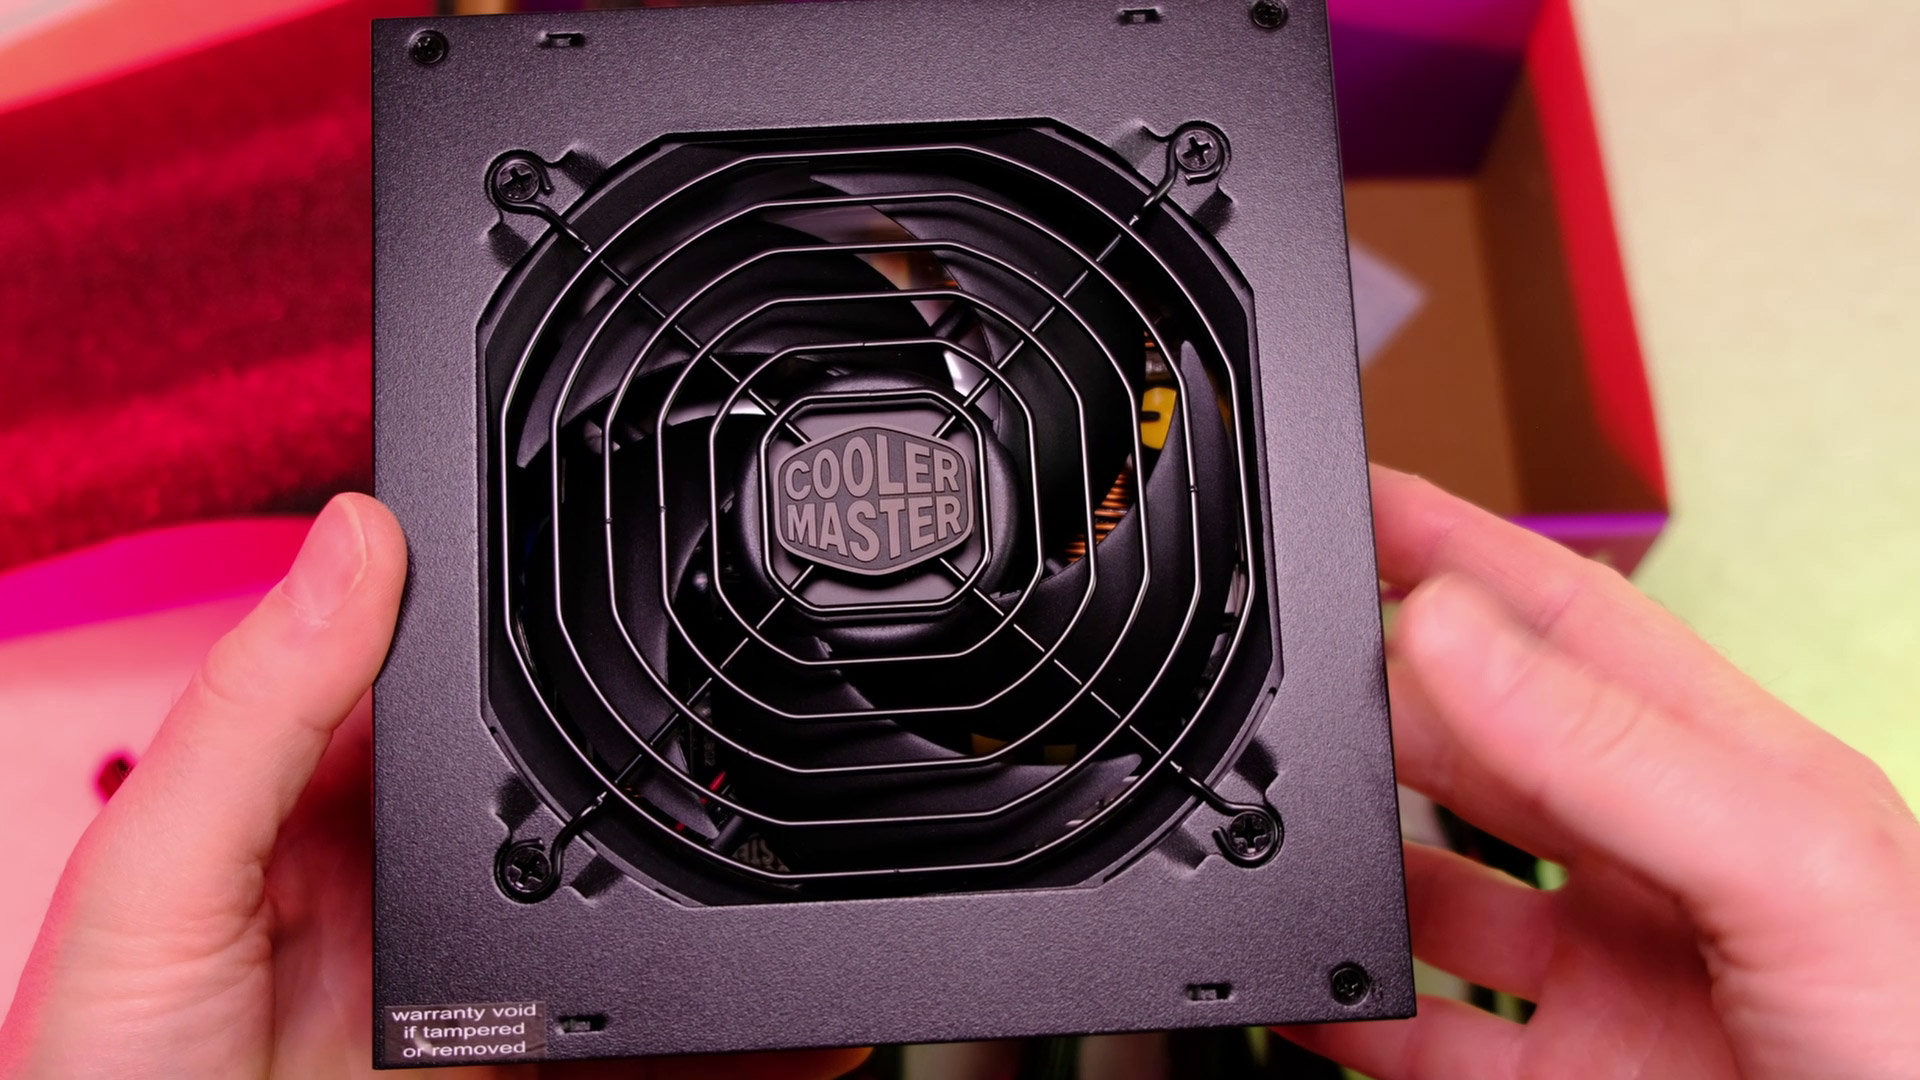
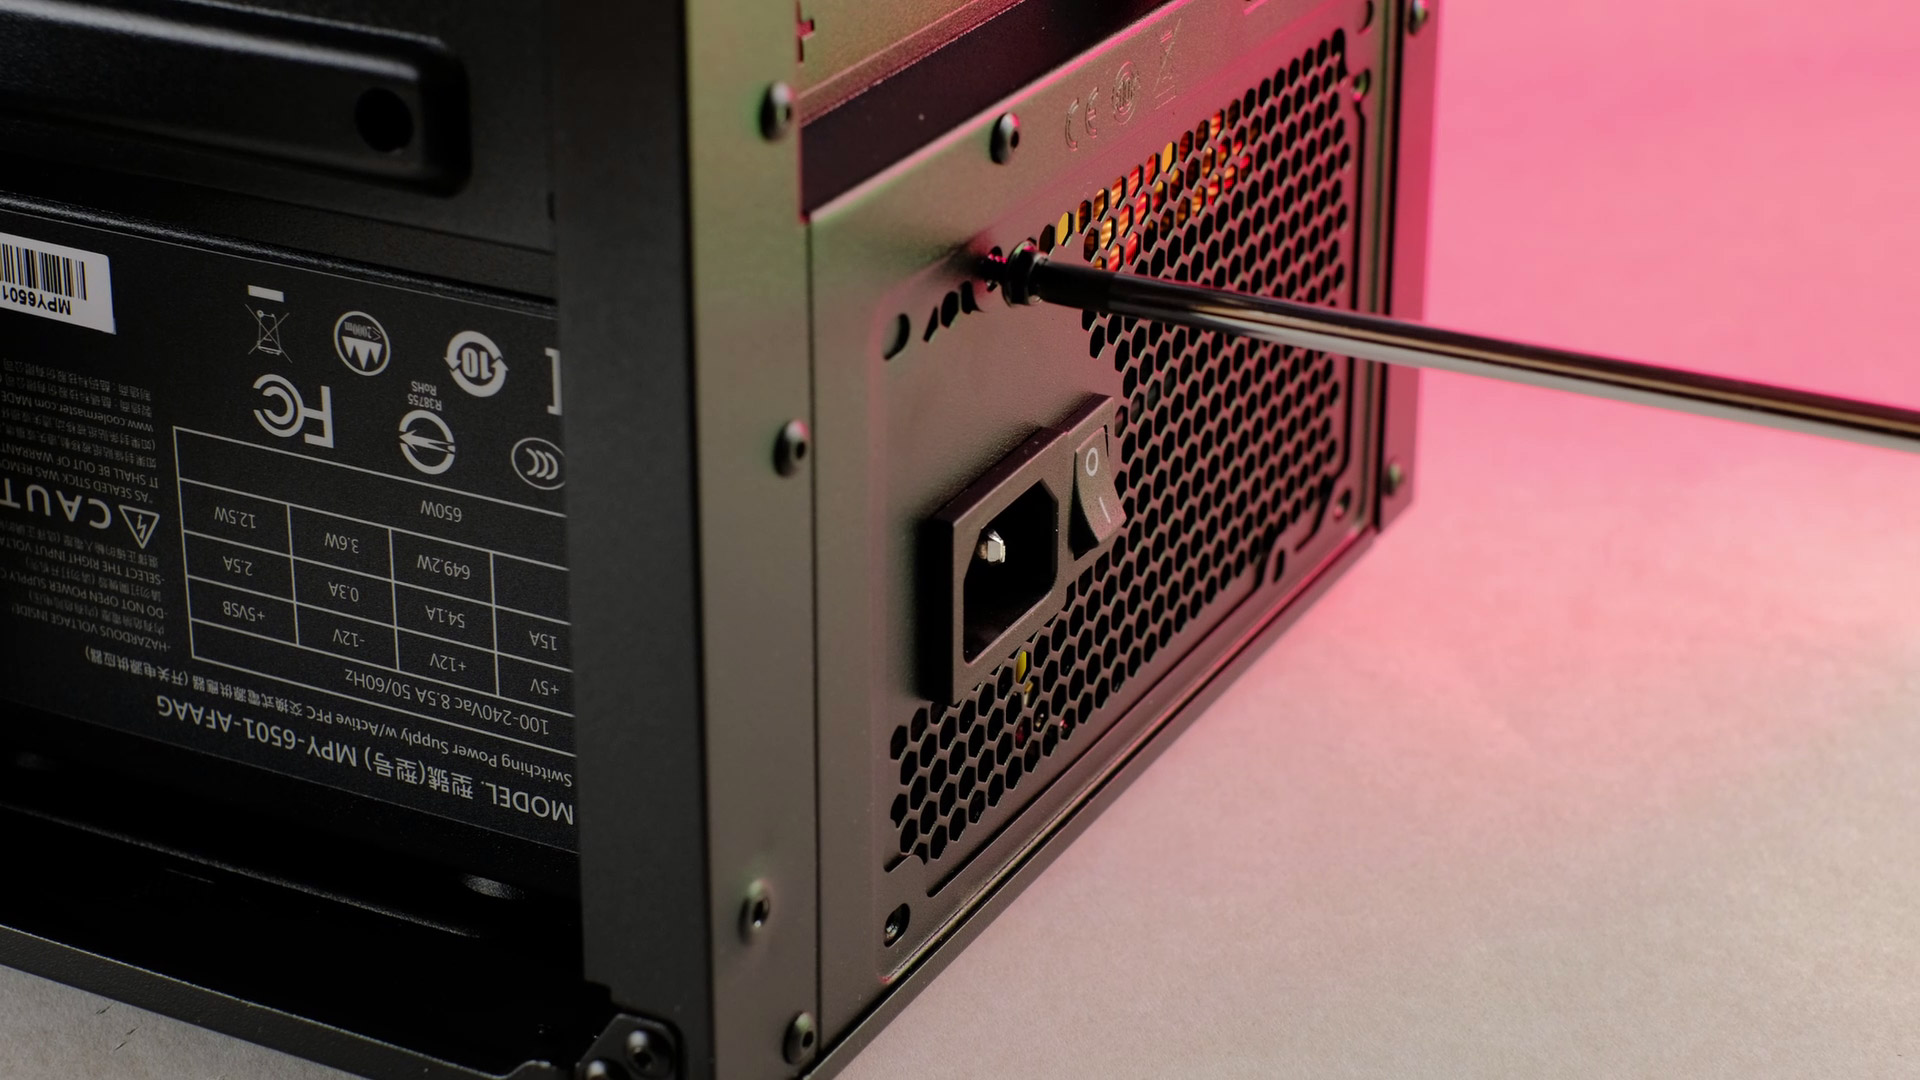
For this build, we will be using a modular, 650watt gold certified power supply from a Cooler Master. 650watts is more than enough for RTX 2060 super, 3060 ti, or AMDs RX 6700 XT models.
In case you want to save a few bucks, you could go for a bronze certified or even with a non-modular power supply.
Connecting Cables
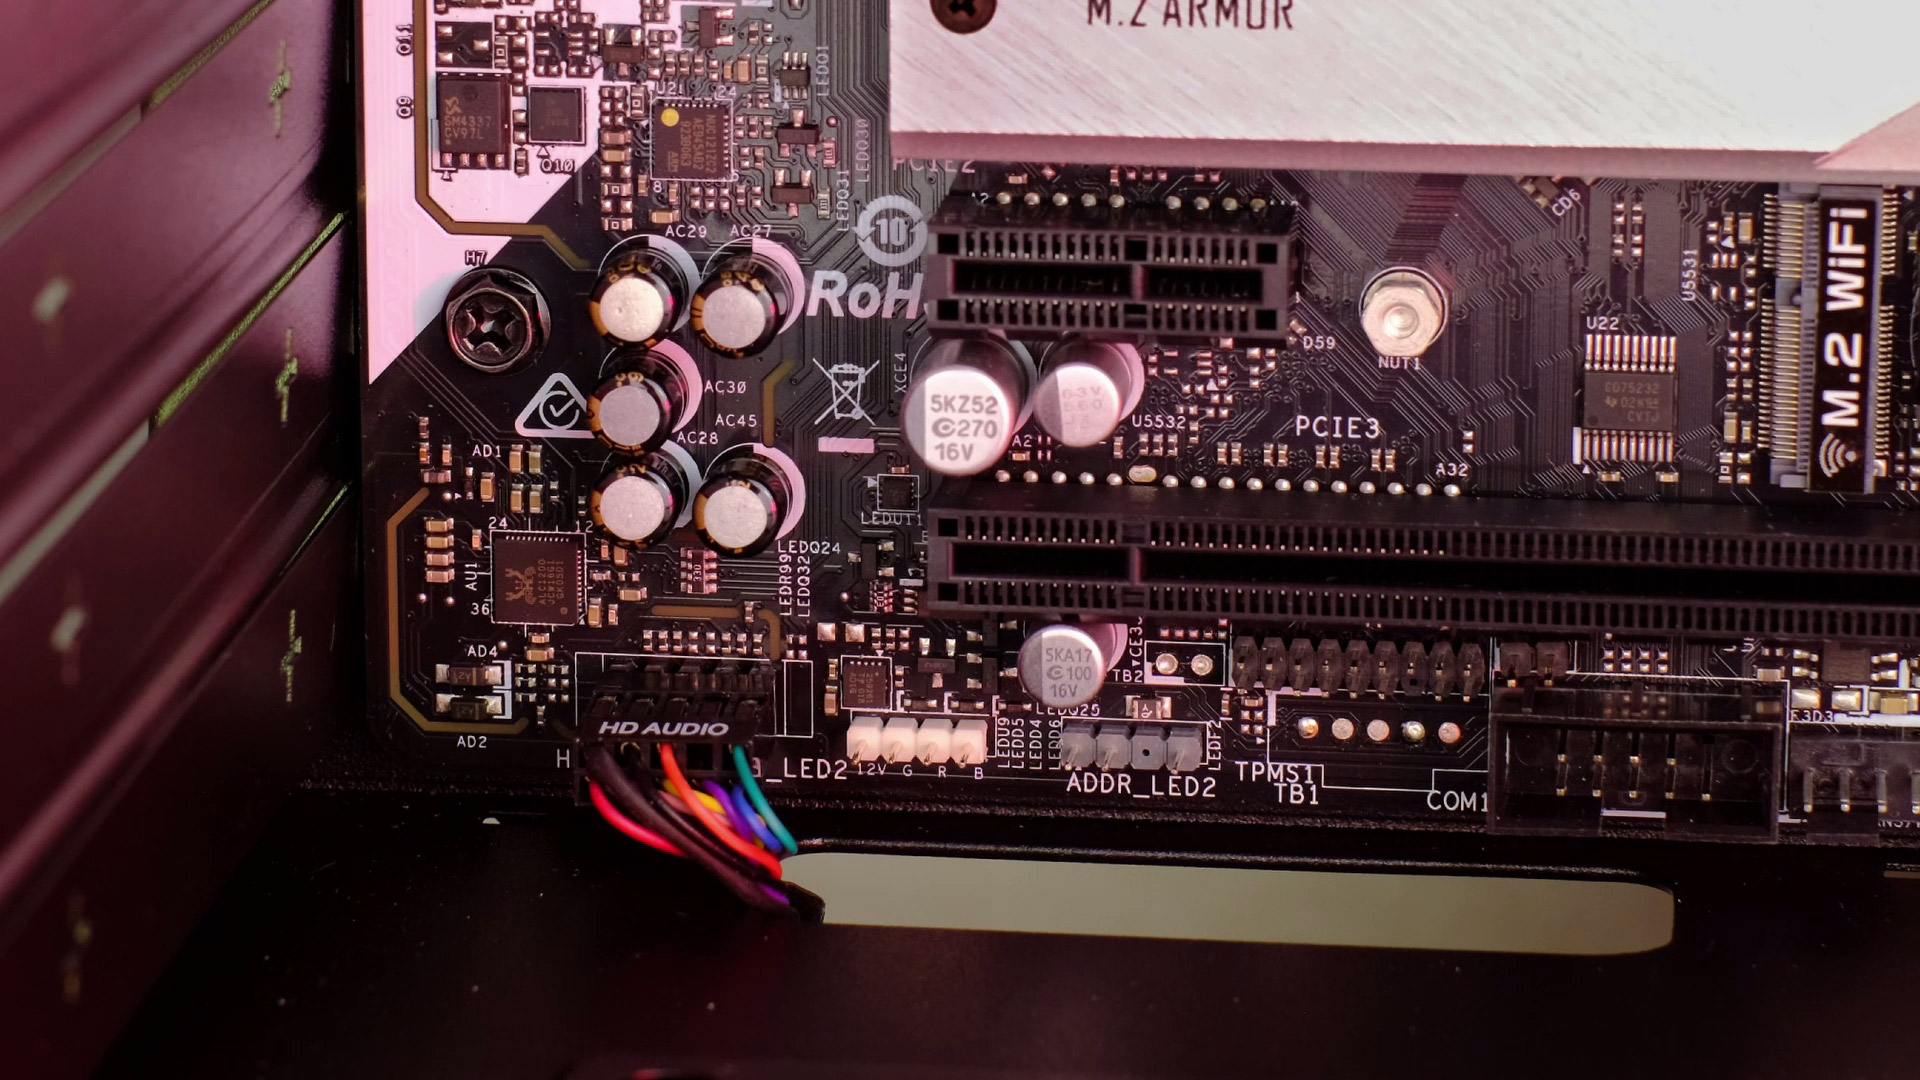
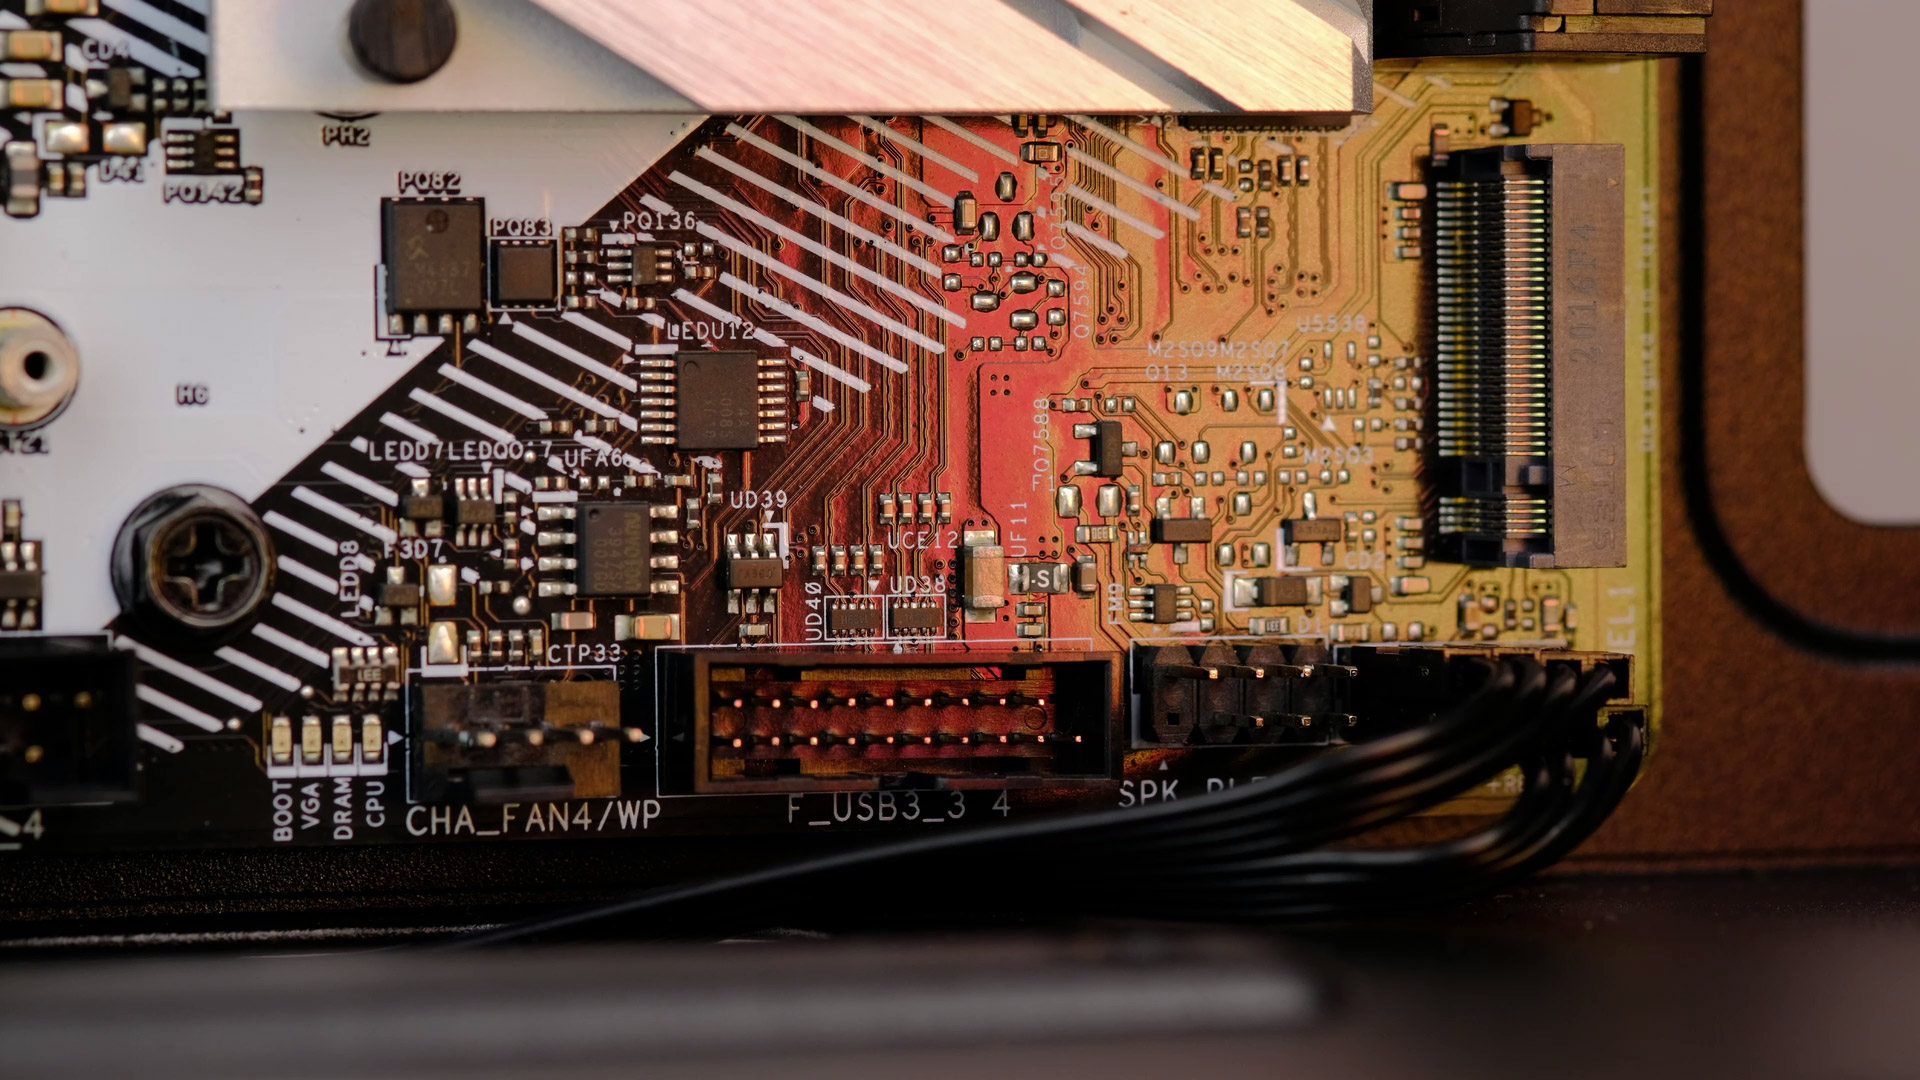
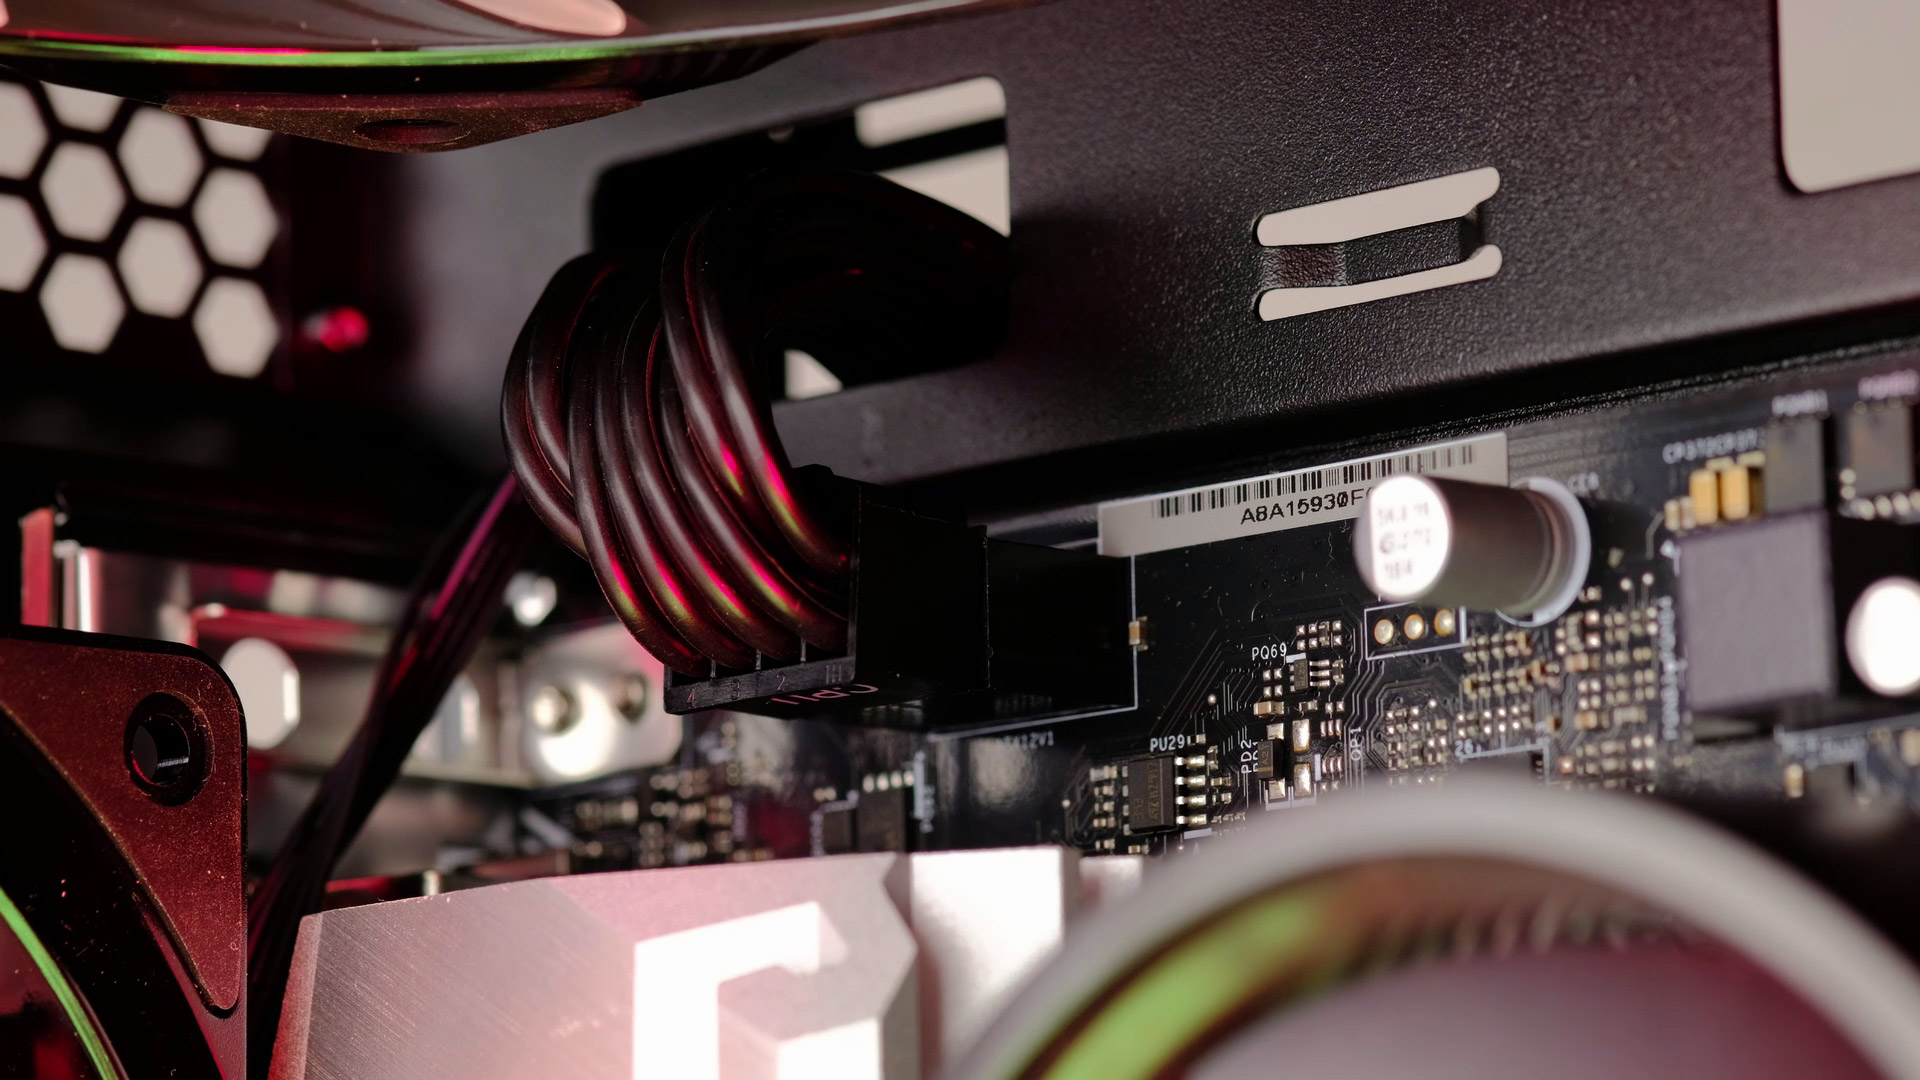
Before installing a GPU, it’s a good idea to connect all the cables to your motherboard.
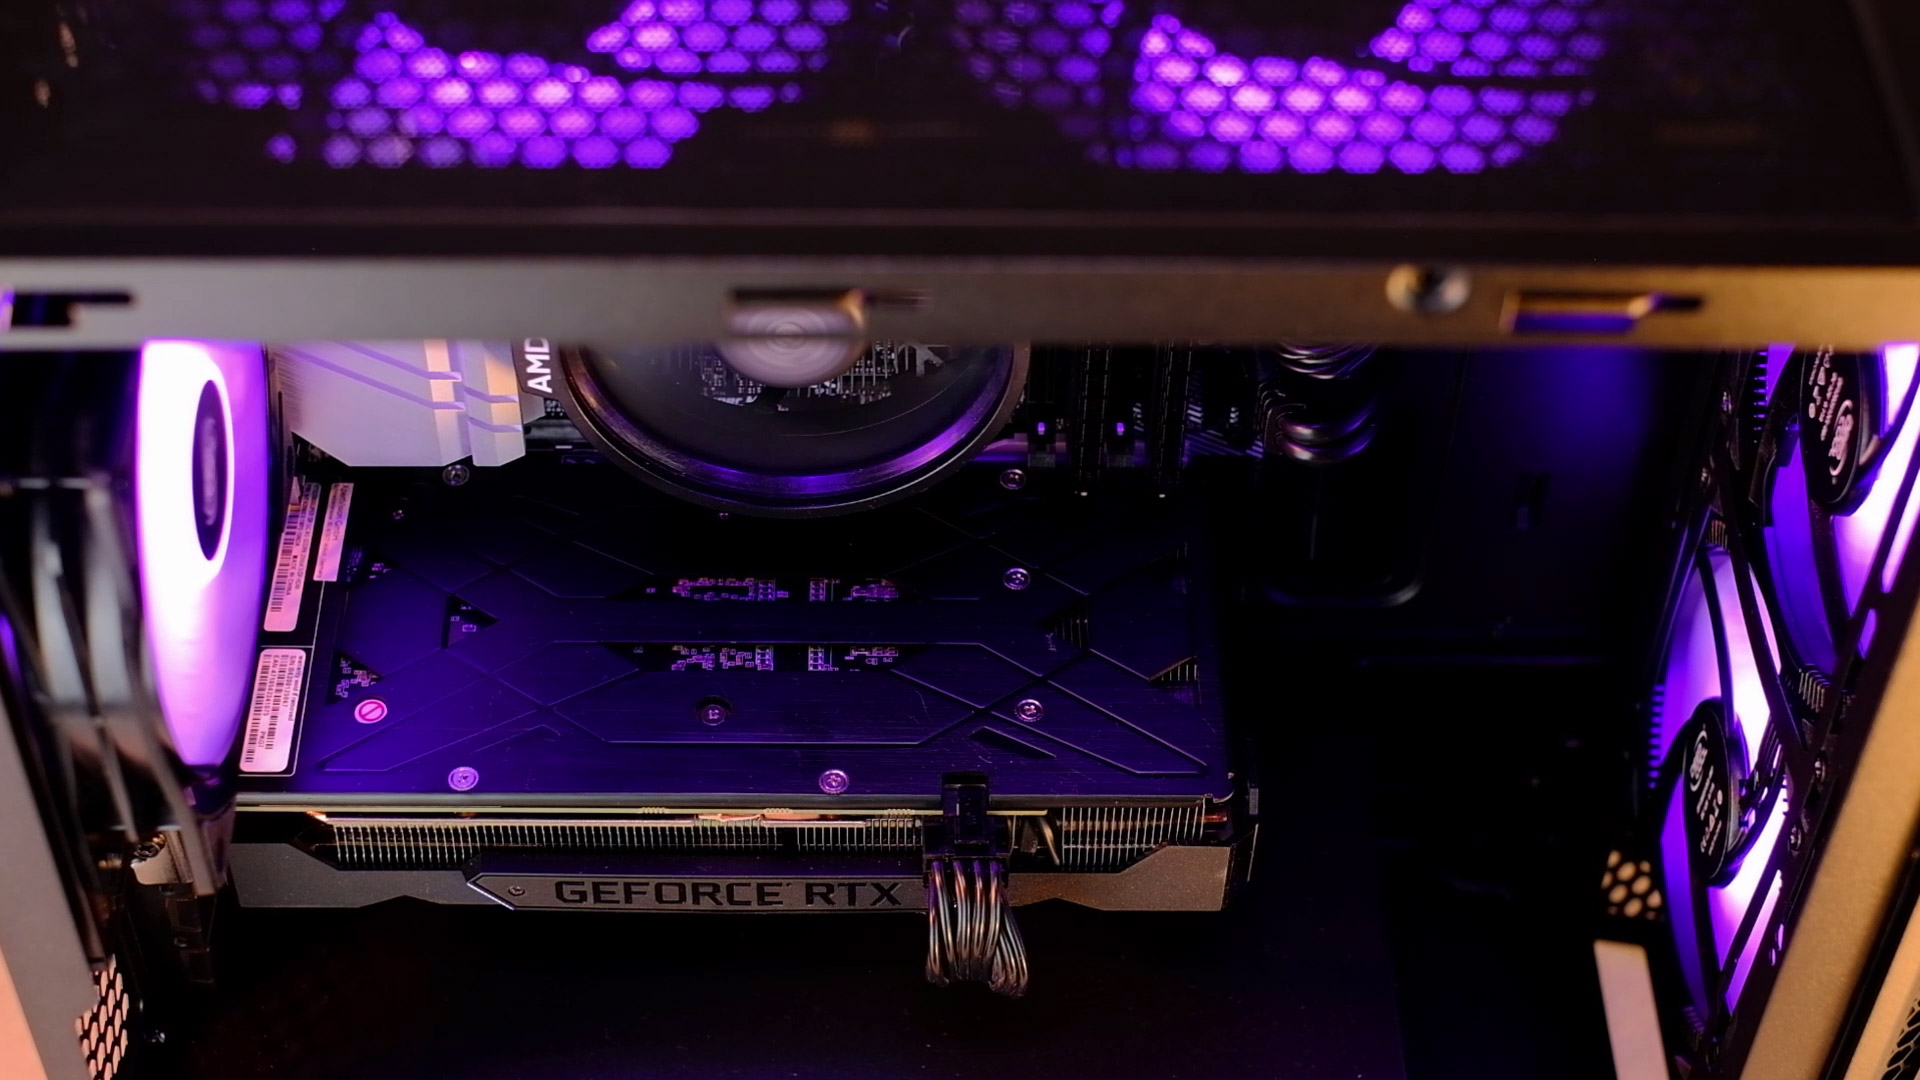
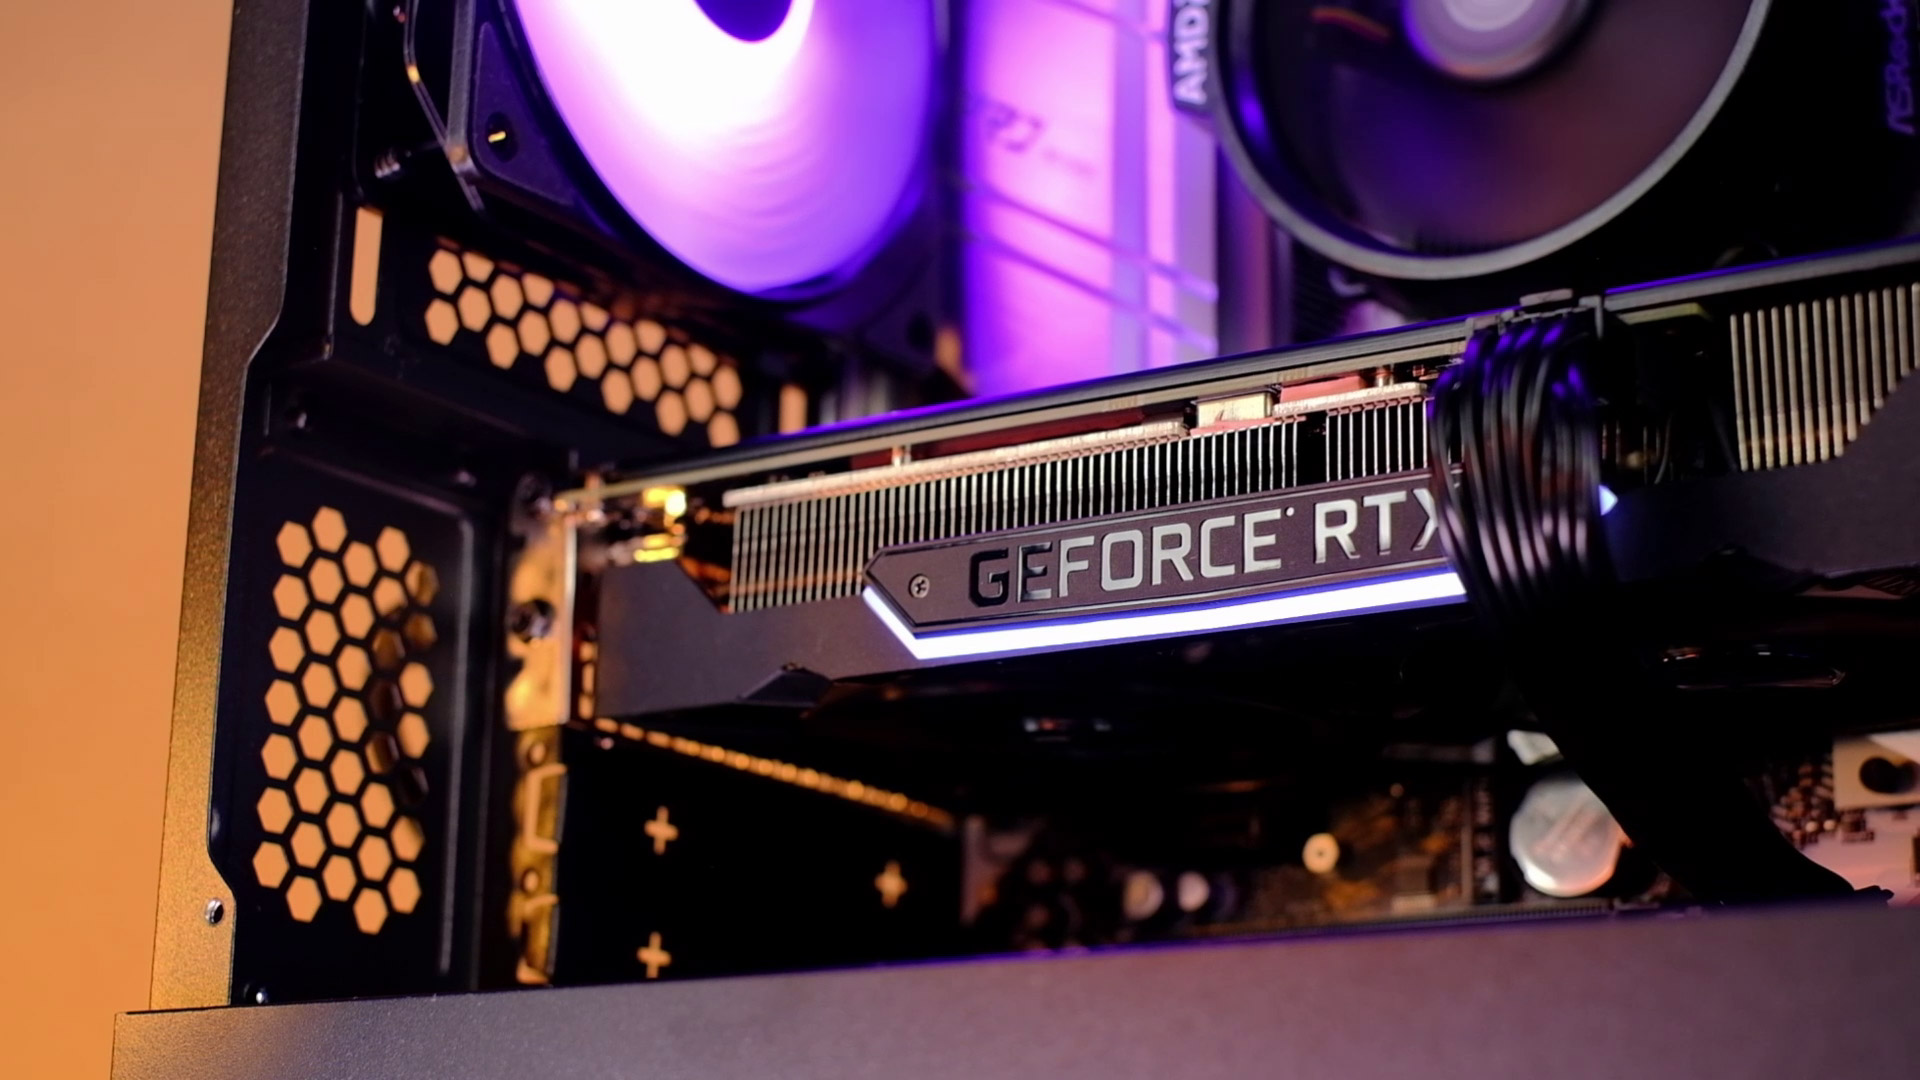
Graphics Card (GPU)
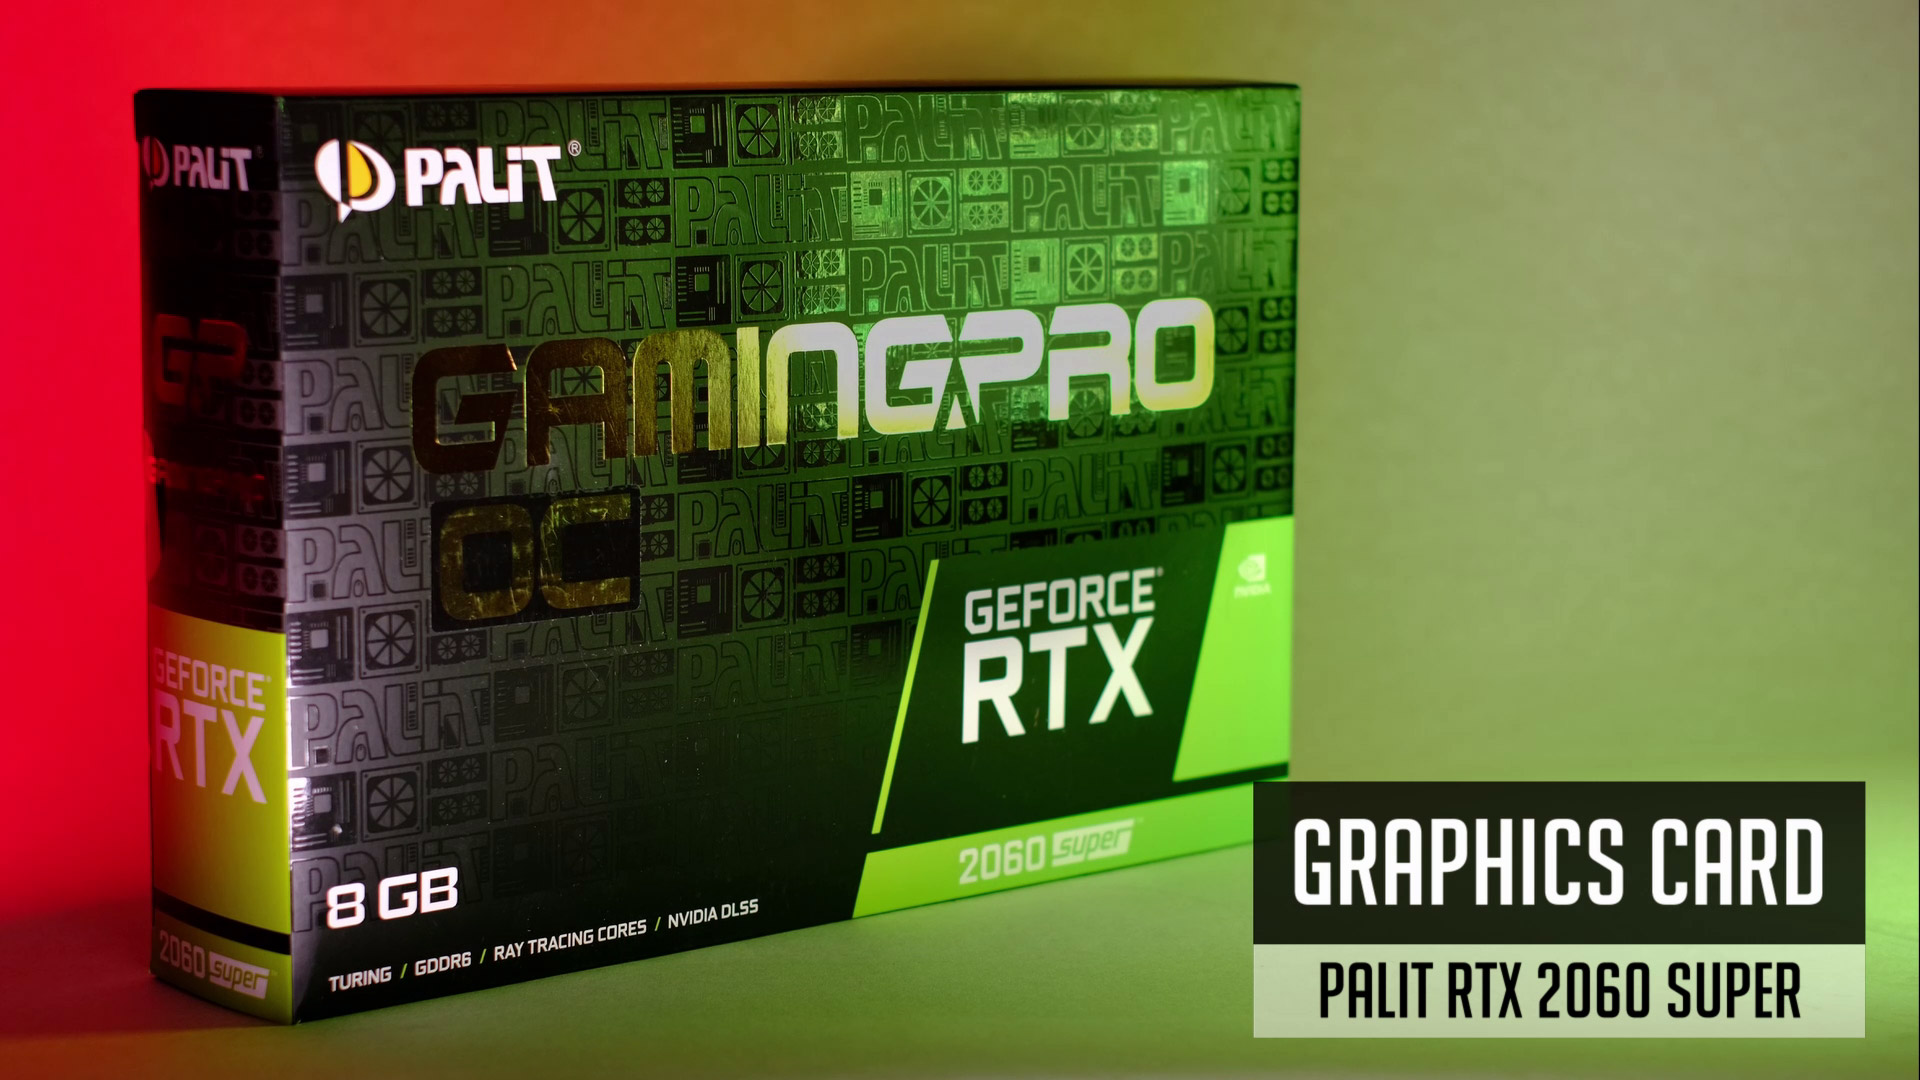
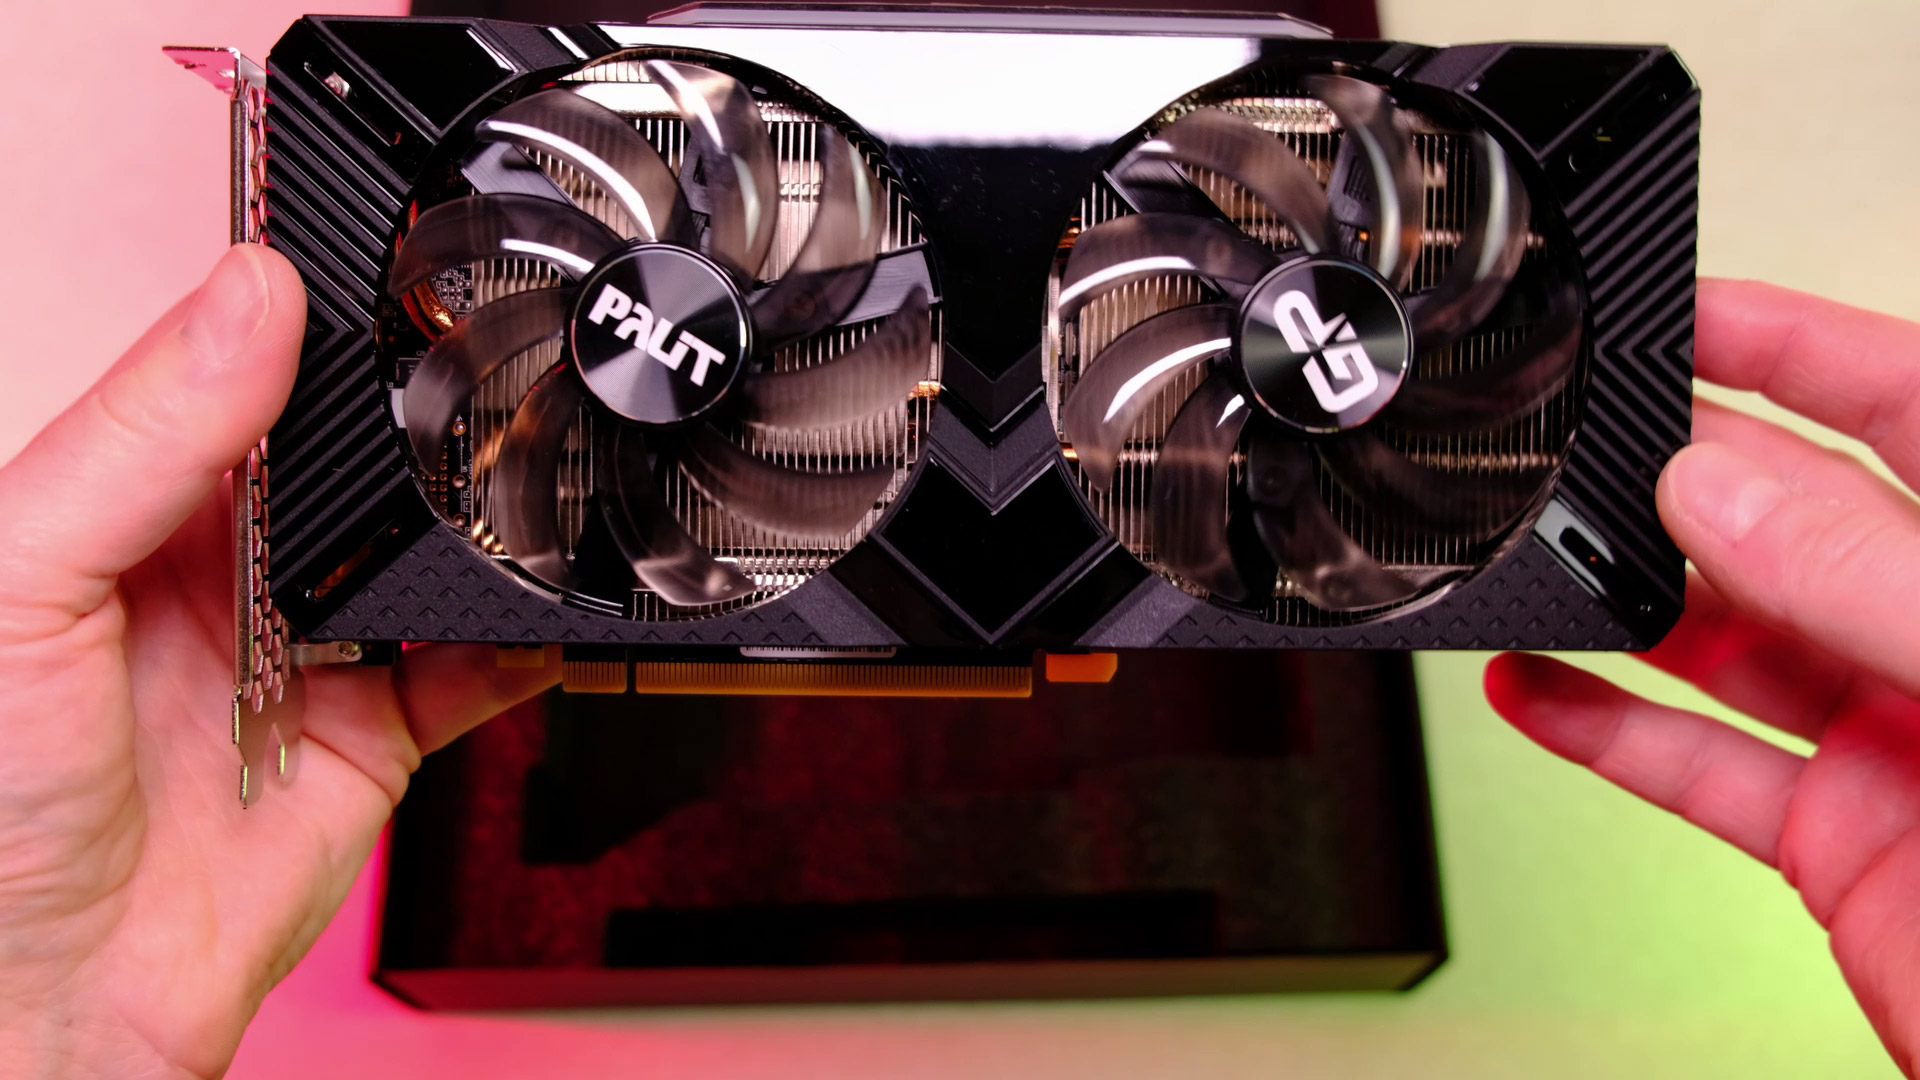
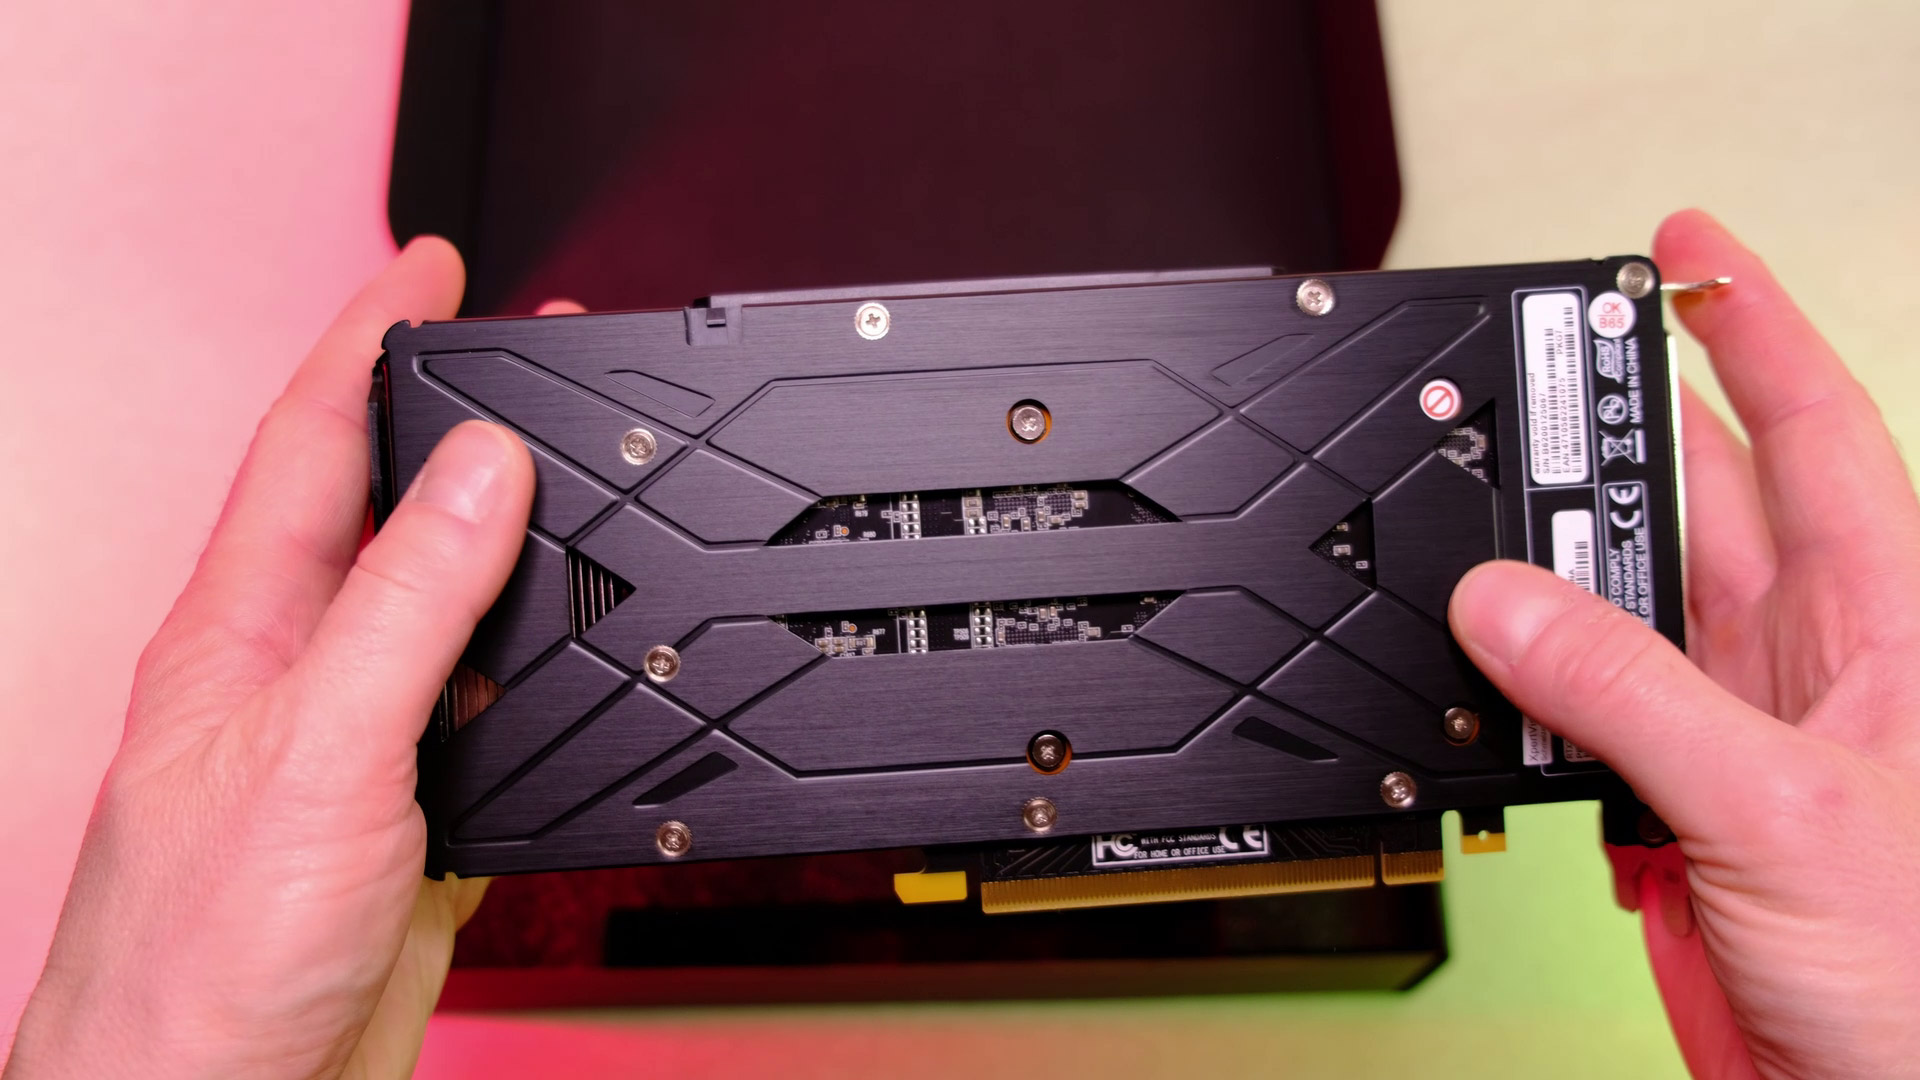
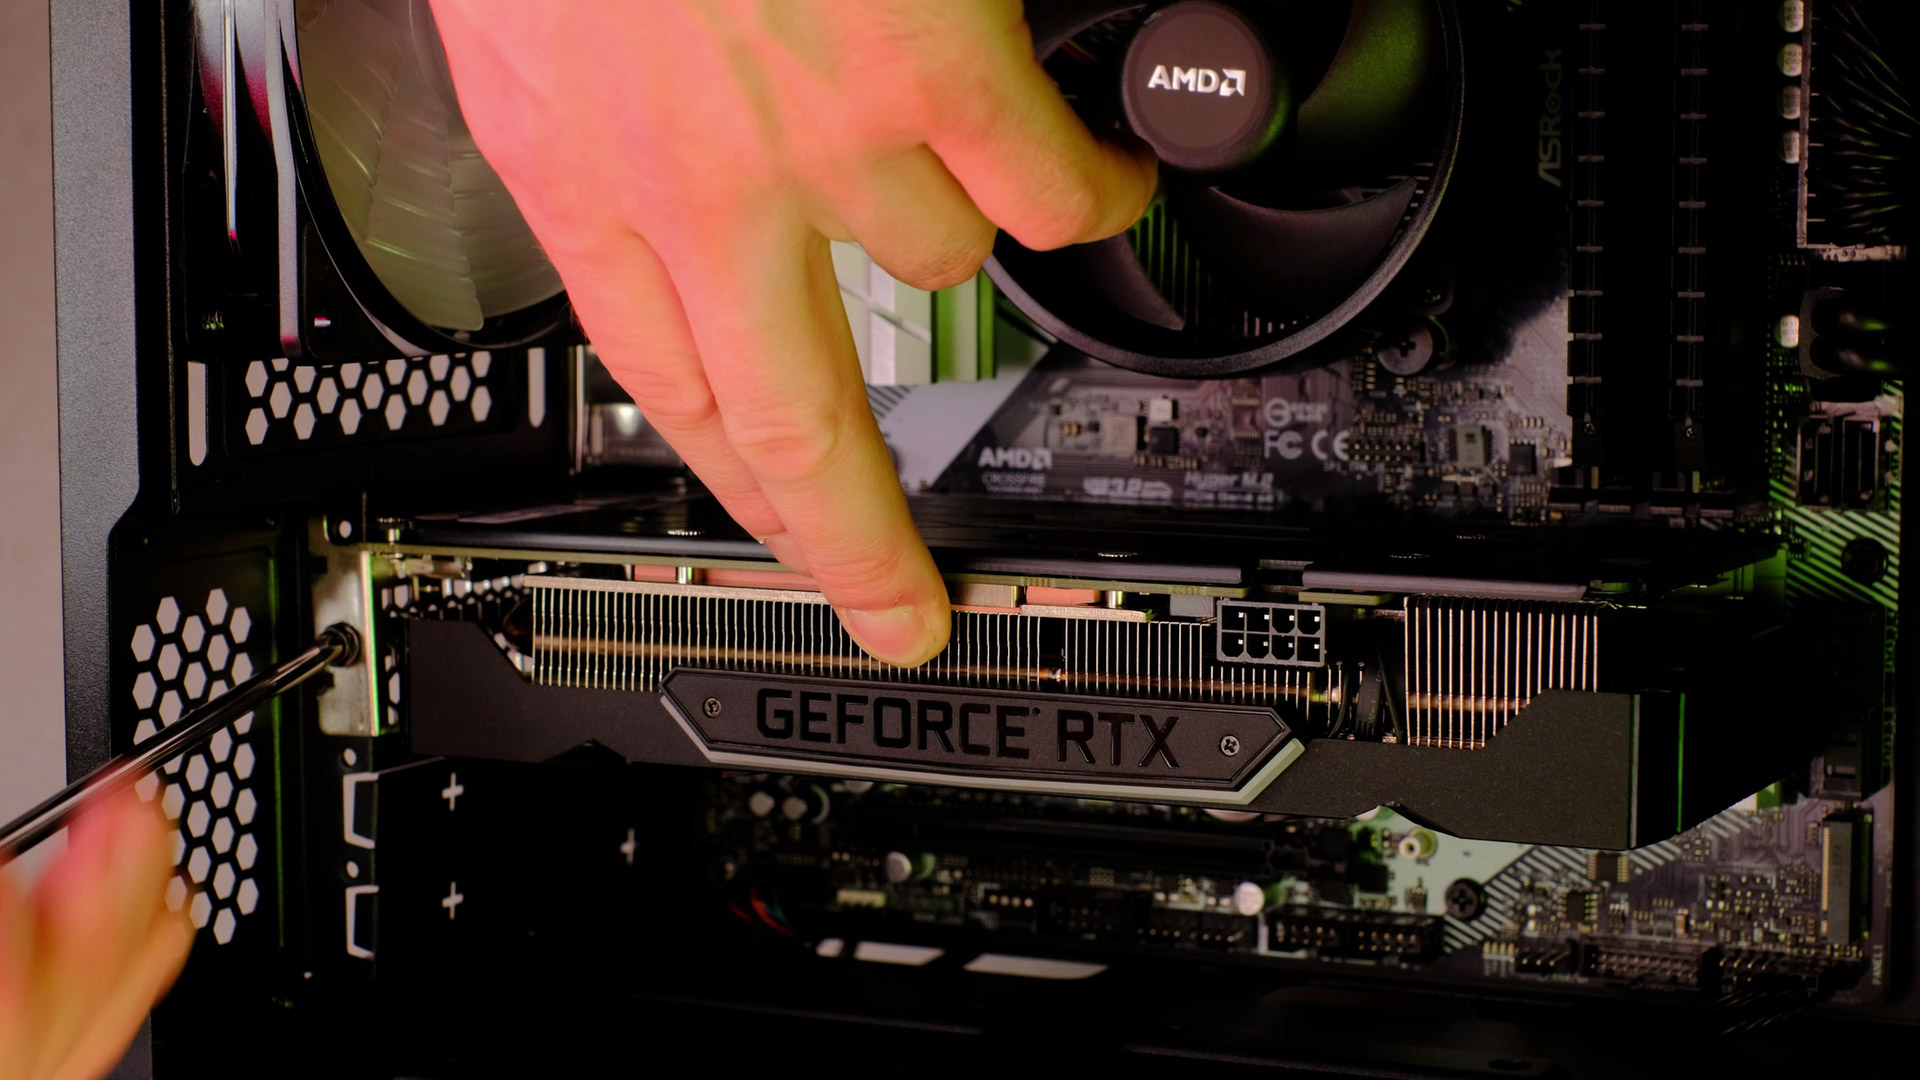
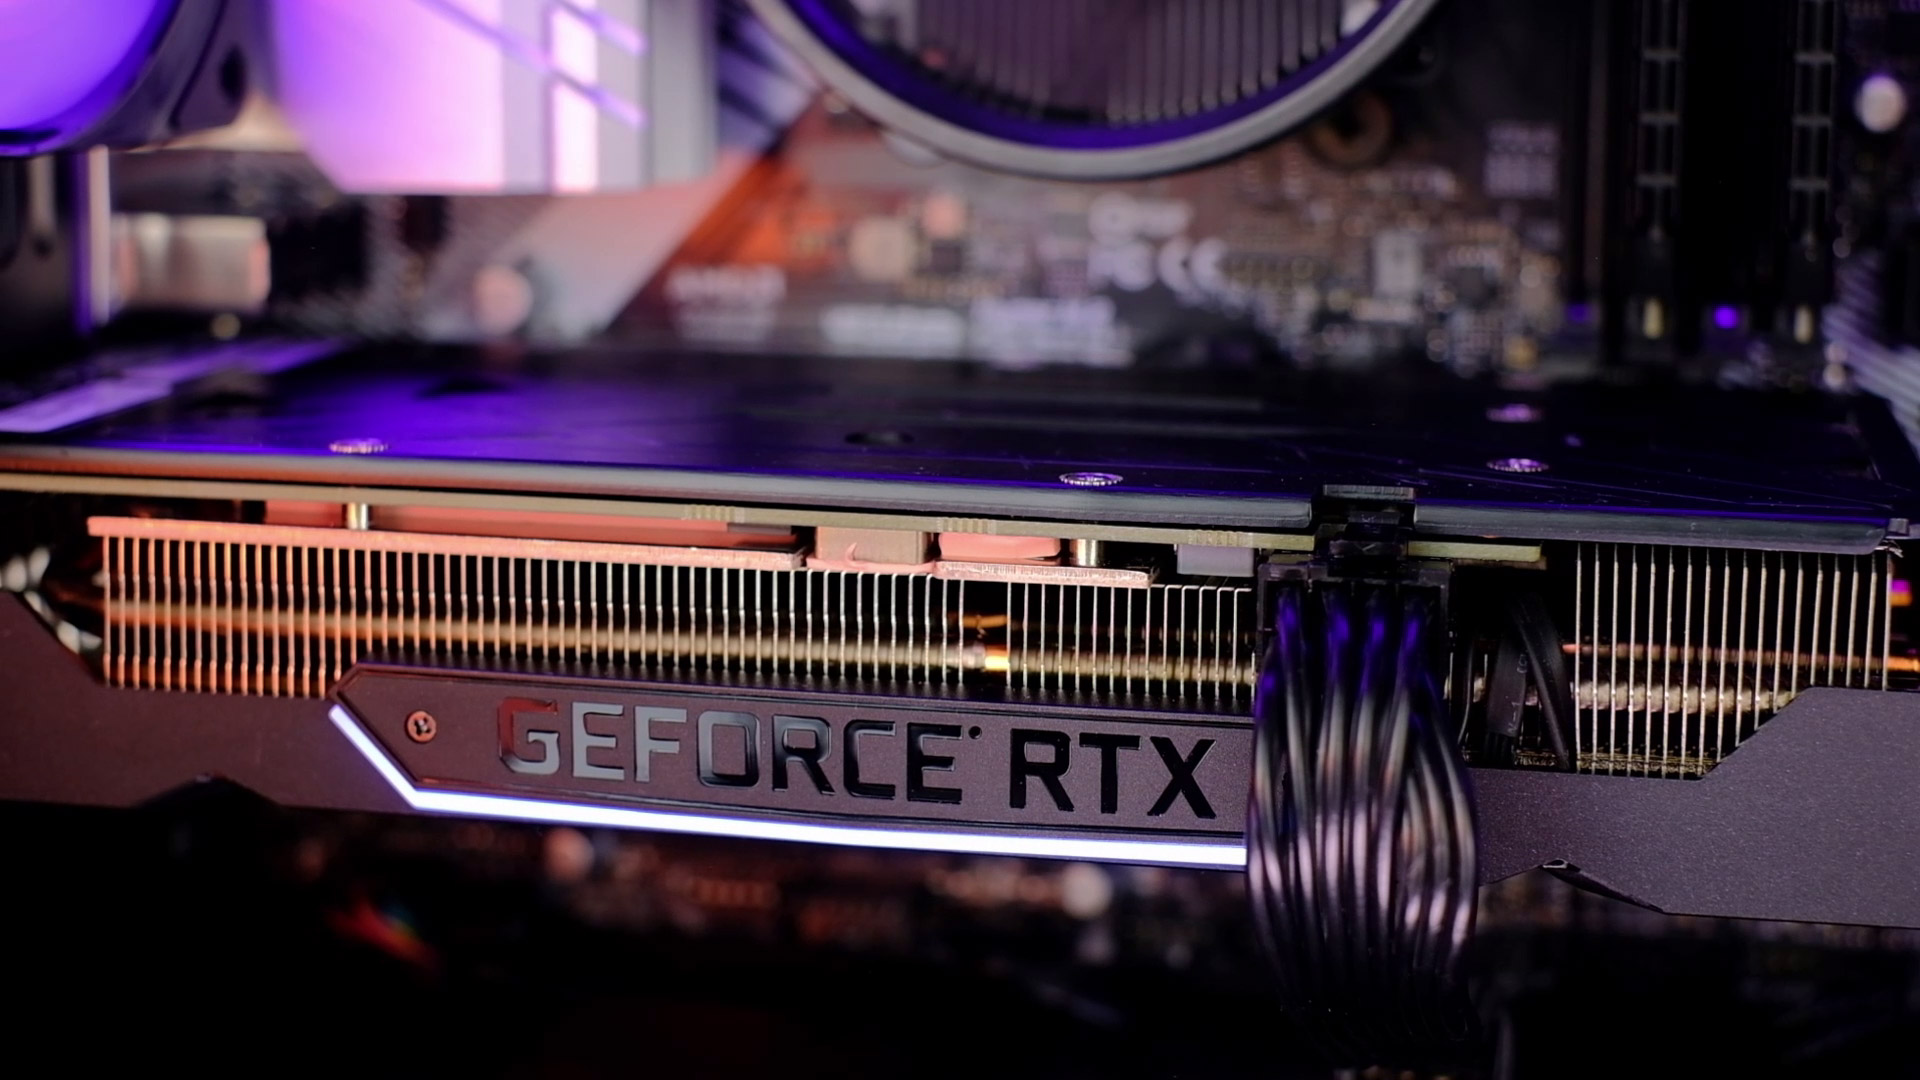
And here comes a GPU. Why RTX 2060 Super? Well, I was building this pc back in November 2020 and so RTX 3060 was not released yet, and later, the price of the new RTX series skyrocketed very quickly.
And so, for 1080p high-fps or even 1440p medium to high settings, RTX 2060 Super is really fine. But with the current situation, you need to check if it’s worth getting 2060 super or RTX 3060 as the price may be very similar, at least buying new. And sure, you can always check for a 2nd hand RTX 2060 Super in the Facebook marketplace, Craiglist, or eBay.
I will share some 1440p gaming benchmarks in a minute.
Consultation
In case you have any questions regarding this build, just post your commend below.
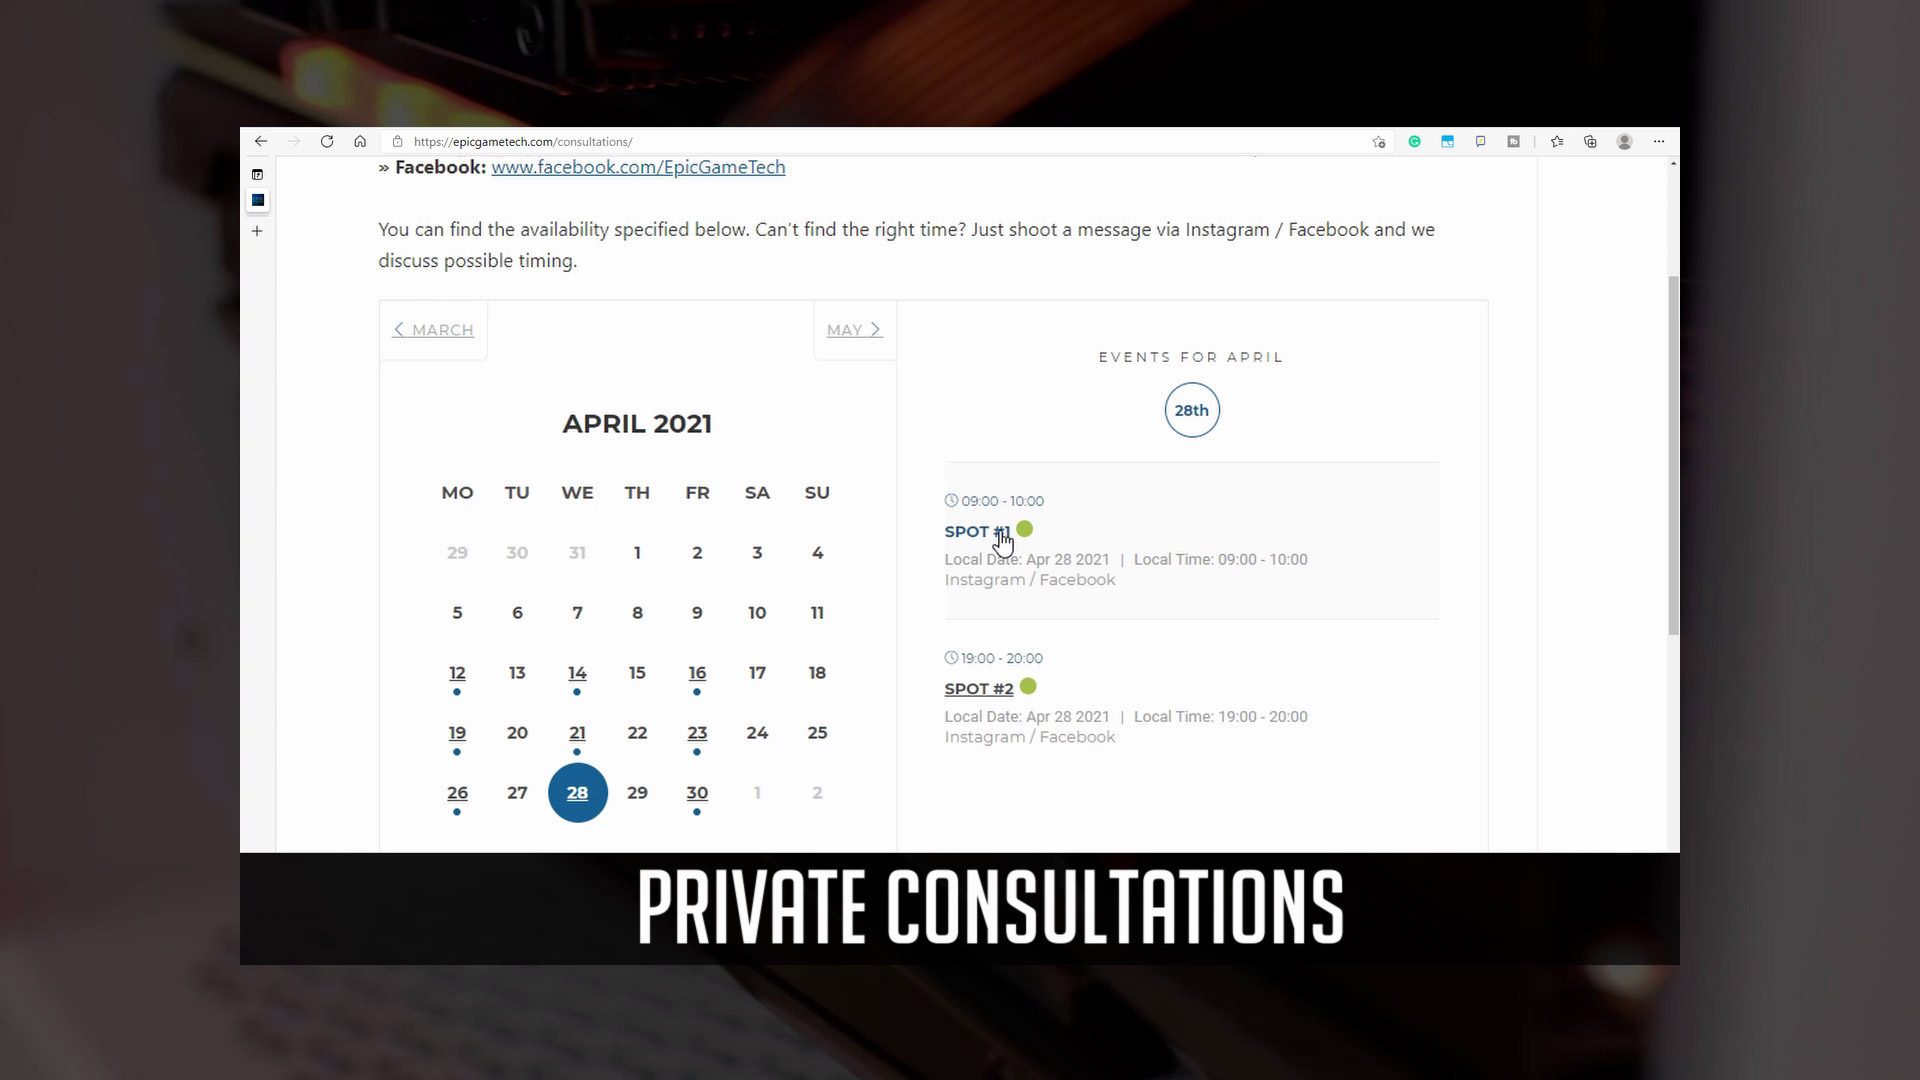
Also, I’ve decided to start some private consultation sessions. It’s for anyone that is planning to build a pc and would like to book a dedicated time for making a personal PC parts list for a certain budget, or just needs some guidance on the best value and quality pc parts in your country.
So if you are interested, you can do it by messaging Epic Game Tech on Instragam or Facebook page.
Also, you can check possible timings in a calendar I will link below.
Benchmarks


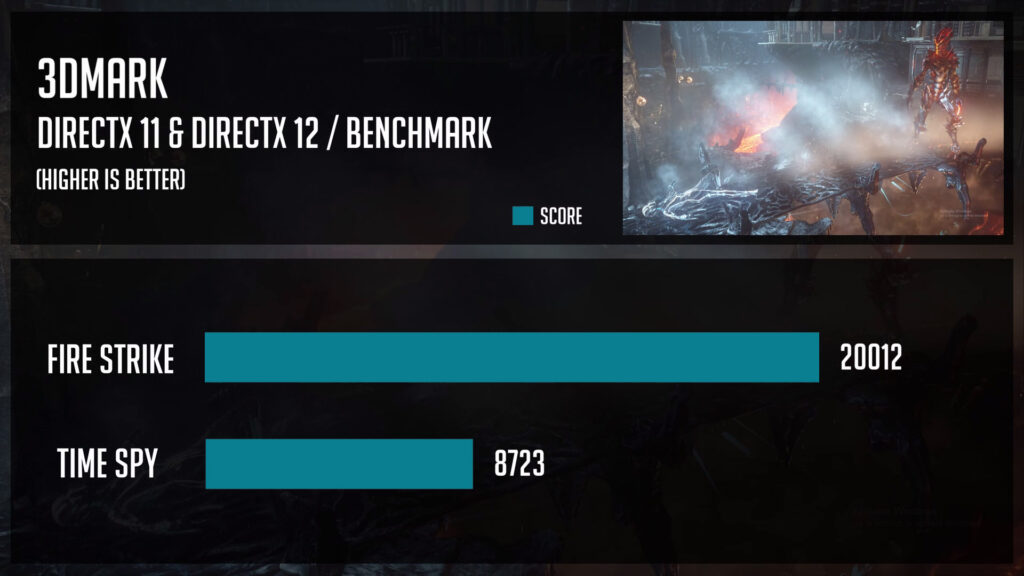
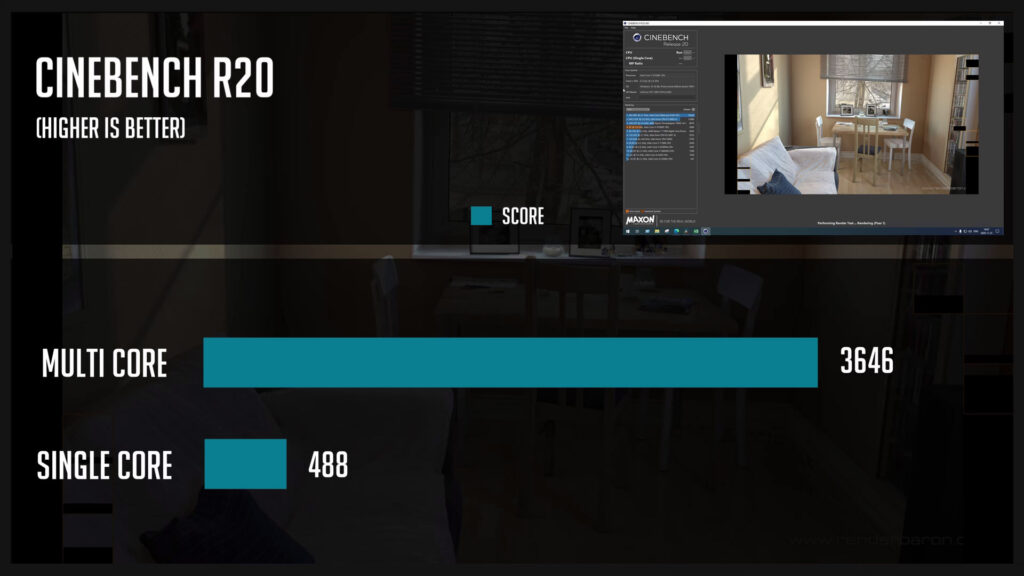
As always, you can find some numbers from Cinebench, 3DMark as well as some gaming benchmarks.
Outro
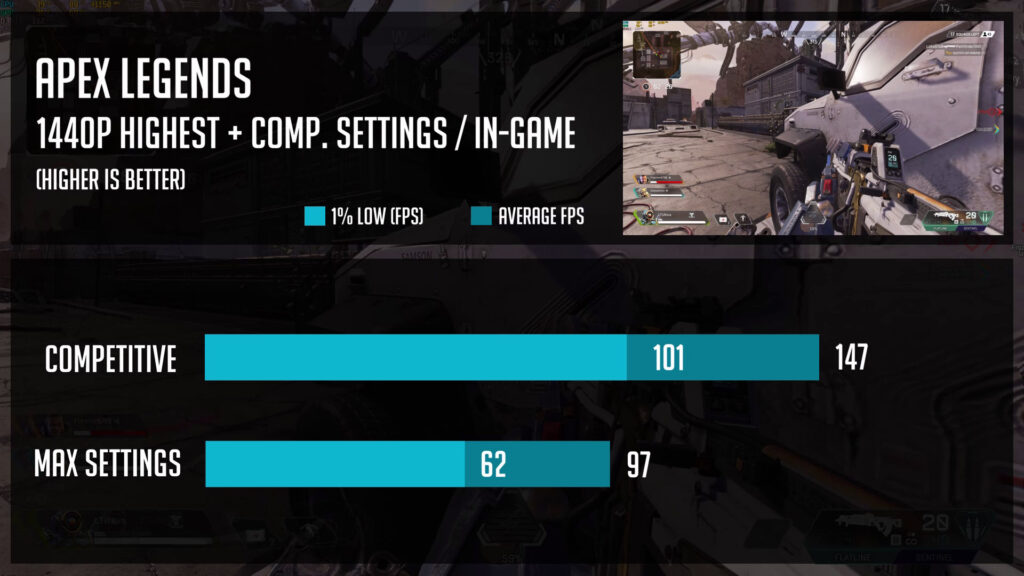
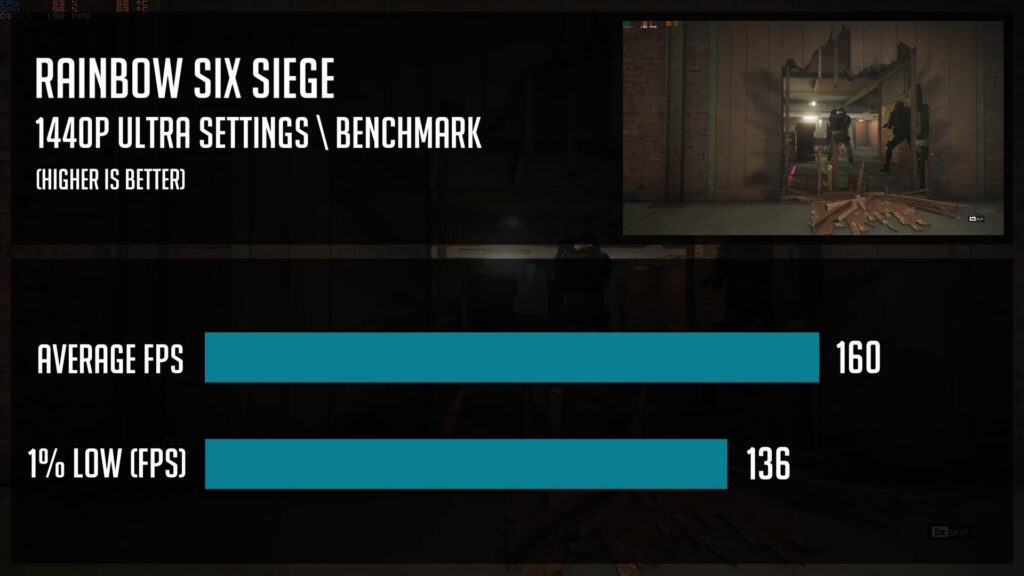
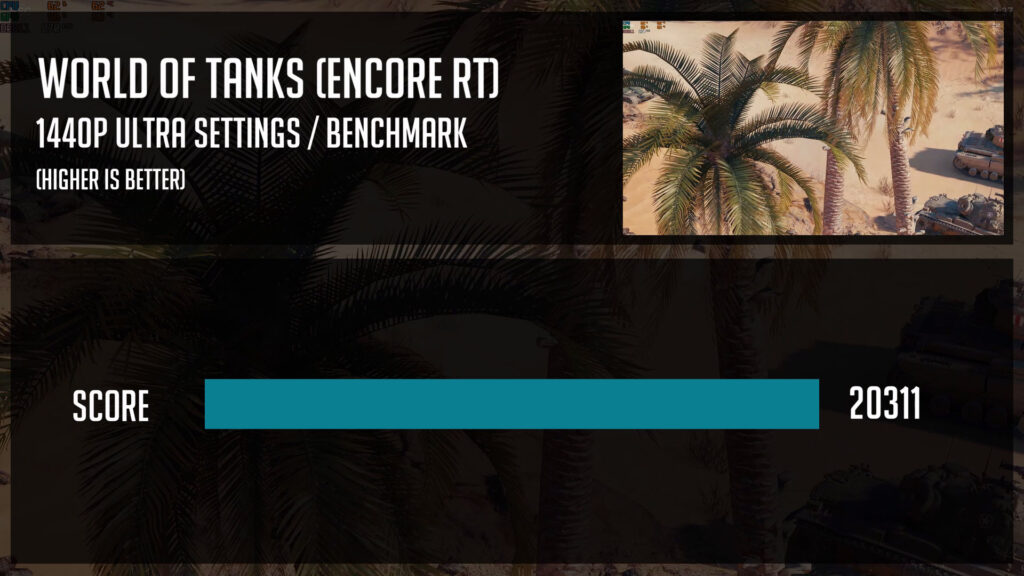
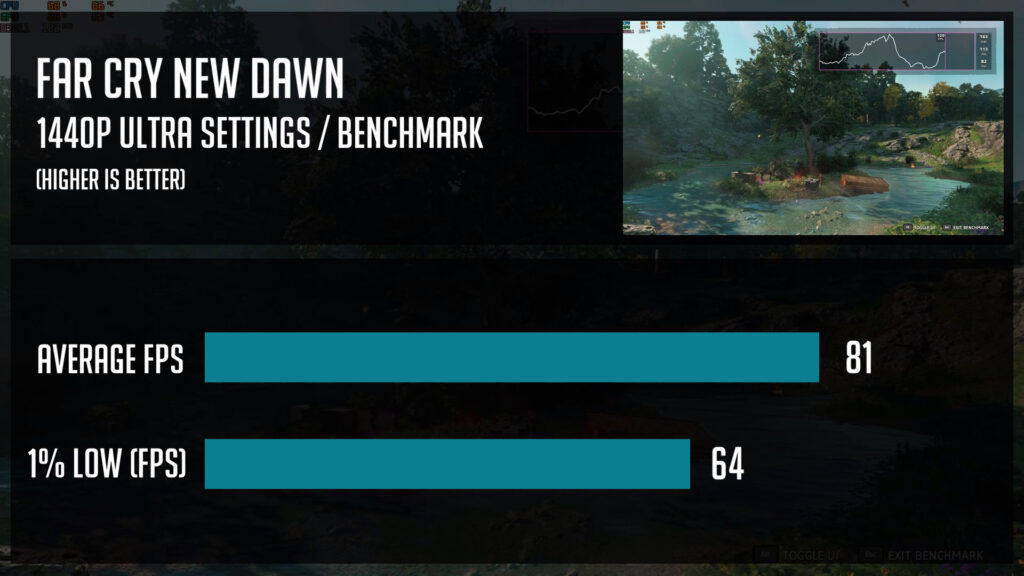
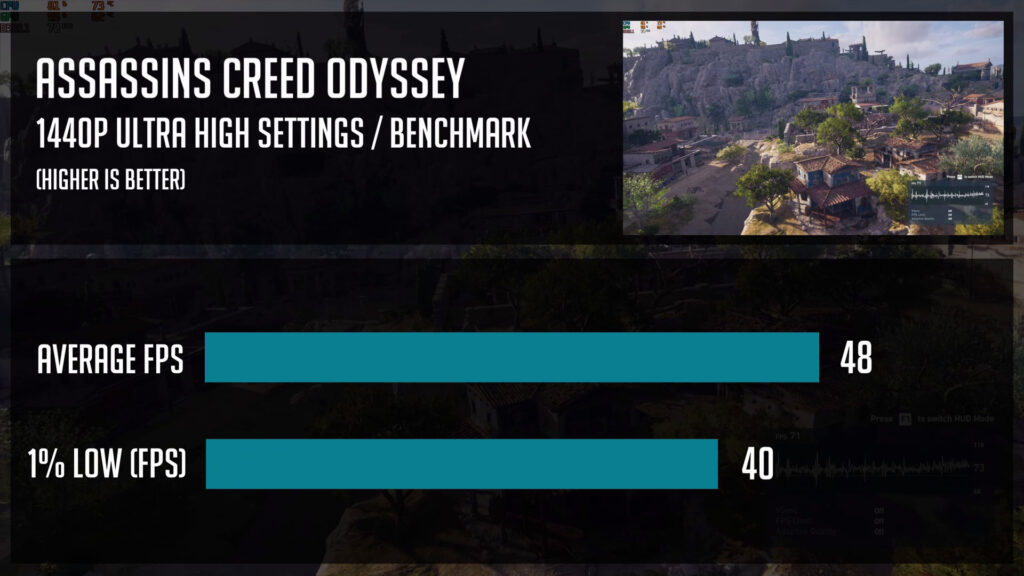
So even with RTX 2060 Super, using 1440p you can definitely play some competitive titles on a 144hz monitor.
Also, it managed to get 50 to 60fps in some modern titles using Ultra settings, meaning using High-medium settings, you can easily get 60 to 80 fps if needed.
You can watch a video version of this PC Build below or register for a consultation in case you are planning to build and you need some advice.
PC Parts List
CPU: Ryzen 5 3600 – https://geni.us/5fgB2tP
MB: ASRock B550m Pro4 – https://geni.us/prRTpi
RAM: Patriot Viper Blackout 3200mhz 16GB – https://geni.us/WDdoe
SSD: Crucial P2 1TB NVMe – https://geni.us/xCQ06
GPU: EVGA RTX 2060 SC Ultra Gaming – https://geni.us/WAH1
GPU: MSI RTX 3060 Ventus 2X – https://geni.us/Ra52V
PSU: Cooler Master MWE Gold 650 – https://geni.us/2KAyWF
CASE: Cooler Master Masterbox MB311L ARGB – https://geni.us/0U5Jh (non-RGB – https://geni.us/TNCB8)
FANS: Deepcool RF120m – https://geni.us/BAJxvOK
Disclosure: EpicGameTech gets a small commission when you purchase something via our Amazon links. It doesn’t cost you anything extra since that comes from Amazon’s end. So, please be aware, the links provided to Amazon are affiliate links.
Icons made by Pixel perfect (https://www.flaticon.com/authors/pixel-perfect) from www.flaticon.com