Table of Contents
be quiet! Dark Rock PRO 4 – one of the high-end CPU coolers with top-notch performance and quite an awesome look.
And today we will have a look at what’s included in the box, main features, some numbers, how to install this cooler on the AM4 platform as well as some alternative air cooling options.
Unboxing
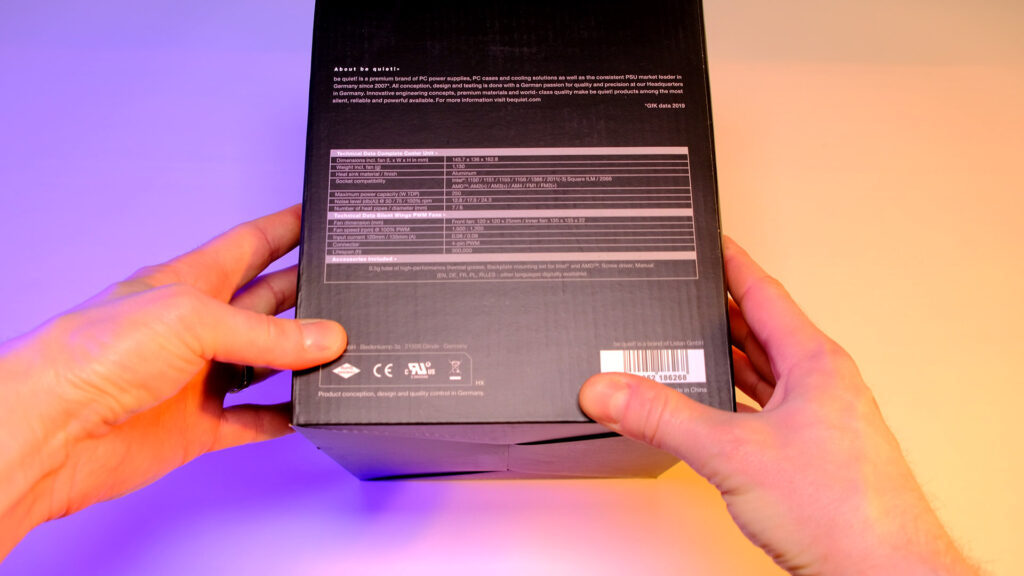
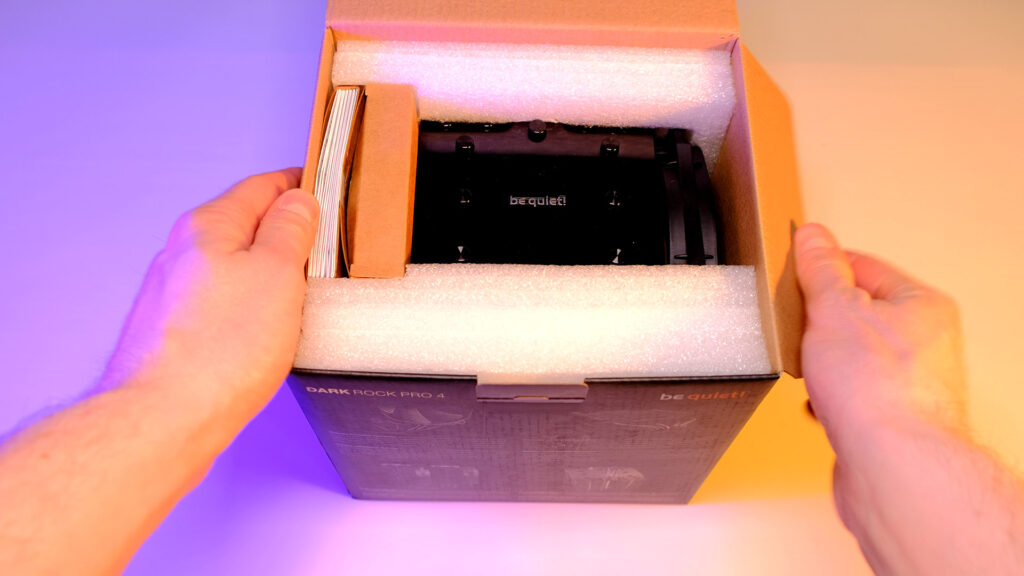
Let’s start with a quick unboxing, so you could have a better picture of what exactly you get. As you can see, It’s well packed. So let’s have a look at what accessories we have here.


- Installation manuals in a few different languages. Everything is explained quite nicely with images so you should have no probs installing this cooler.
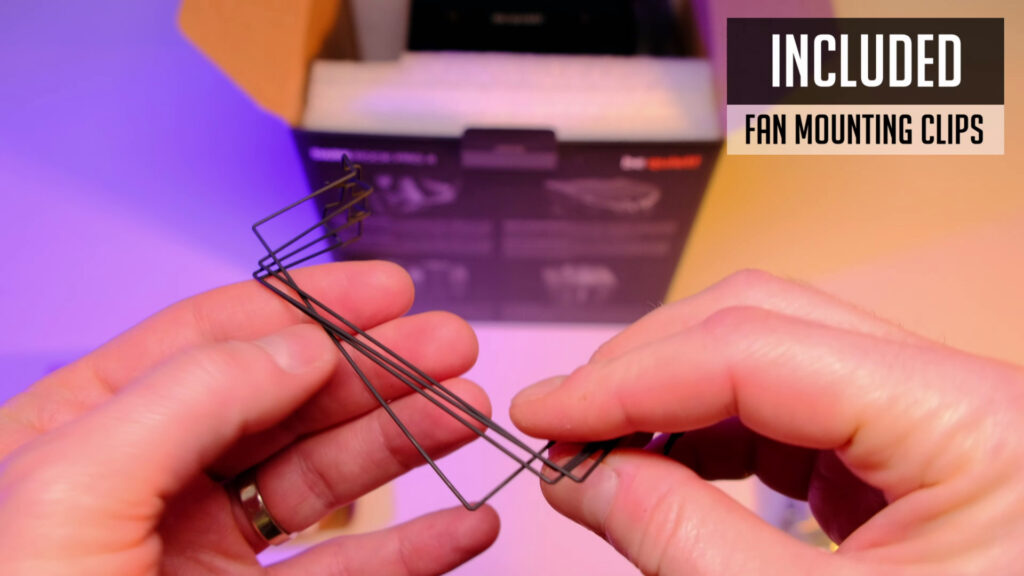
- Then we have fan mounting clips.
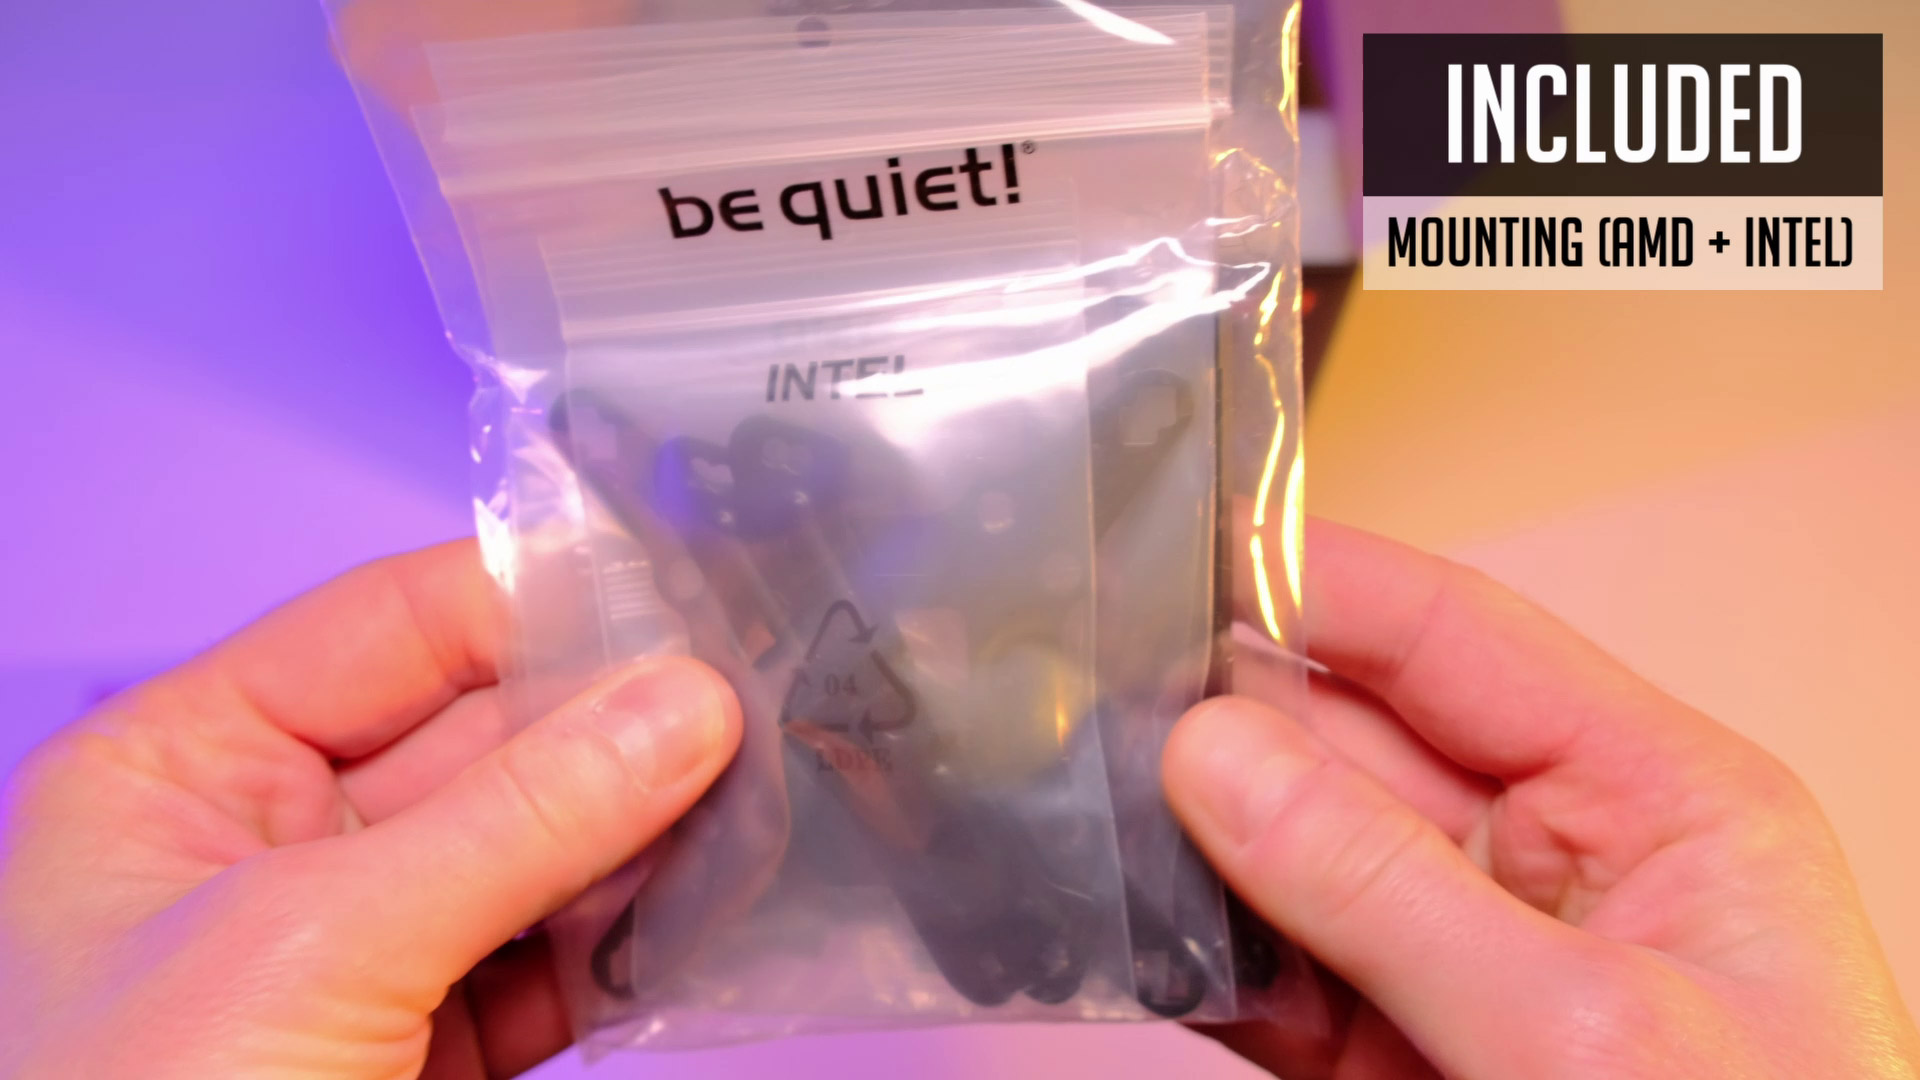
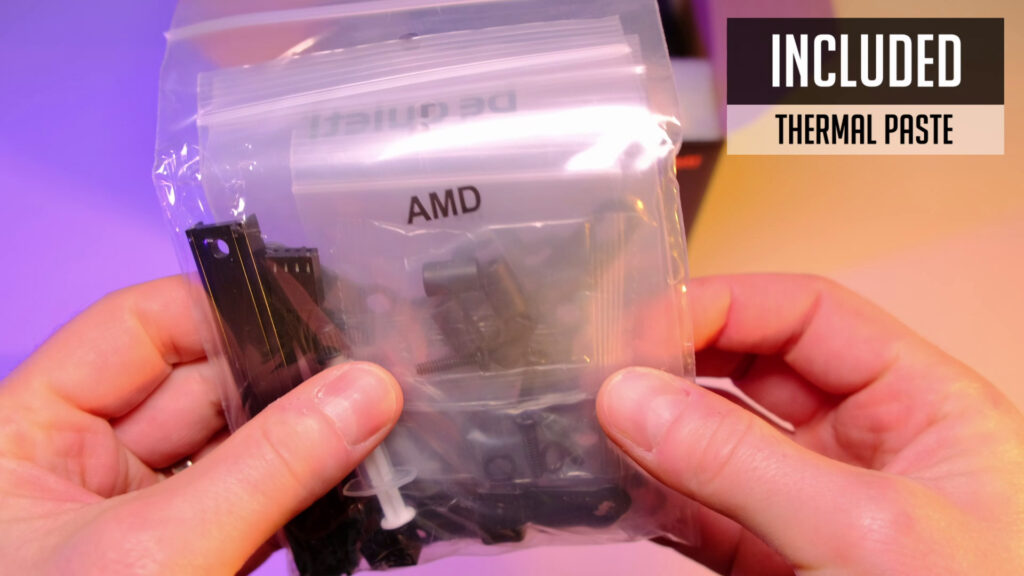
- And a plastic bag with mounting brackets and screws for AMD and Intel platforms.
- Also you get some thermal paste.
- And a splitter in order to connect two fans.
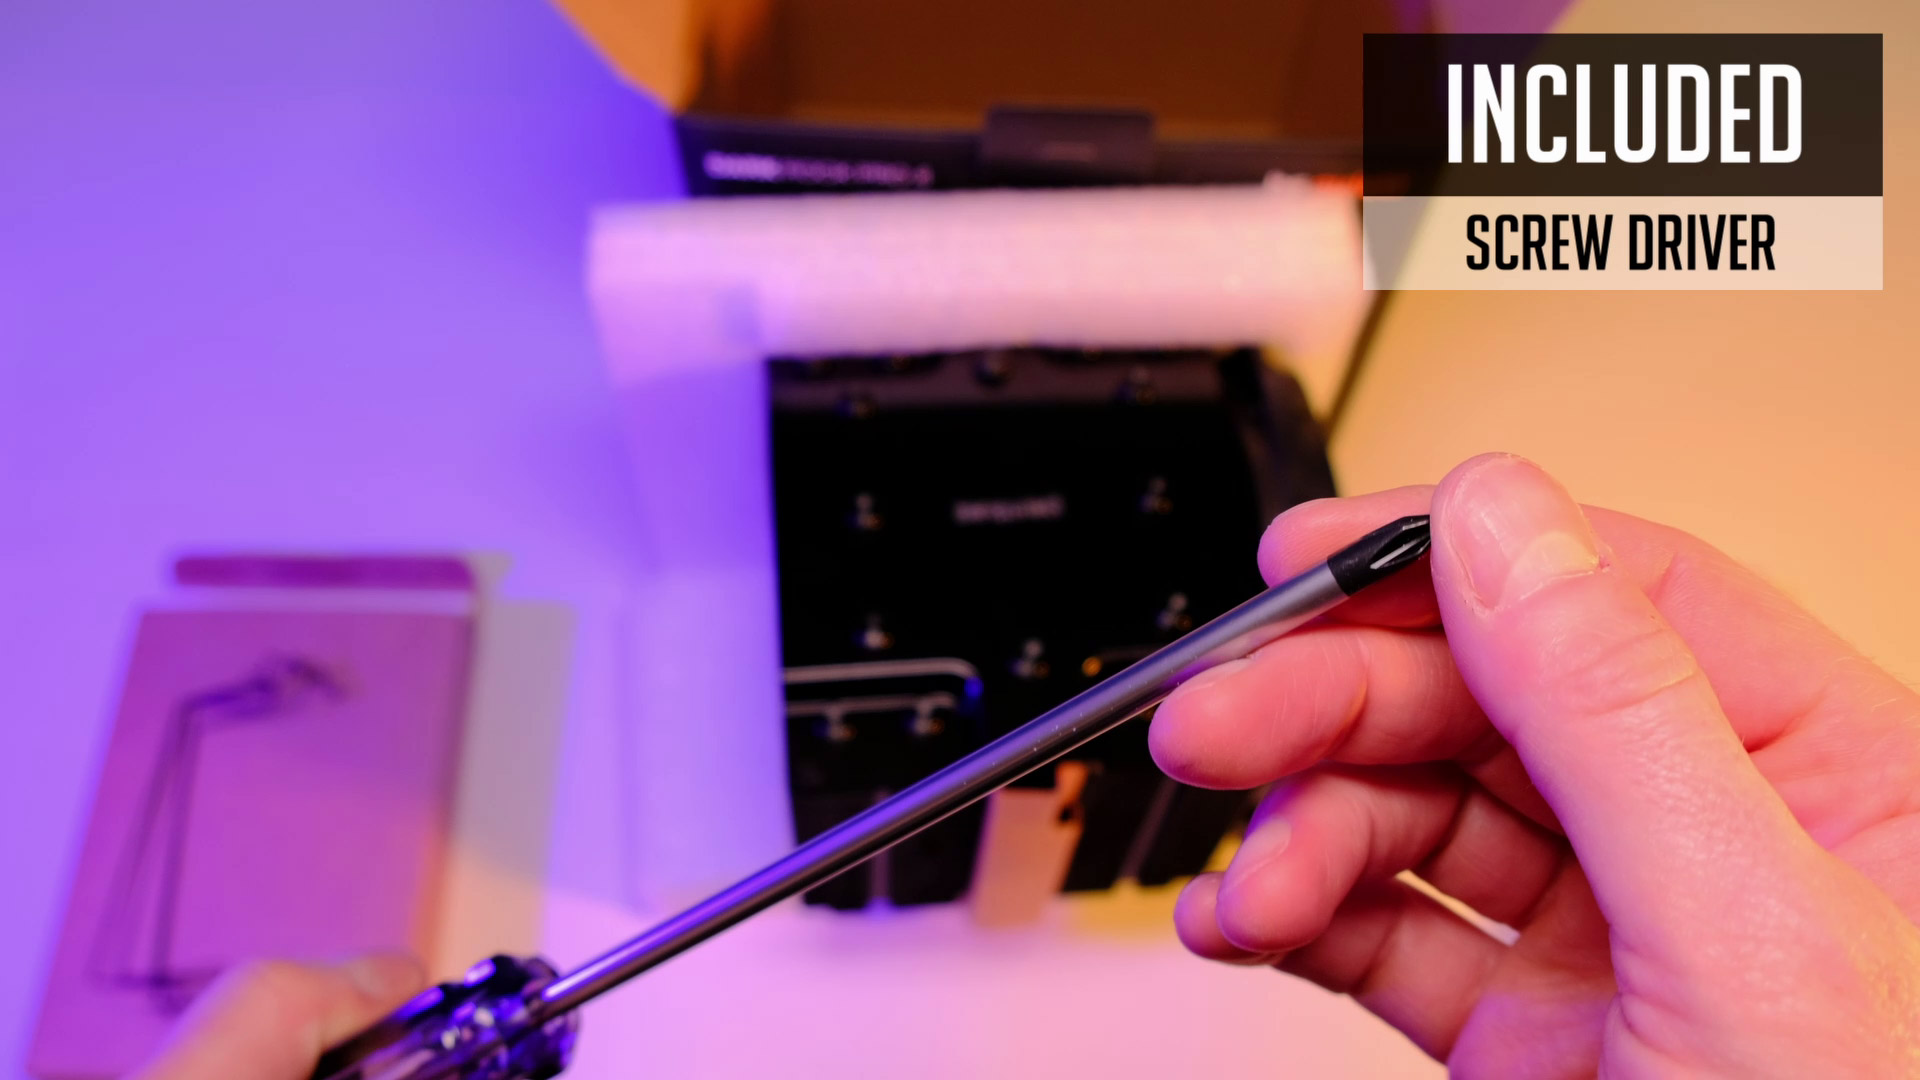
be quiet! designed this cooler in a way you need quite a long screwdriver. But it’s covered as they include one in a package. And It’s quite a decent one, with a magnetic tip. I mean I’m still using this screwdriver to this day when assembling other pc builds.
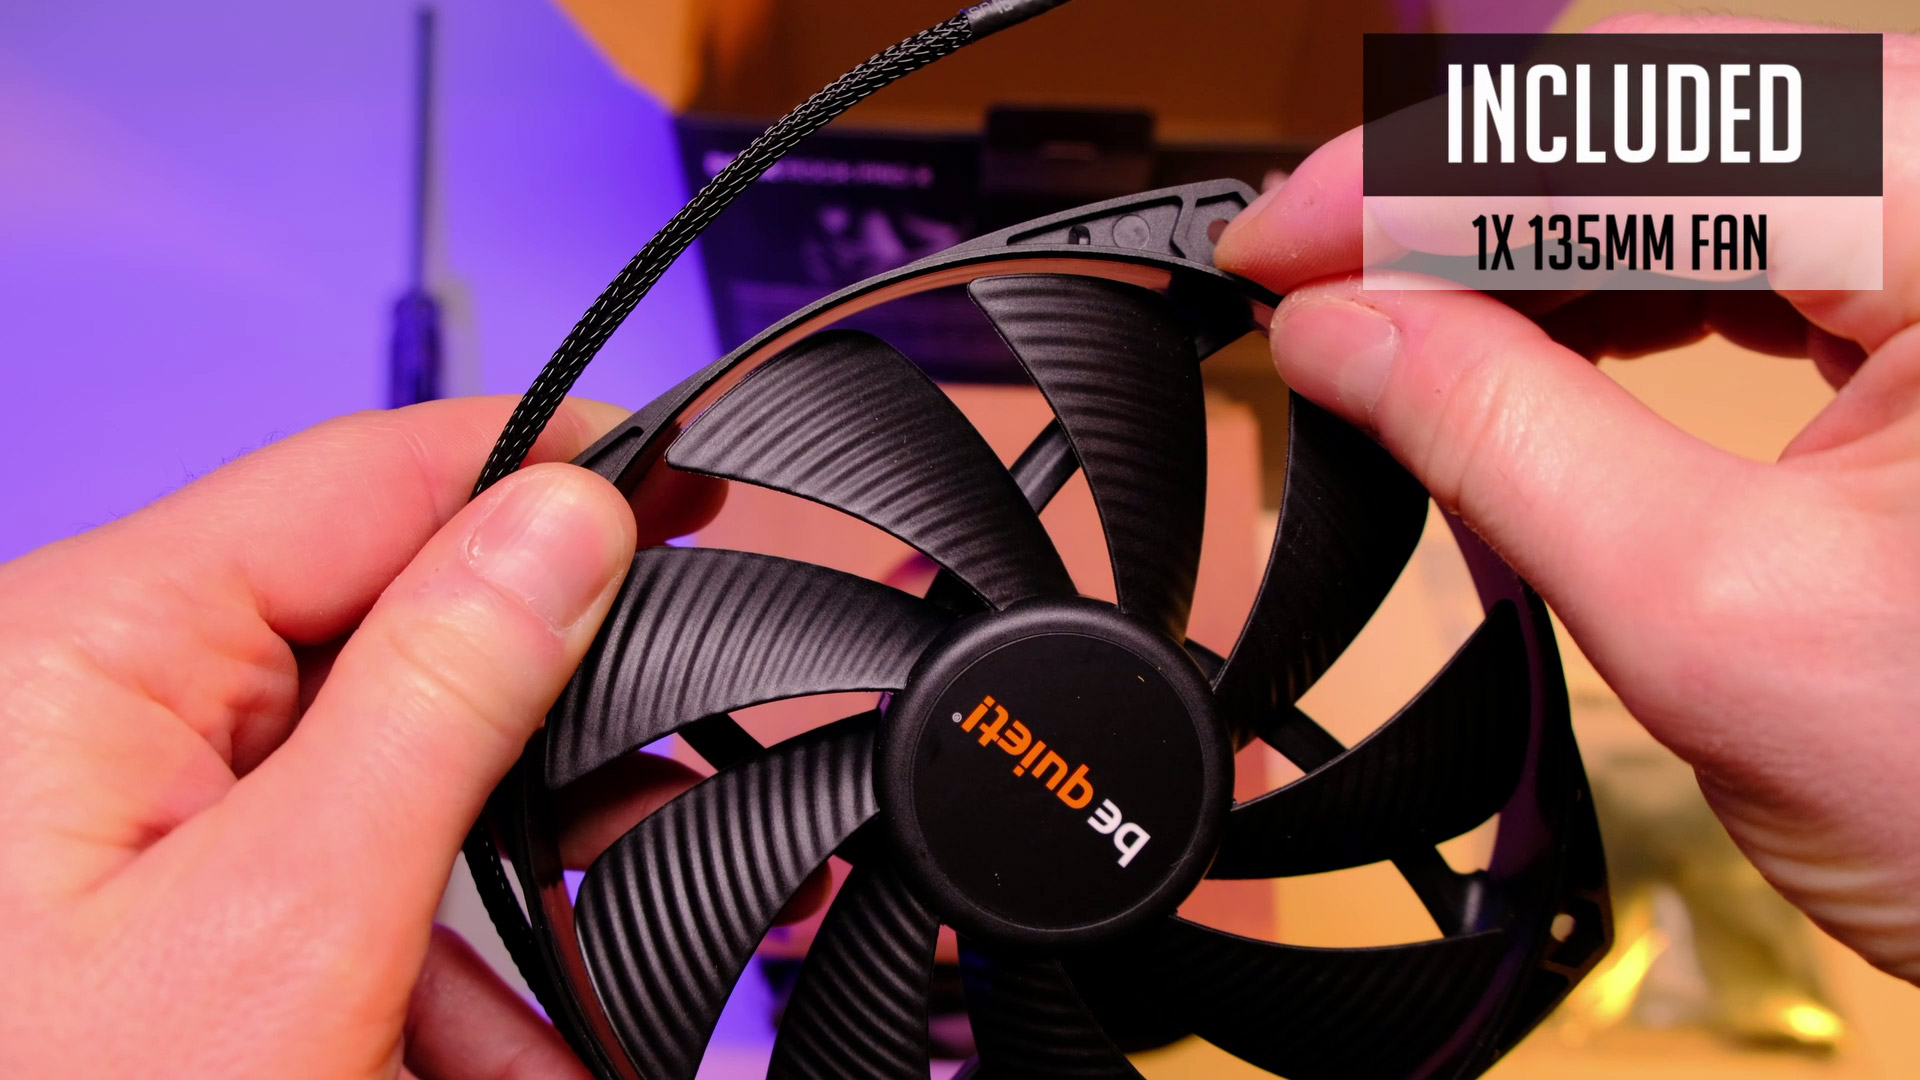
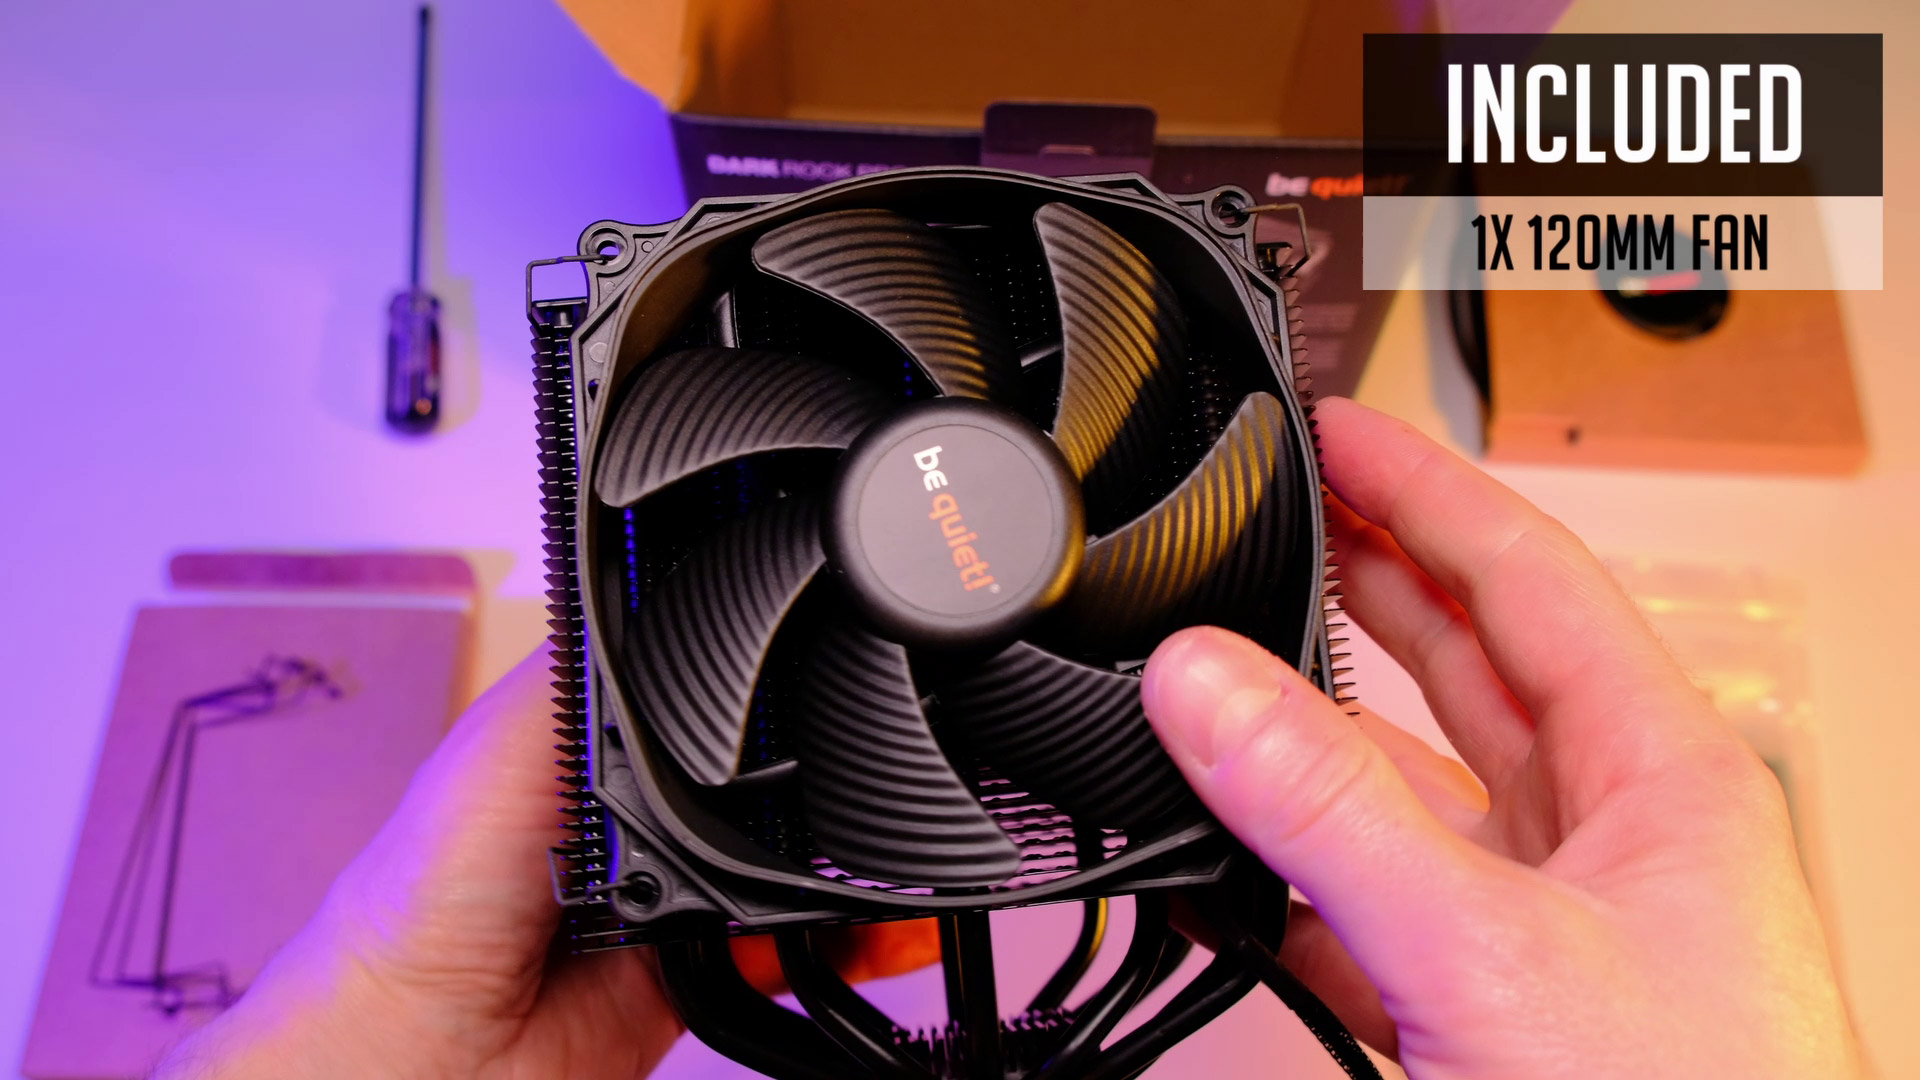
You will find a second fan that is not mounted but packed in an additional box inside of a cooler. This is a 135mm fan, yep, that’s right. It’s not a standard size for a fan.
And the front fan is 120mm.
Features

So what are the main features of this cooler?
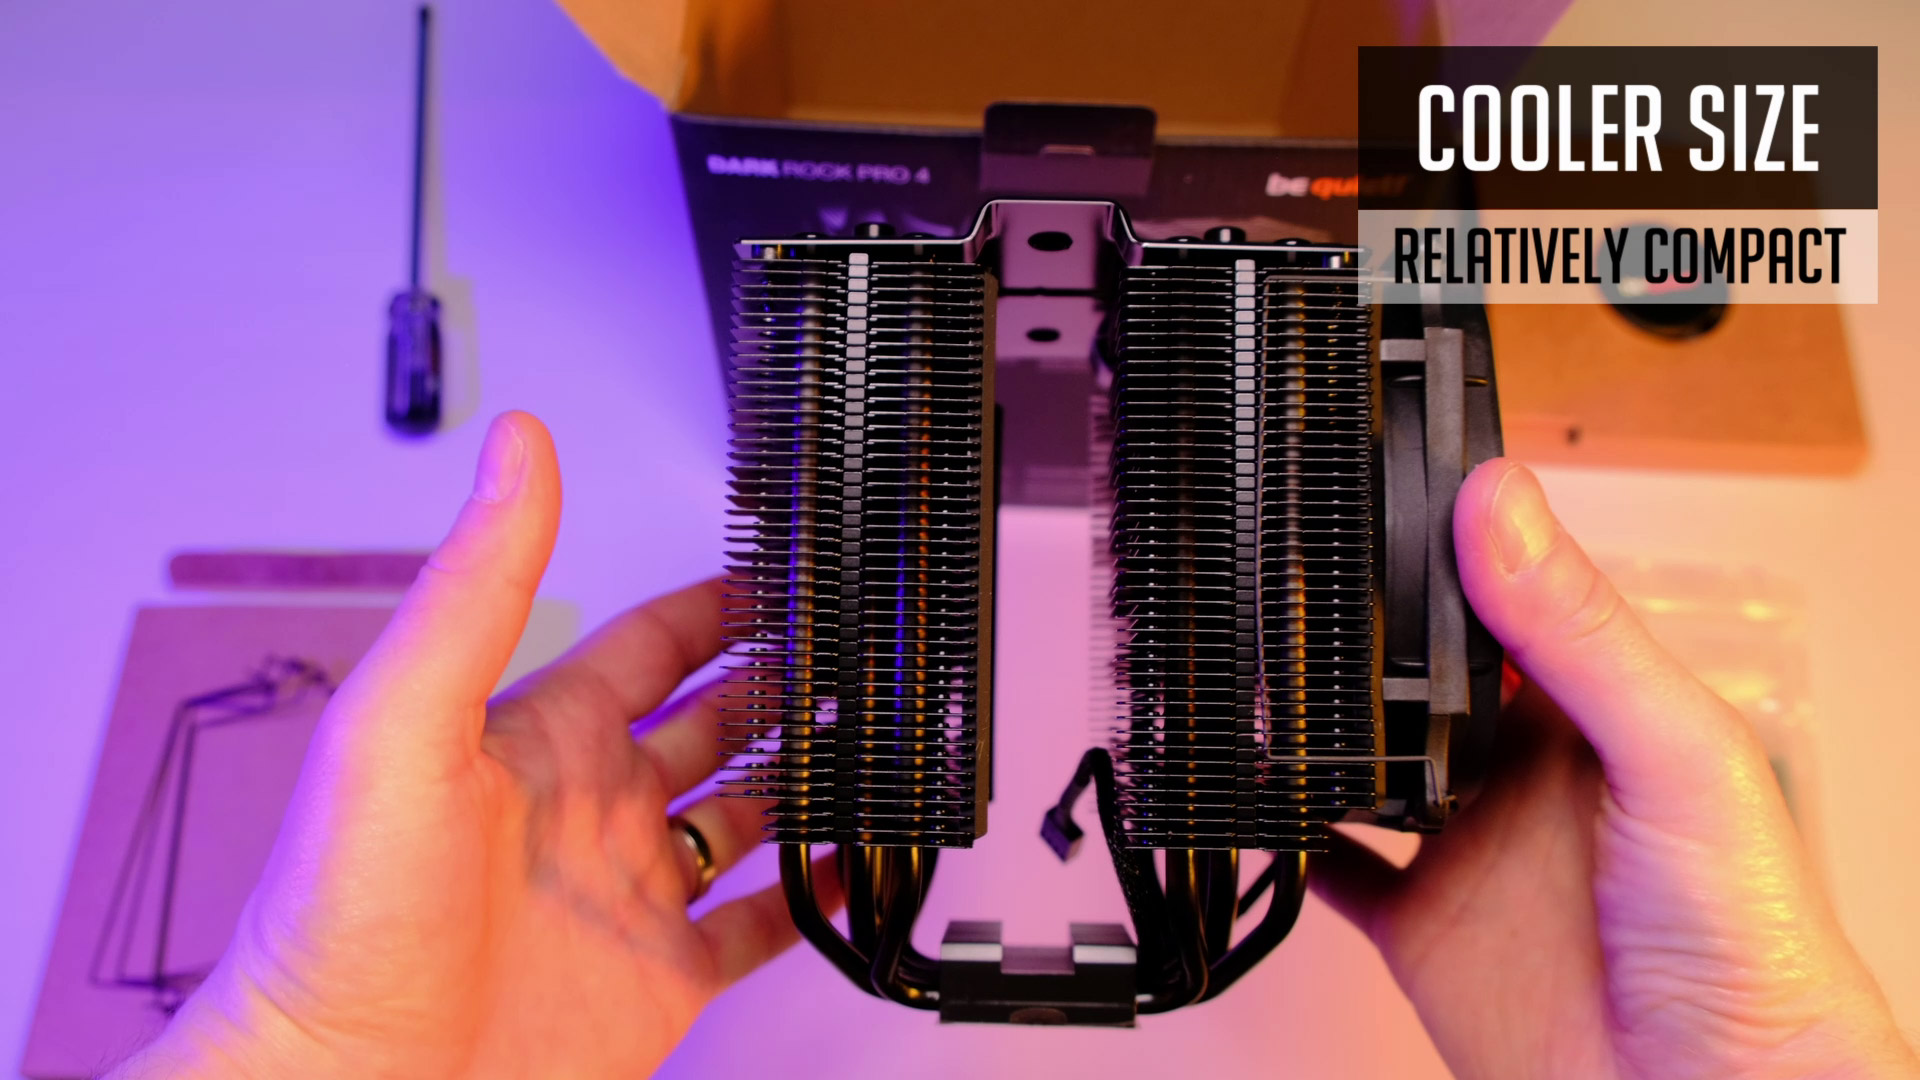
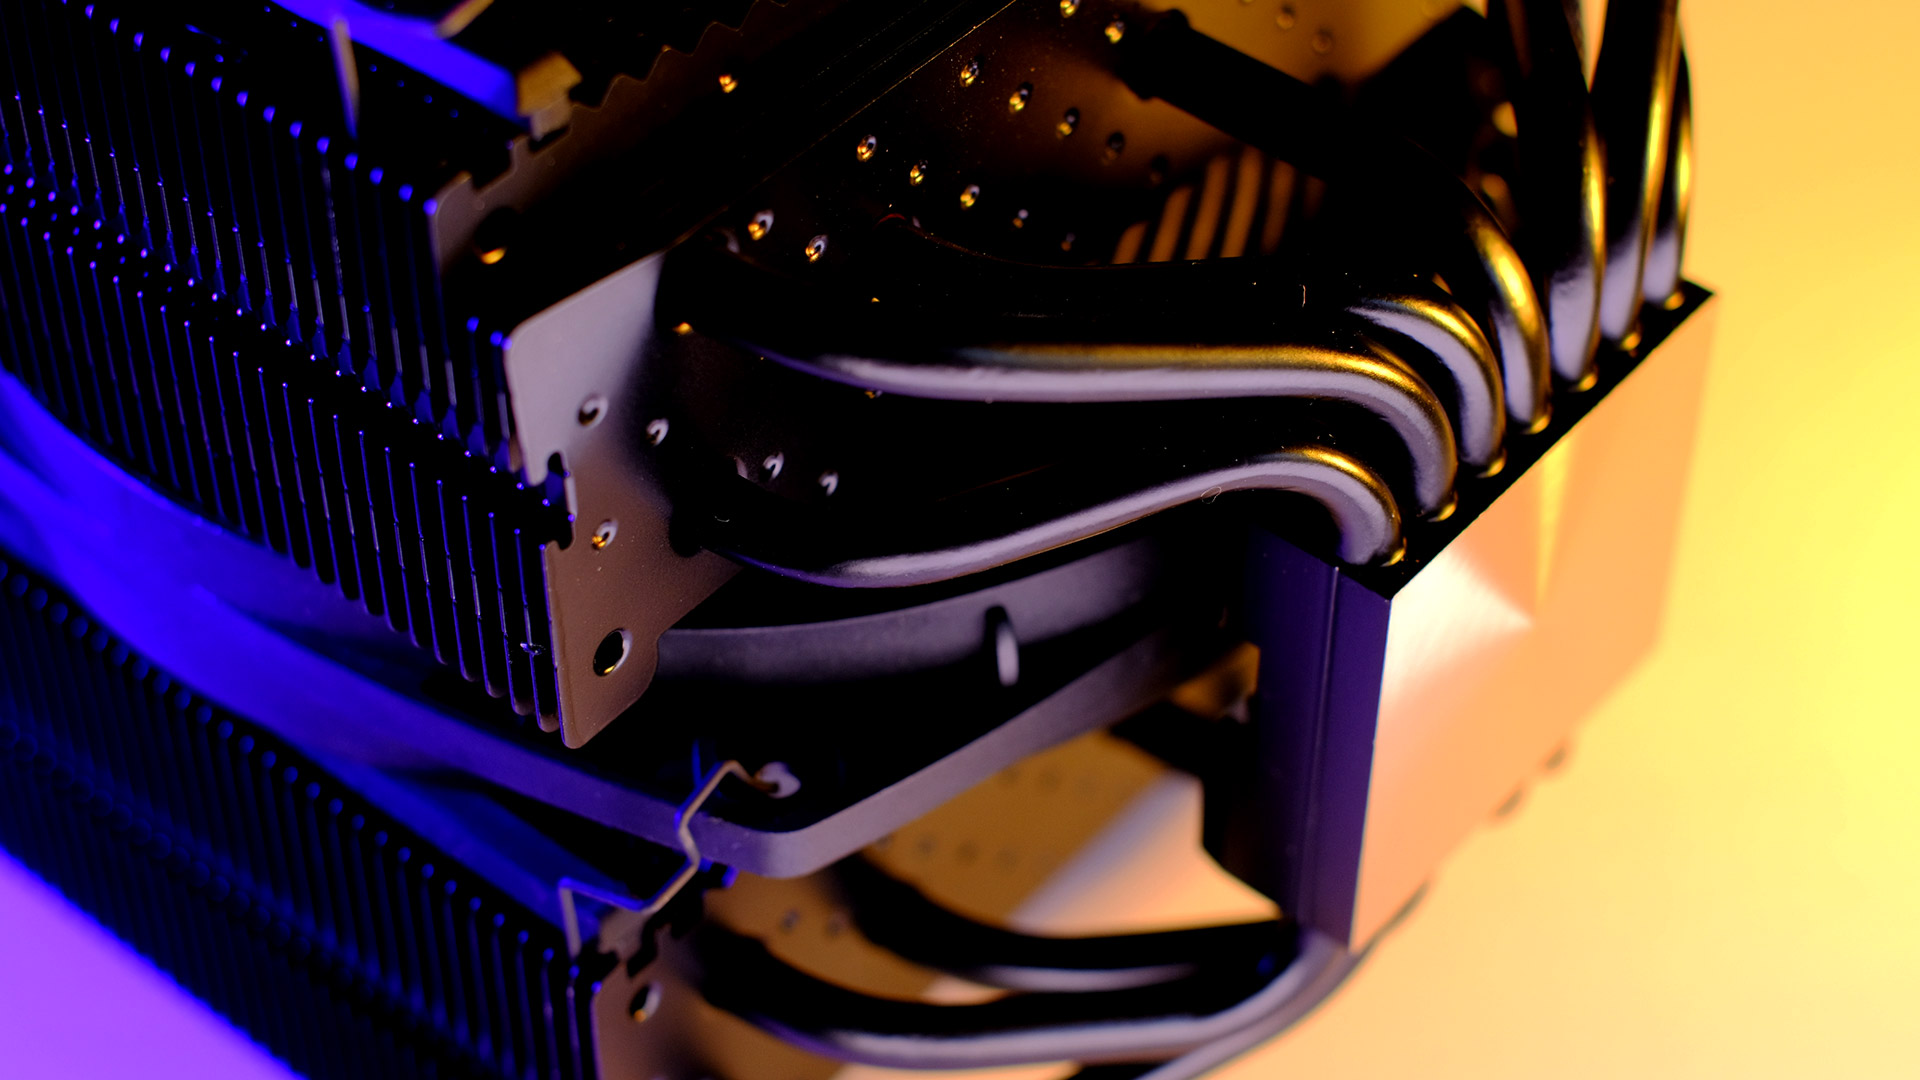
- First of all, it’s quite compact, having in mind it’s top-of-the-line air cooler. Probably “less bulky” is a better term when compared to it’s competitors.
Its heigh is 163mm and so it’s a couple of millimeters less than other premium coolers like Noctua NH-D15 or ASSASSIN III from a Deepcool. And so, Pro 4 can fit into a wide range of ATX and microATX PC cases. - When using similar air coolers, RAM compatibility can be a tricky thing. Especially if all the DIMM slots are populated. In most cases, you need to use low profile ram in order for everything to fit well. But PRO 4 has a decent gap between its heatsink or fan and a DIMM slot. So I had no probs using RGB RAM with this cooler. But to be sure, you should always check the heigh of ram sticks before getting them.
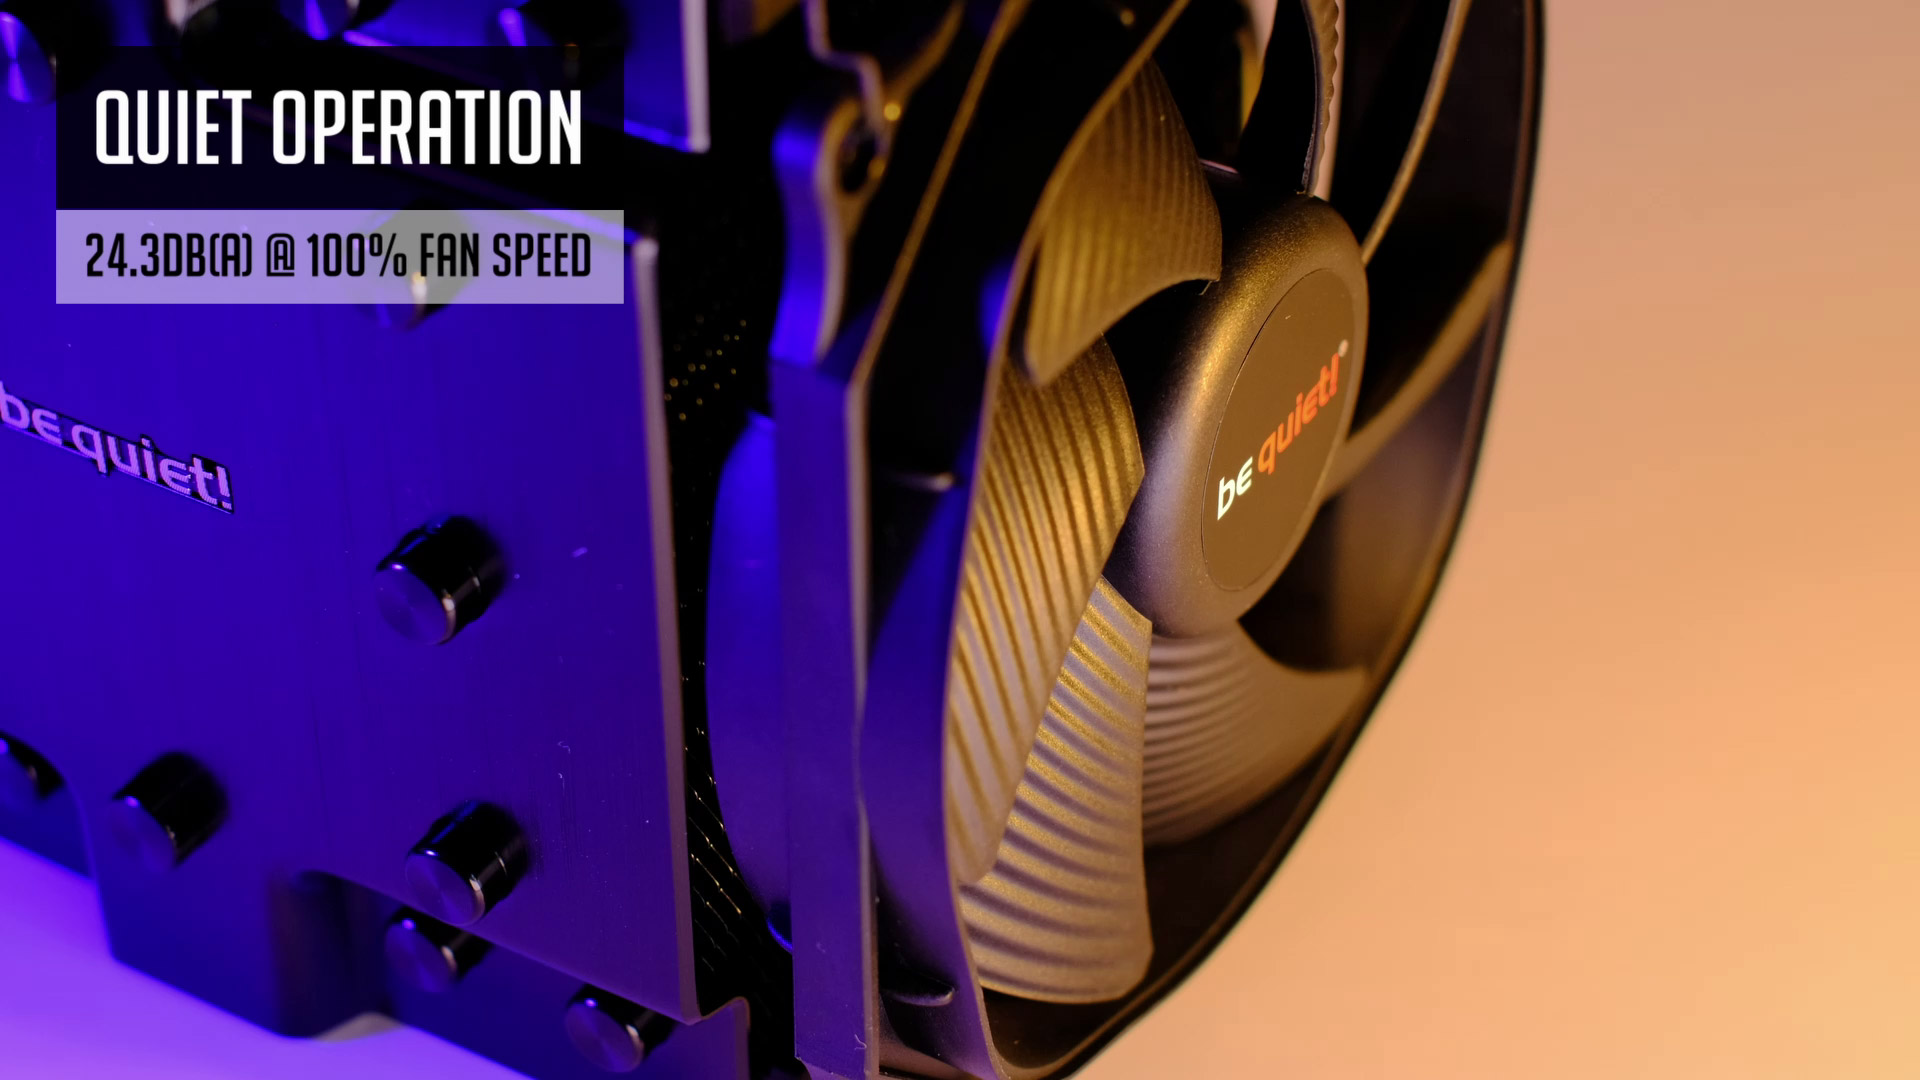
- Low fan noise – as the brand name suggests, be quiet! makes one of the lowest noise fans in the market. According to the spec, Dark Rock PRO 4 noise level sits at 24.3dBa under 100% fan load.
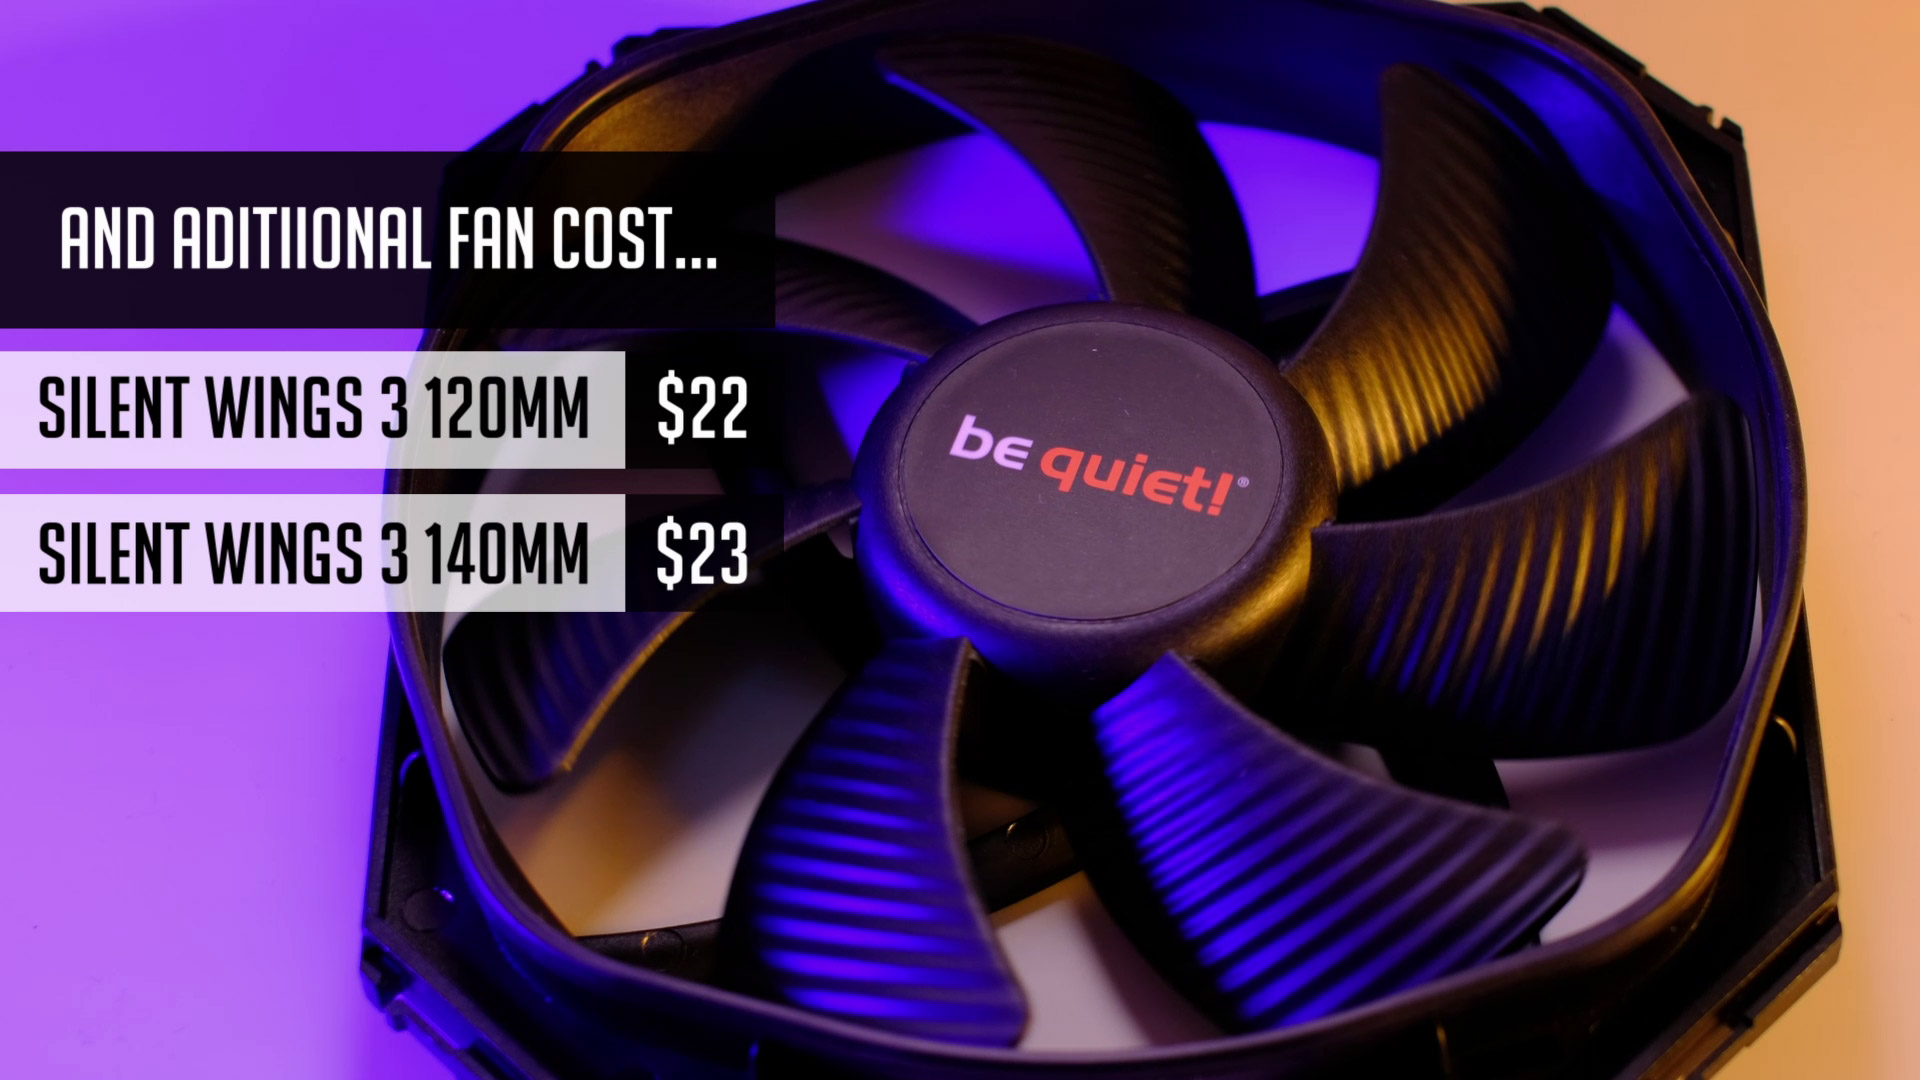
So in case, you are building a quiet high-end system, Dark Rock PRO 4 is definitely a good pick. - As you get additional fan brackets, it’s possible to mount a 3rd fan from the back of the cooler. But the performance gains are questionable, a few degrees at most if any. But anyway, it’s cool you have this option anyway.
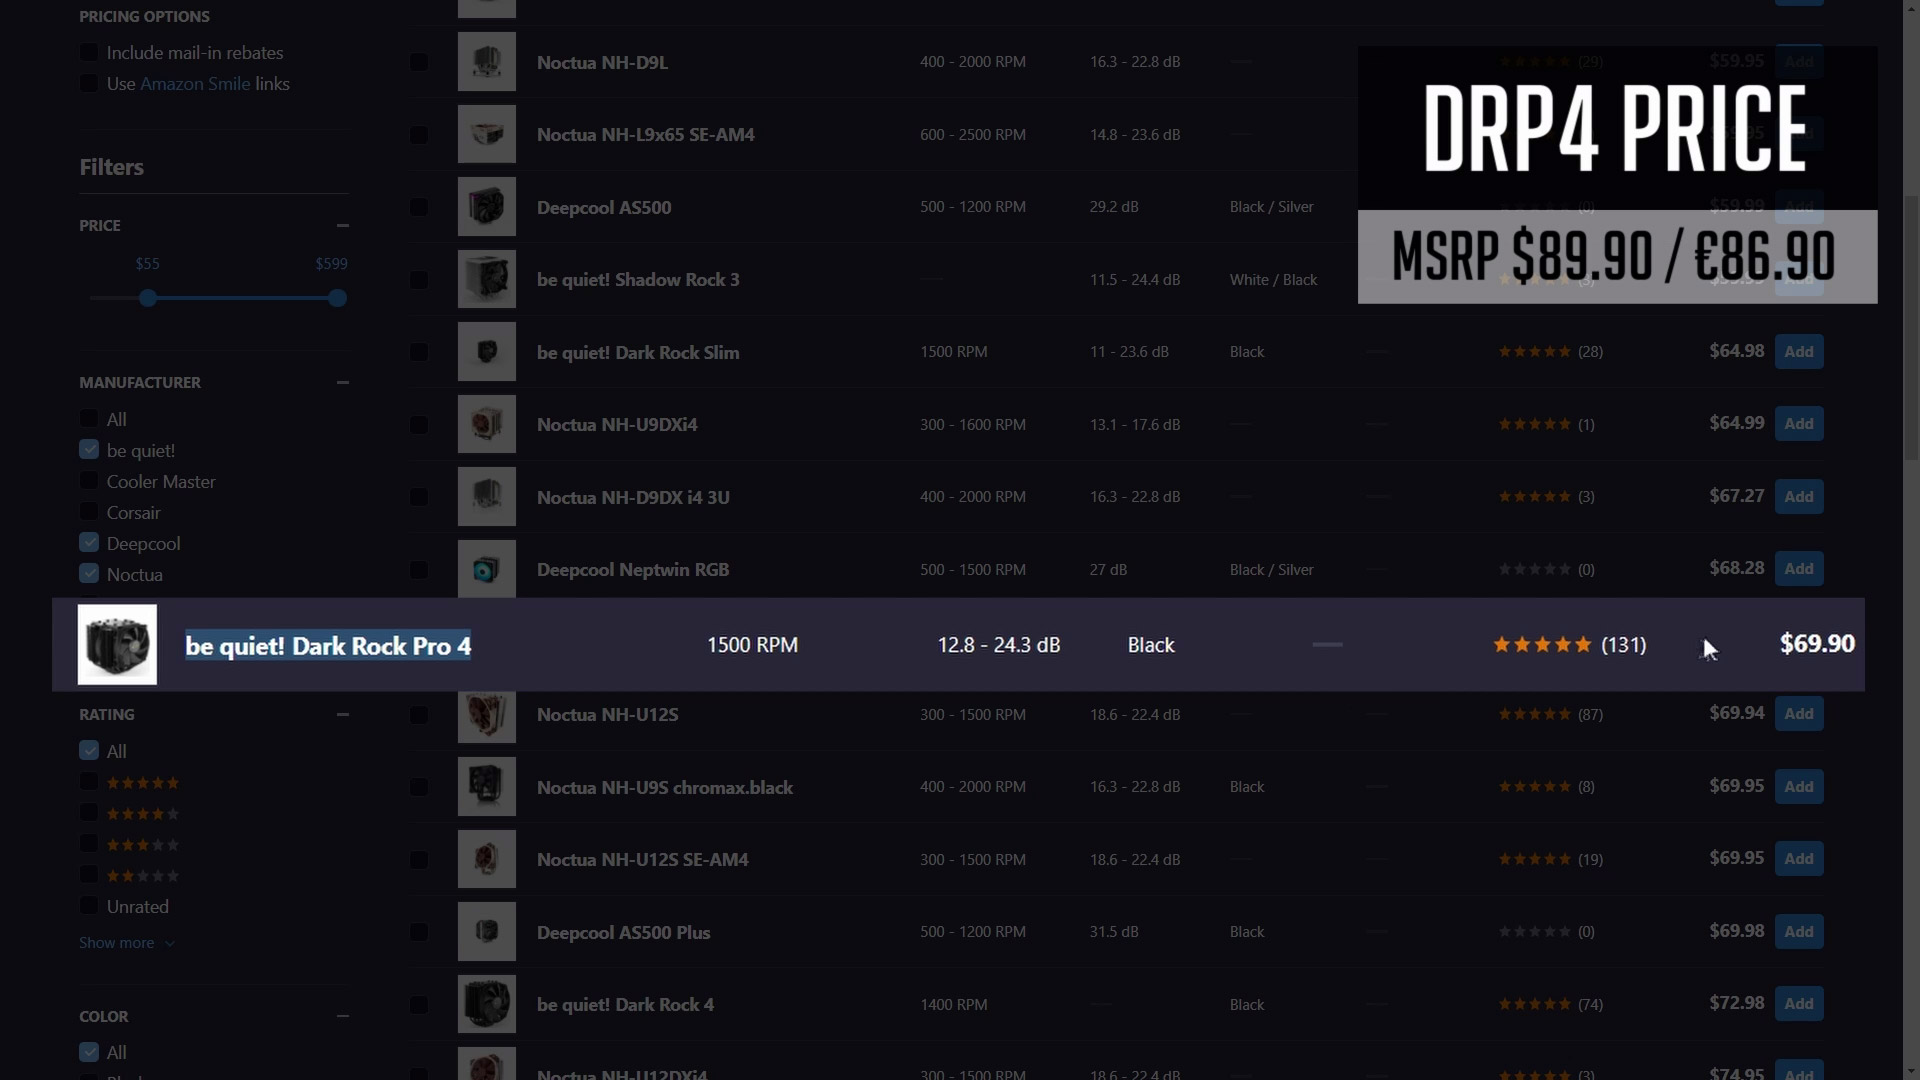
Dark Rock Pro 4 MSRP price is around $90, but from time to time, you can find it for around $70 to $85. Compared to other premium coolers, it’s definitely a decent price, having in mind NH-D15 goes for around $100 and ASSASSIN III for $90. It’s true, you can find some cheaper alternatives, but we will talk about them a bit later.
Installation (AM4)
Let’s move on to the installation part. Be sure you have an installation manual near you and choose the right plastic bag according to your platform – I will go with an AMD one for today.
#1 Preparation
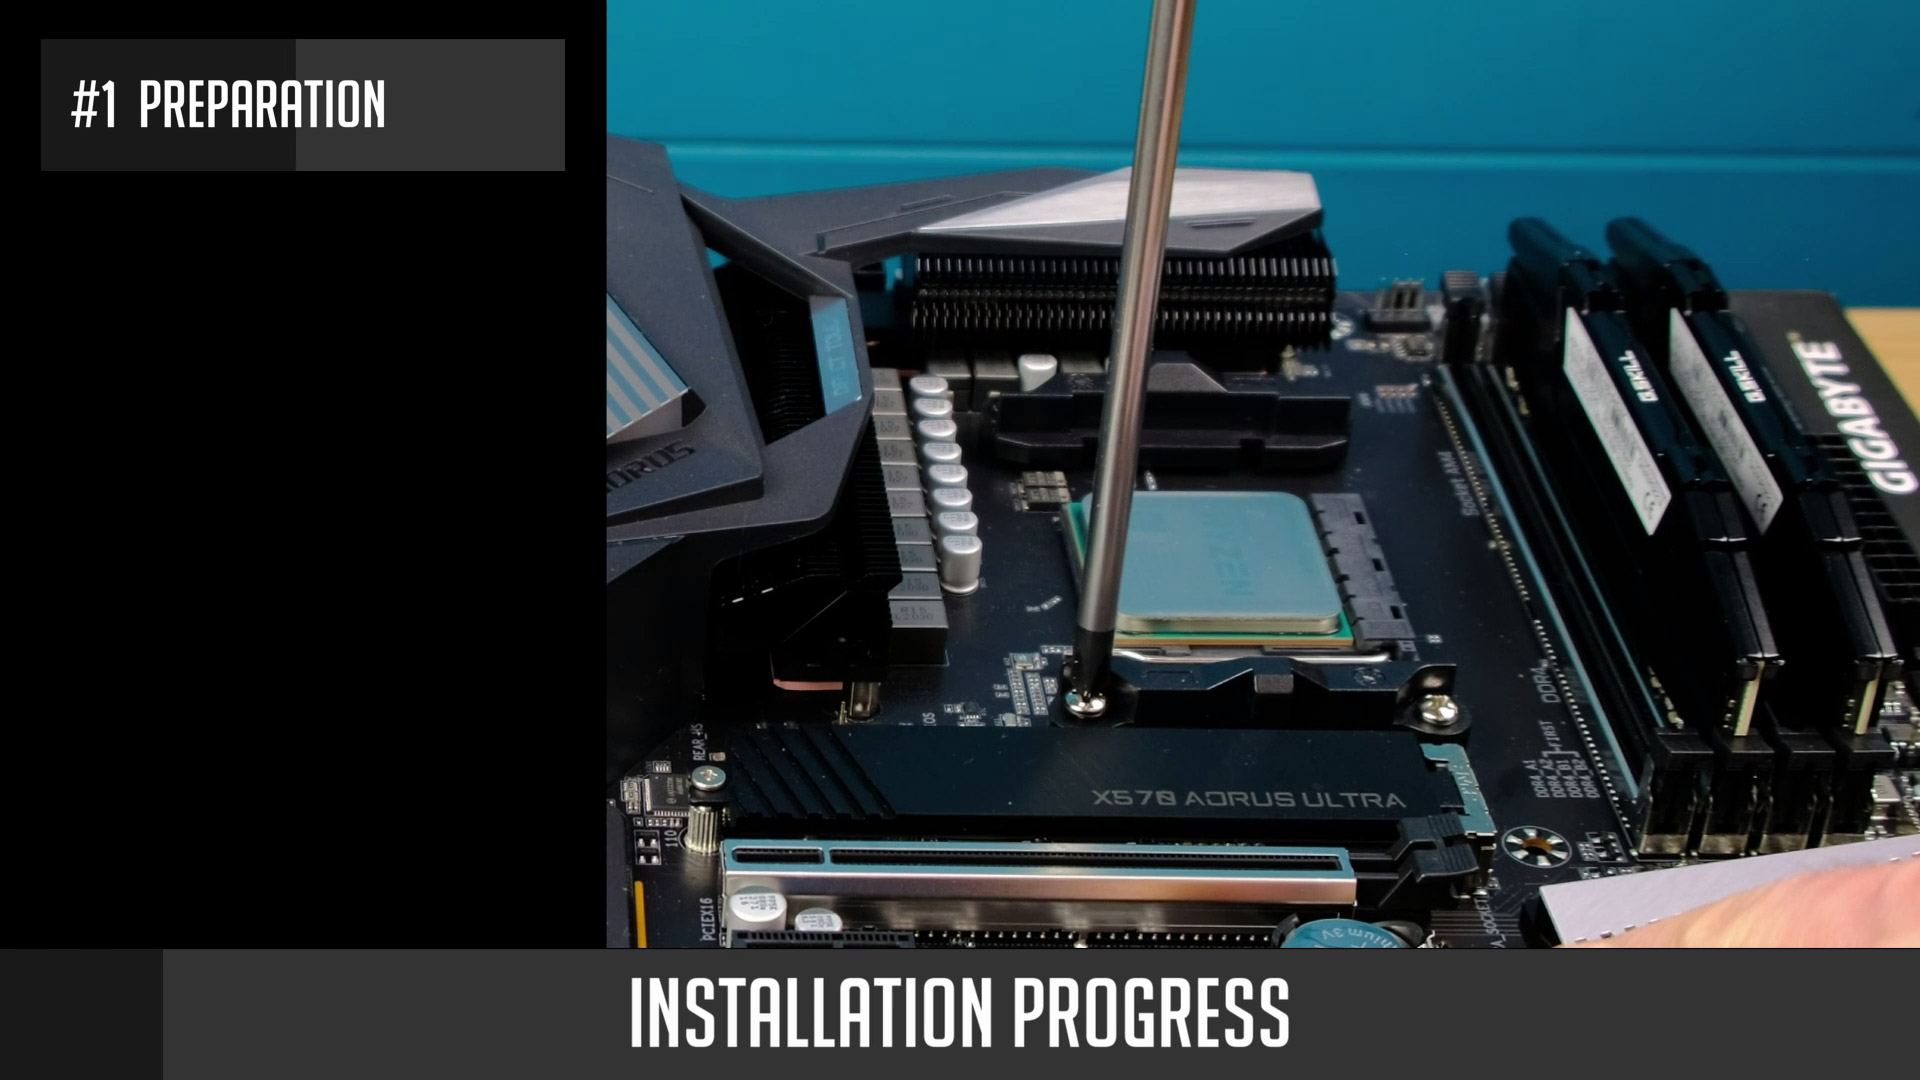

- Firstly, unscrew stock brackets that come pre-installed with your motherboard. I suggest keeping them, since you may need them in case you decide to change to a different cooler in the future.
- Do not remove the stock backplate, as it will be used for this mounting.
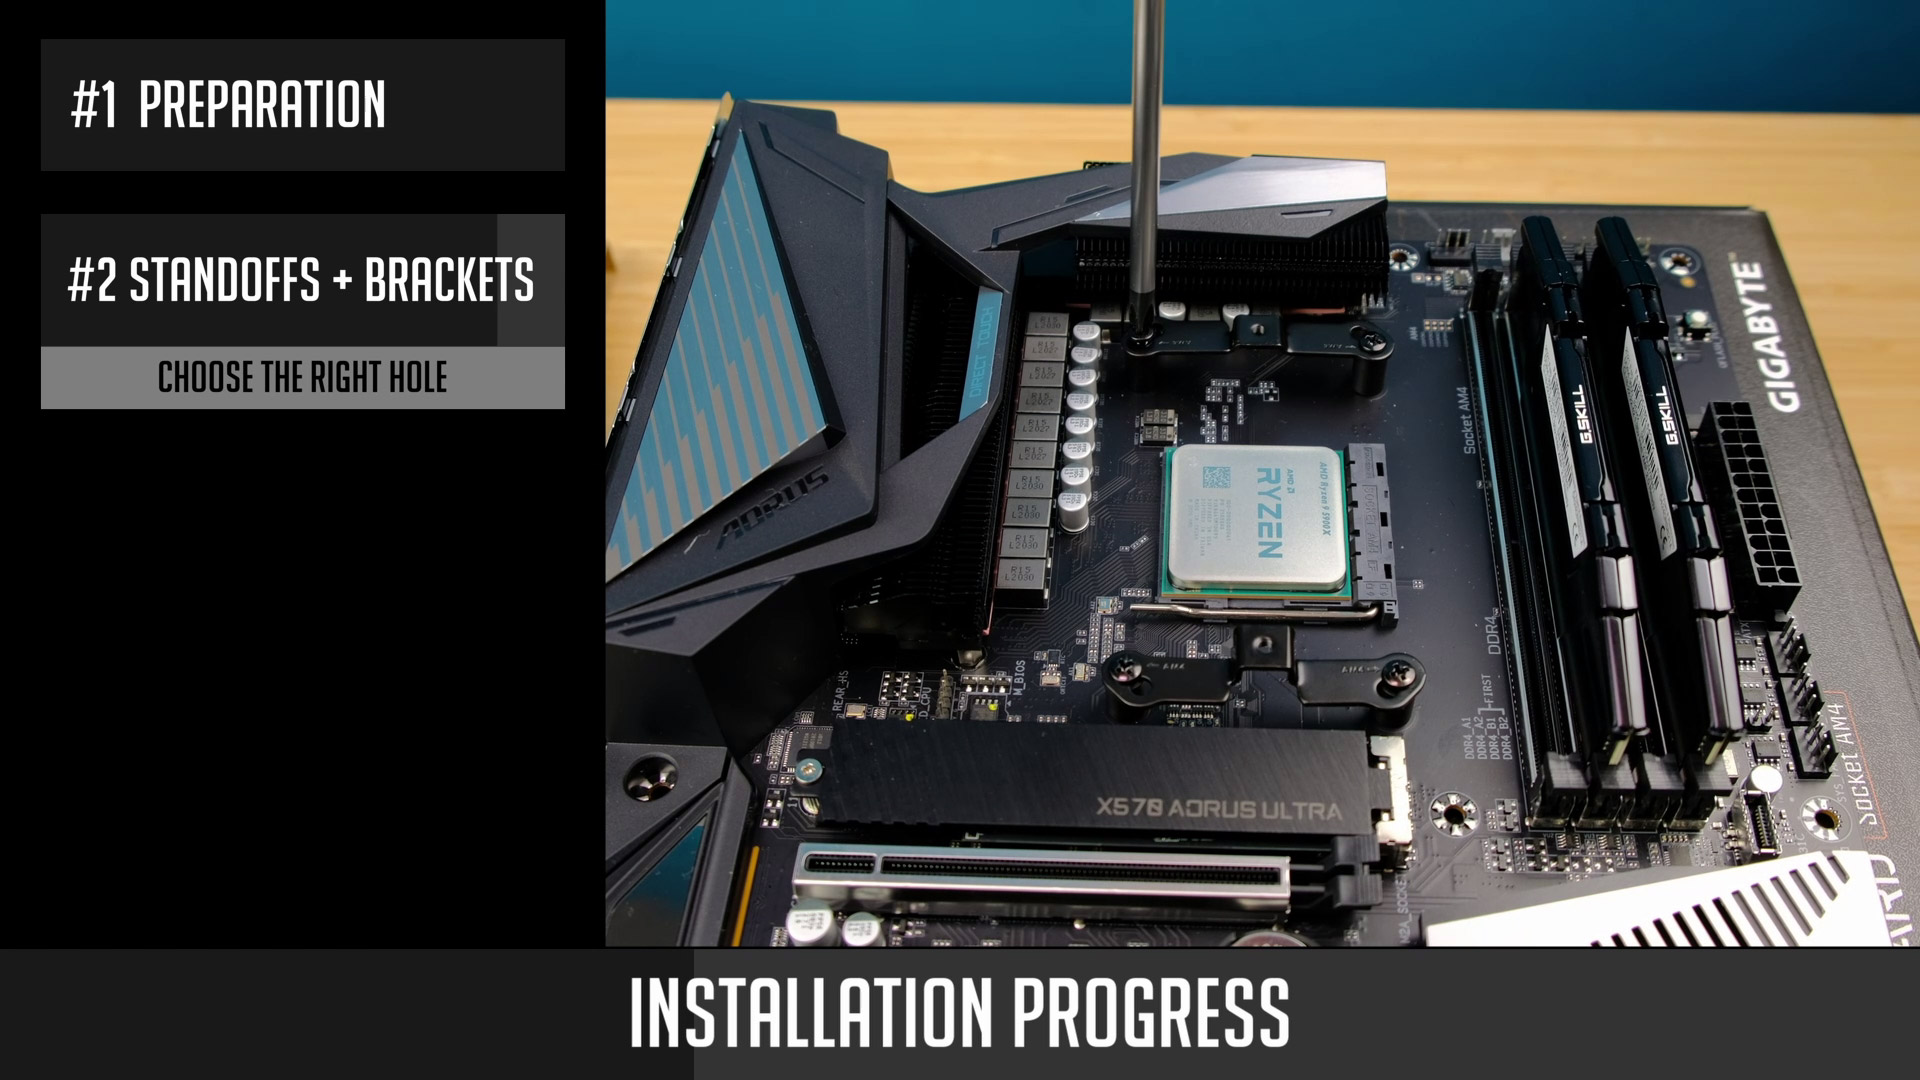
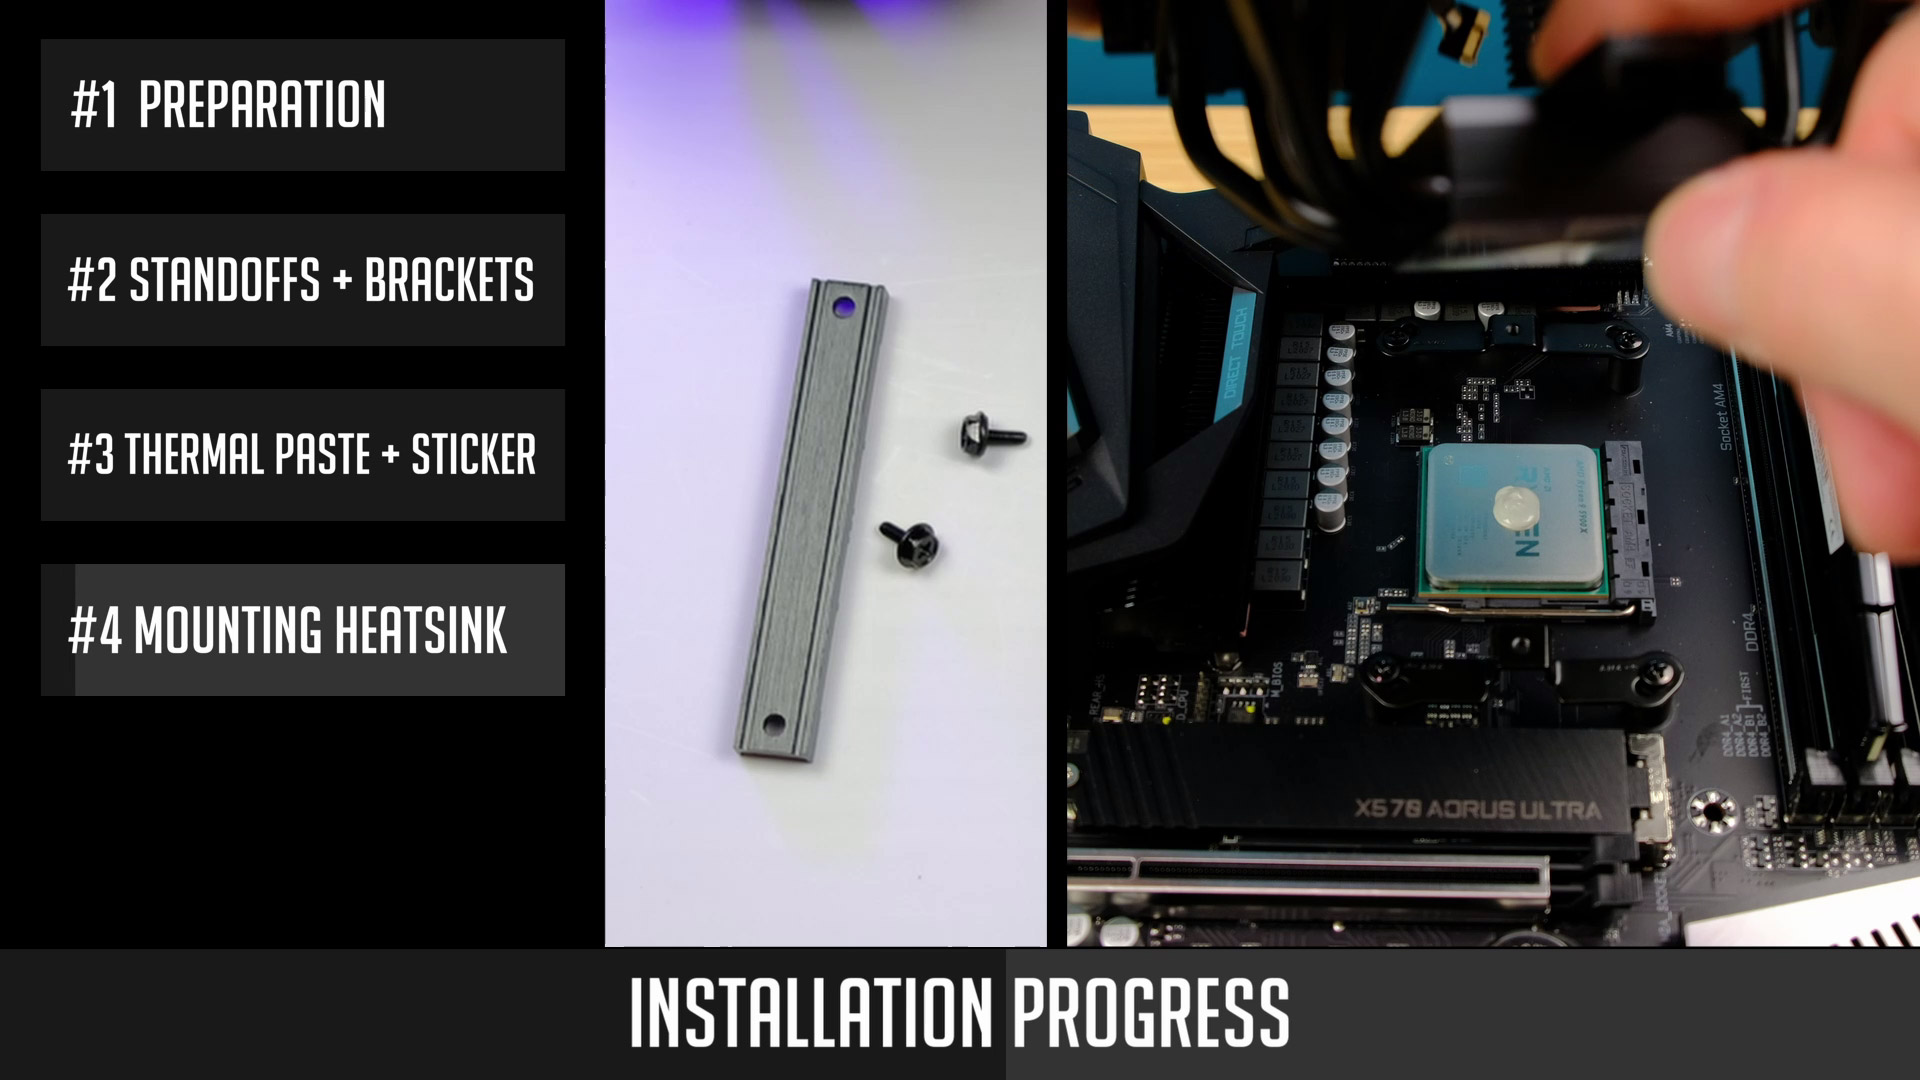
#2 Standoffs + Brackets

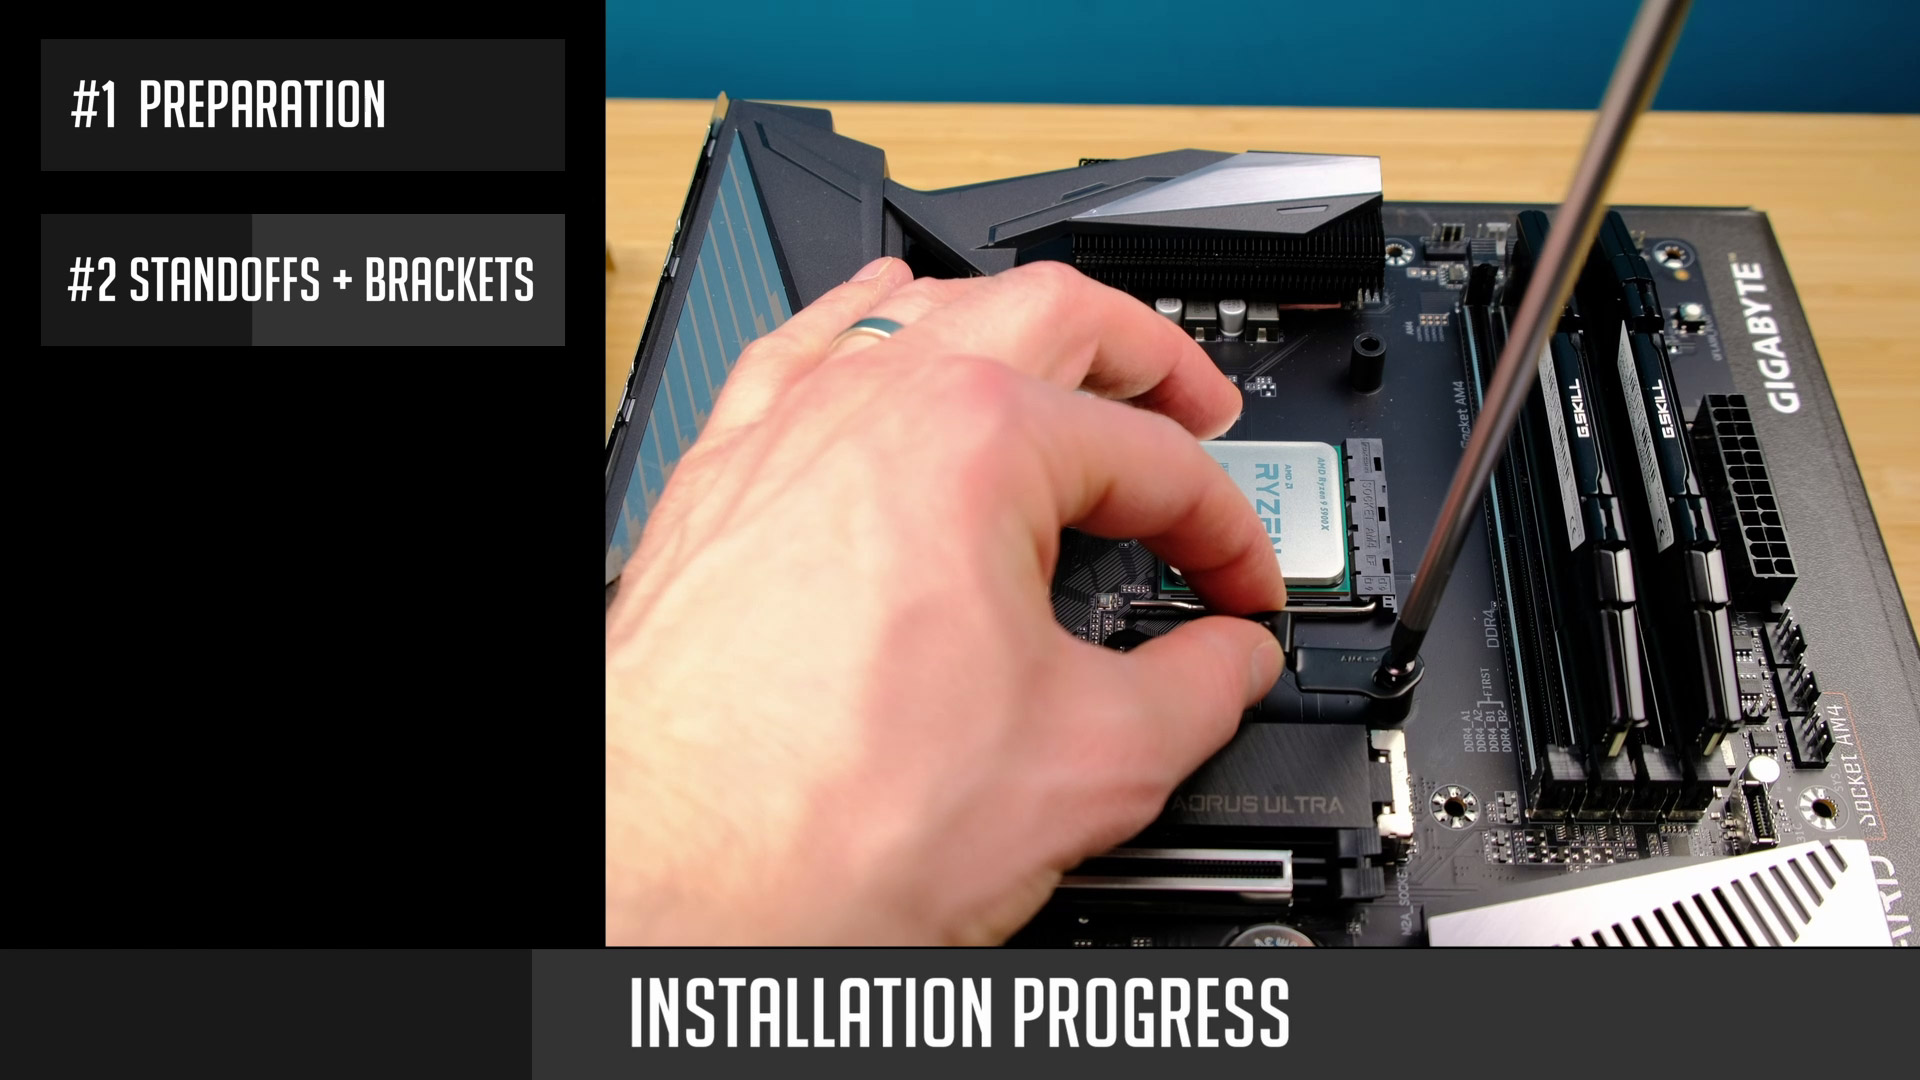
- Then you need 4 plastic standoffs – place them over a backplate.
- Next, you need to screw these two brackets. Each bracket has two holes on each side, so be sure you place a screw in a right hole. In our case, it’s an AM4 socket, so I use the top holes. The same goes for the 2nd bracket.
#3 Thermal Paste + Sticker

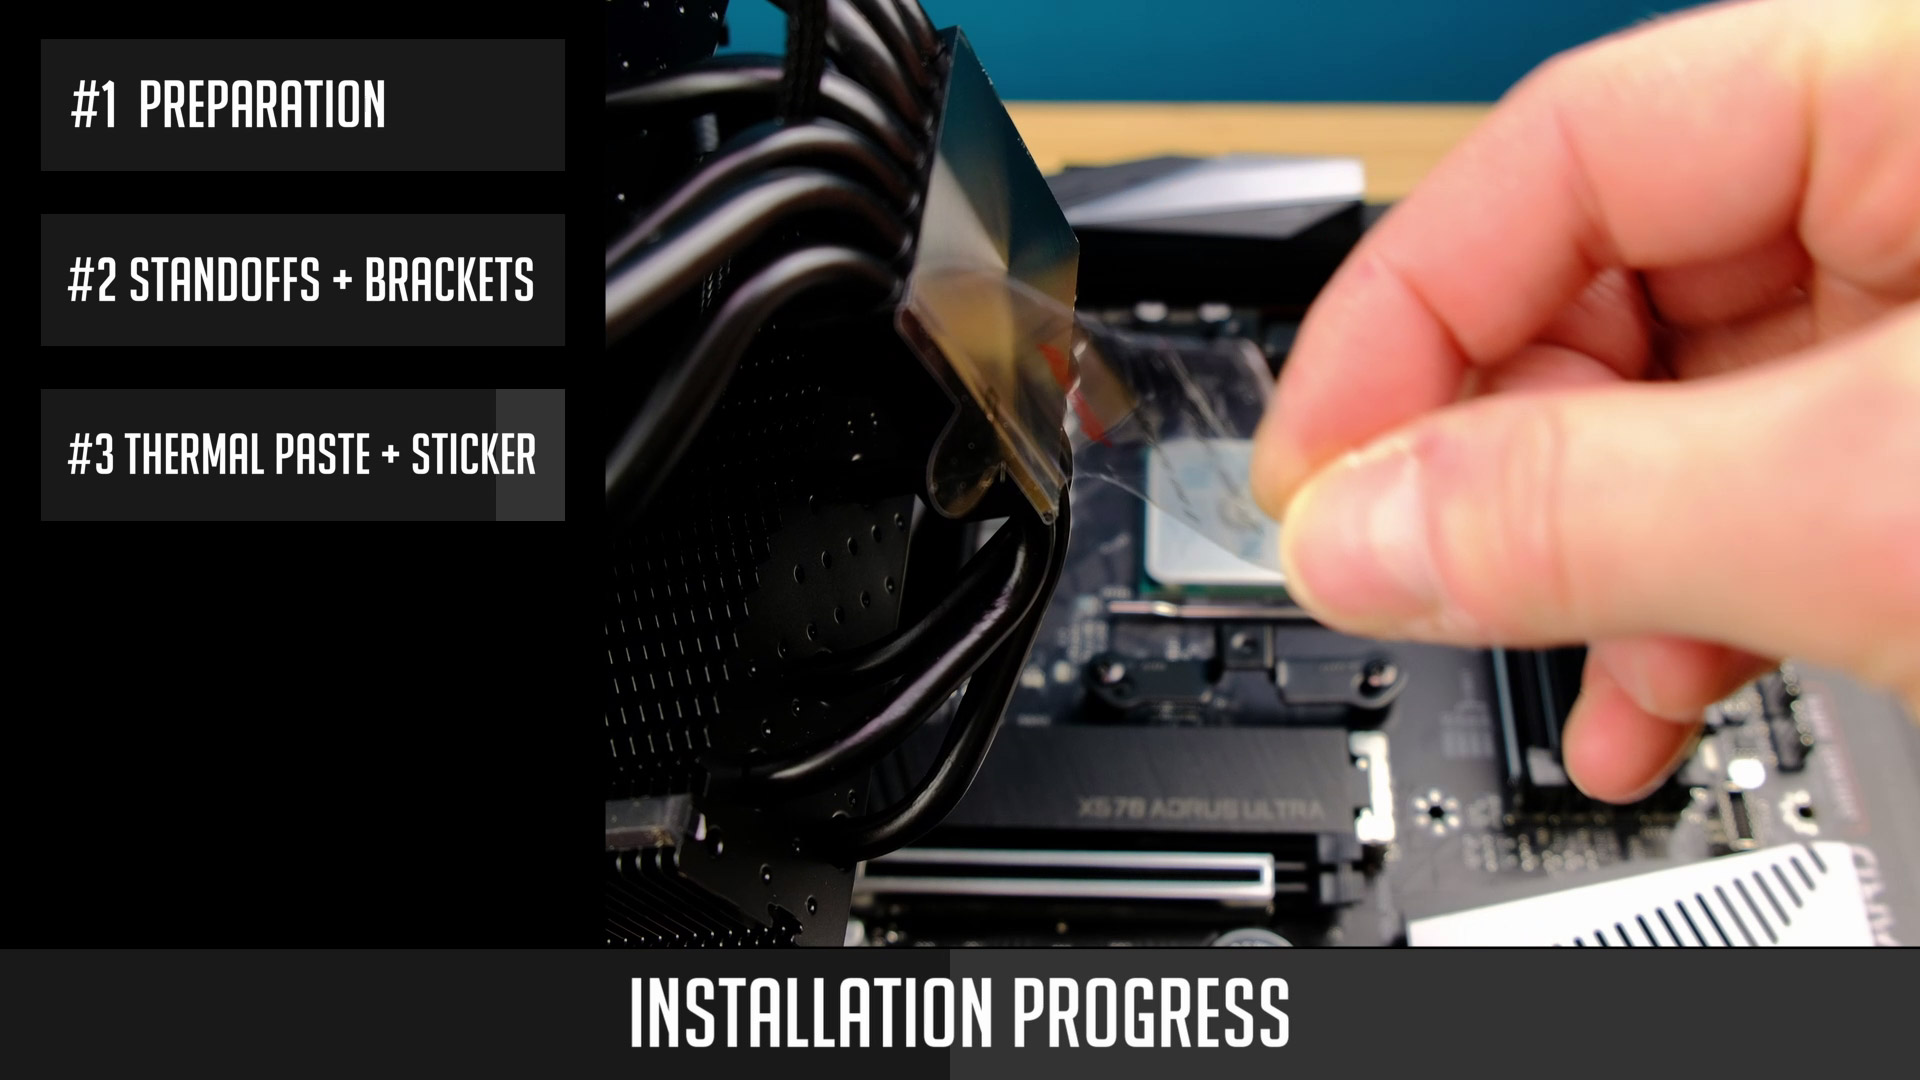
- Thermal paste comes with a cooler, but it is not pre-applied, so be sure you apply a thermal paste to a CPU before moving forward.
- Do not forget to remove a plastic sticker from the bottom of dark pro 4.
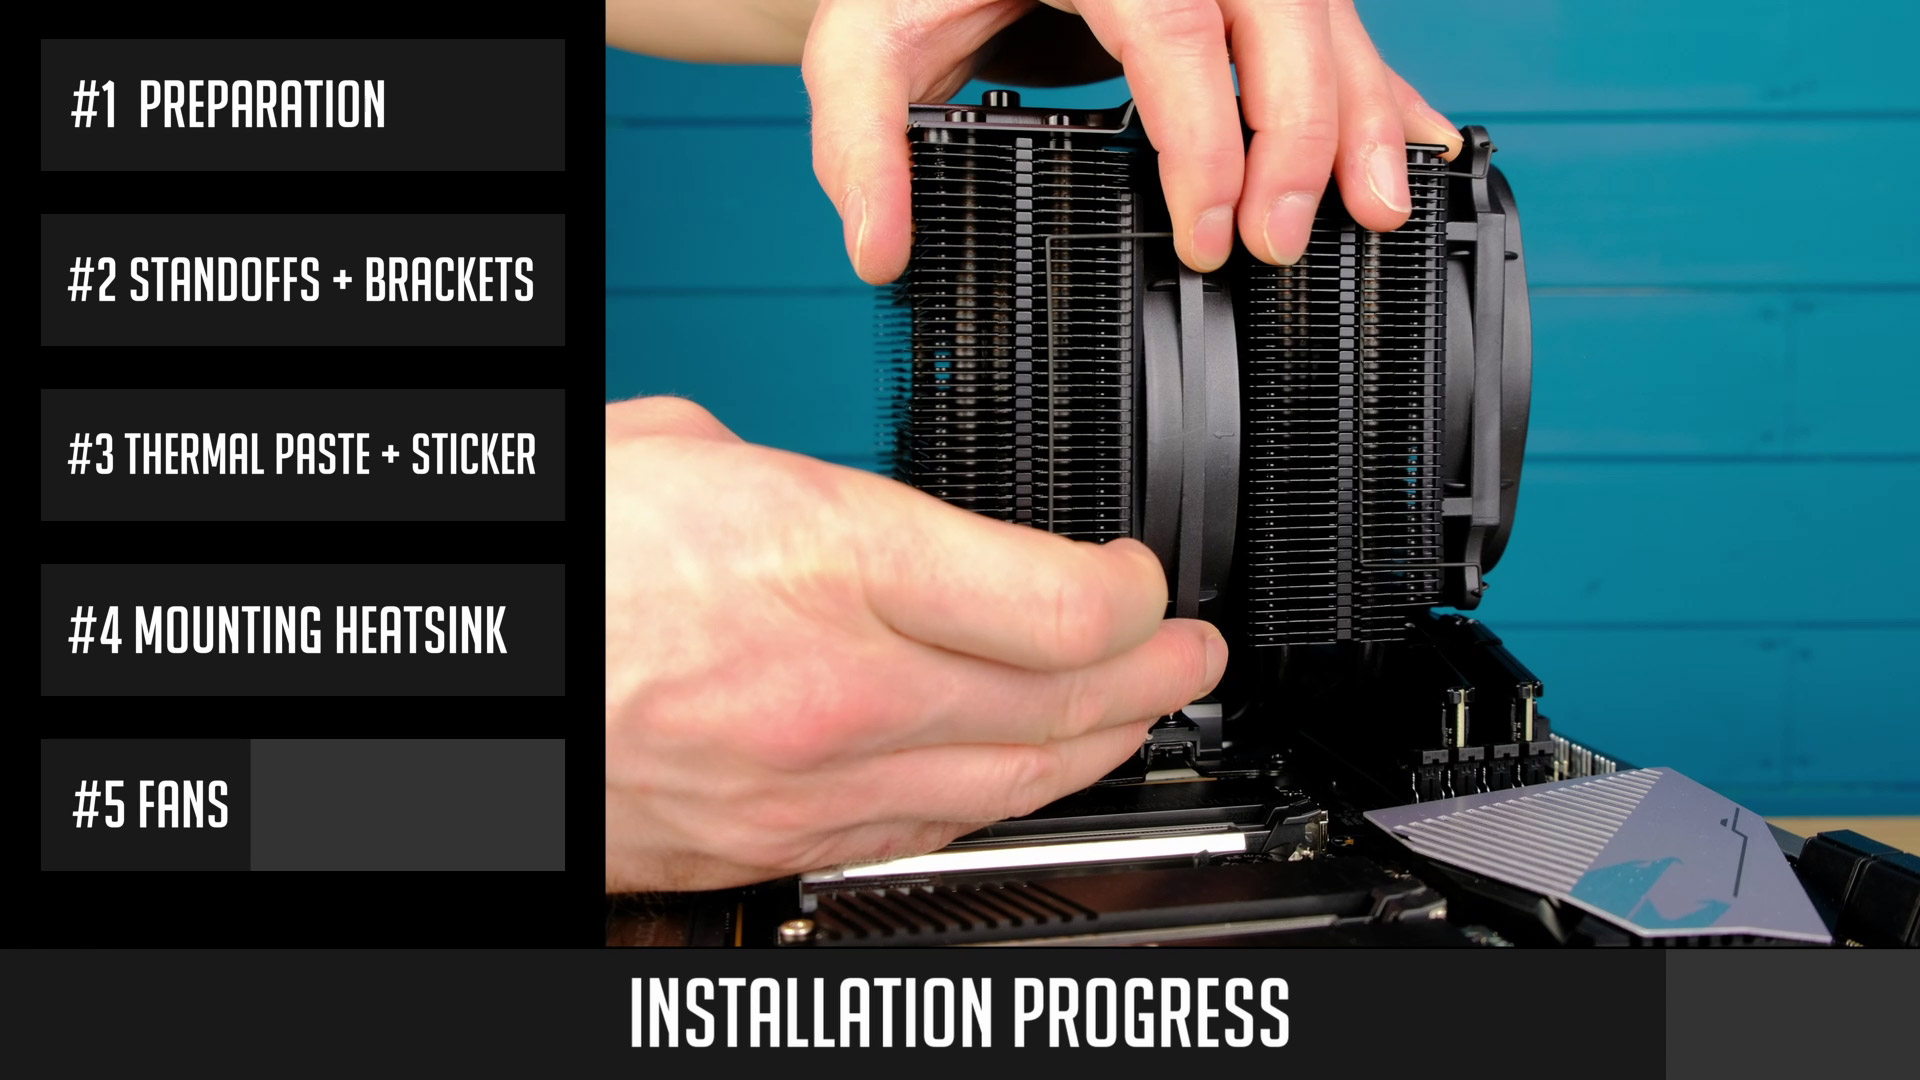
#4 Mounting Heatsink

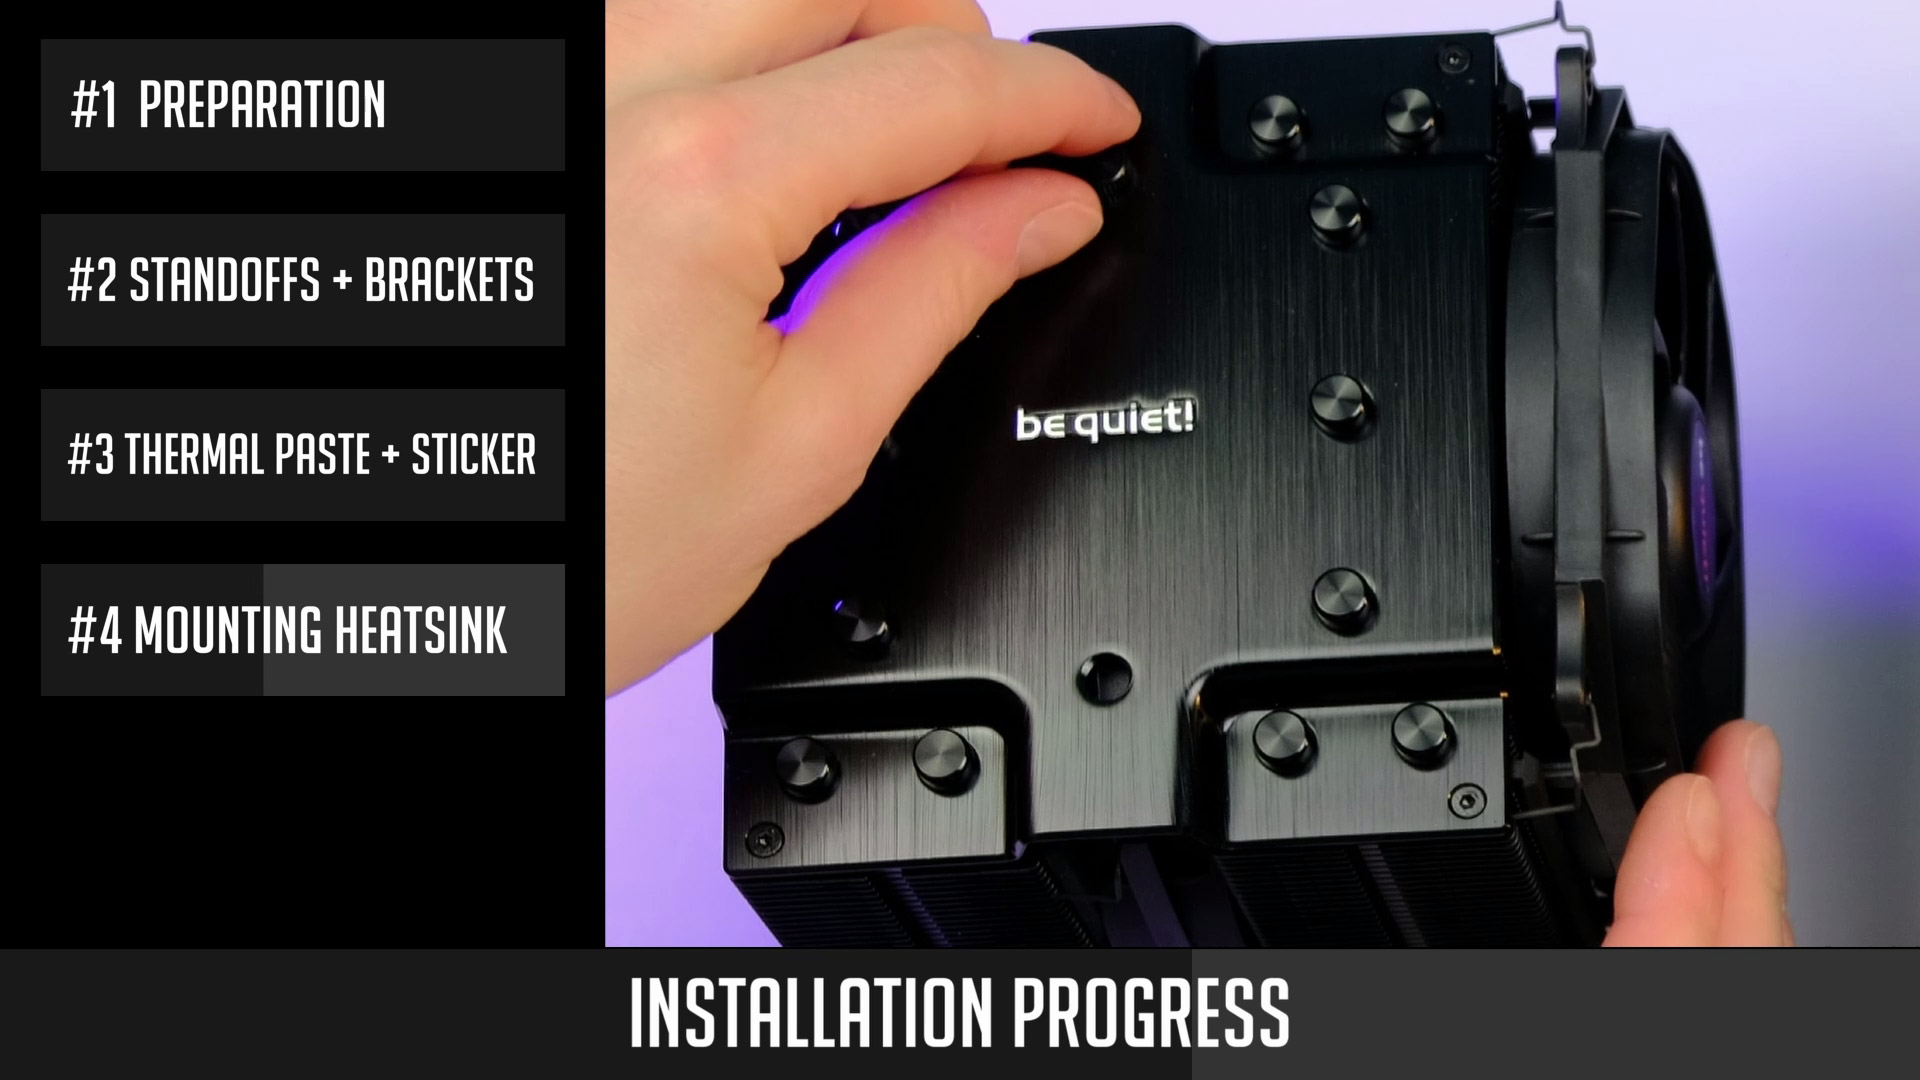
- Grab a mounting bridge and place it over the base of a CPU cooler.
- Place the cooler over the CPU and align mounting bridge threads with mounting brackets.
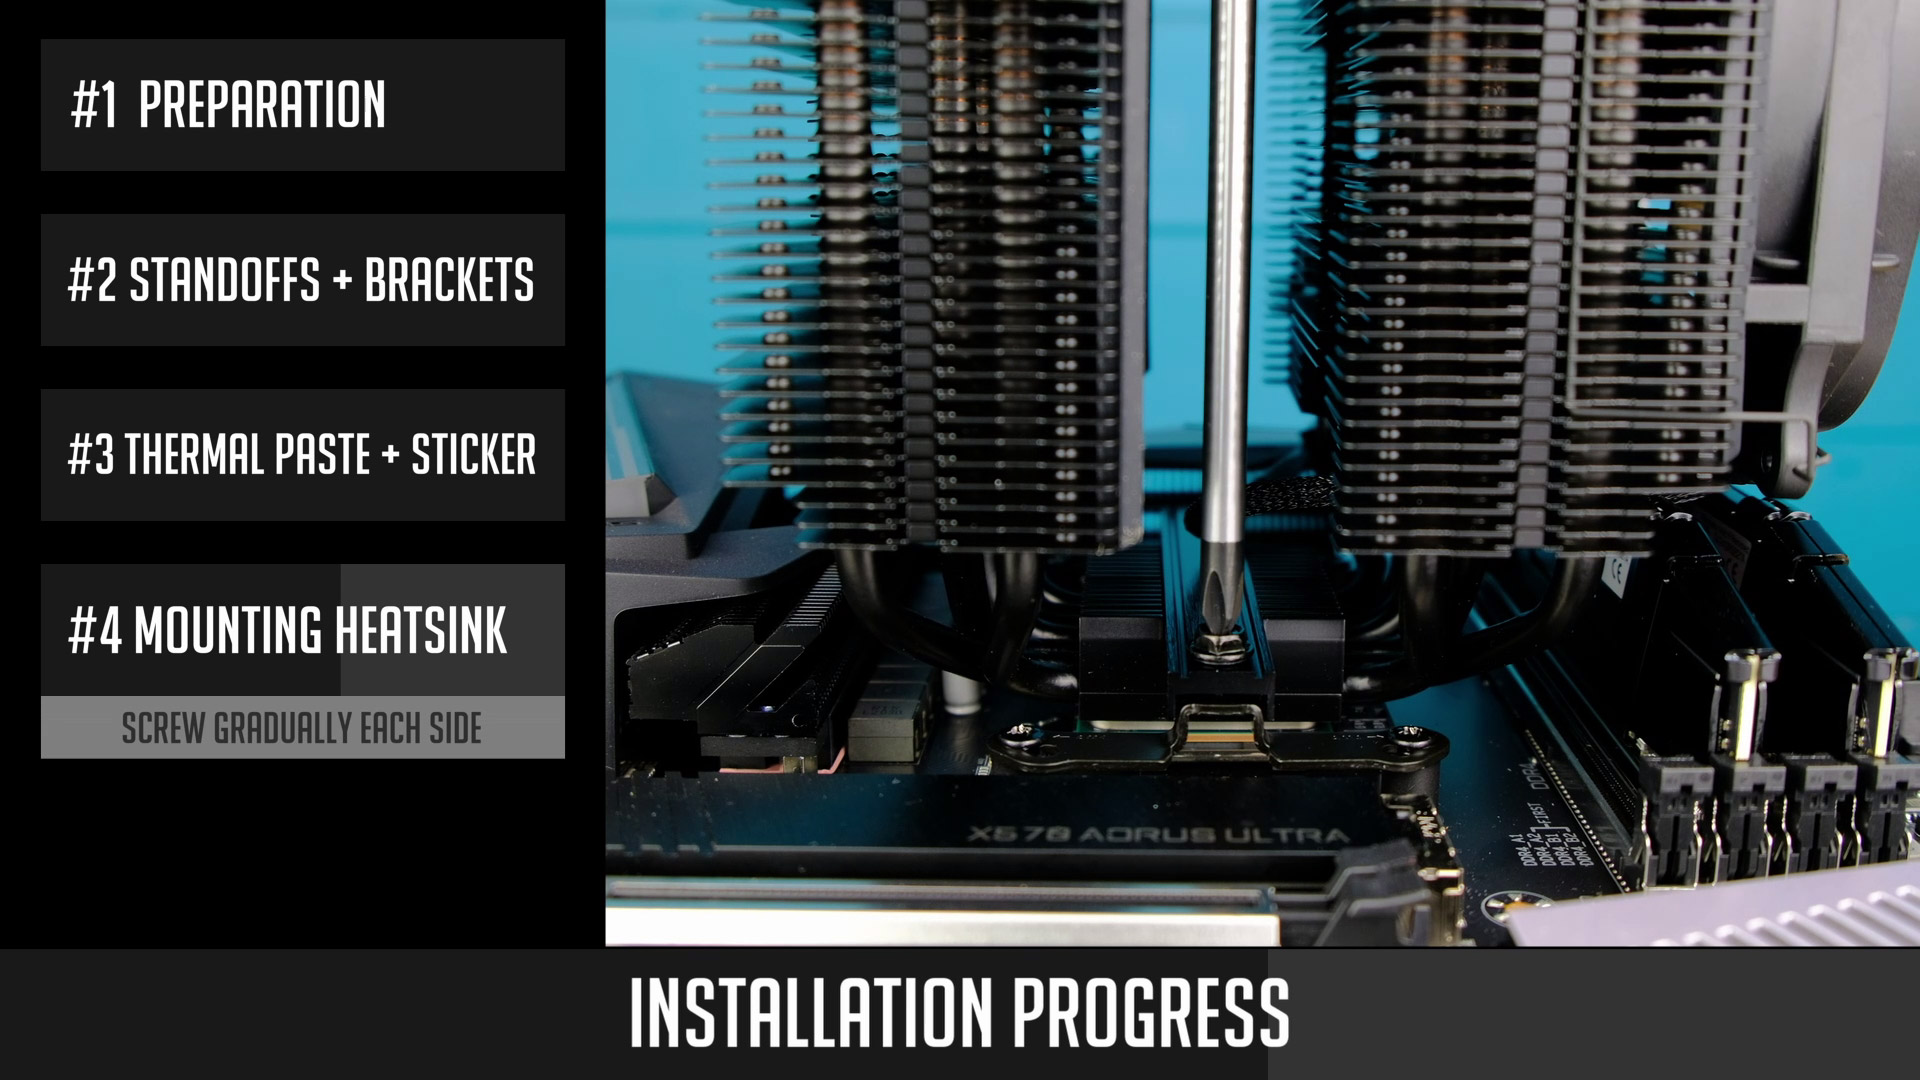
- Remove these two caps on top of your cooler.
- Use two included screws and screw the mounting bridge to the brackets. Be sure you do it gradually meaning screw each side just a little bit, to catch a thread. Then continue screwing and changing sides to ensure even mounting pressure.
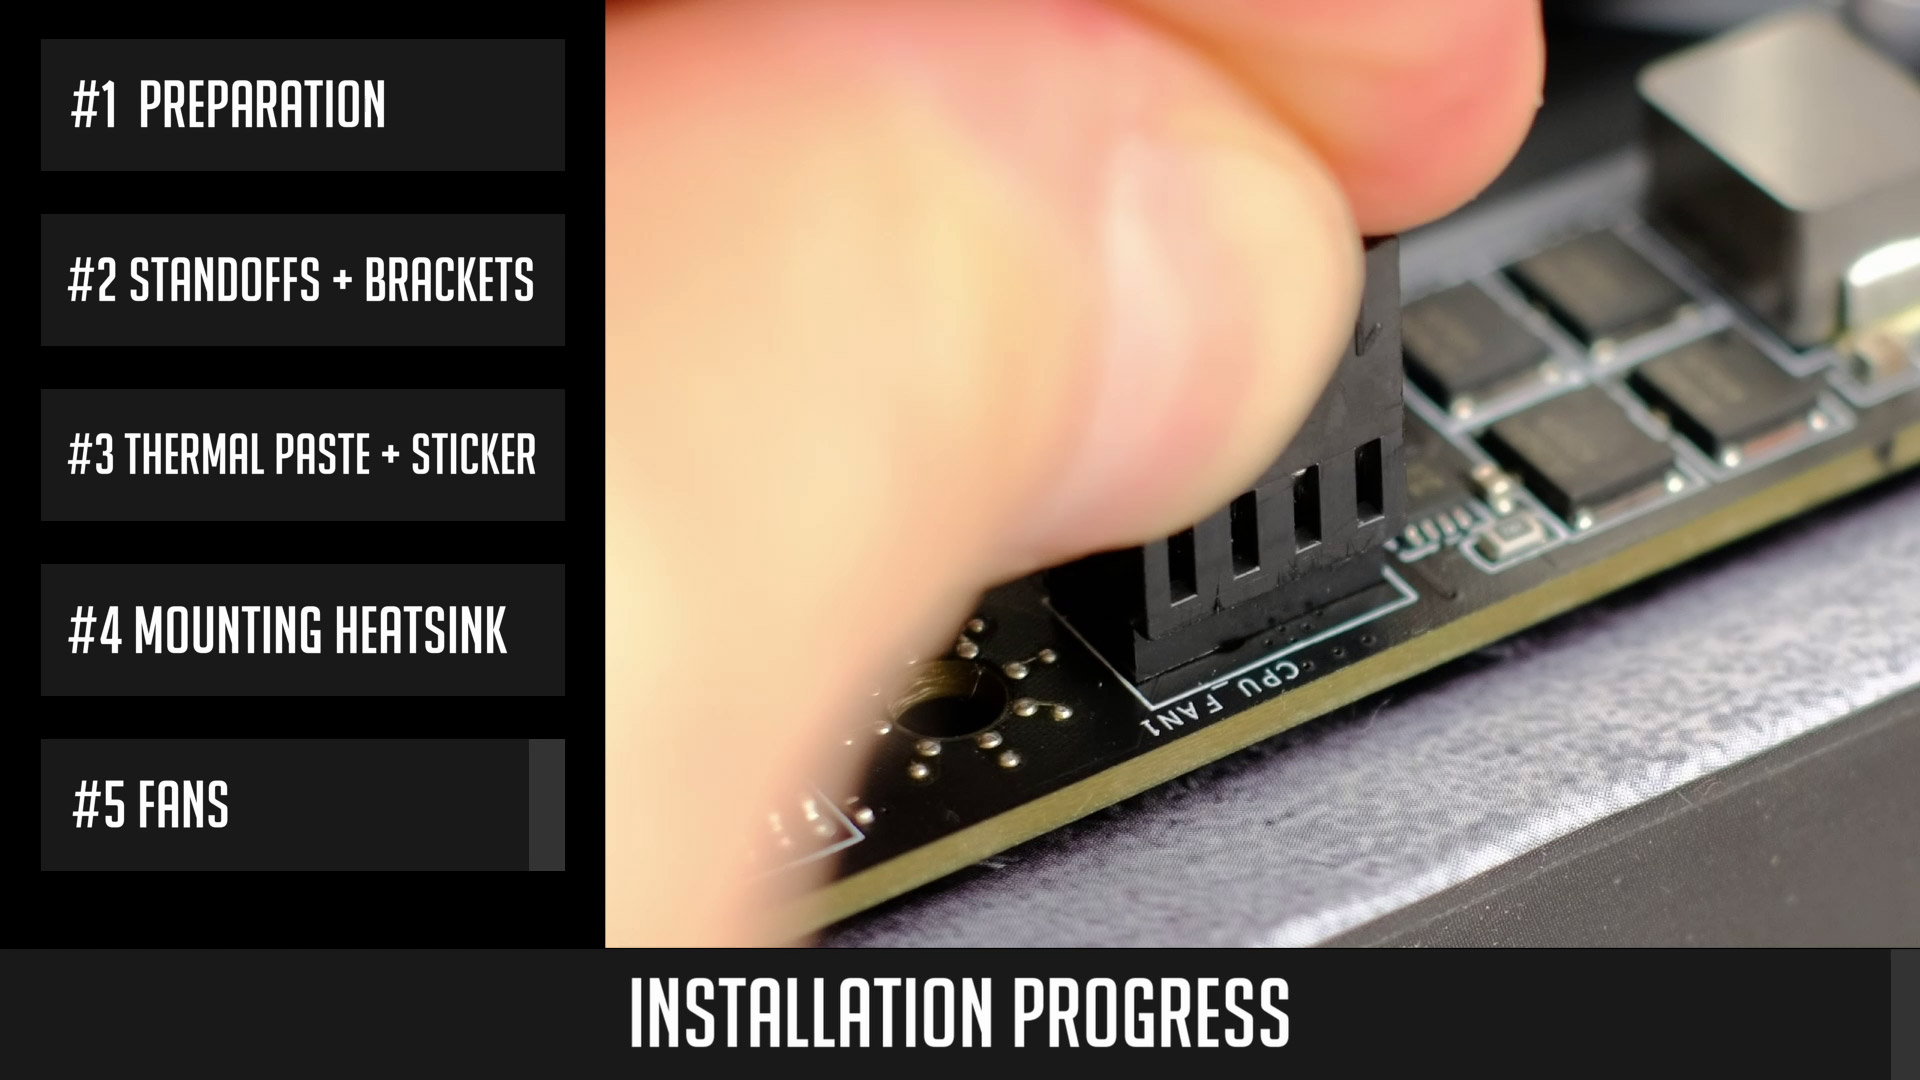
#5 Fans
- Take the included fan mounting clips and mount a 135mm fan between the two heatsinks. This is the hardest part, at least for me. So take your time, as it takes a while to snap those clips into place.
- Put the caps back on.
- And finally, use an included fan splitter and connect both fans.
- Then, connect a splitter to your motherboard CPU fan header.
CPU Temperature on Ryzen 9 5900x
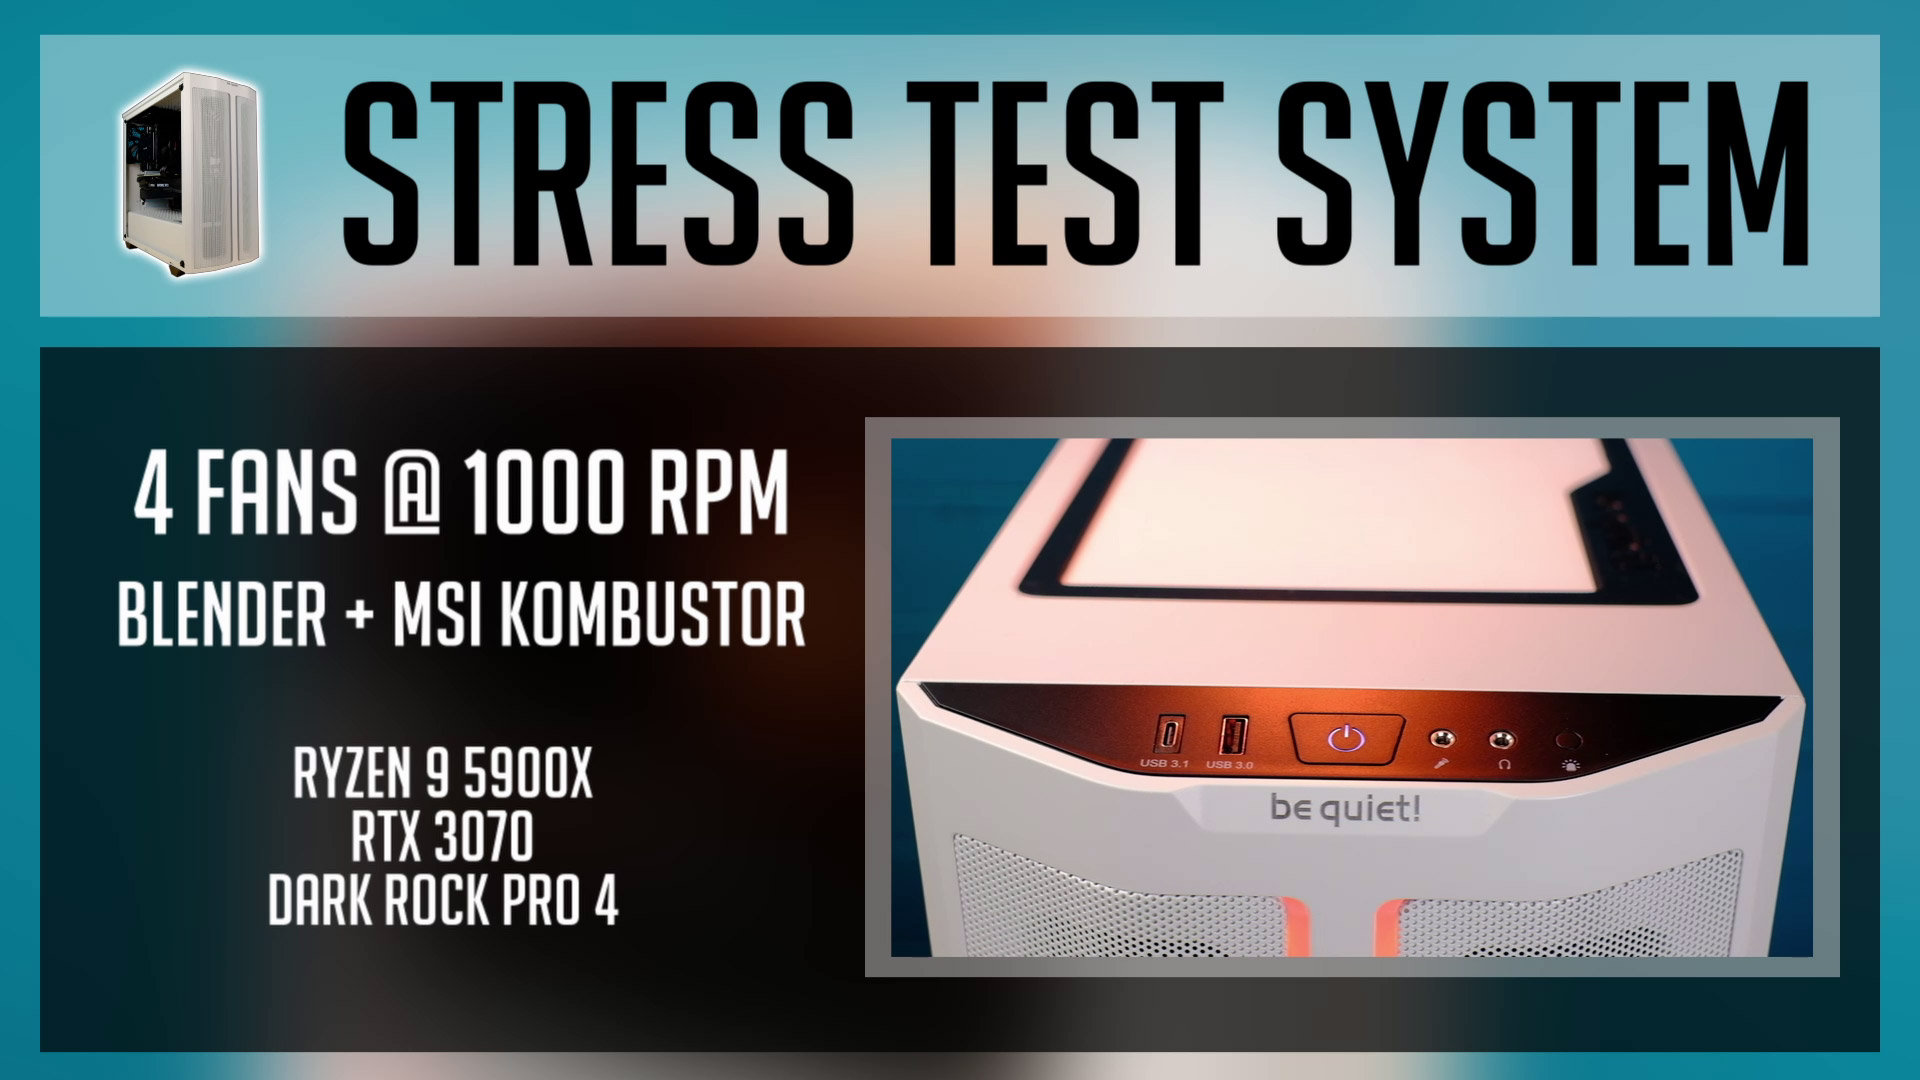
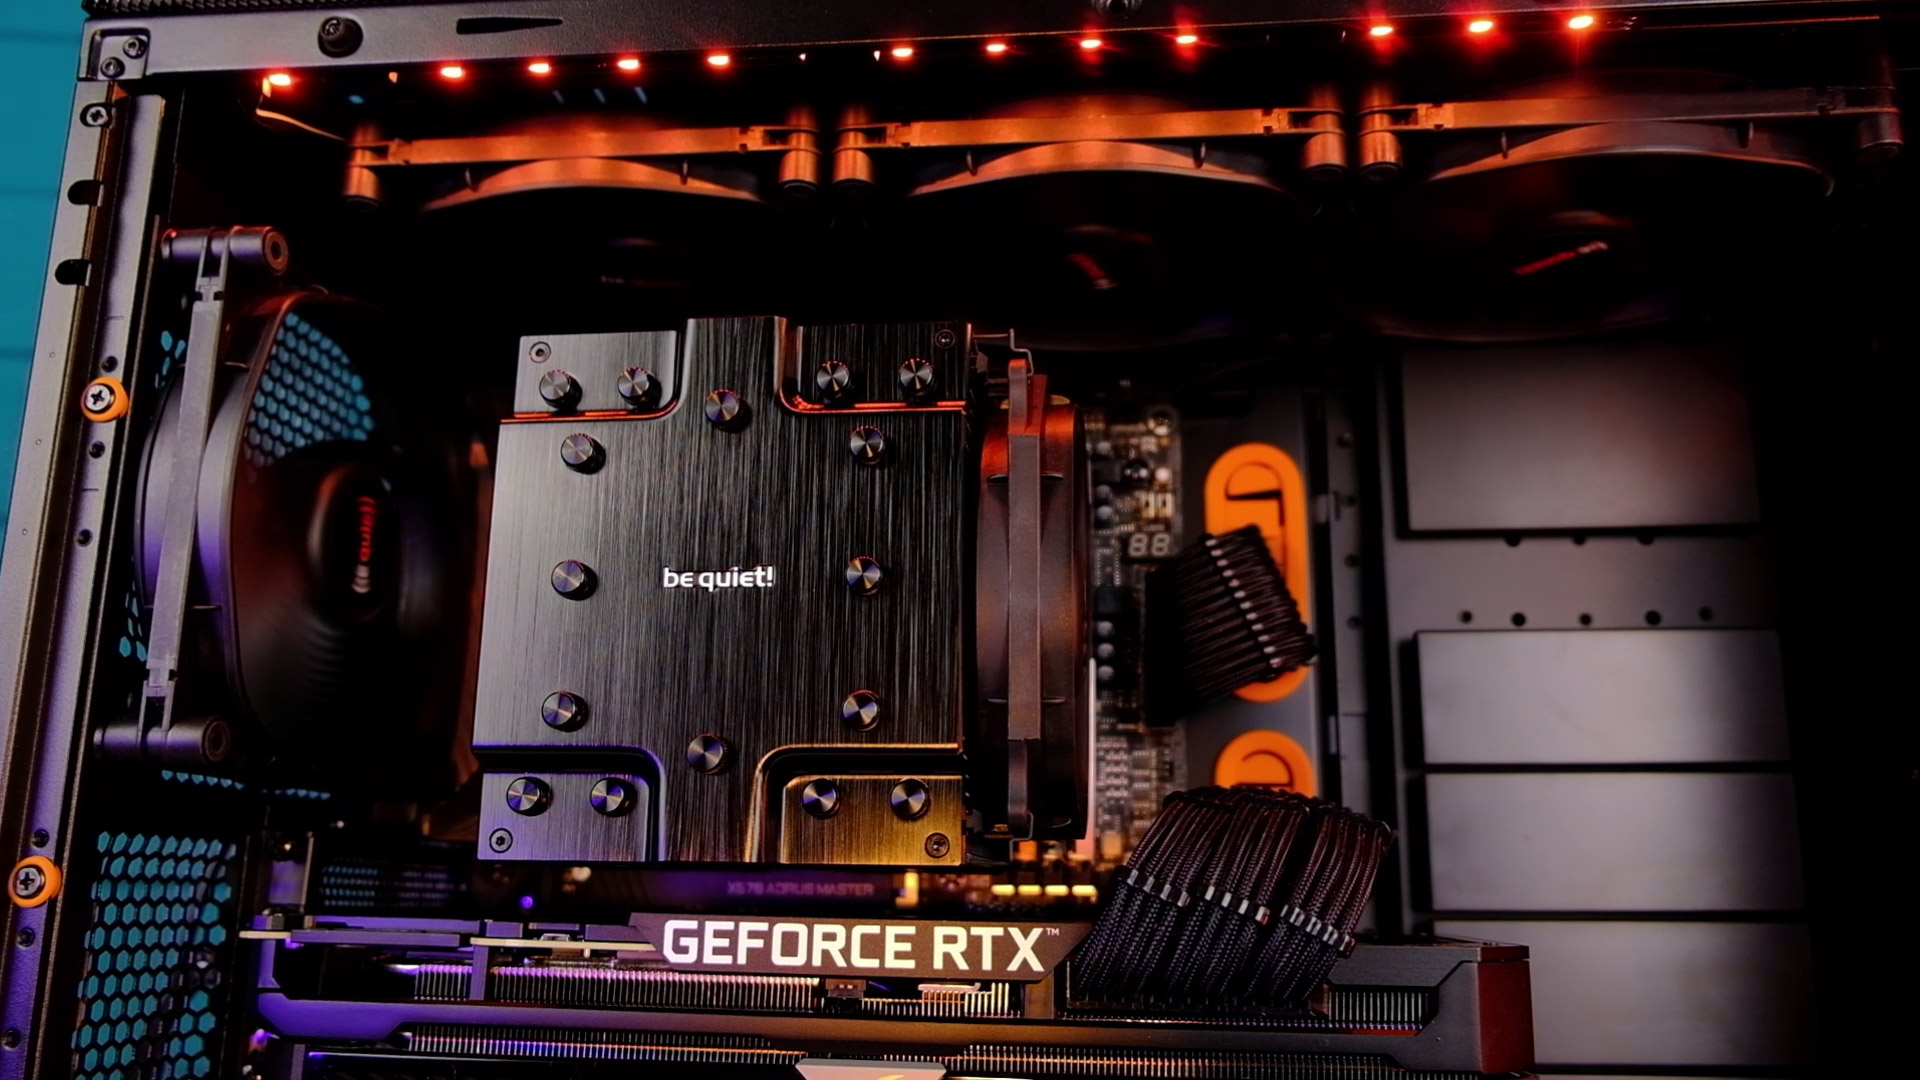
So what kind of temps you can expect when using this cooler? Well, the temperature will depend on the CPU, room temperature, and a PC case you are using. But I will share some numbers from one of the video editing PC Build’s I’ve tested.
It was running Ryzen 9 5900x in a Be quiet! 500DX PC Case. Have in mind, this PC case had 4 fans installed running at 1000rpm. I was stressing a CPU by running a Blender benchmark and at the same time MSI Kombustor to stress a GPU. Meaning both CPU and GPU were running at 100% all the time.
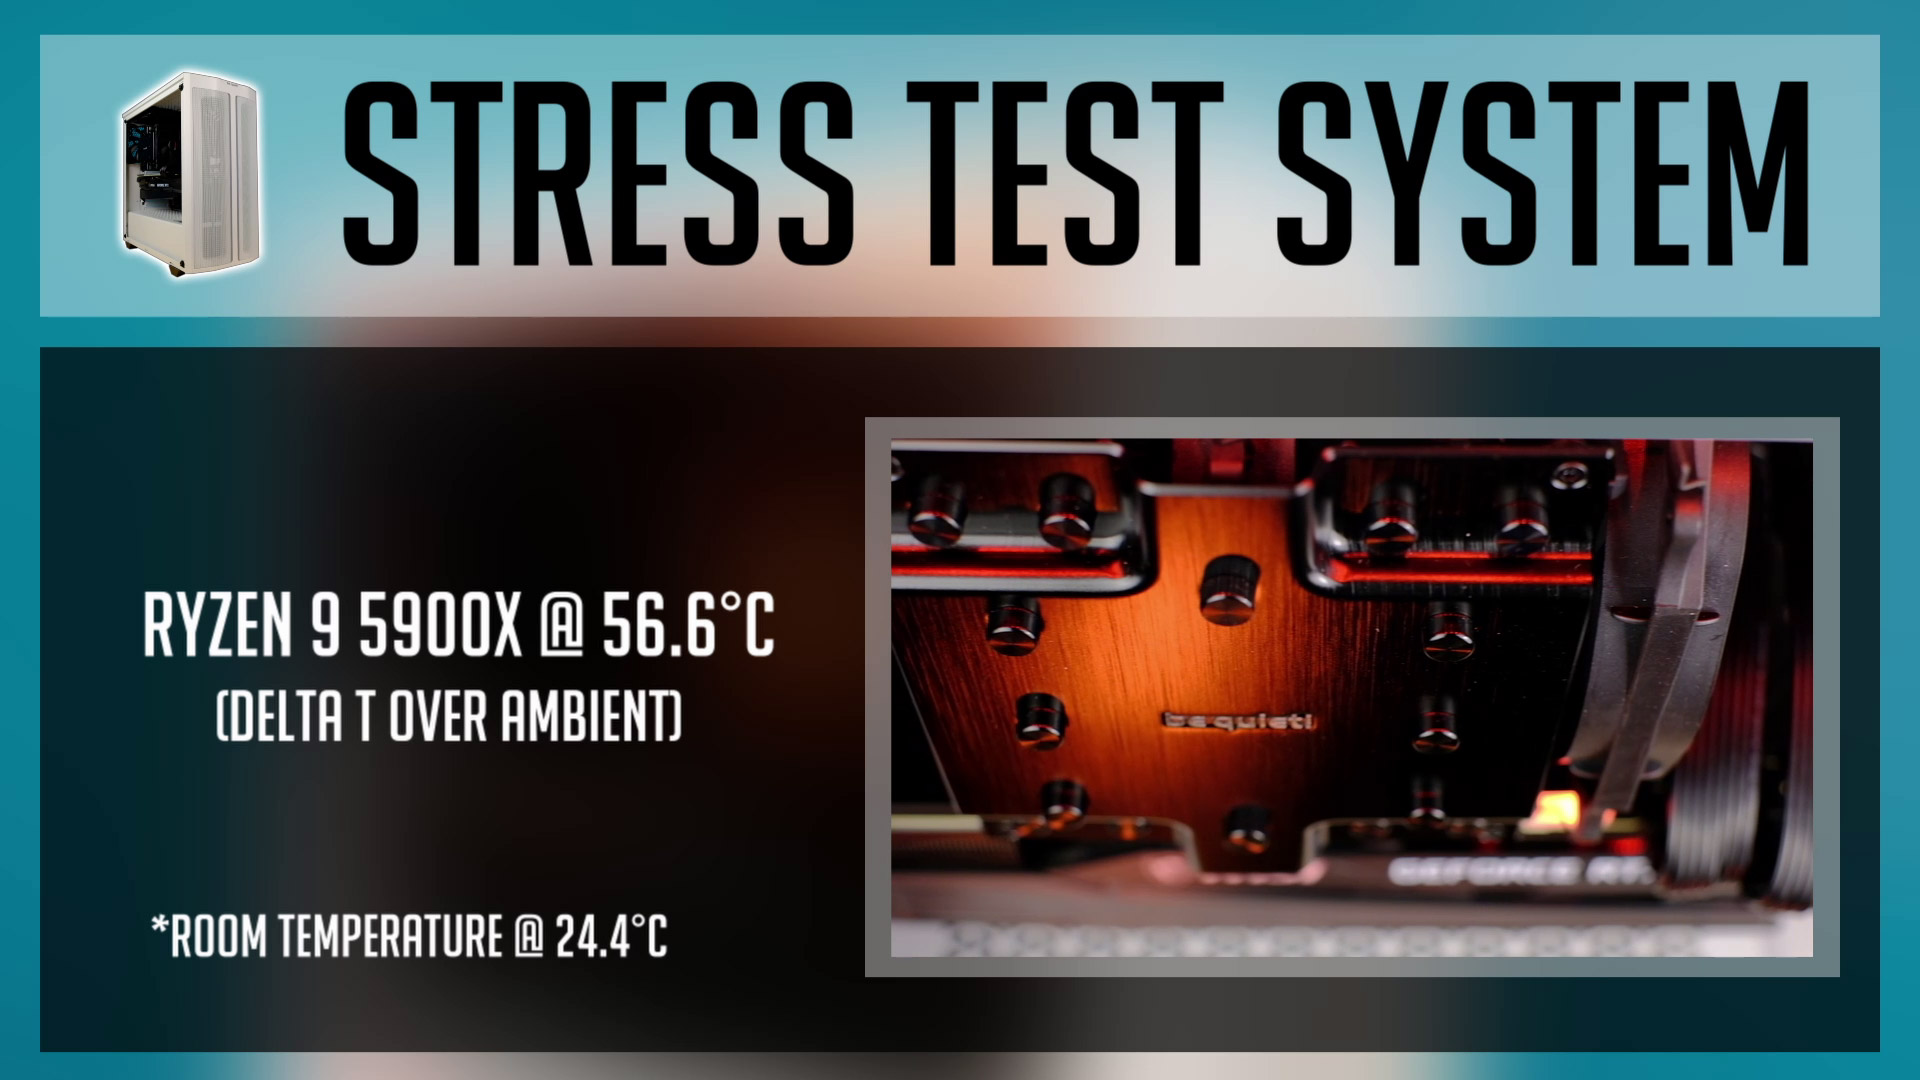
After 20 minutes, the CPU was around 57°C above ambient (room temperature 24.4°C). When gaming, the temperature would be way lower as the Ryzen 9 5900x CPU utilization wouldn’t be anywhere near 100%.
Alternatives
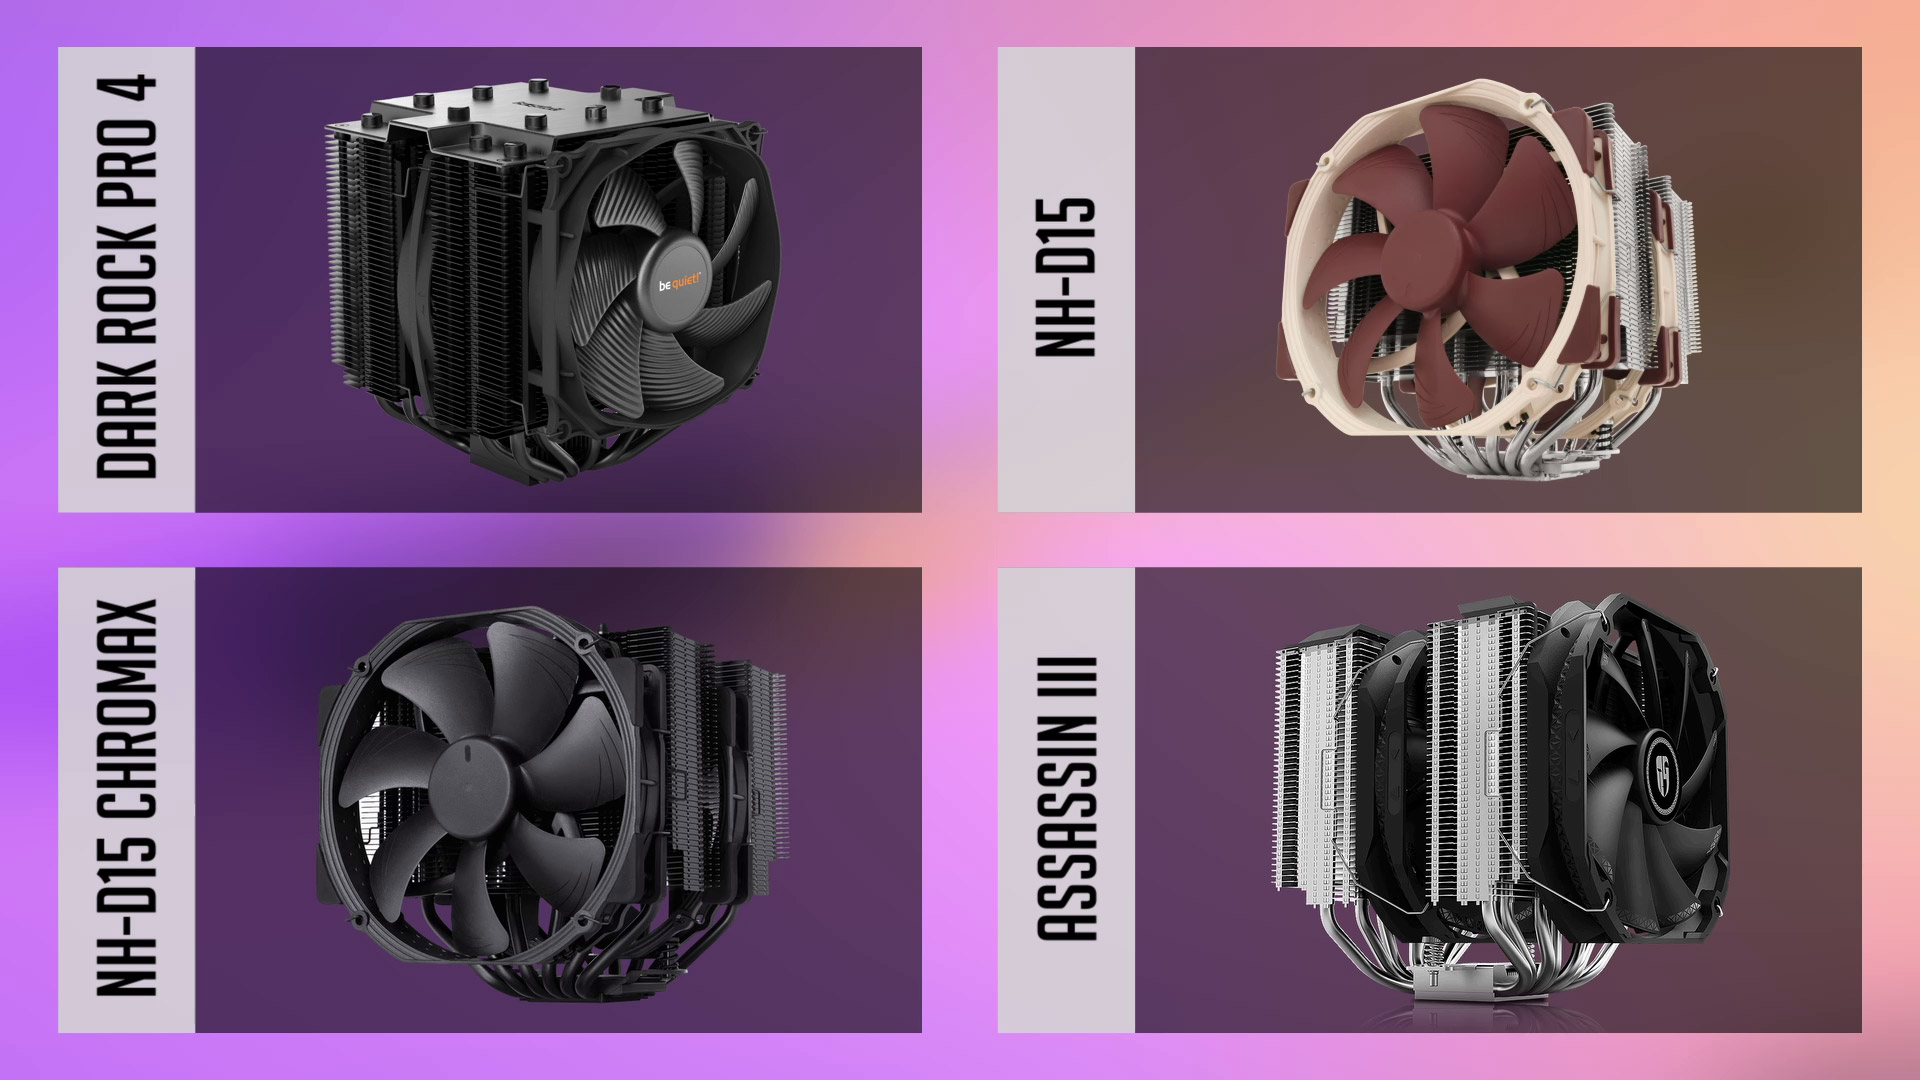
So, in a premium air cooling department, we have a few more high-end coolers you should consider before you decide your pick. In general, any of these premium coolers will have pretty much the same or very close performance, so you might choose one versus another based on some particular reason, like ram compatibility or design.
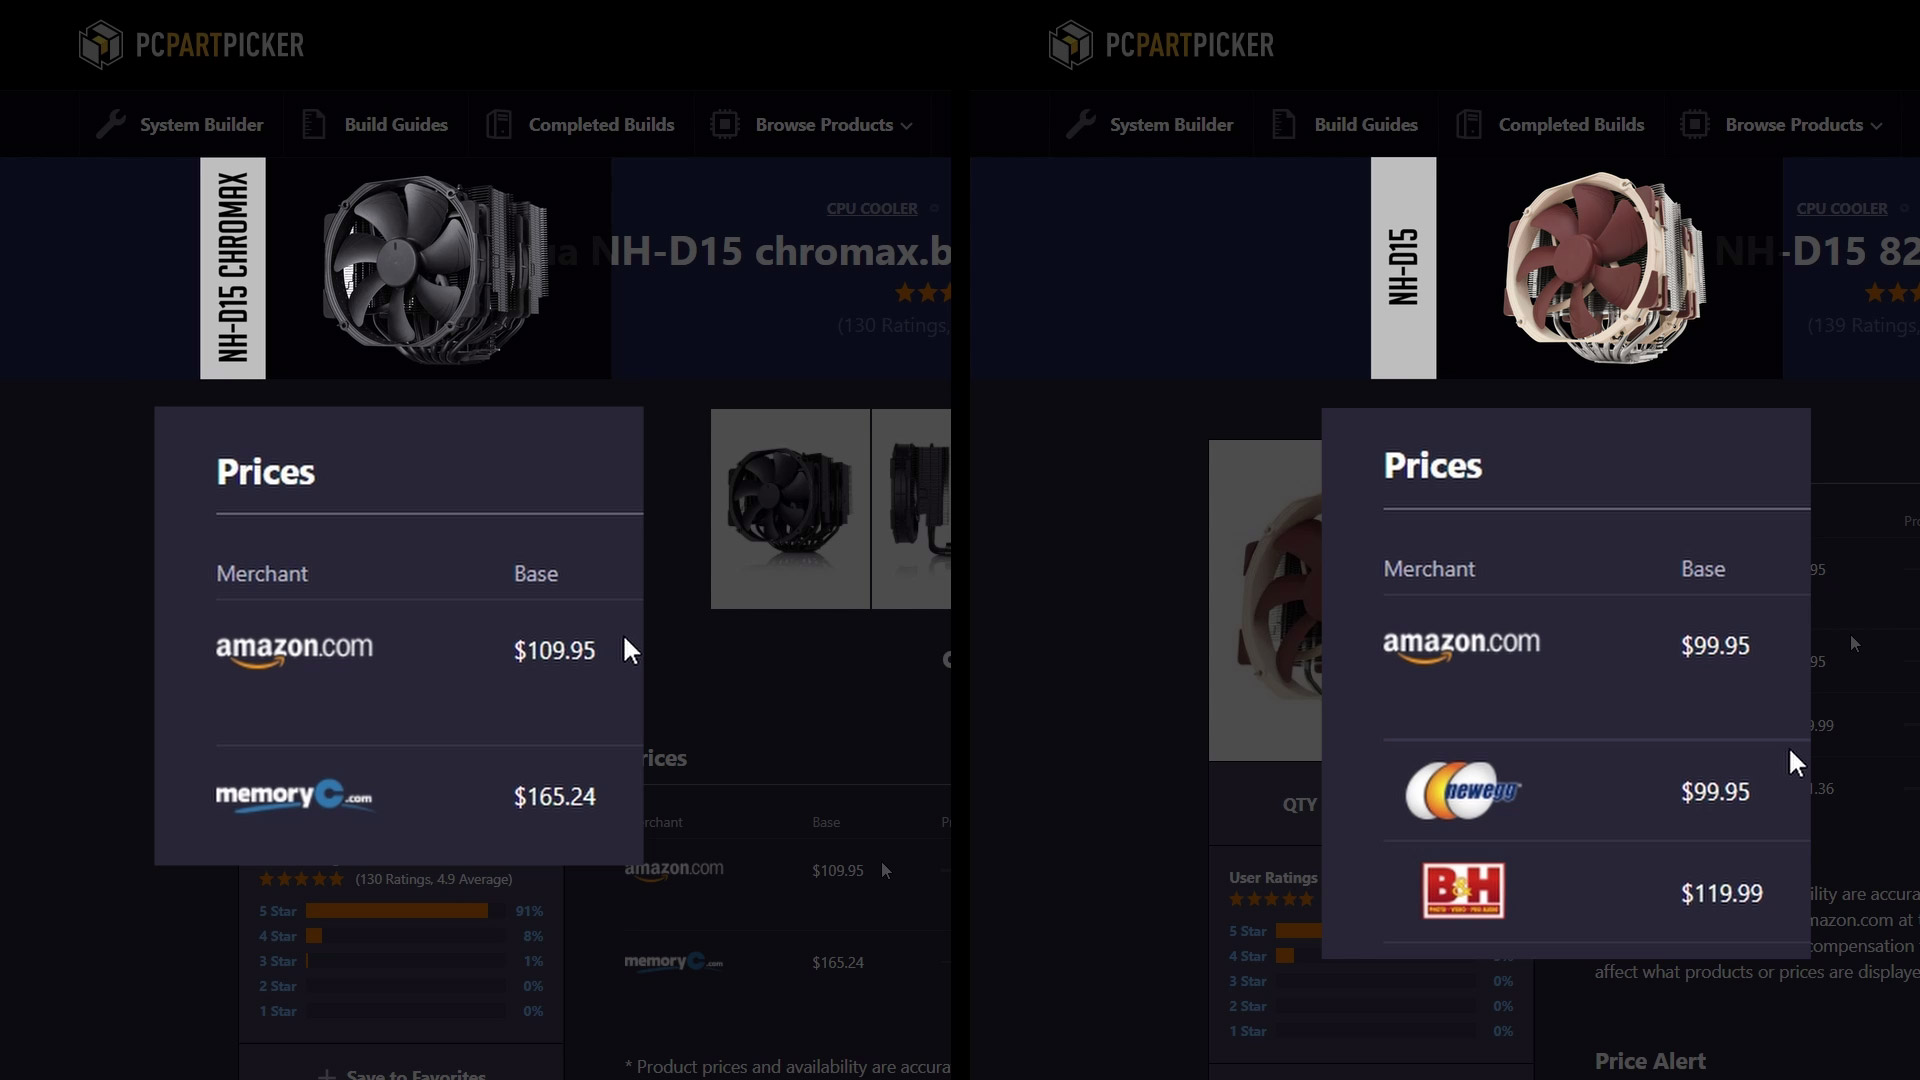
The first one on our list is a Noctua NH-D15. You can get a regular, brown version, or a Chromax black. Noctua makes really great fans and that’s why NH-D15 is a strong competitor against a Dark Rock PRO 4. The main downside of Noctua’s cooler is the price.
While the brown version is around $10 to $15 more expensive, Chromax costs even more and currently sells for around $110.
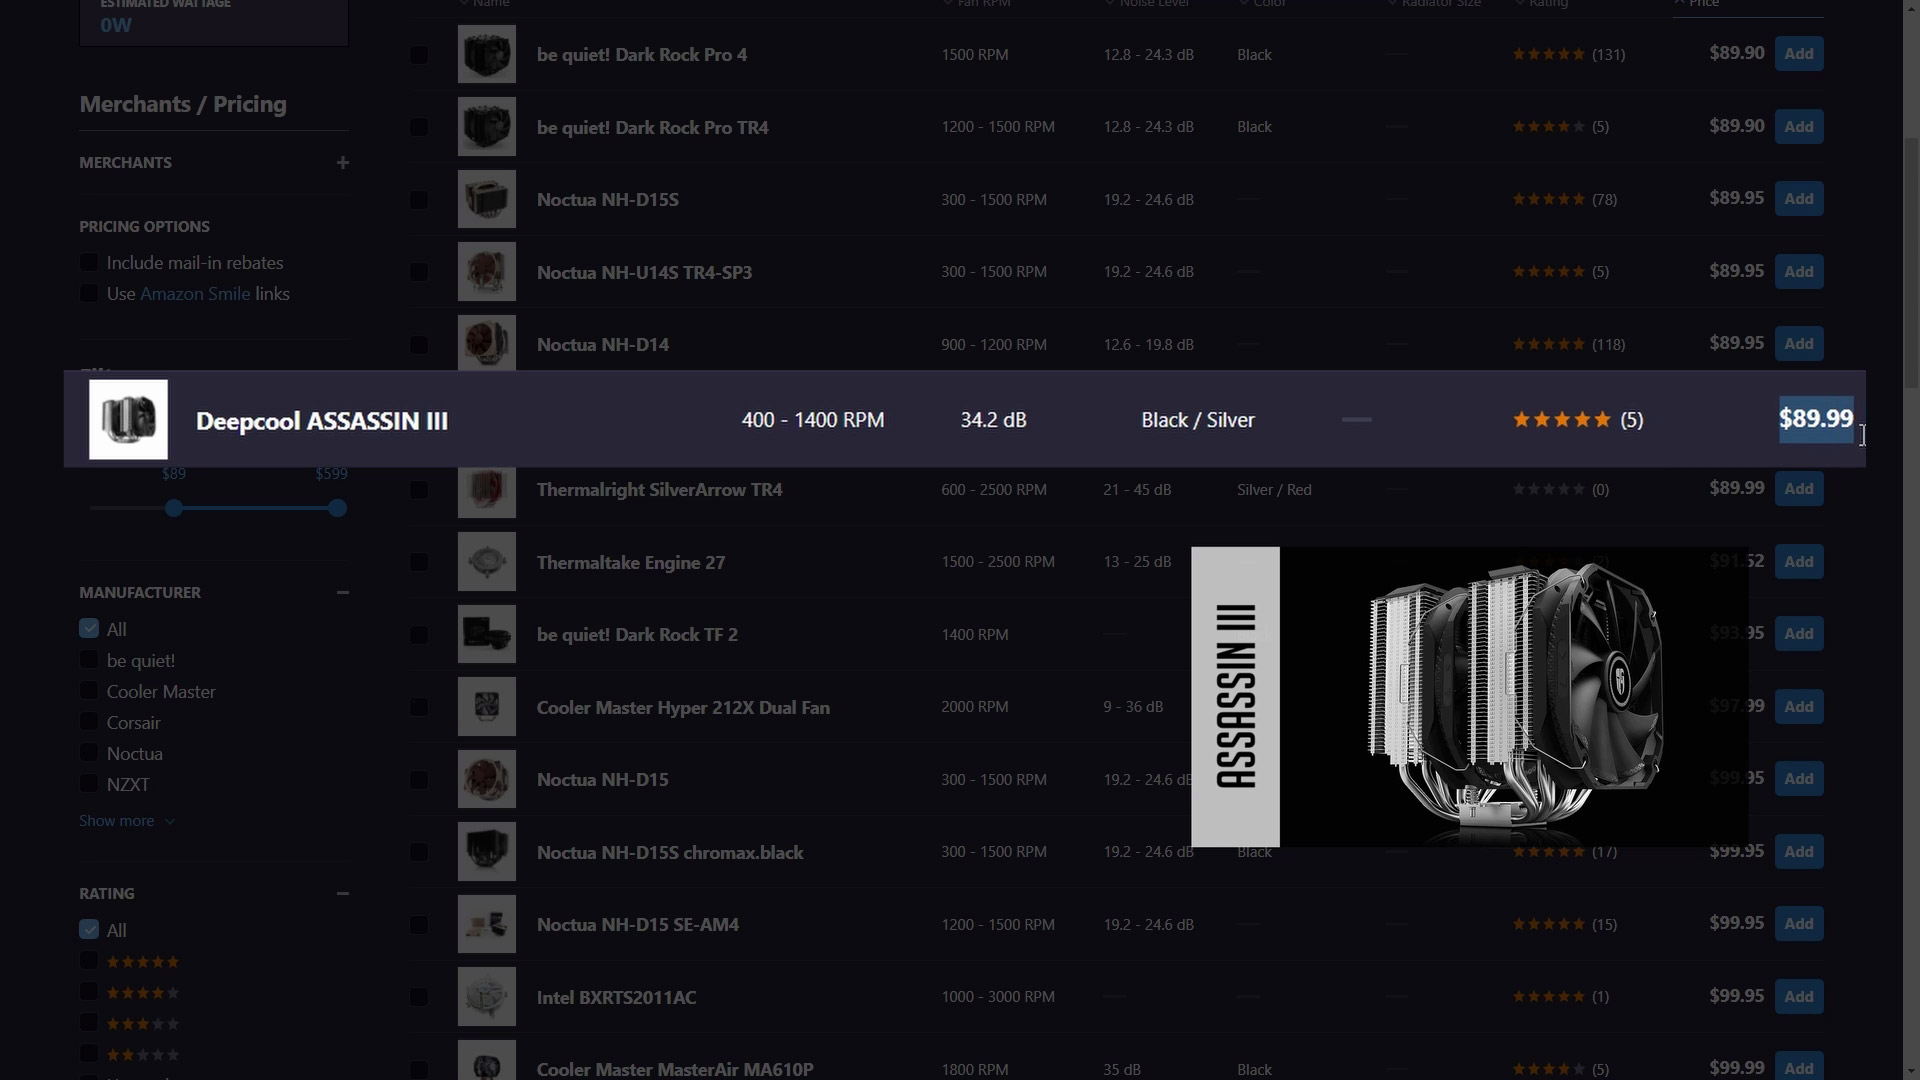
Deepcool Assassin III is another alternative. It’s a huge cooler that performs as well as Dark Rock PRO 4 or NH-D15. And the price tag is the same as Pro4. A decision factor might be its size, as the Assassin III is bulkier, so you need to be sure it fits your pc case.
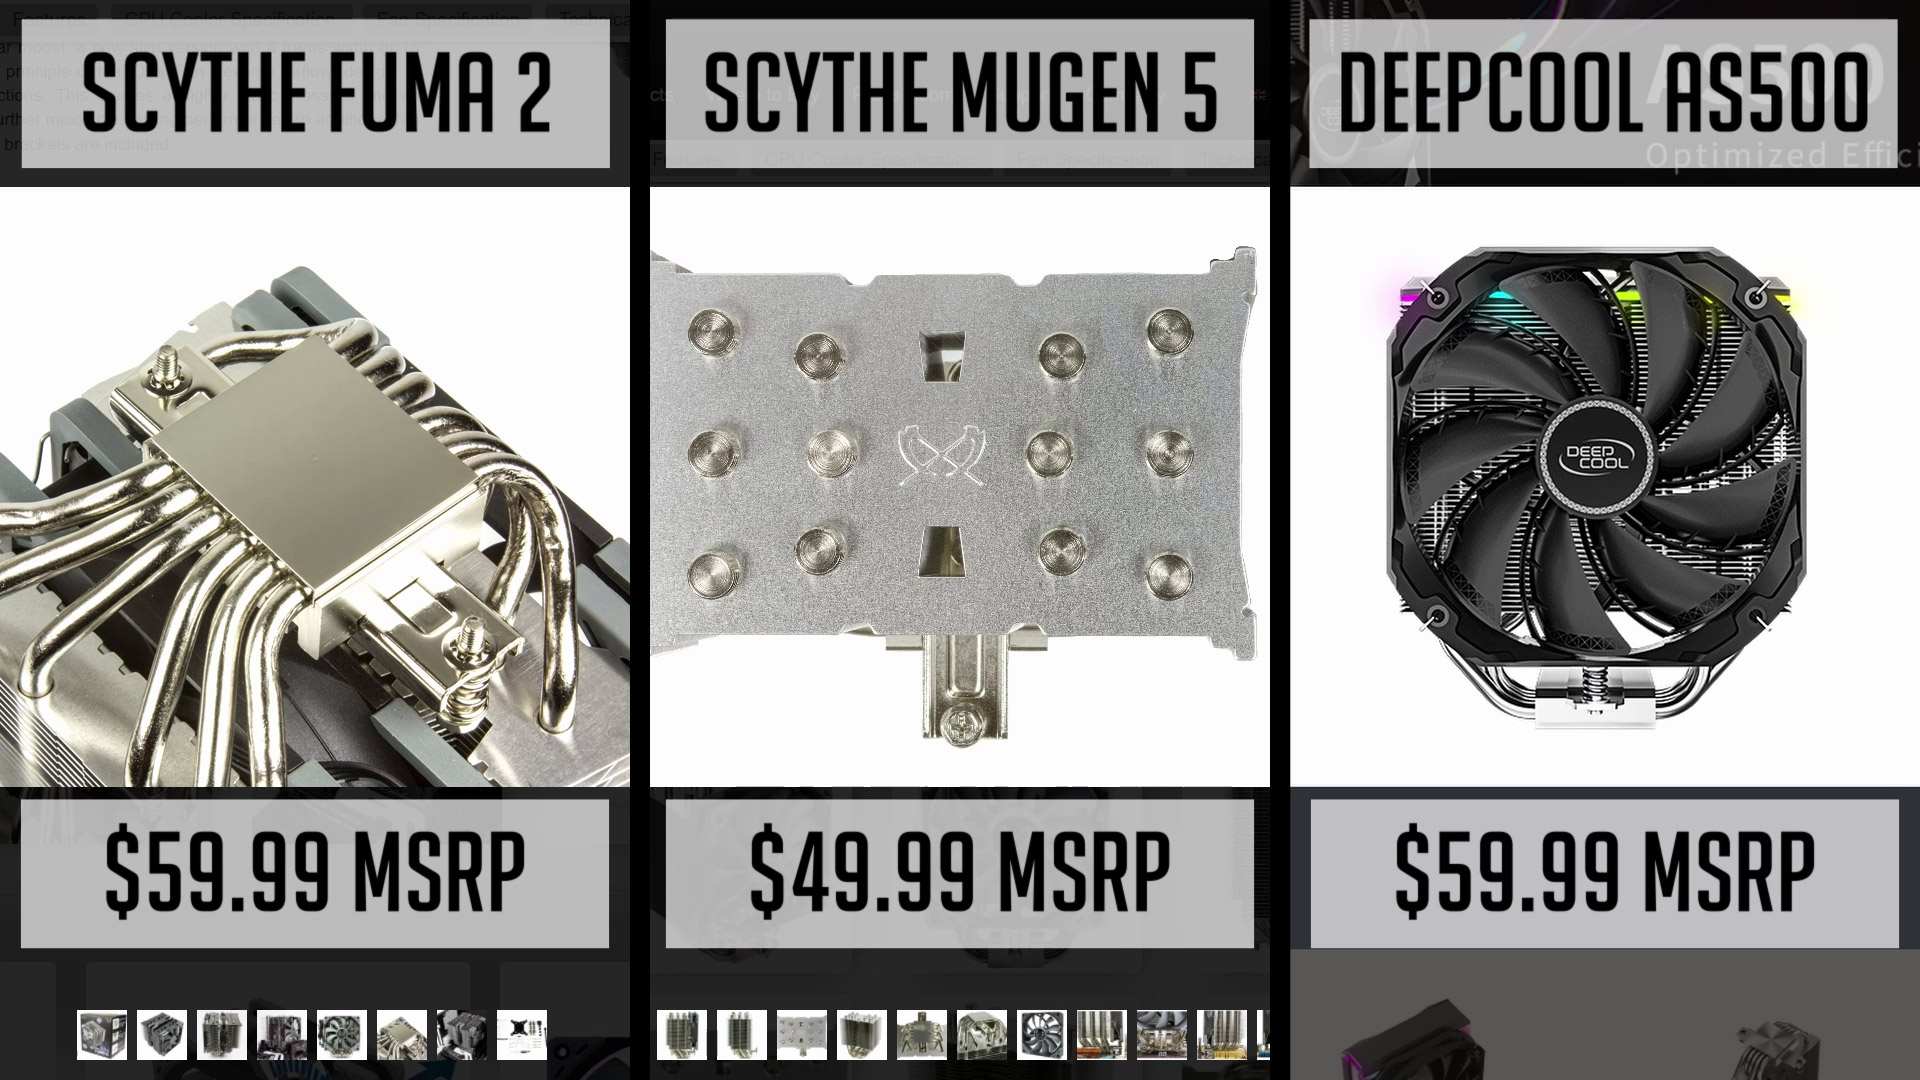
In case $100 or $90 is too much, there are a few cheaper, but still decent alternatives. To name a few – Scythe FUMA 2 ($60) or Mugen 5 ($60) or a Deepcool AS500. Sure, in most cases, these coolers will perform a bit worse in terms of temperature and noise than the previously discussed ones, but they cost way less. And depending on a CPU, even these can handle 8 or 12 cores, especially when used in a good airflow pc case.
Outro


There are definitely quite a few alternatives, but a Be Quiet! Dark Rock Pro 4 is one of the best air coolers for sure. It looks great, is smaller, and has the same performance as a Noctua or a Deepcool. In case you have any questions or doubts, just let me know in the comment section below and I will get back to you guys.
As always, you can watch a video (YouTube) version of this overview and definitely check other unboxing videos right here.
Links to Amazon
be quiet! Dark Rock Pro 4 – https://geni.us/KBsw
Noctua ND-D15 – https://geni.us/cKeThN
Noctua ND-D15 Chromax – https://geni.us/9J0Hlt
Deepcool Assassin III – https://geni.us/y2e4e
Scythe Fuma 2 – https://geni.us/1CJrD
Scythe Mugen 5 – https://geni.us/xBbFf1
Deepcool AS500 – https://geni.us/RlT25
Disclosure: EpicGameTech gets a small commission when you purchase something via our Amazon links. It doesn’t cost you anything extra since that comes from Amazon’s end. So, please be aware, the links provided to Amazon are affiliate links.
Technology vector (https://www.freepik.com/vectors/technology) created by vectorpocket – www.freepik.com