Table of Contents
Welcome back to Epic Game Tech. Some time ago, I bought a 2nd hand PC so I could transform it into a budget gaming rig. That PC had quite an old GTX 650 video card so I’ve replaced it with a newer GPU. And today, I’ve decided to pull that GTX 650 out since it might be handy in my upcoming ultra-budget build. Stay with me since I will show how to clean a video card and reapply the thermal paste process.
If you are interested in similar content, be sure to check my YouTube channel, subscribe and click that bell button so you do not miss upcoming content. And let’s get into it.
Intro
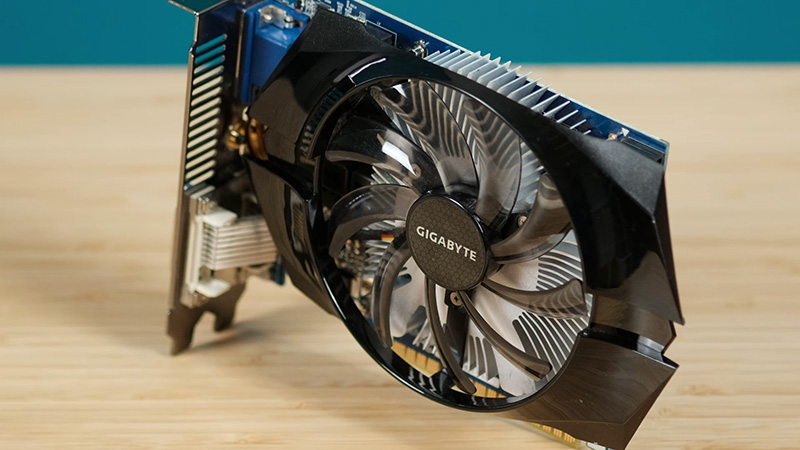
Yes, my friends, here I have quite an old – Gigabyte GTX 650 1 GB version video card. As I mentioned before, I pulled this one from one of the 2nd hand PC’s I bought some time ago. I’m preparing for another ultra budget gaming PC build (in case you want to see my first ultra-budget build for 120 EUR please check my video – https://www.youtube.com/watch?v=WWFmejSOxTs). So I’ve decided to check my boxes where I keep various pc components and vualia. I found this graphics card. Candidate number one for my build. Ok, so as you can see, it has just one fan and quite a small heatsink, compared to newer and more expensive cards. There is some dust trapped in a heatsink as-well-as some strange hardened stains on cards PCB.
Cleaning Equipment

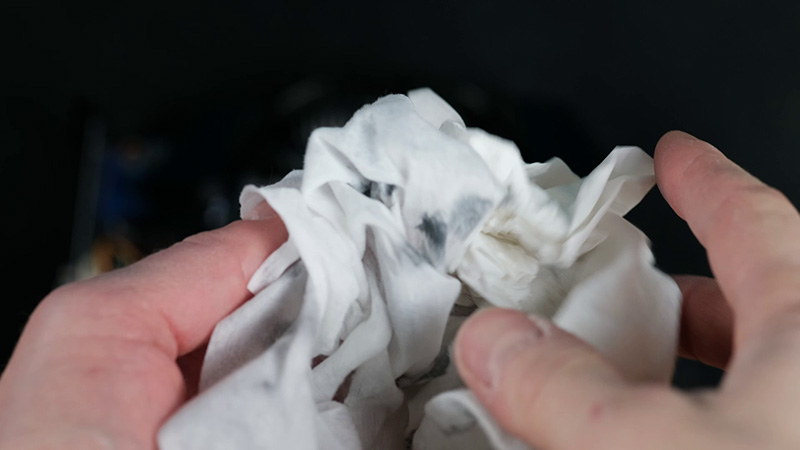
For cleaning PC parts including your GPU, you need to have some alcohol (Isopropyl) wipes, compressed air, and some cotton swabs. With alcohol wipes, you can easily clean hardened thermal paste, dust or other types of stains. Compressed air cans will help you out to blow away dust from hard to reach places and heatsink gaps. You will be just fine without cotton swabs, but I tend to use them in some cases. In case you need any of these to clean your PC parts, you will find links at the bottom of this post.
Cleaning Process
It’s quite easy to disassemble this GPU model – you have to unscrew 4 main heatsink screws at the back of a card and then unplug the fan’s header.
I’ve seen much worse situations, so it’s not that bad, but as you can see, there is some dust in a heatsink and on fan blades as-well. Thermal paste is quite solid in most places so it’s about time to re-apply it. Before cleaning everything up, let’s remove a fan from a heatsink. It’s straight forward, just a few screws and we are done.
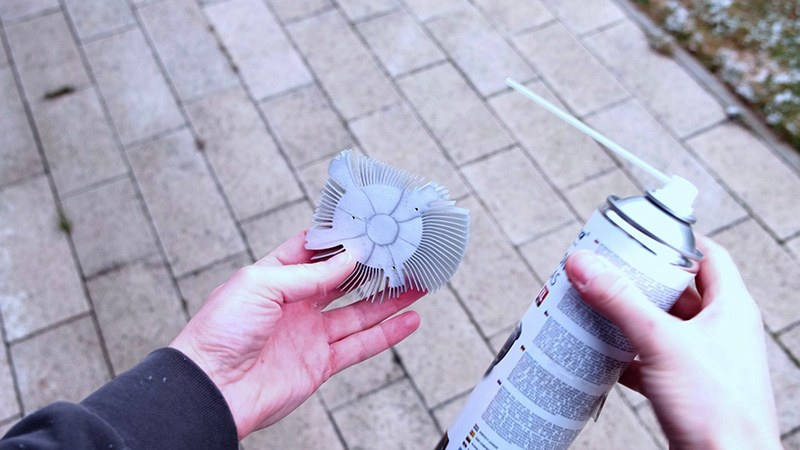
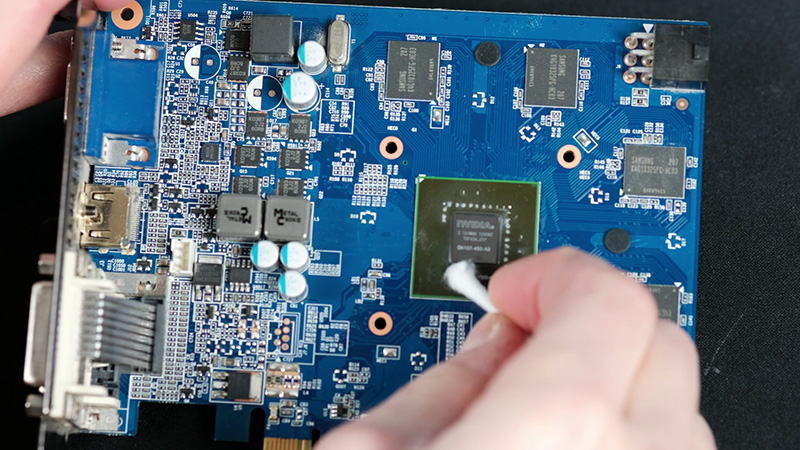
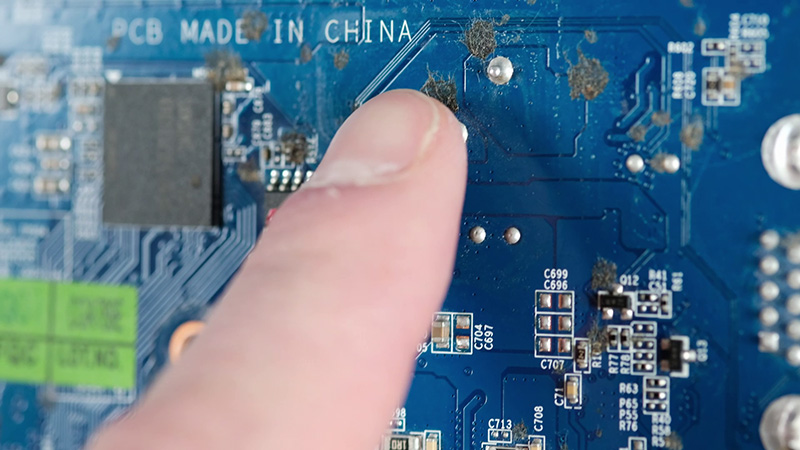
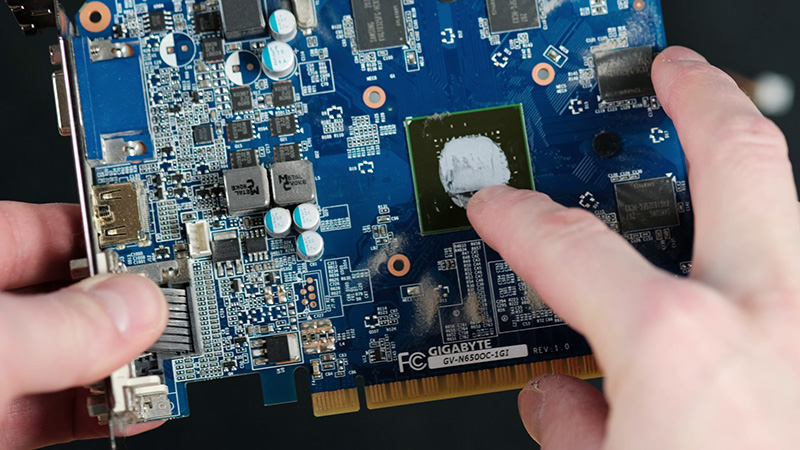
Now is a time to use a compressed air can, but please, go outside before doing that, since your room will be covered with a decent amount of dust. It’s really handy to have one of such cans at home. I bought 600 mils version and it lasted me for 5 or 6 PC cleanups. Well, mine compressed air can is almost finished, so it’s not generating as much pressure as I would want and it’s about time I order a new one. For removing a thermal paste, you should use alcohol wipes or other wipes meant for cleaning up electronics. Even regular wipes are ok in case a thermal paste has not become a concrete yet. When cleaning a video card dye, be careful, especially when you clean around those small transistors. I’ve used the cotton swabs here since I’ve discovered it’s much easier to clean especially around them, but in most cases, cleaning it with wipes works just fine. Here come those stains I’ve mentioned before. It seems that the ex-owner spilled some kind of substance on his case or straight on the GPU. I hope it’s actually working since I’ve decided to test it only after this clean-up. Well, nothing you can’t remove with wipes and a careful scrubbing – all stains are gone for good.
As video card’s dye has no IHS and is directly connecting with a heatsink, it’s important to fully cover all dye. For that purpose, I used a bit more paste than would use for a CPU. But please make sure, your thermal paste is not conductive before doing that.

Congrats, this is how much of the dirt you removed from your graphics card. this means it will last longer and will be working under the lower temperature. And since most of the new cards have their auto boost technology, most probably it will be able to boost to a higher core clock and in theory, games will run better. Also, the lower temperature will provide you a bigger headroom for overclocking your card.
Well, it’s time to assemble everything and check if my GTX 650 is booting. Since it’s the only option I have for my upcoming ultra-budget PC project I mentioned previously. Oh, it is working like a charm.
Well, now you know how to clean a video and change a thermal paste by yourself. That’s it for today. Like always, I will put all the links at the bottom of this article. I hope you enjoyed reading and in case you want to check my video, please check at the bottom of this post. Click like and subscribe if you liked it and see you soon.
Links to Amazon
Alcohol (isopropyl) wipes
https://geni.us/AdBQe
Rechargeable Air Duster
https://geni.us/b6lby
Compressed Air can
https://geni.us/YhPr
Disclosure: EpicGameTech gets a small commission when you purchase something via our Amazon links. It doesn’t cost you anything extra since that comes from Amazon’s end. So, please be aware, the links provided to Amazon are affiliate links.