Table of Contents
Finally, I’ve got RTX 3070. So it’s time for an awesome Video editing, Gaming and Streaming PC Build. Even though it’s still not an easy task to find RTX 3070 in stock for a decent price, this is definitely one of the more popular GPUs to be used in 2021.
And so, I will be using RTX 3070 paired with Ryzen 9 3900x and will provide a bunch of various productivity and gaming benchmarks.
Motherboard
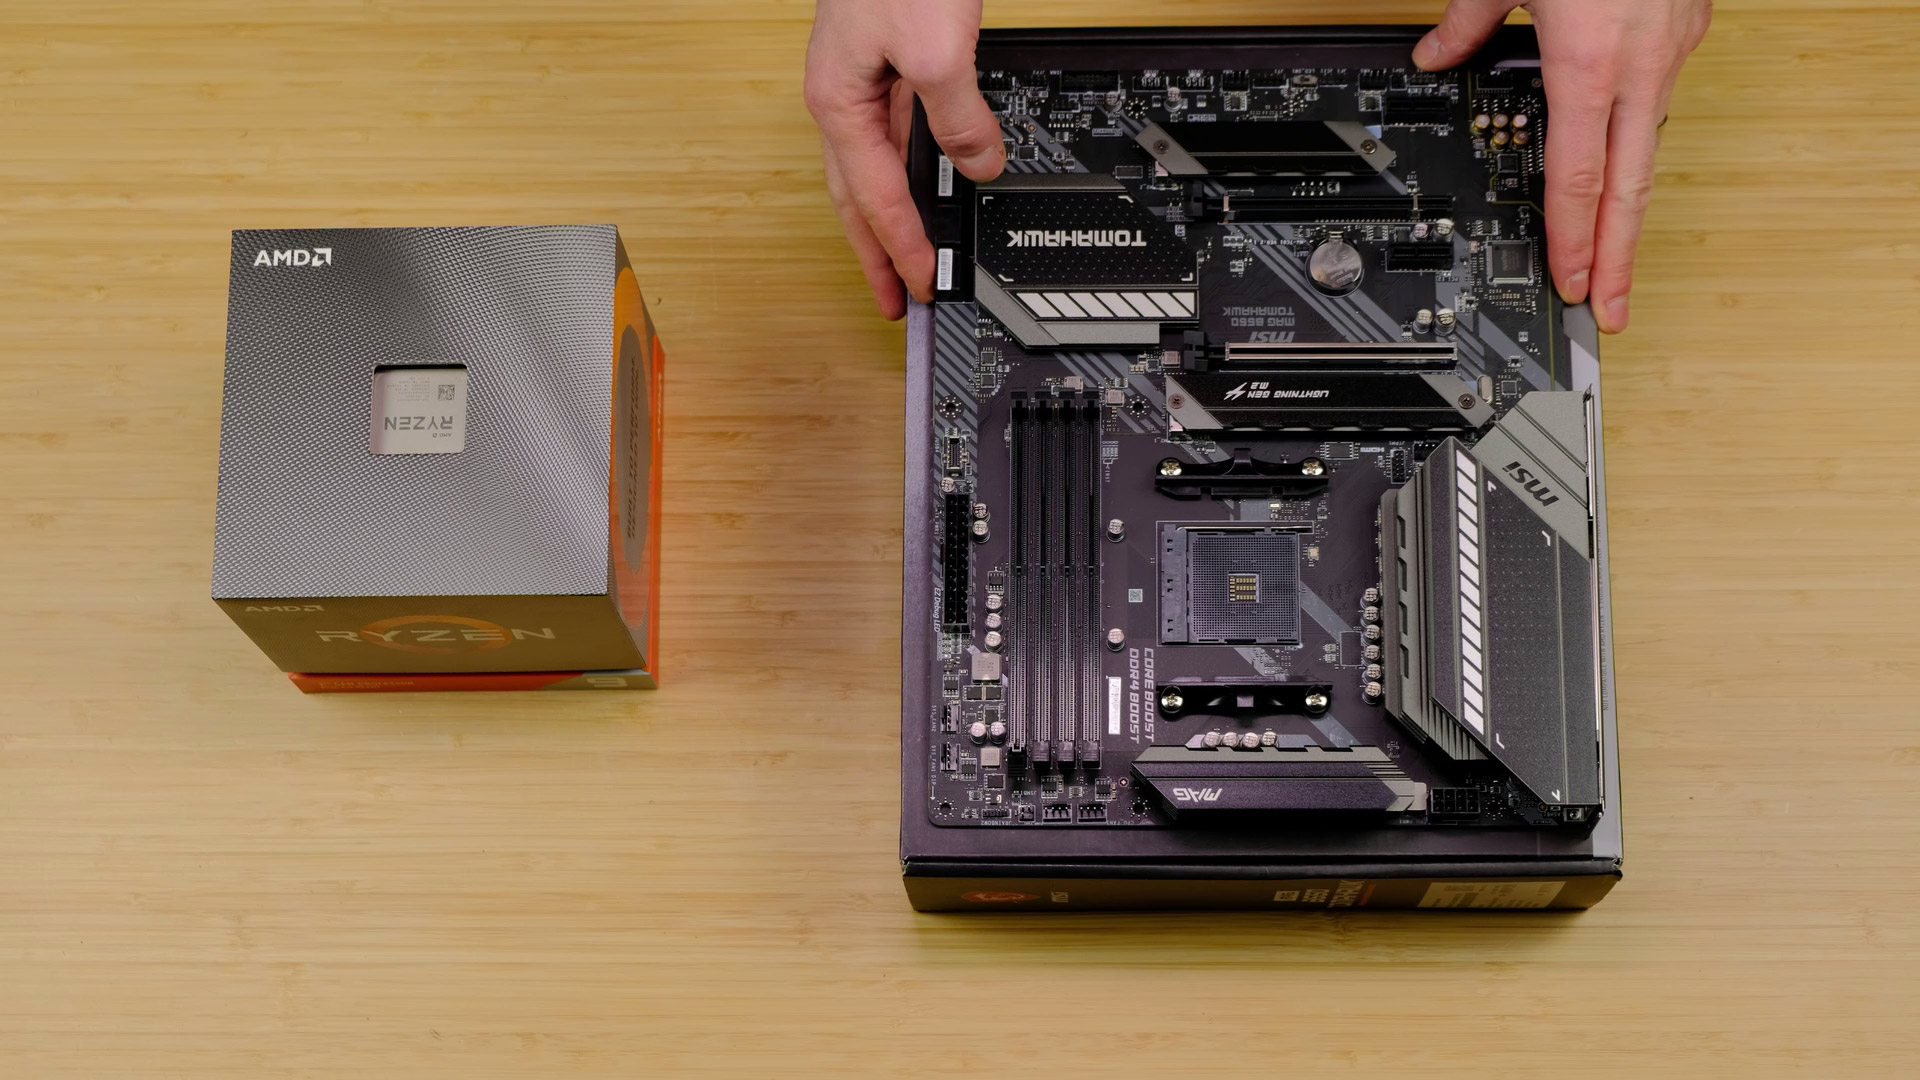
Let’s kick things off by checking the motherboard and installing some of the components.
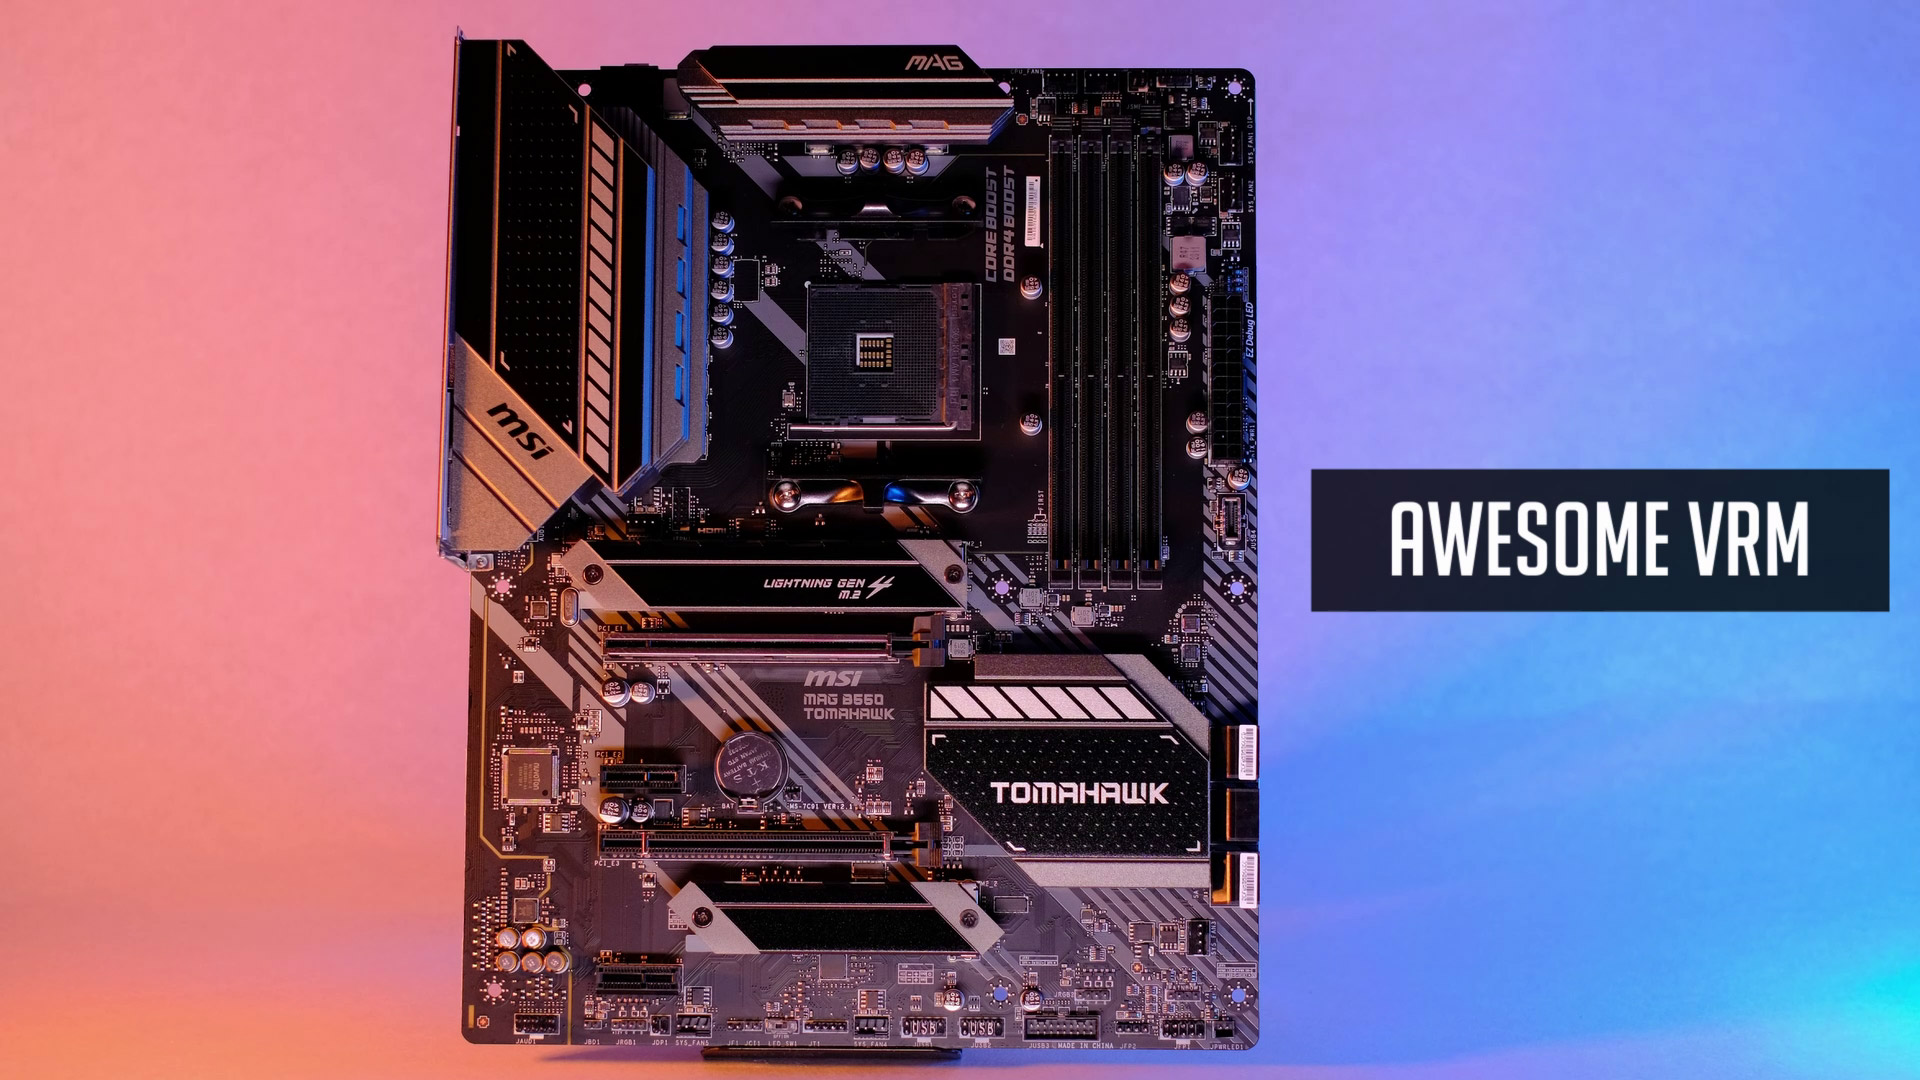
This is MSI B550 Tomahawk. MSI did a really good job and made this board one of the best in terms of VRM performance for the price. So if you are planning to overclock any zen2 or zen3 CPU, Tomahawk will deliver.
Processor (CPU)
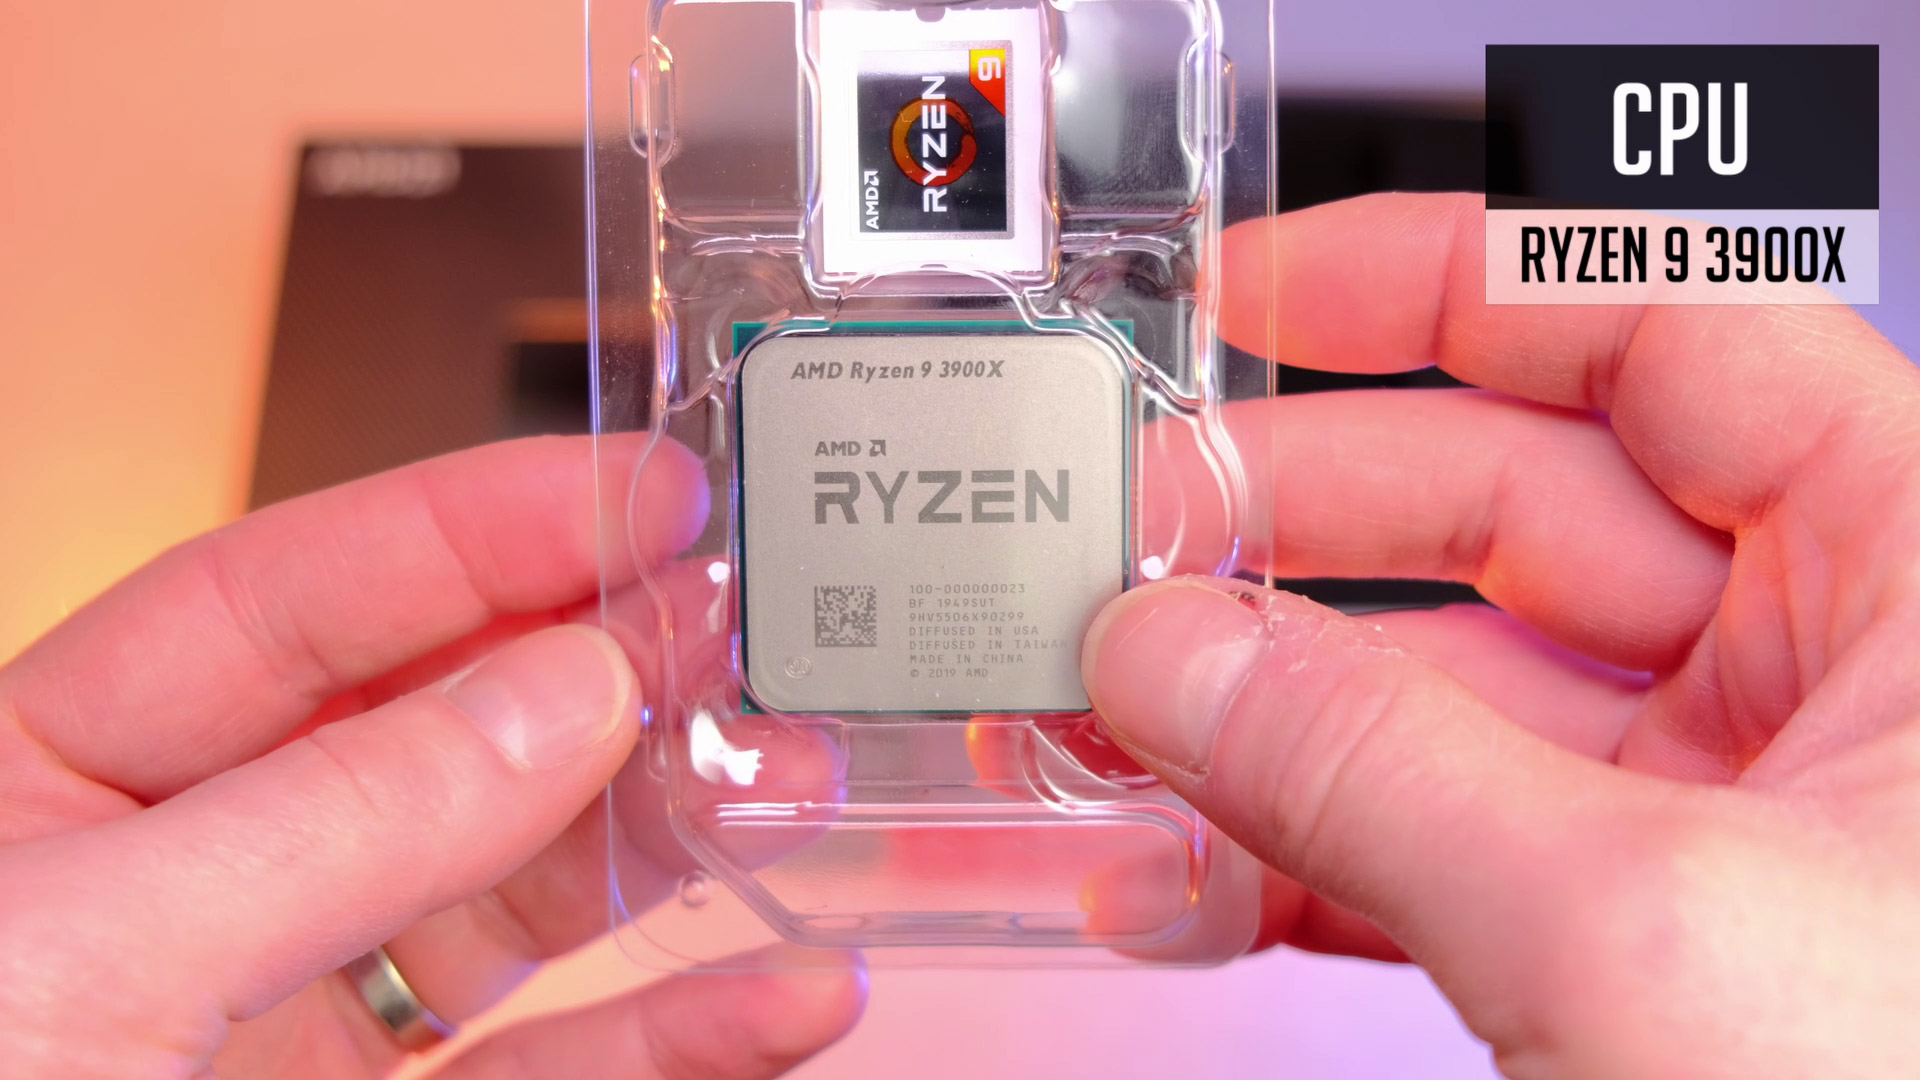
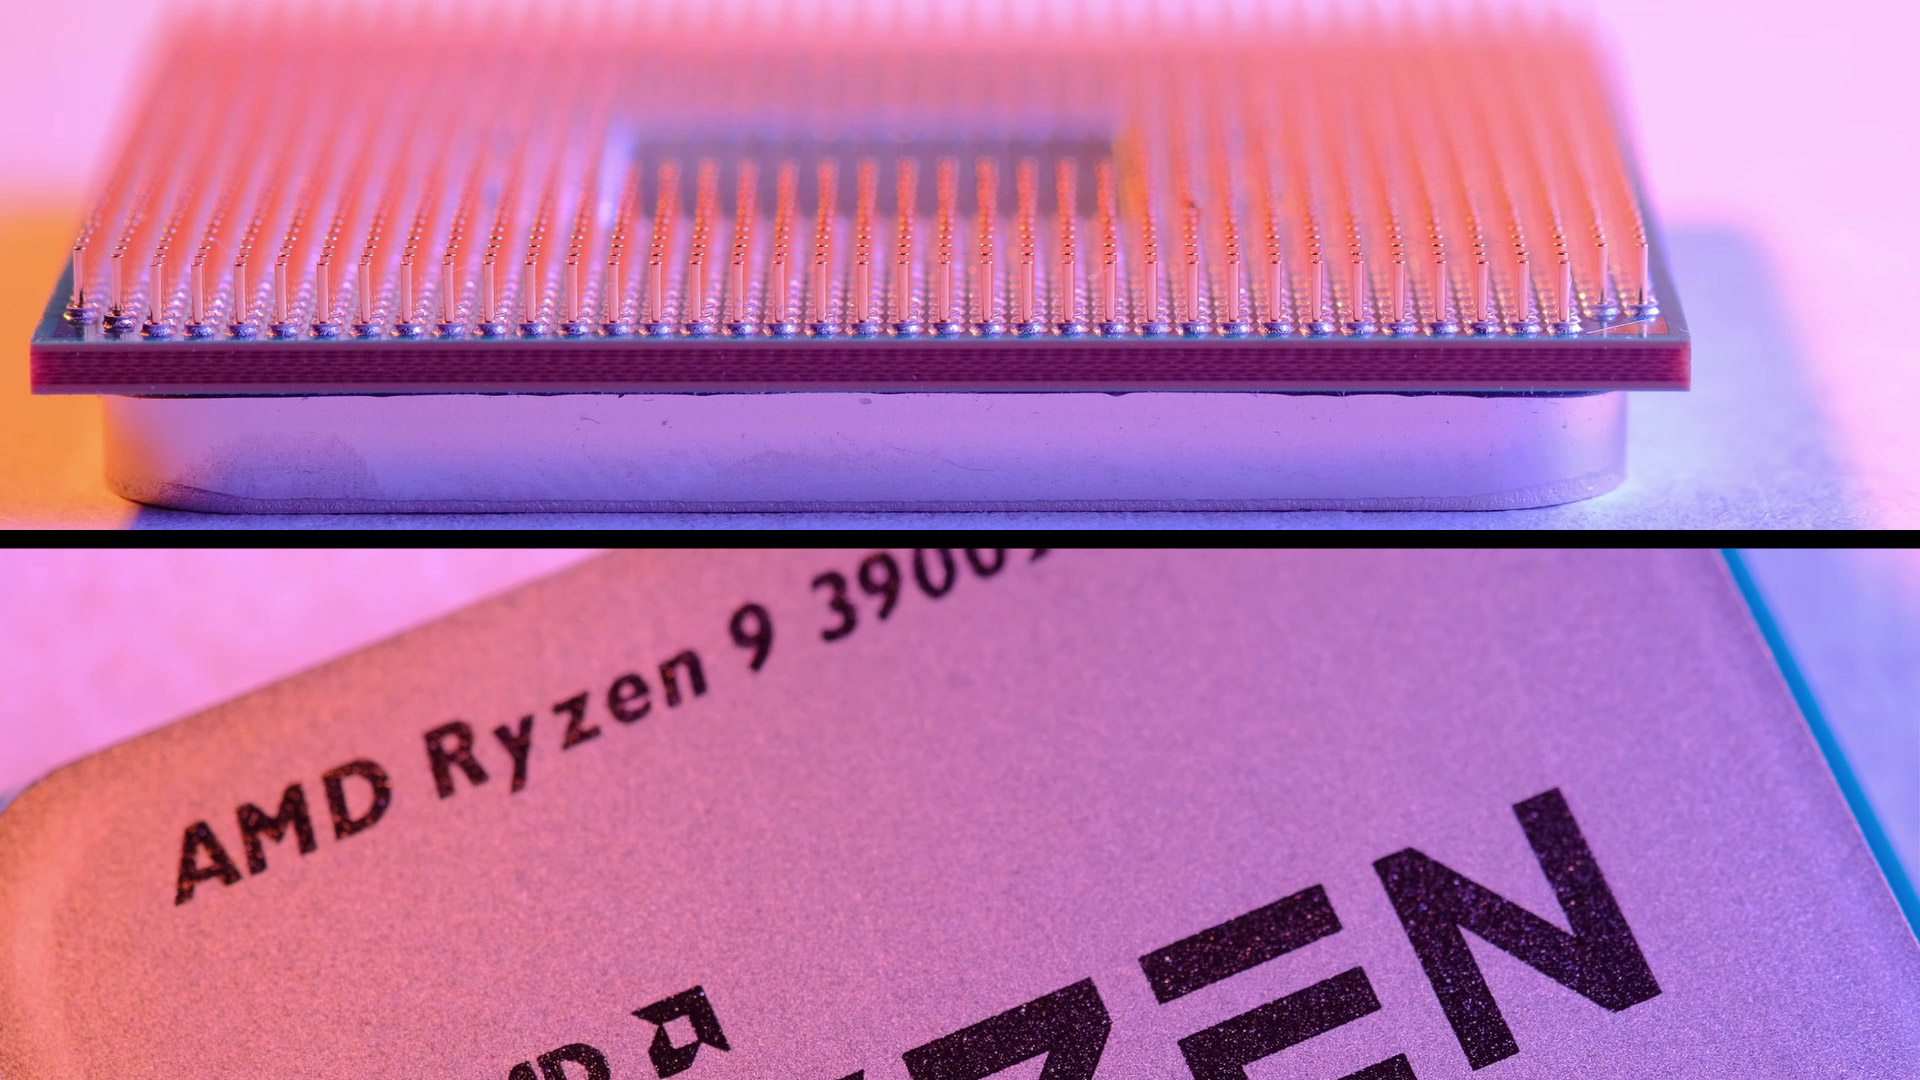


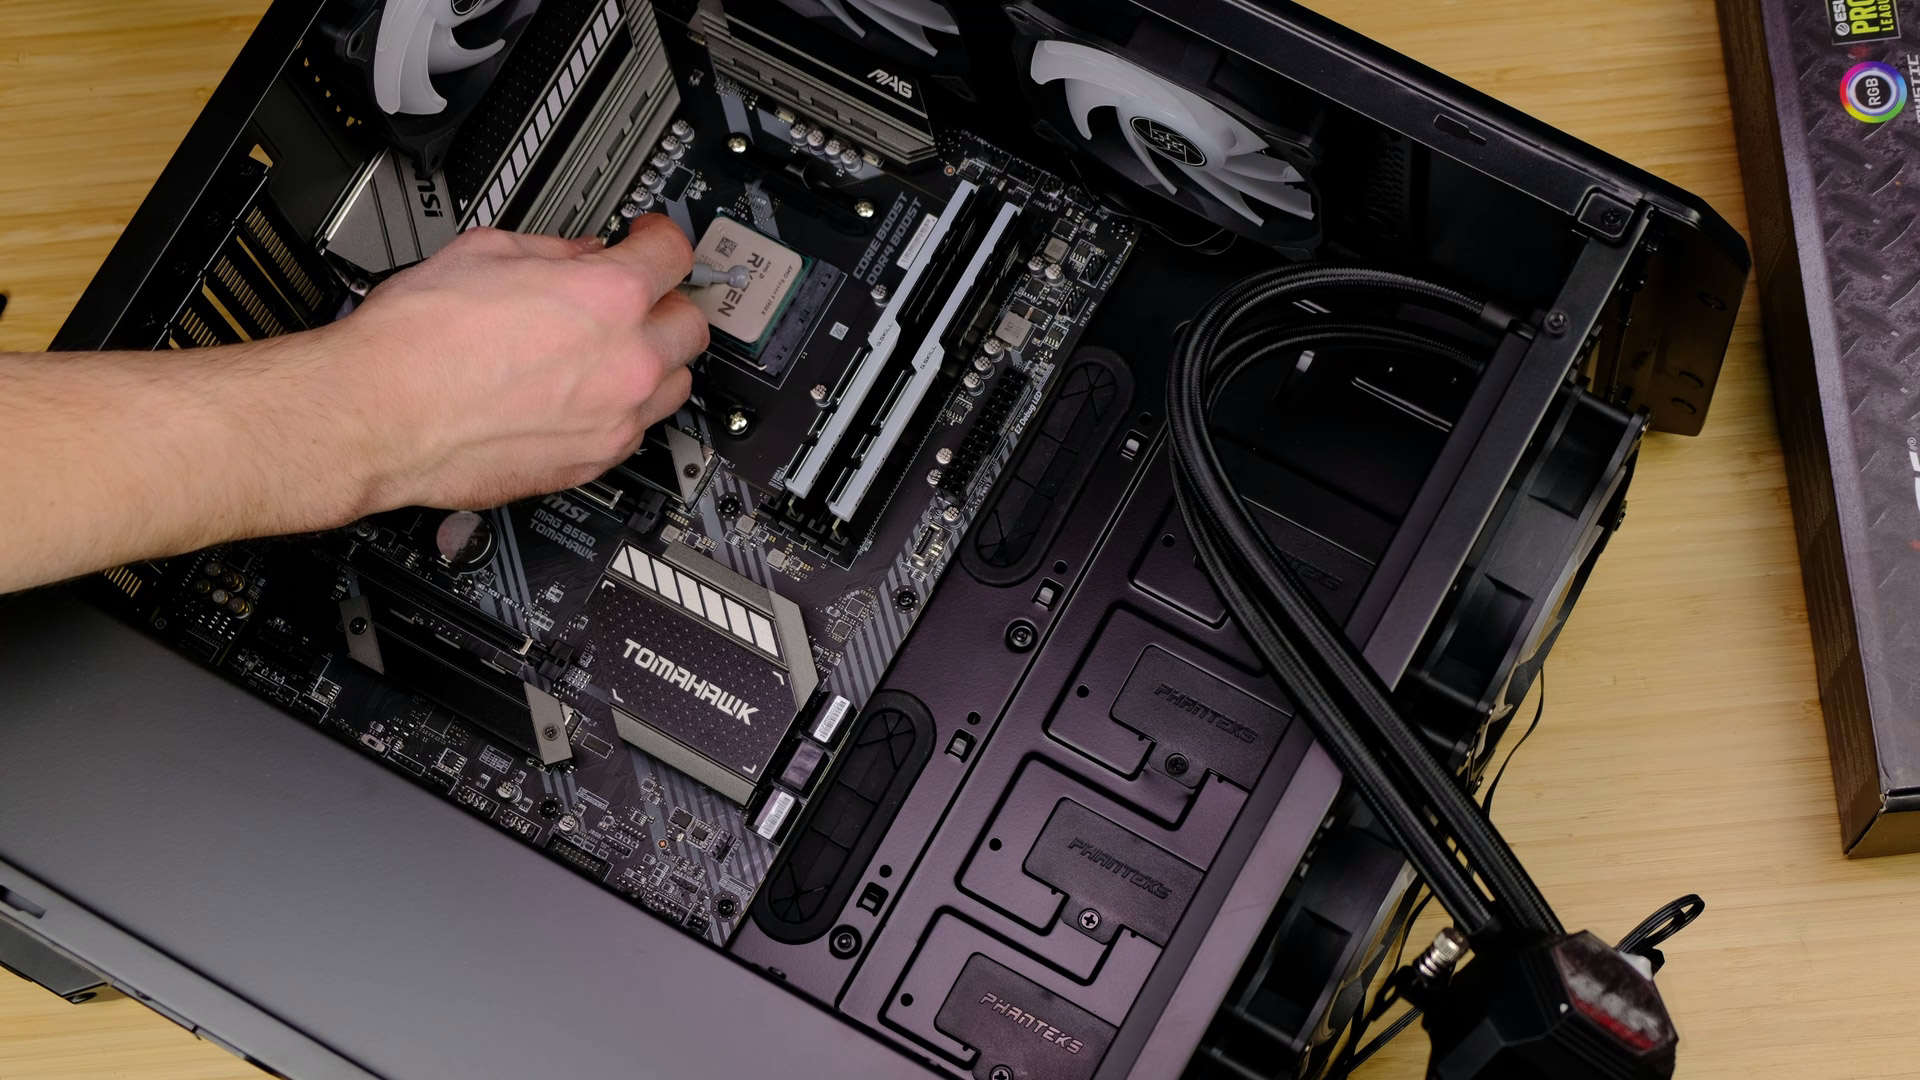
So let’s start with installing a CPU. And here we have Ryzen 9 3900x, 12 cores beast from AMD.
You do not necessarily need so many cores for gaming, but in case you are doing content creation or any other heavy CPU-demanding workloads, this is definitely one of the best options.
Some of you might look at 5900x, but it’s still hard to find it in stock so if you need a PC right now, 3900x will deliver for sure.
I’ve made a dedicated video on how to install Ryzen CPU, but it’s fairly straightforward – just pull up this arm and then drop a CPU into a socket. Return the same arm down and there you have it.
Memory (RAM)
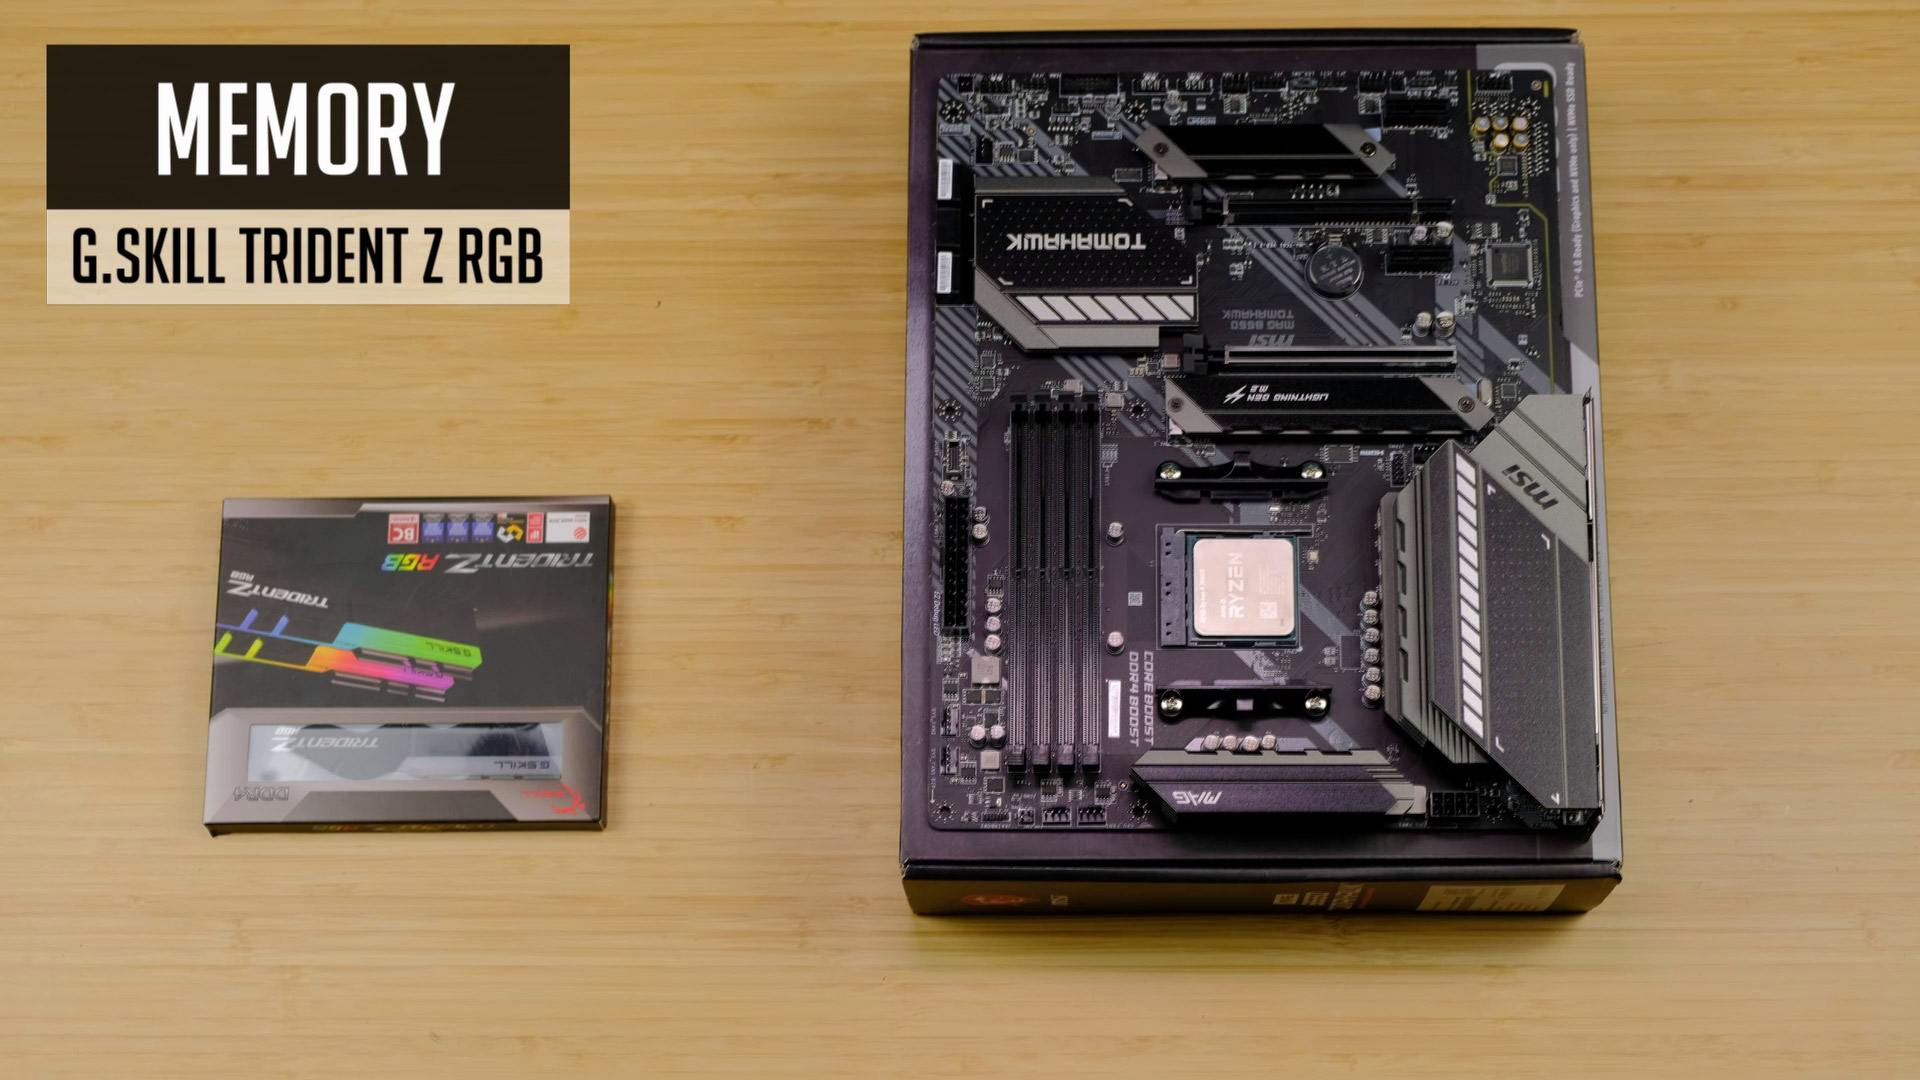
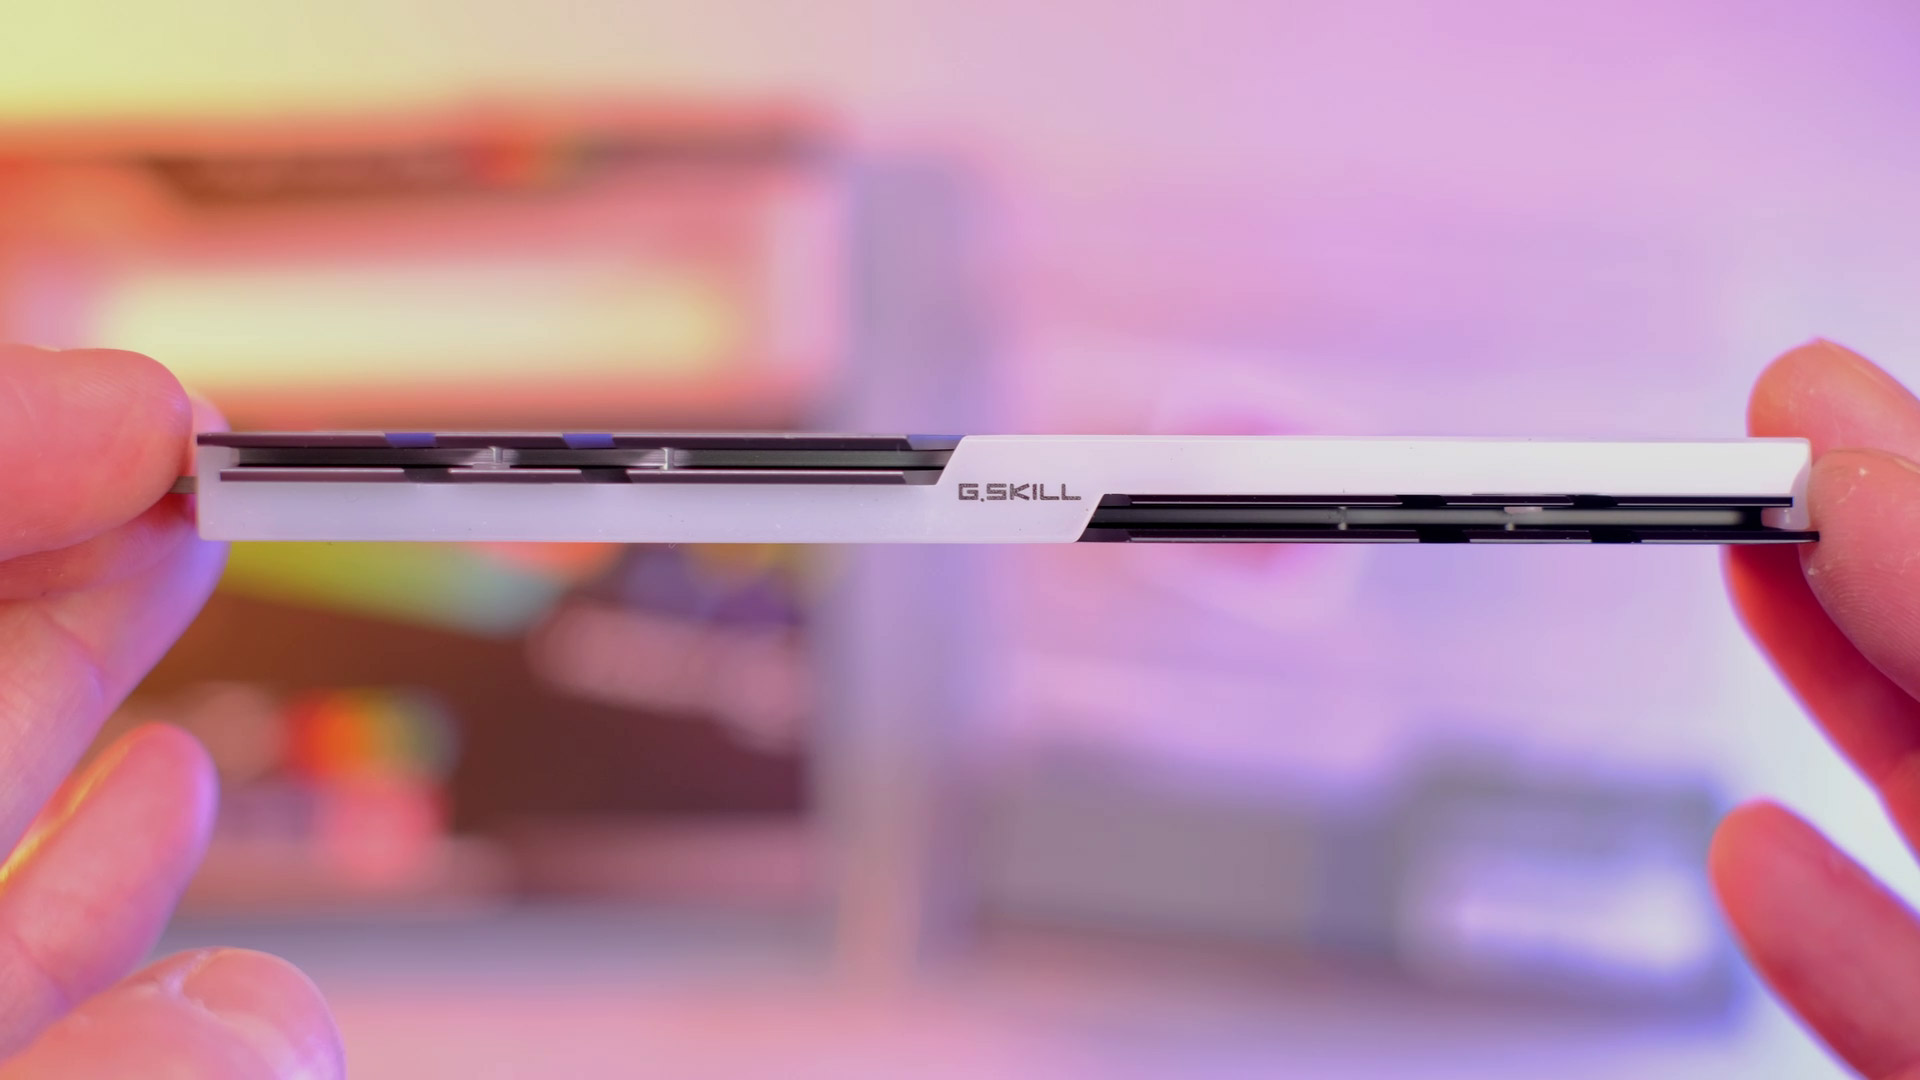
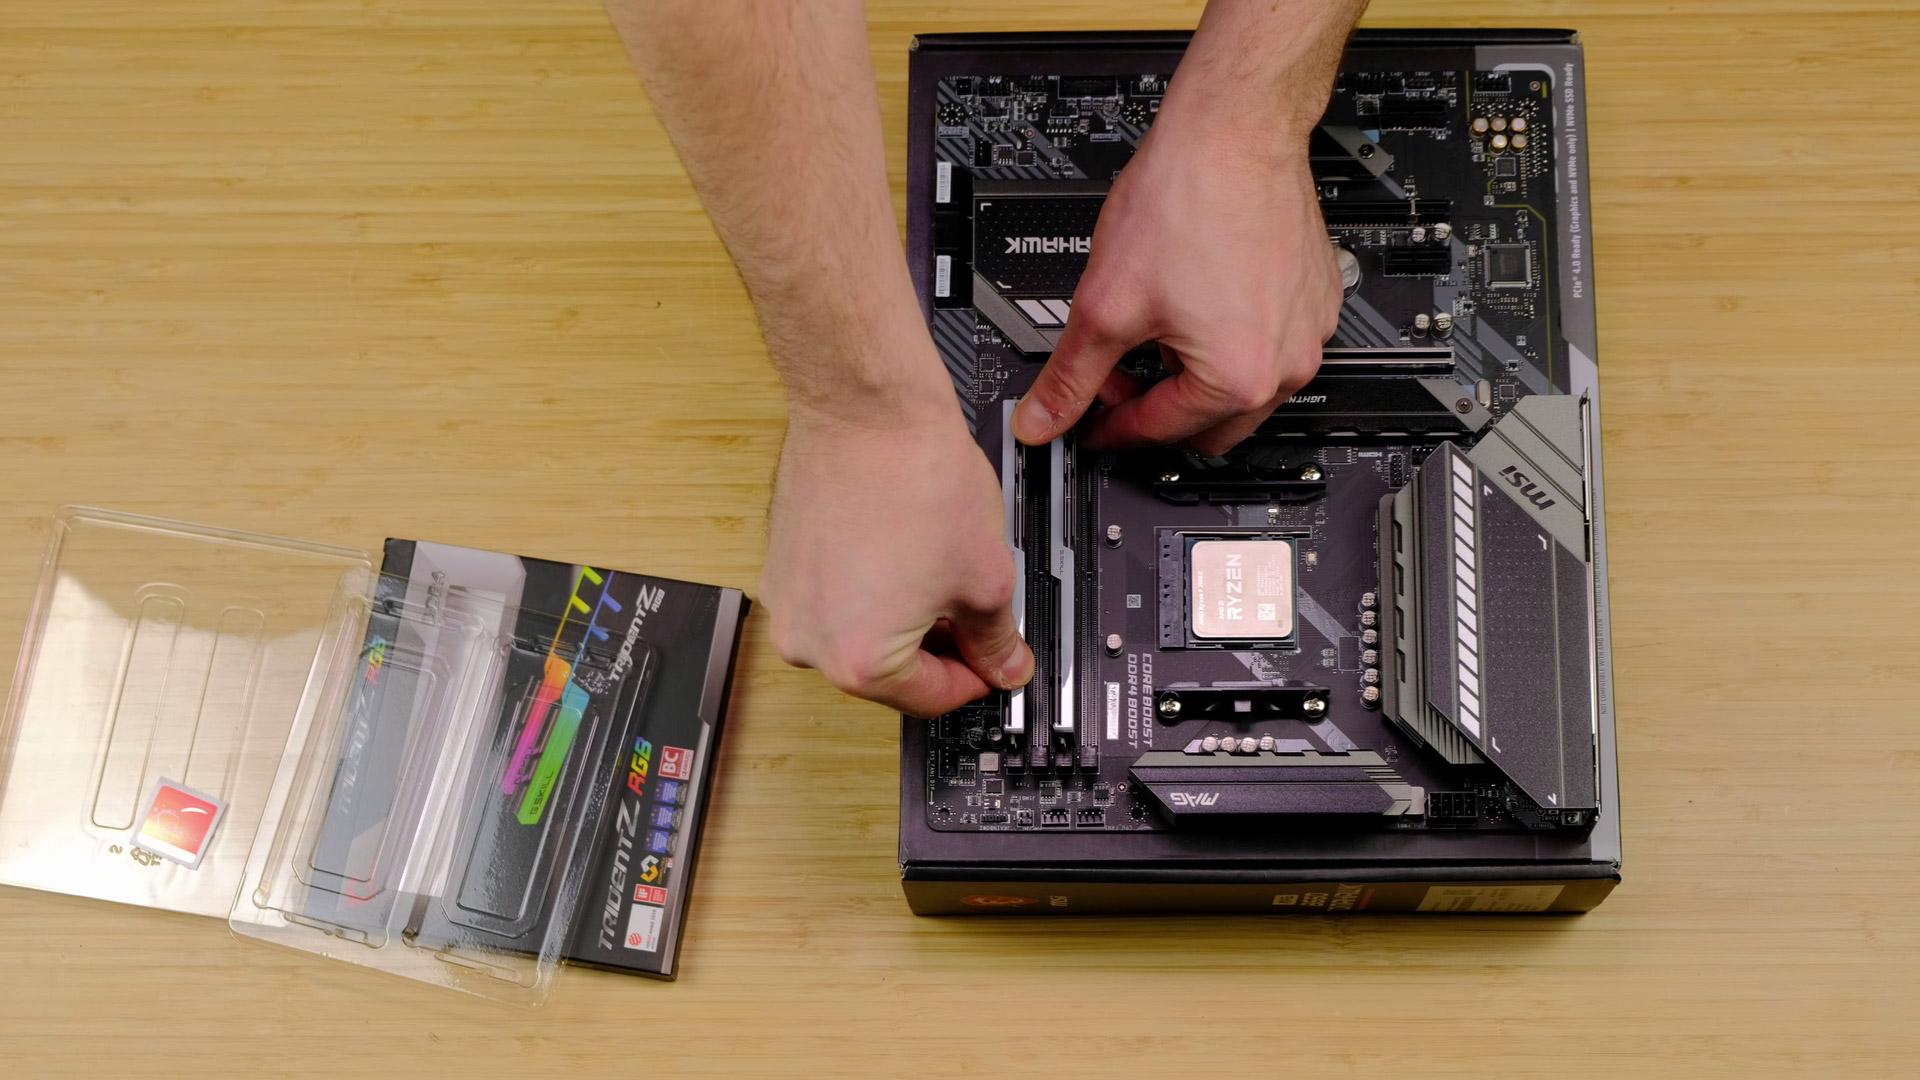
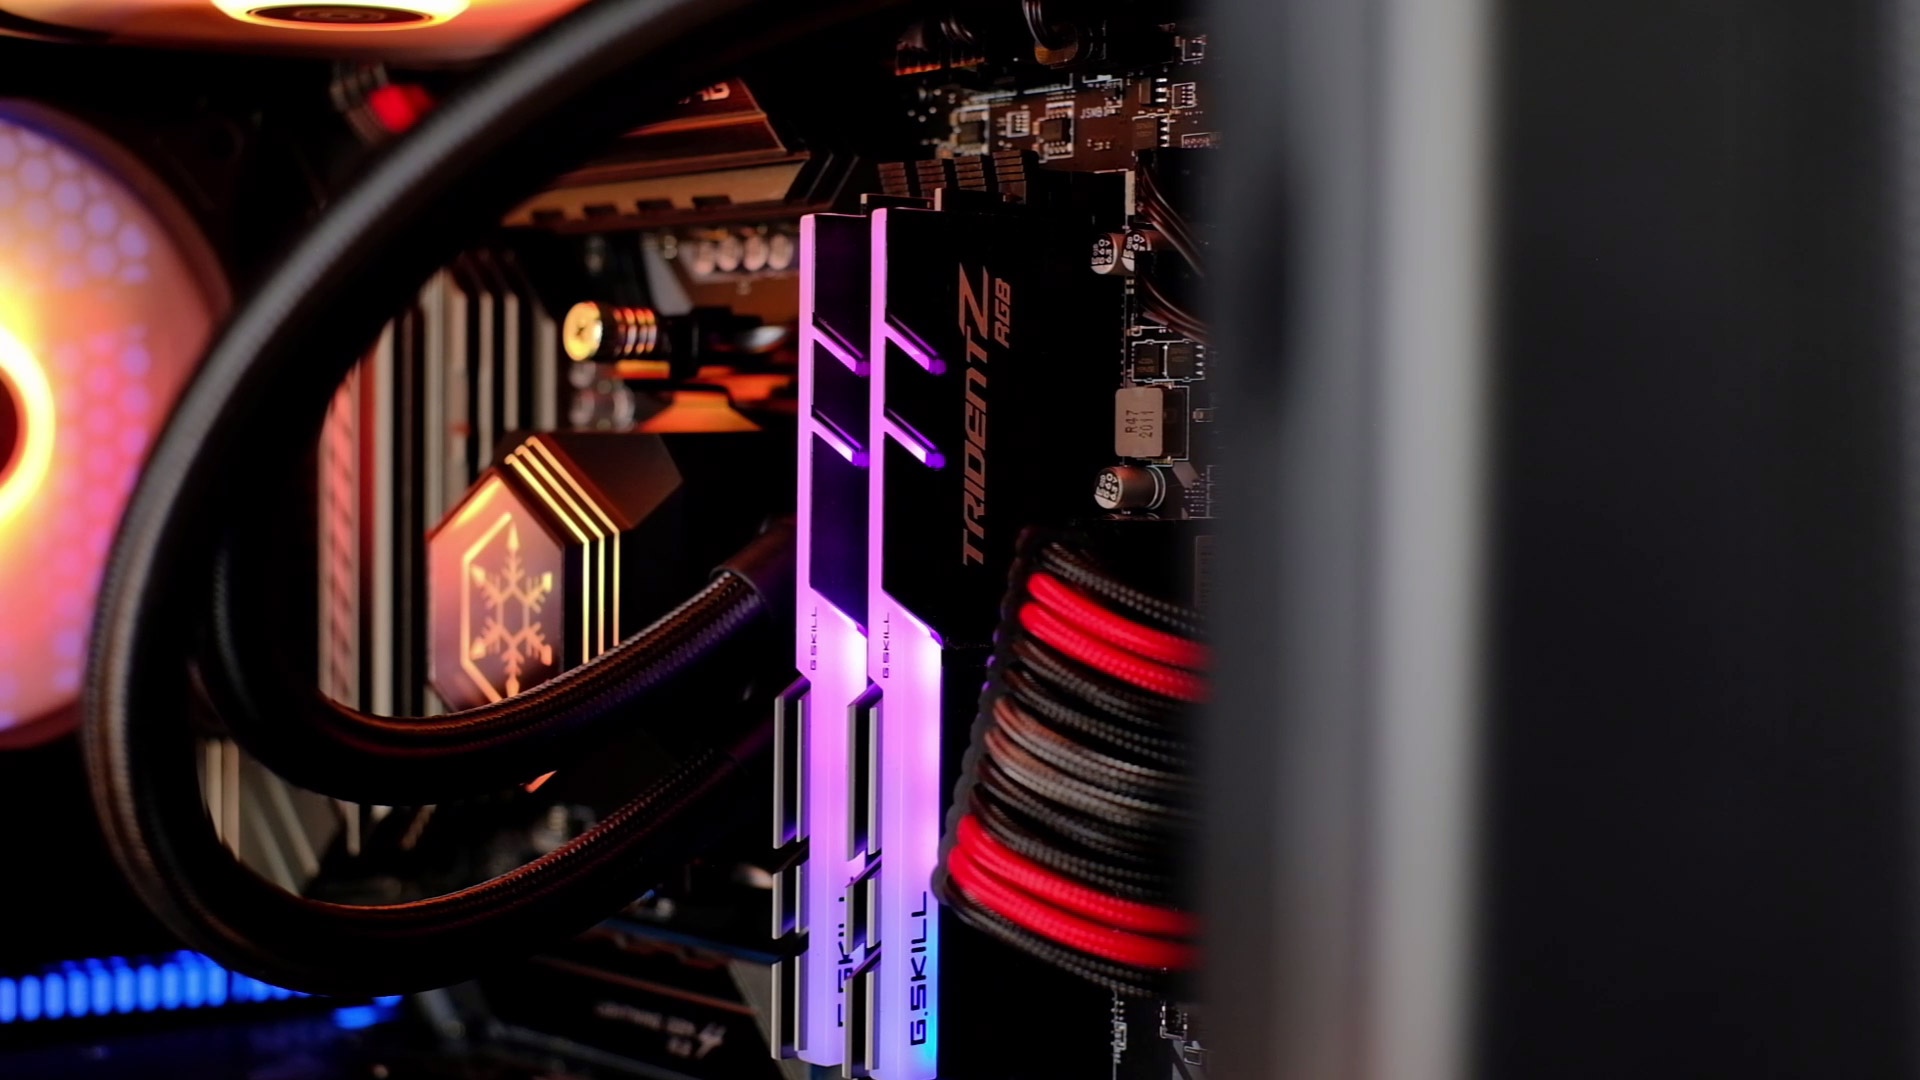
Our RAM choice for today is Trident Z RGB 32GB kit from a G.skill. It’s a 3600mhz cl17 kit. While 16GB is enough for gaming, I’m going for 32 gigs of RAM as it will help in video editing or any other RAM thirsty applications.
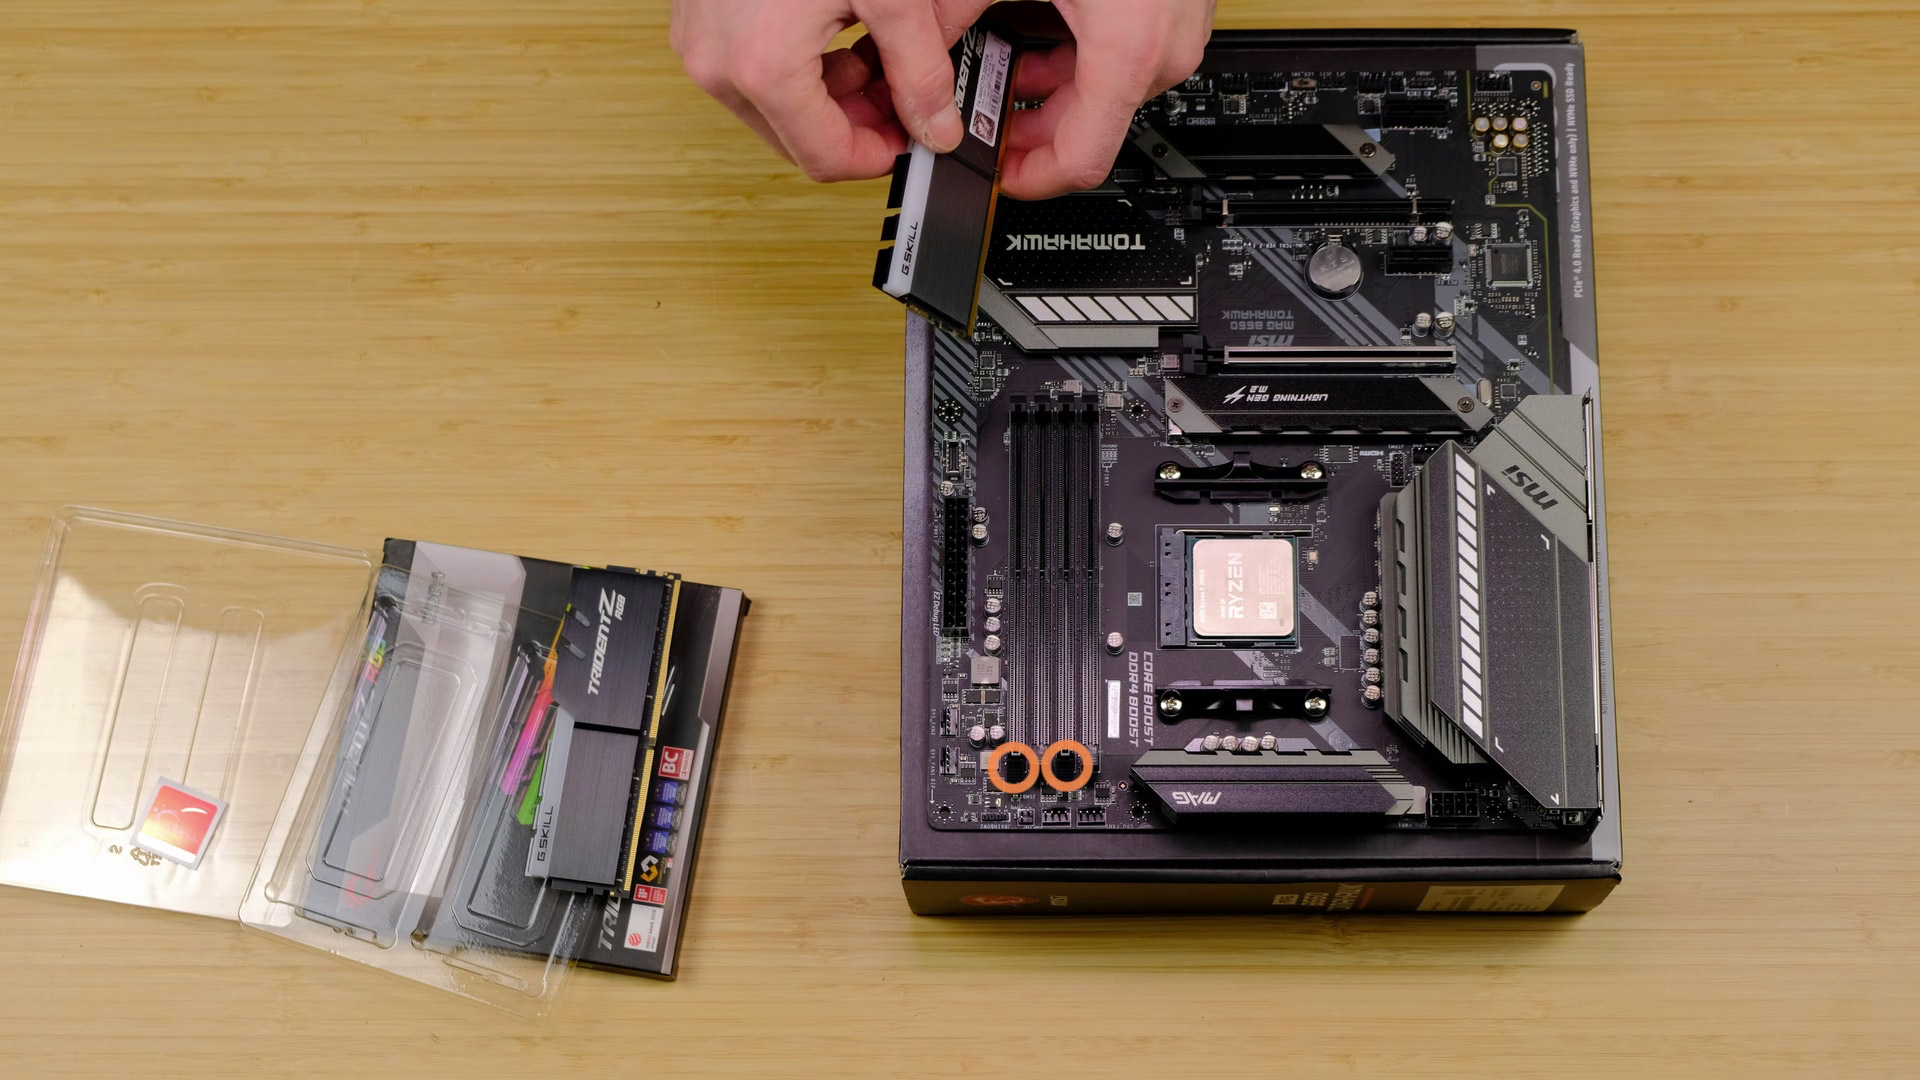
Installing a RAM is really simple – be sure to check your motherboard’s manual, but in general, you want to use 2nd and 4th DIMM slots when using two sticks.
Pull back those tabs, line up a gap at the bottom of the ram and a DIMM slot and then slide them in.
Storage (SSD)
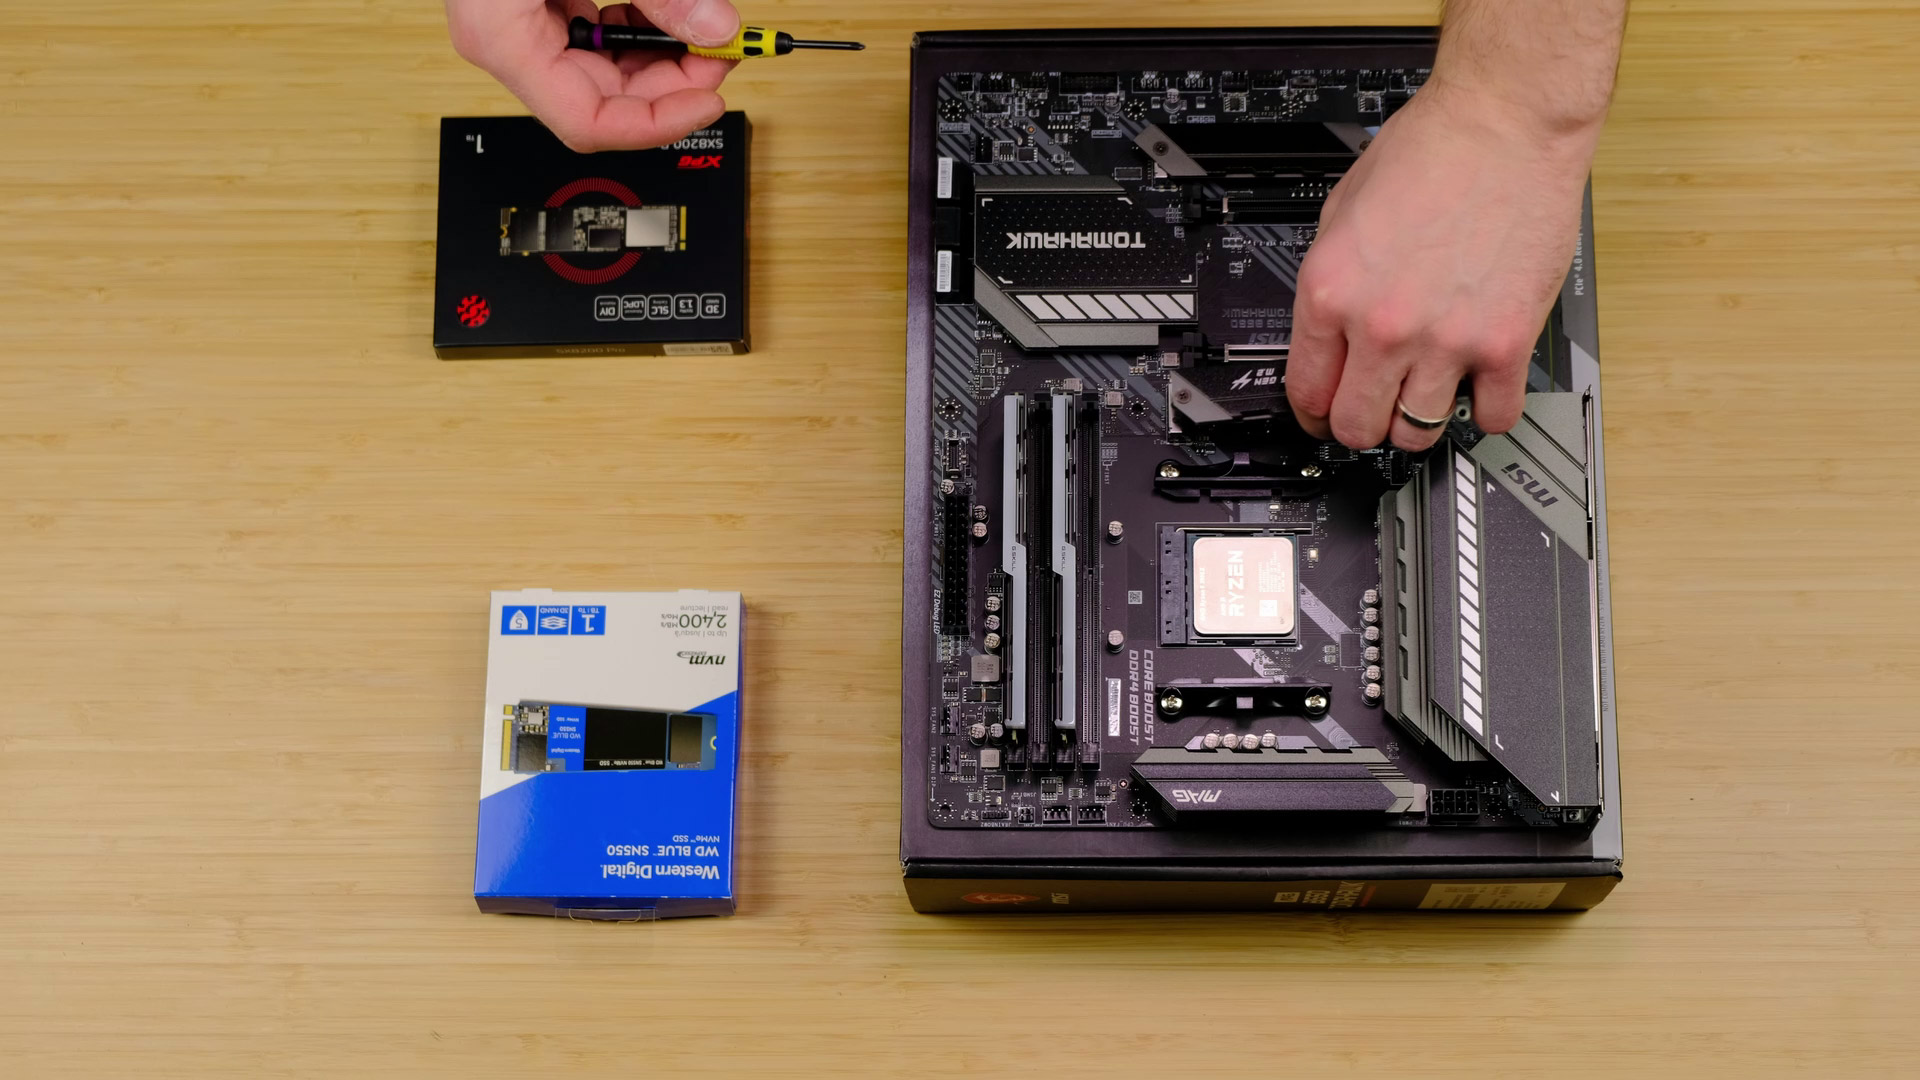
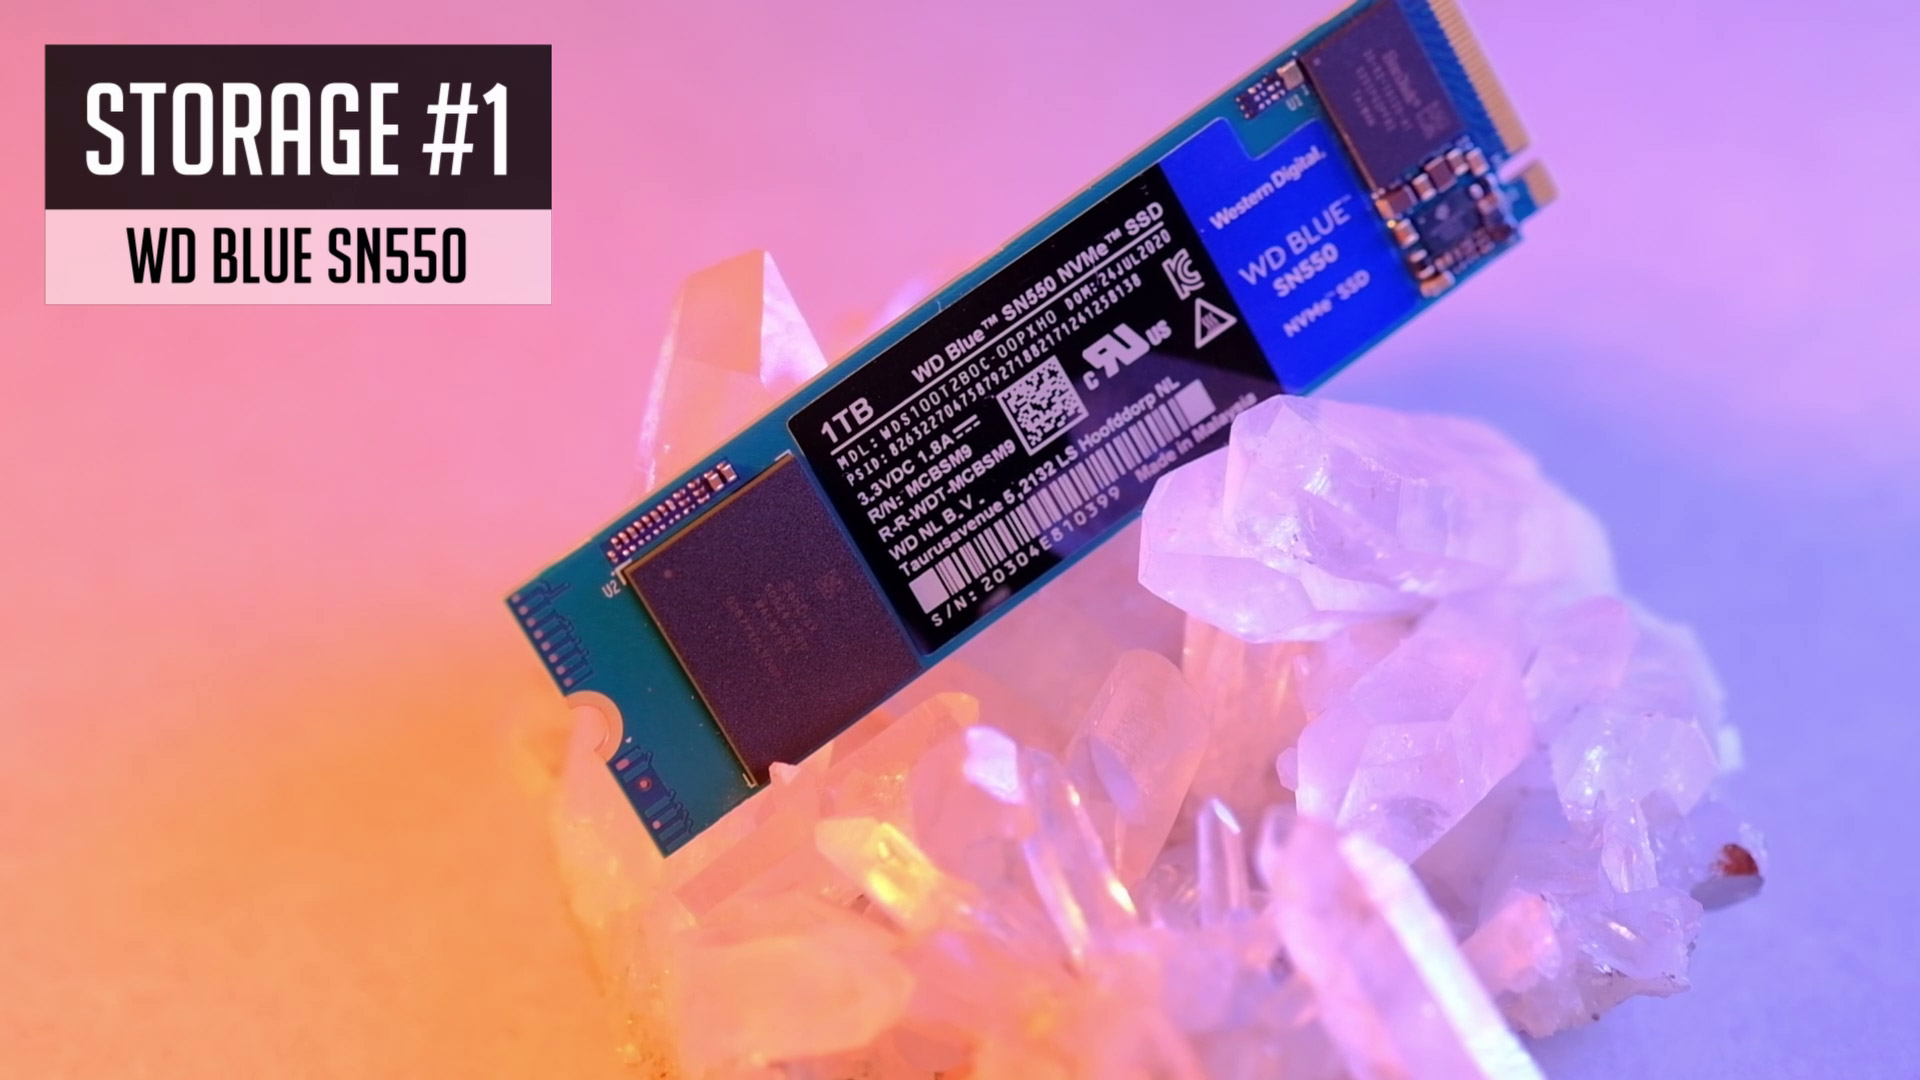


Next, we have not one, but two NVME SSDs to install. The first one is WD BLUE 1TB SSD and we will be using this one for an operating system.
In case you have any struggles with SATA or m.2 storage installation I will share a dedicated SSD installation guide at the top right corner.
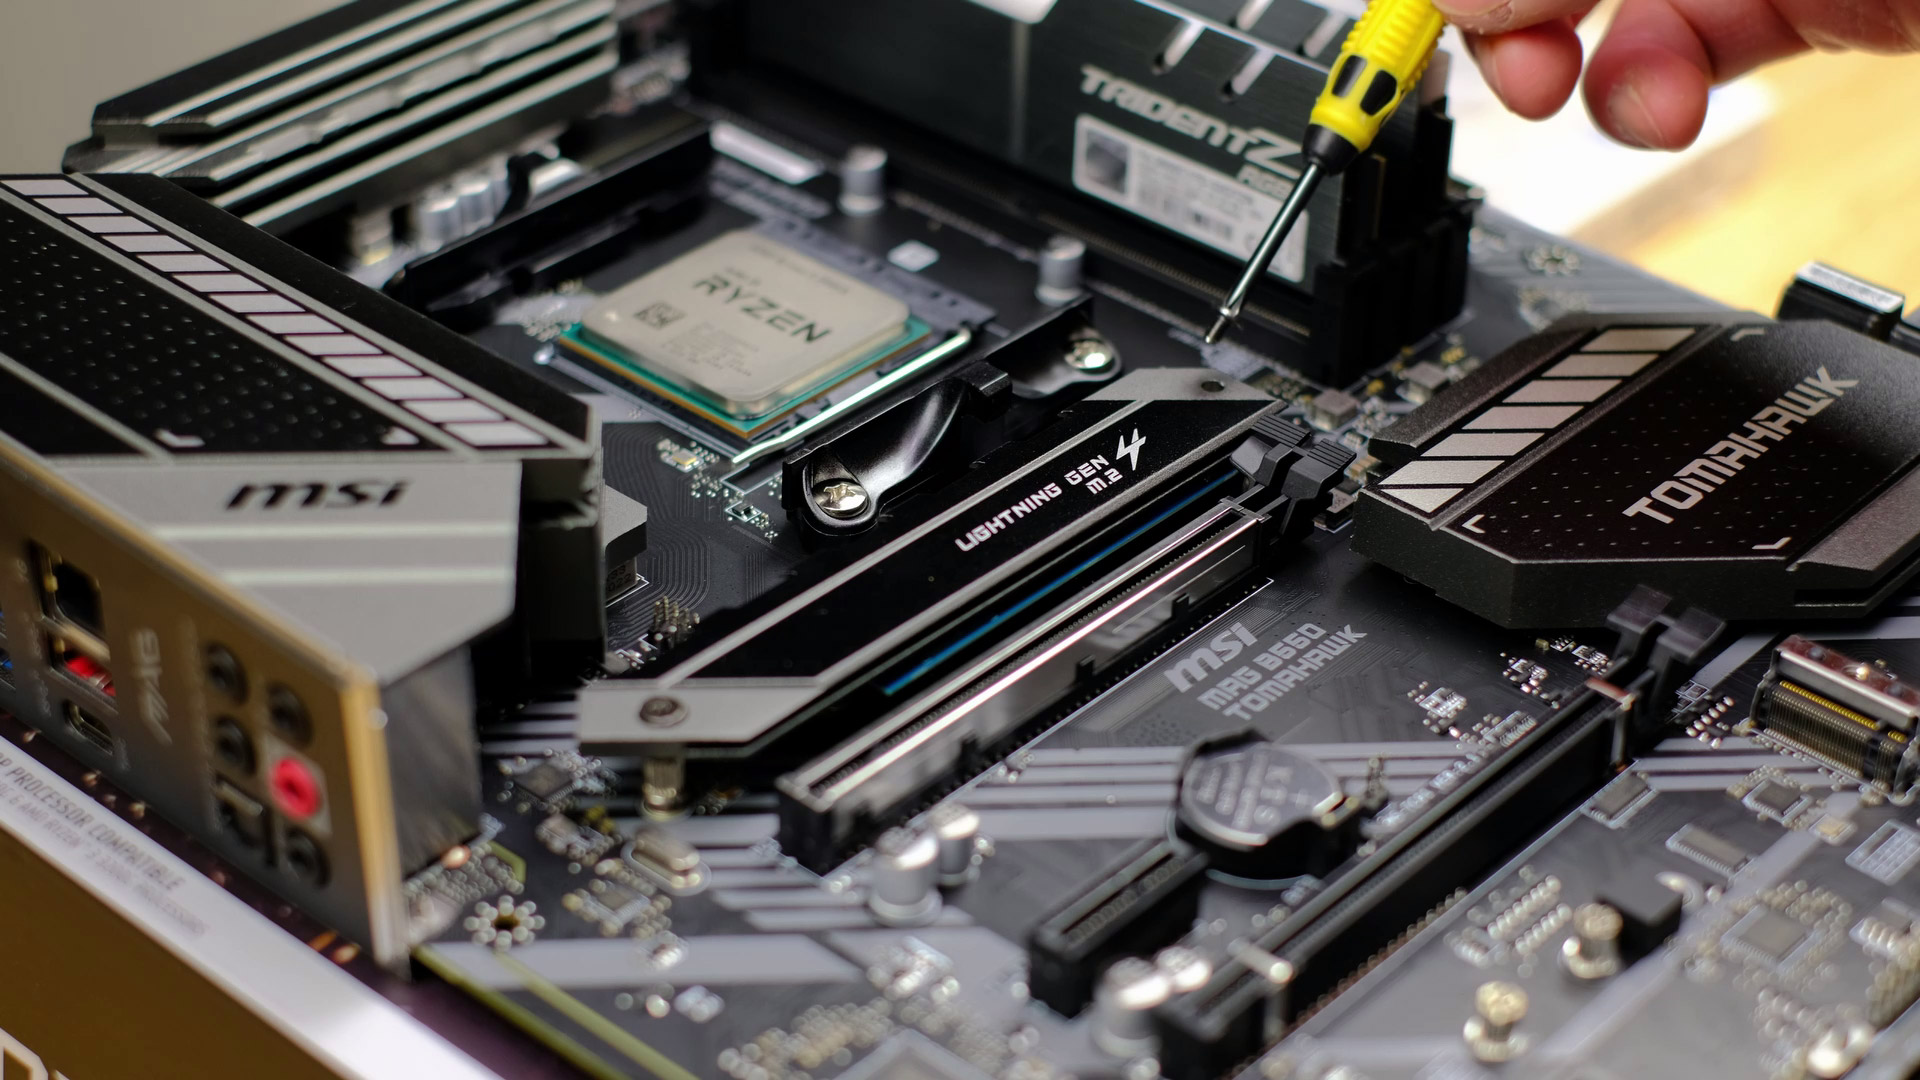
First of all, you need to remove m.2 shields that we will be using later on. Insert an SSD to m.2 slot at a 30-degree angle. Then use an included small m.2 screw to secure it in place.
And finally, screw m.2 shield to a motherboard.
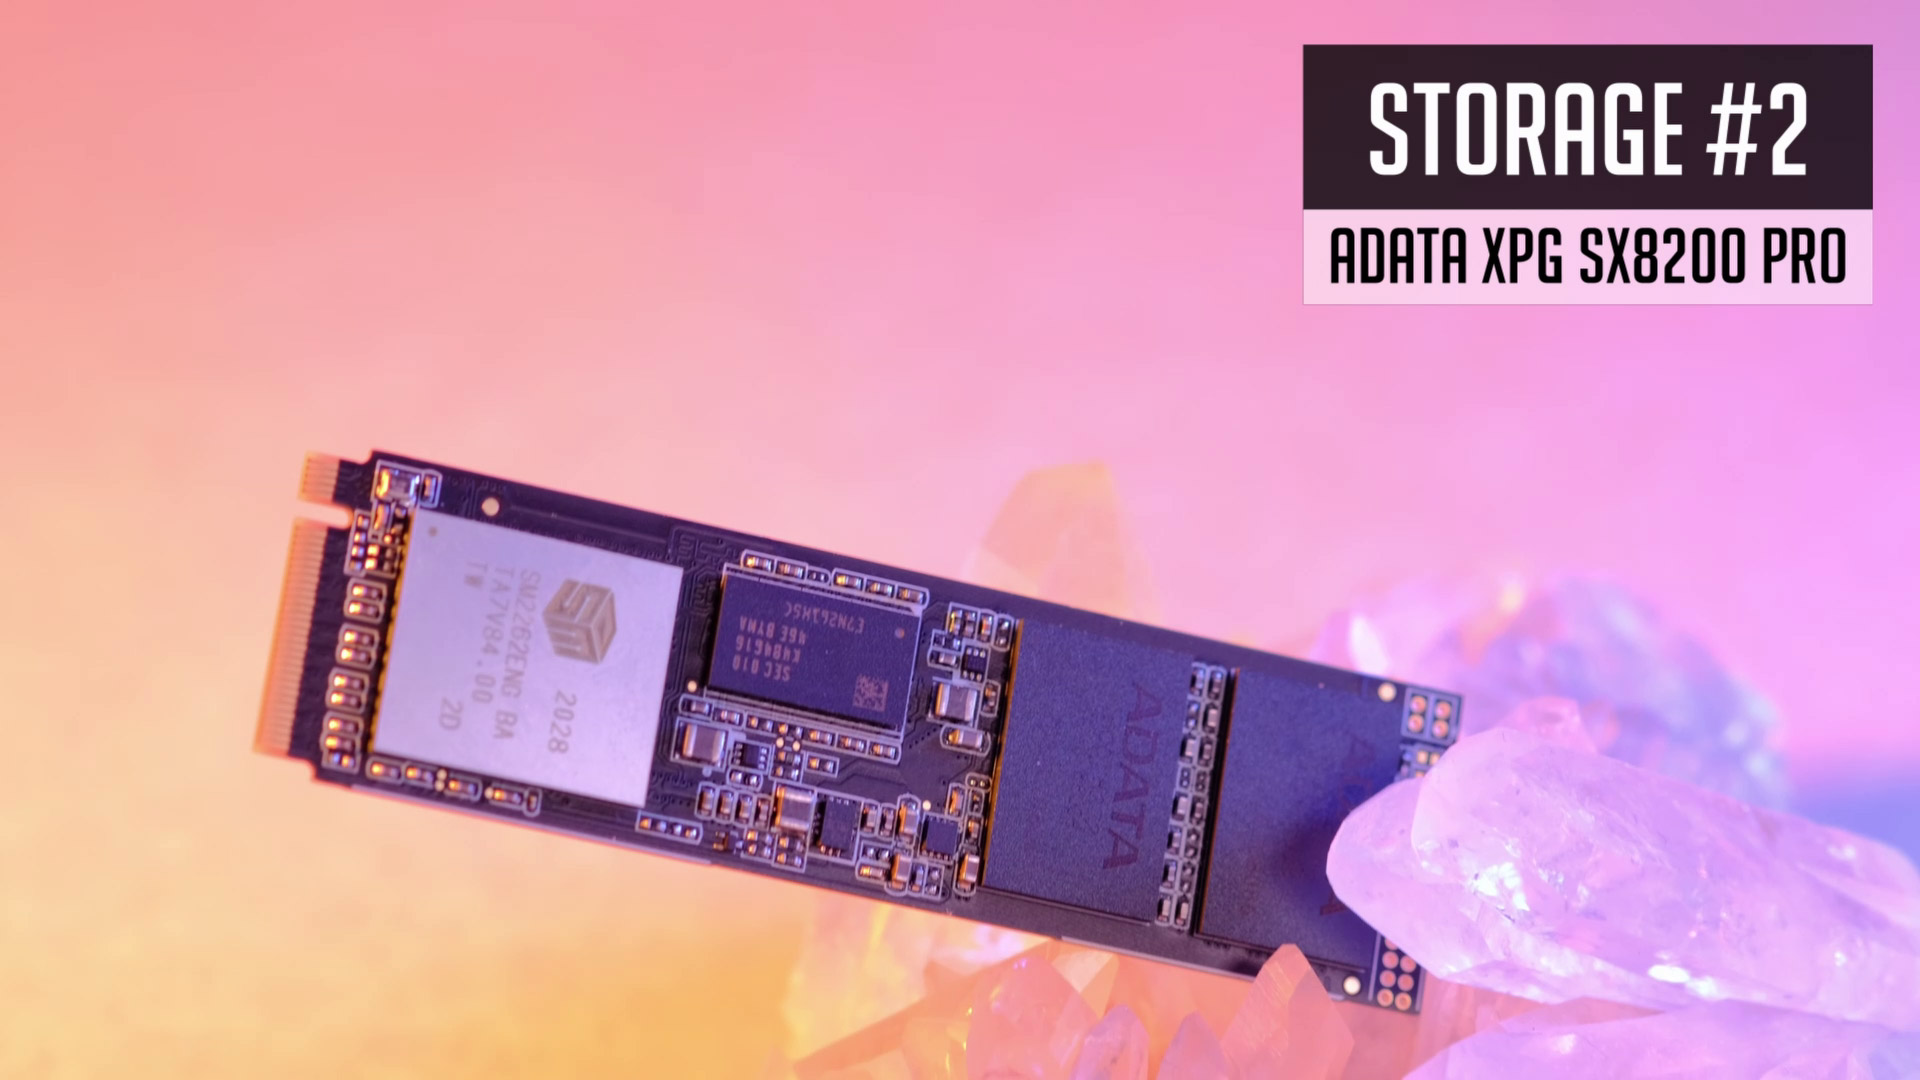
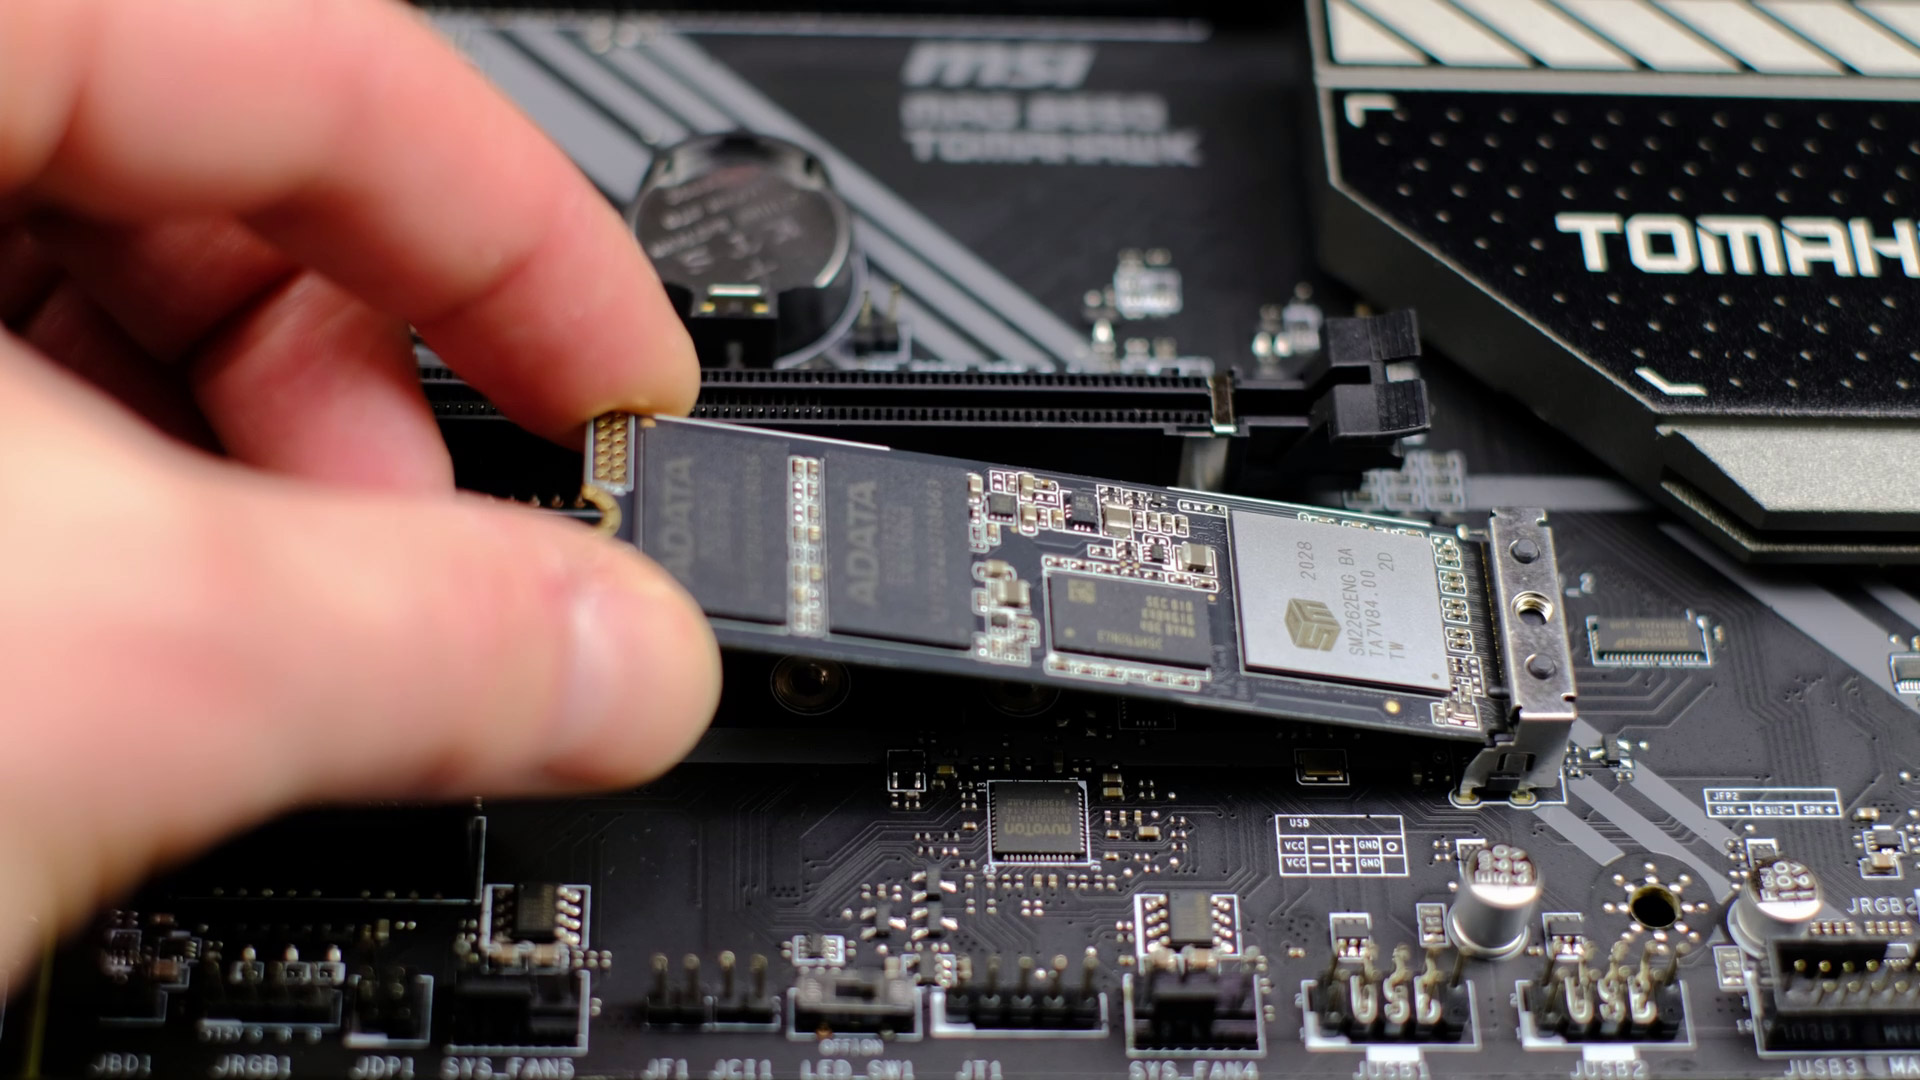
We will be adding one more 1 TB NVME SSD – Adata SX8200 PRO. This one will be used as a cache drive for video editing software.
Quite a similar process here, just be sure to unscrew any unnecessary m2 rizor screw as it was in my case. Also, this time, SSD will be secured together with m.2 shield. And it’s done.
PC Case


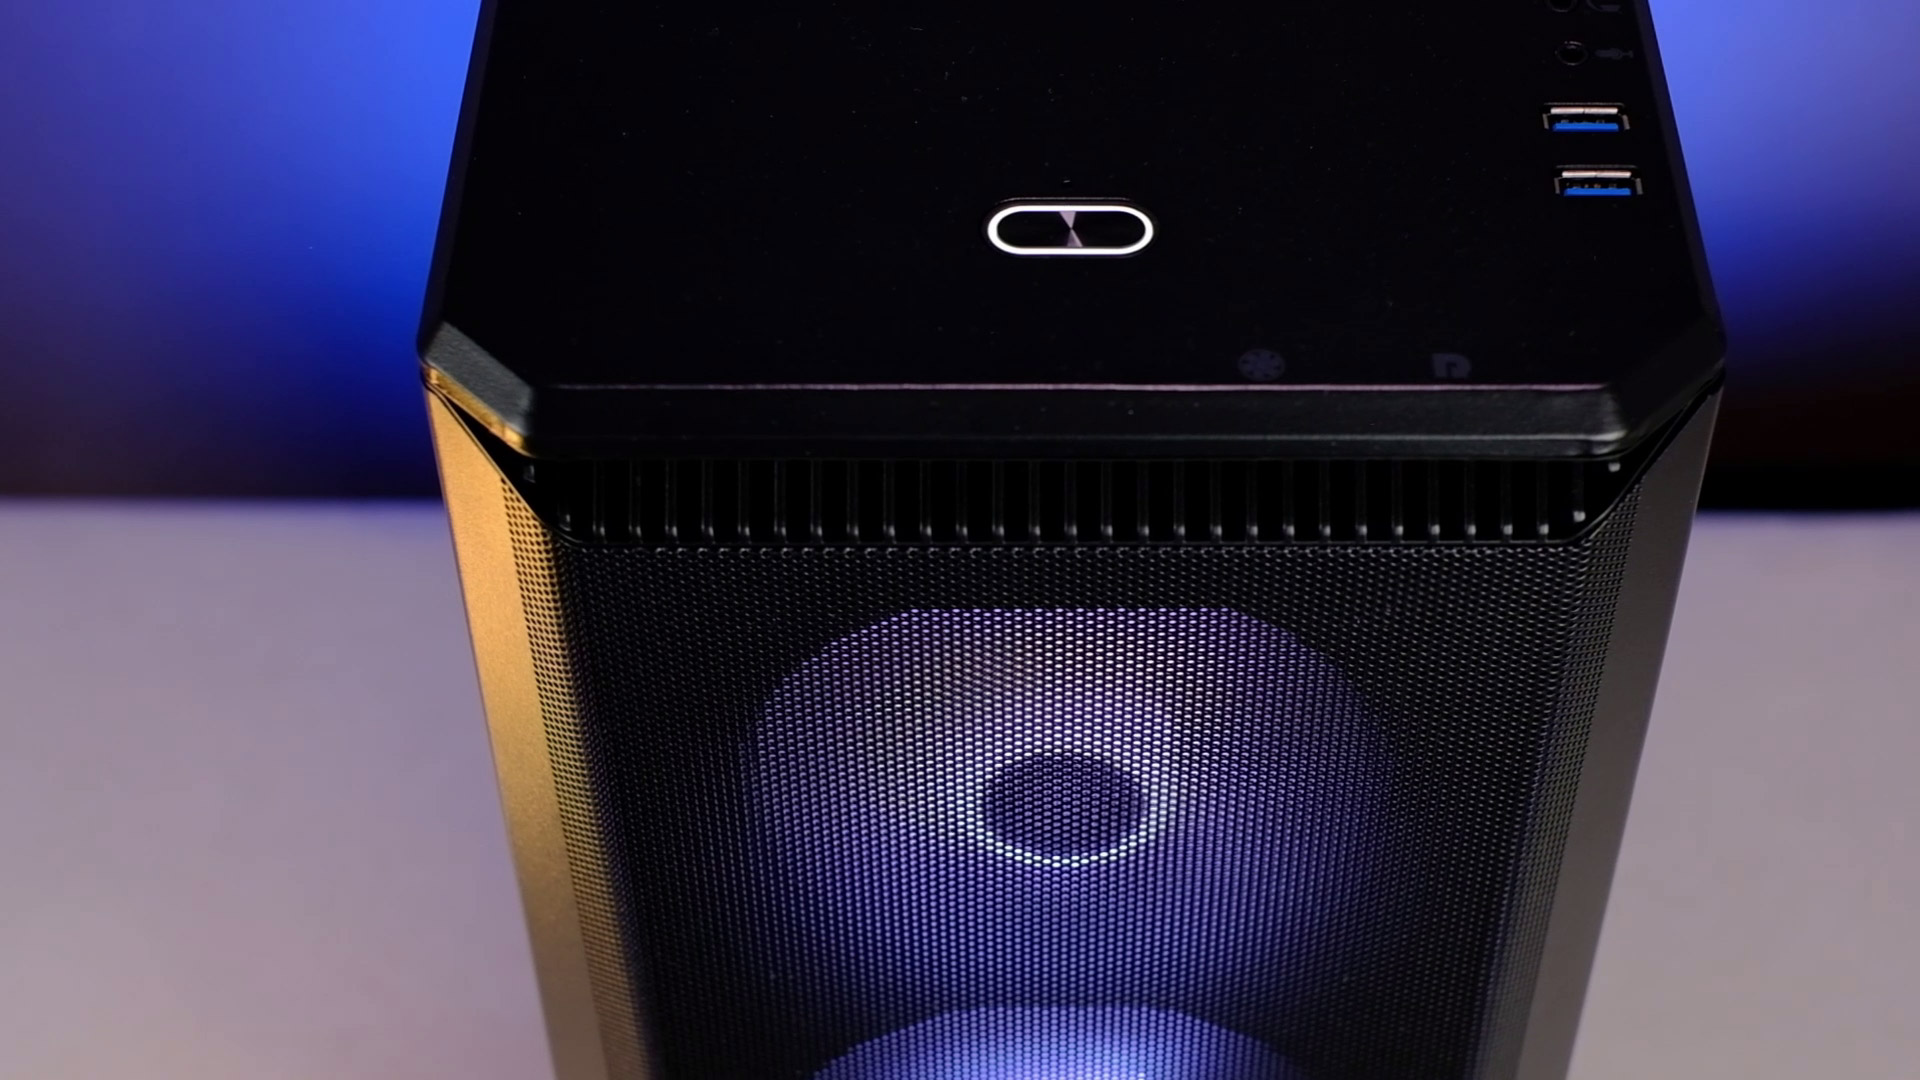
Alright, all the main parts are installed on our motherboard. Coming up next Phantex P400A. This is an awesome PC case we will be using today.
The main advantages of P400A is a good price, really good airflow, and decent build quality. But I will dedicate a separate review of this PC Case and will share a link soon.
There is an RGB version of this PC case, but we are going to use our fans this time.
Processor (CPU) Cooler
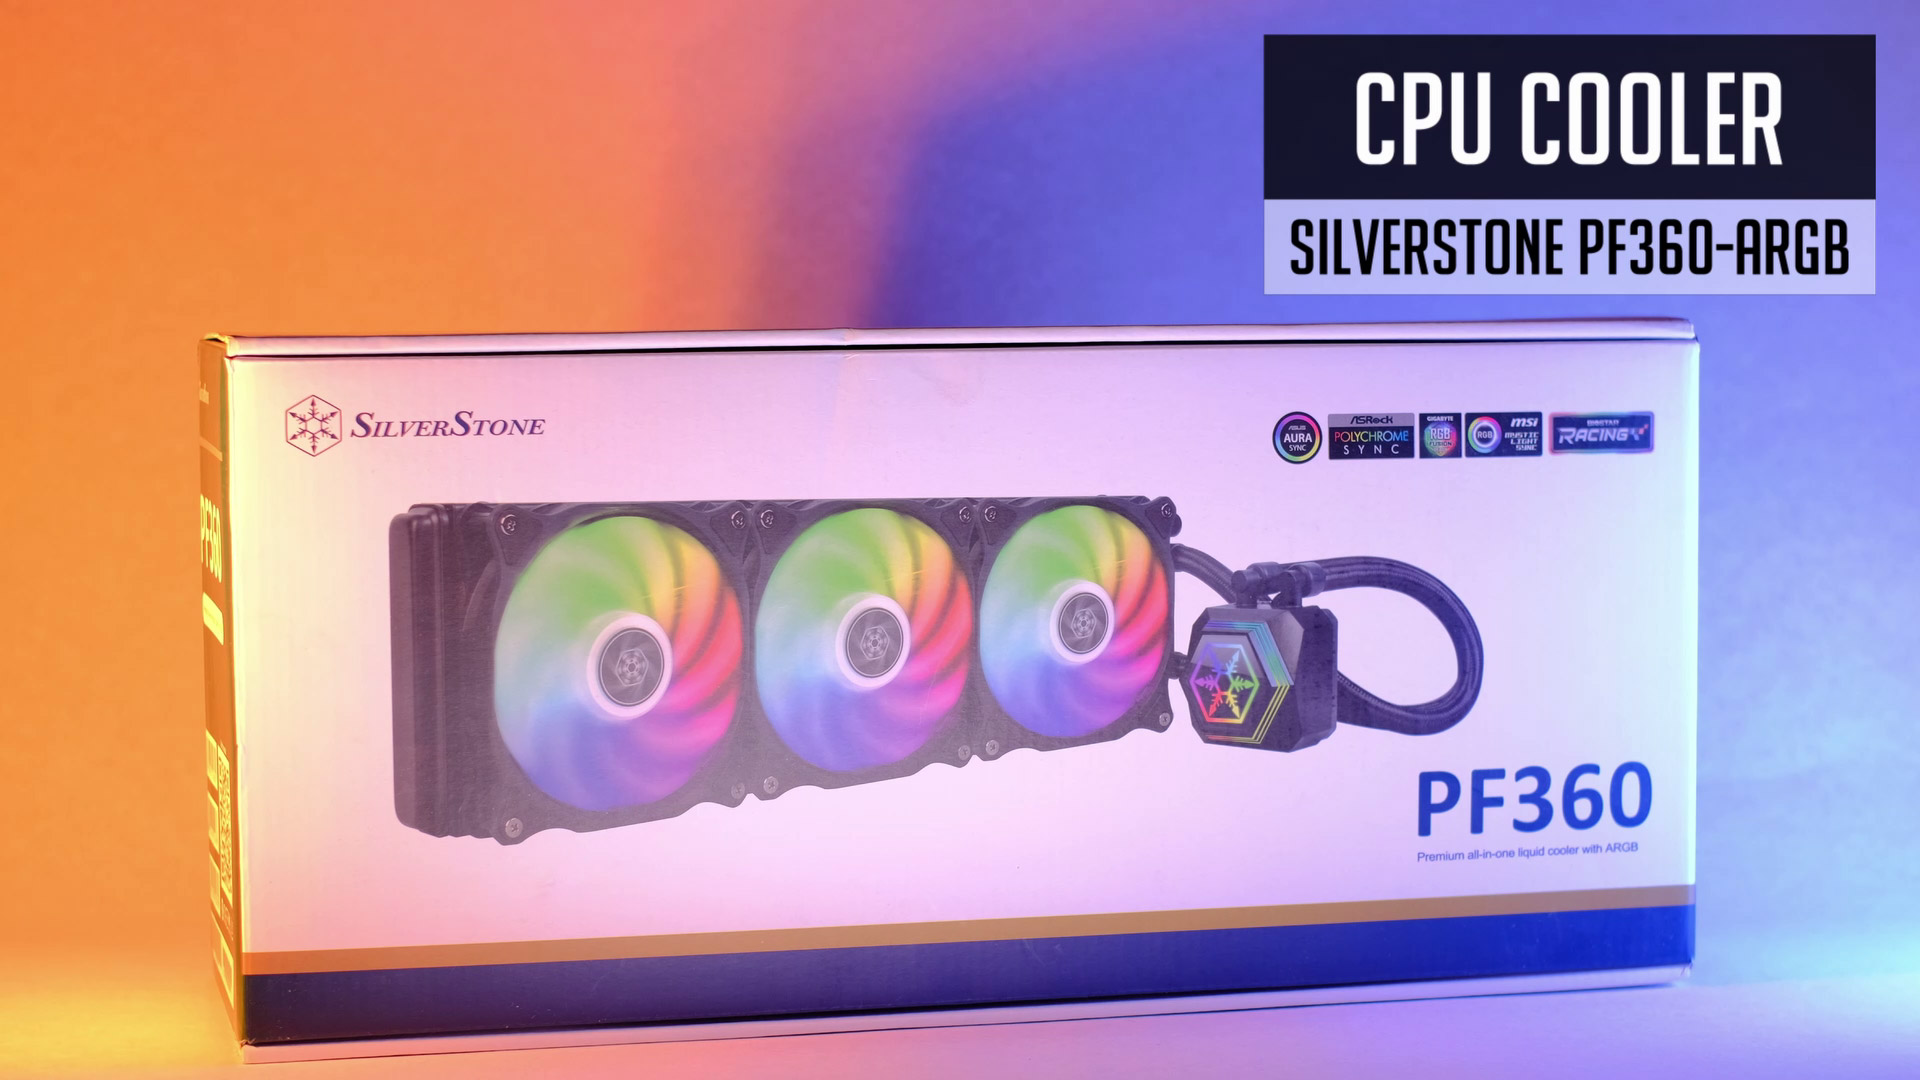
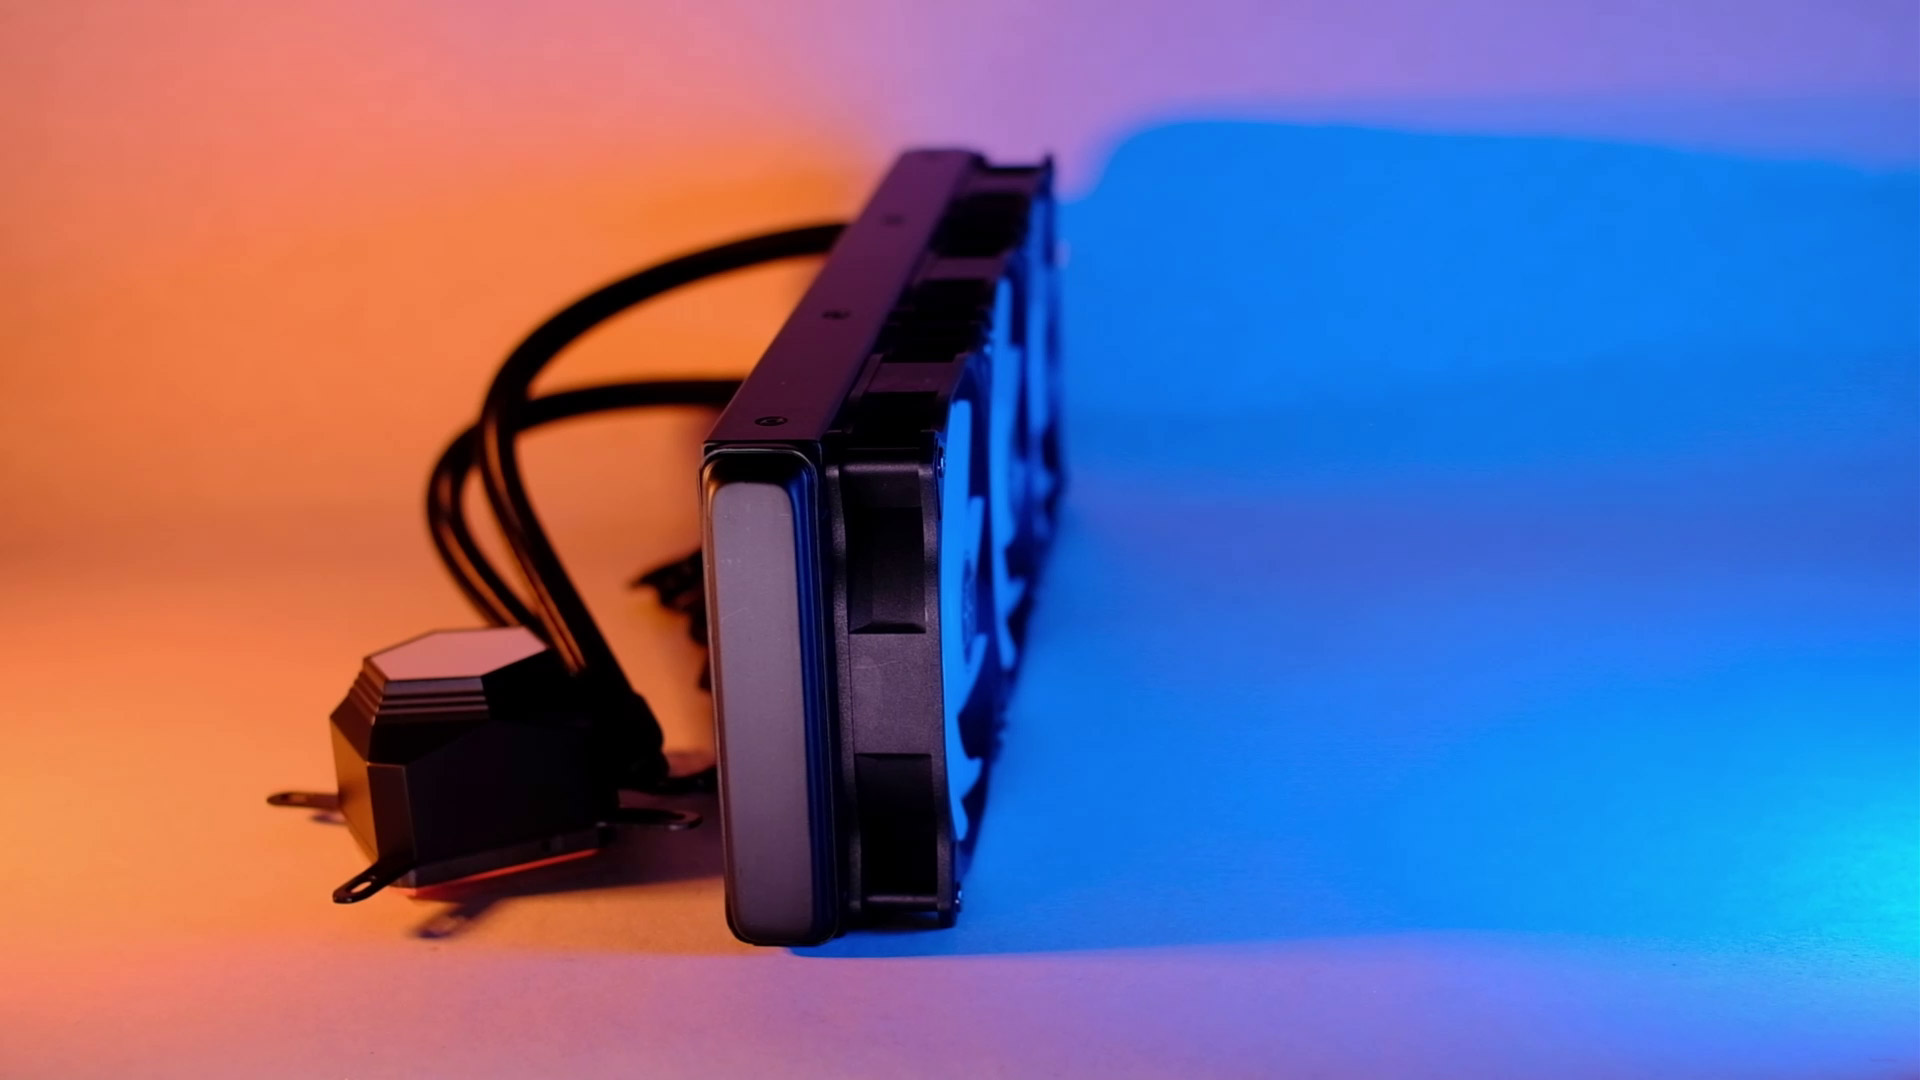
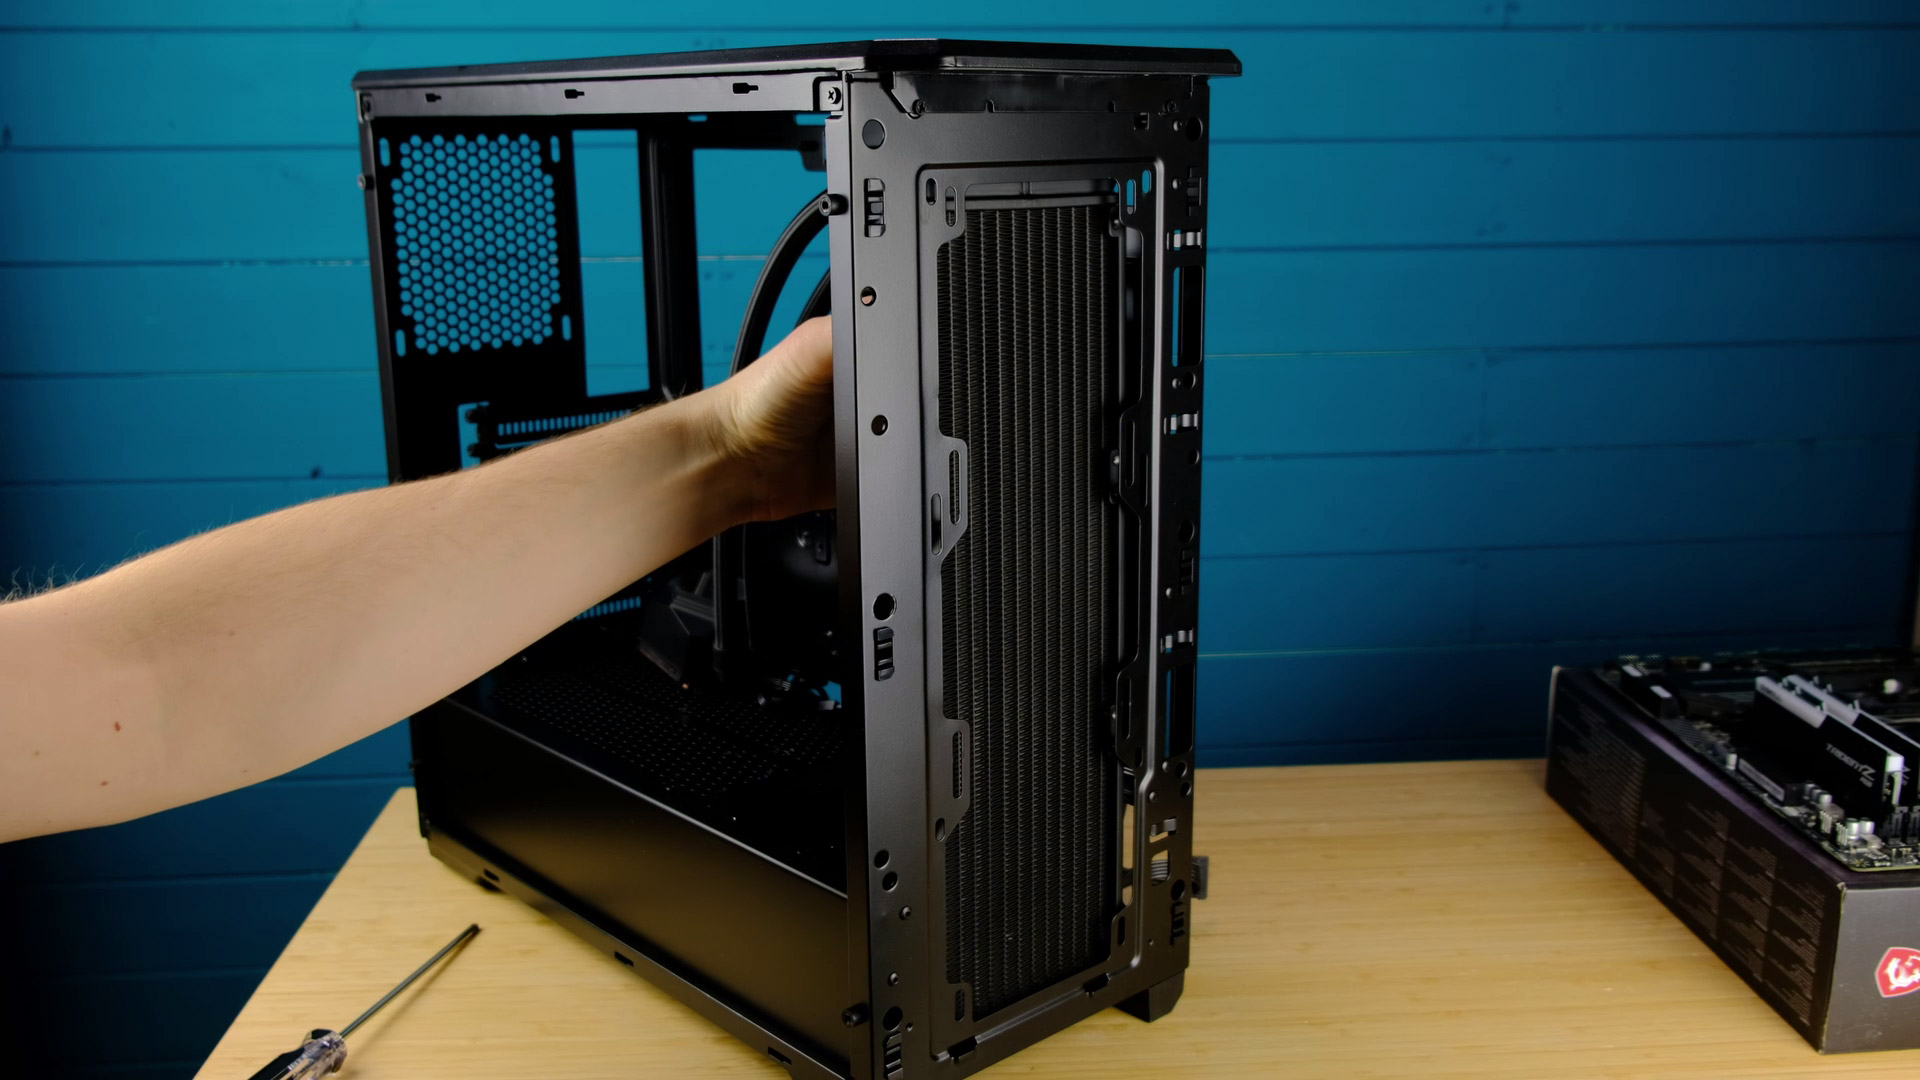
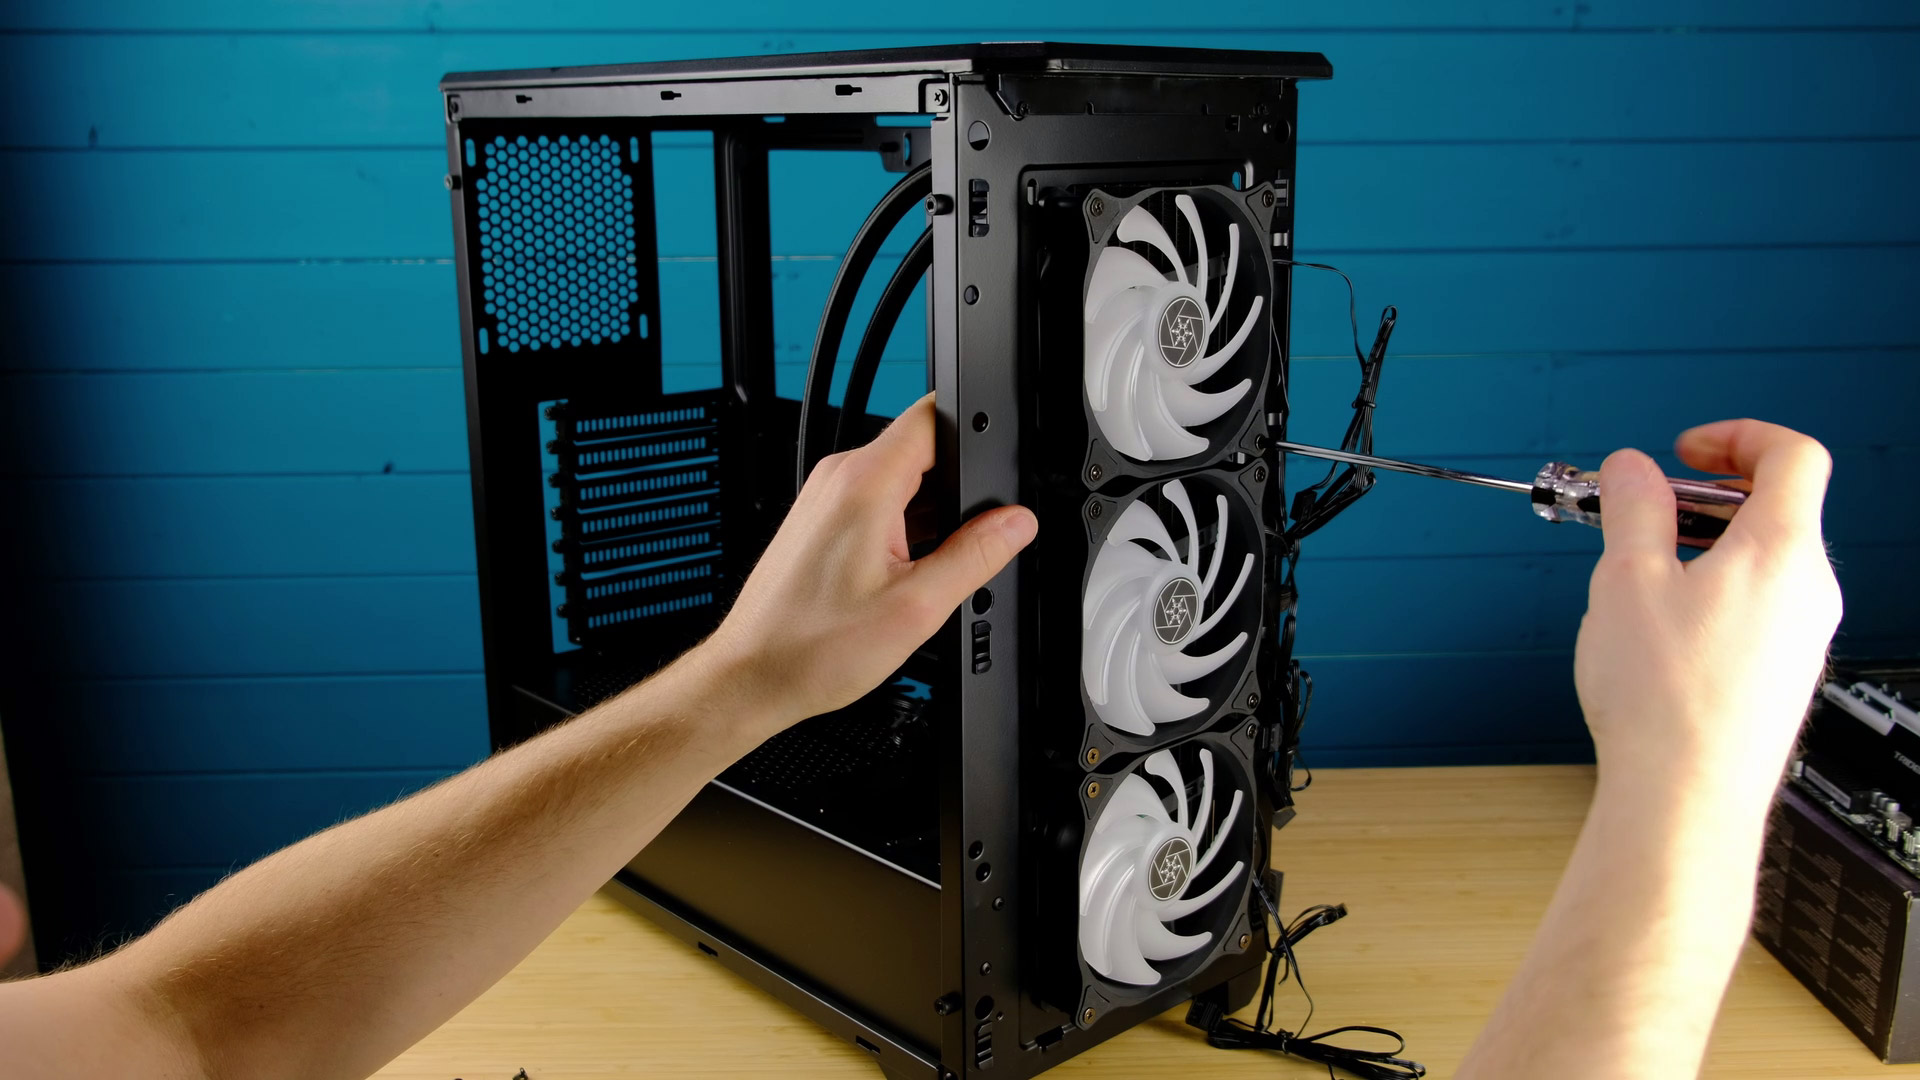
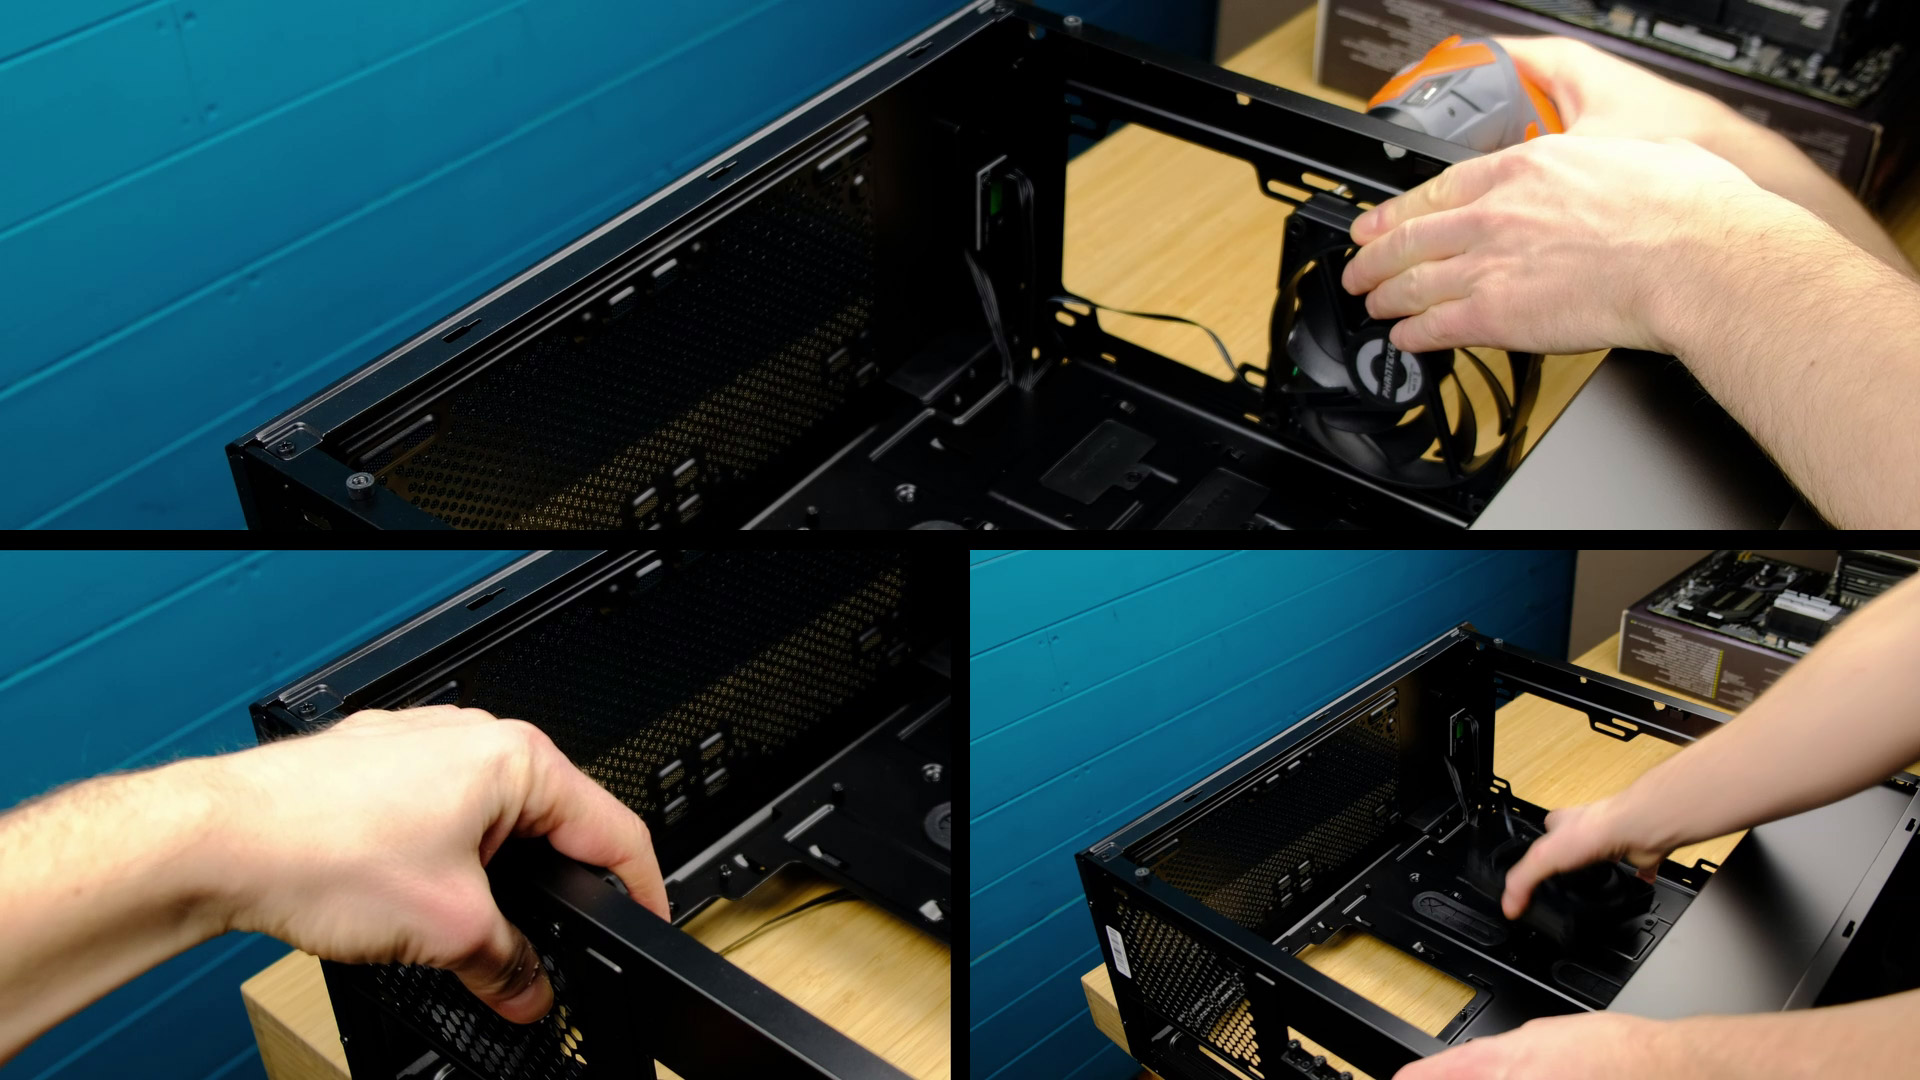
Just like always, I like to prepare a case before I put a motherboard in, so let’s get started with fans and cooling. And this is Silverstone PF360-ARGB AIO. Very affordable and includes three 120mm RGB fans.
Should be more than enough for cooling our 3900x. The top plate has some built-in RGB lights and illuminates a snowflake. This, of course, can be synced with addressable RGB fans as-well. So the plan is to mount the radiator to the front of the case.
Fans

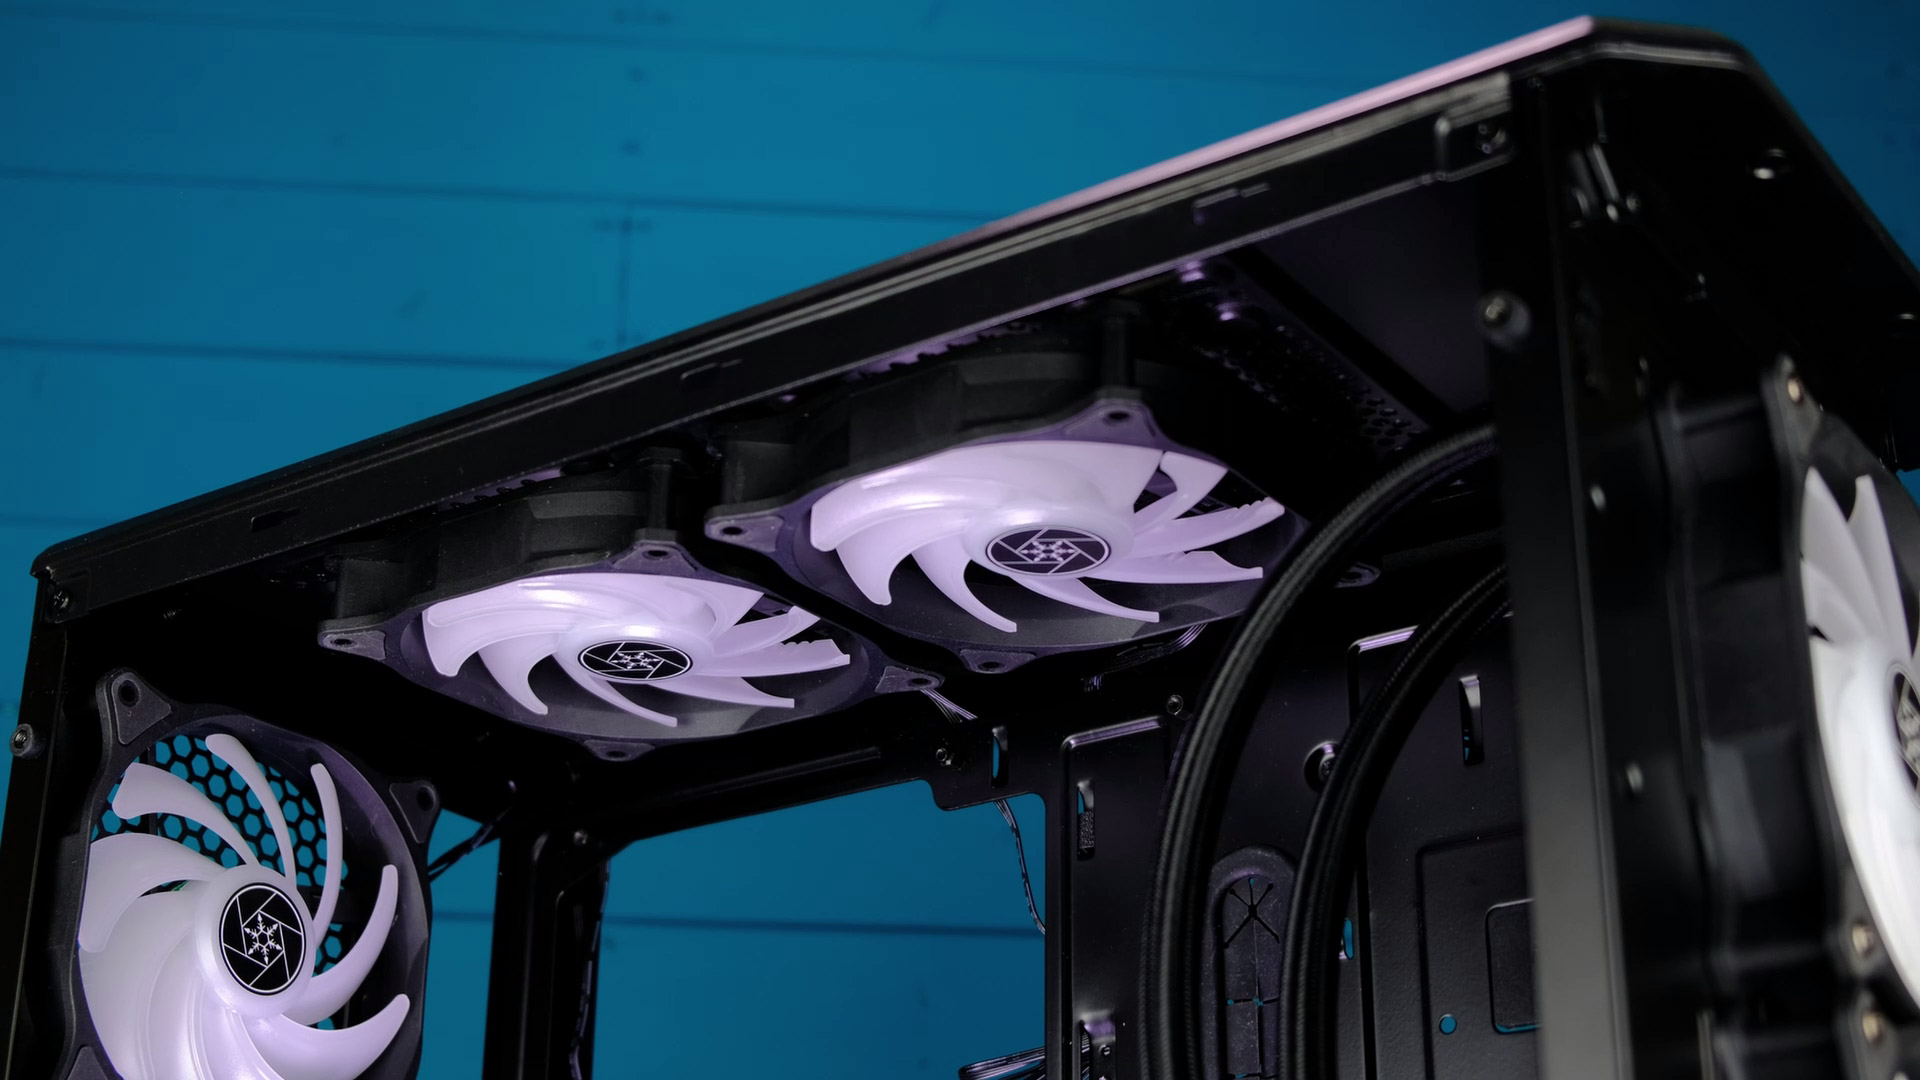
And that’s not all, I’ve got a few more SilverStone fans (Air Blazer 120R) to match up with AIO ones. I really like to use the same kind of fans whenever it’s possible.
Power Supply (PSU)
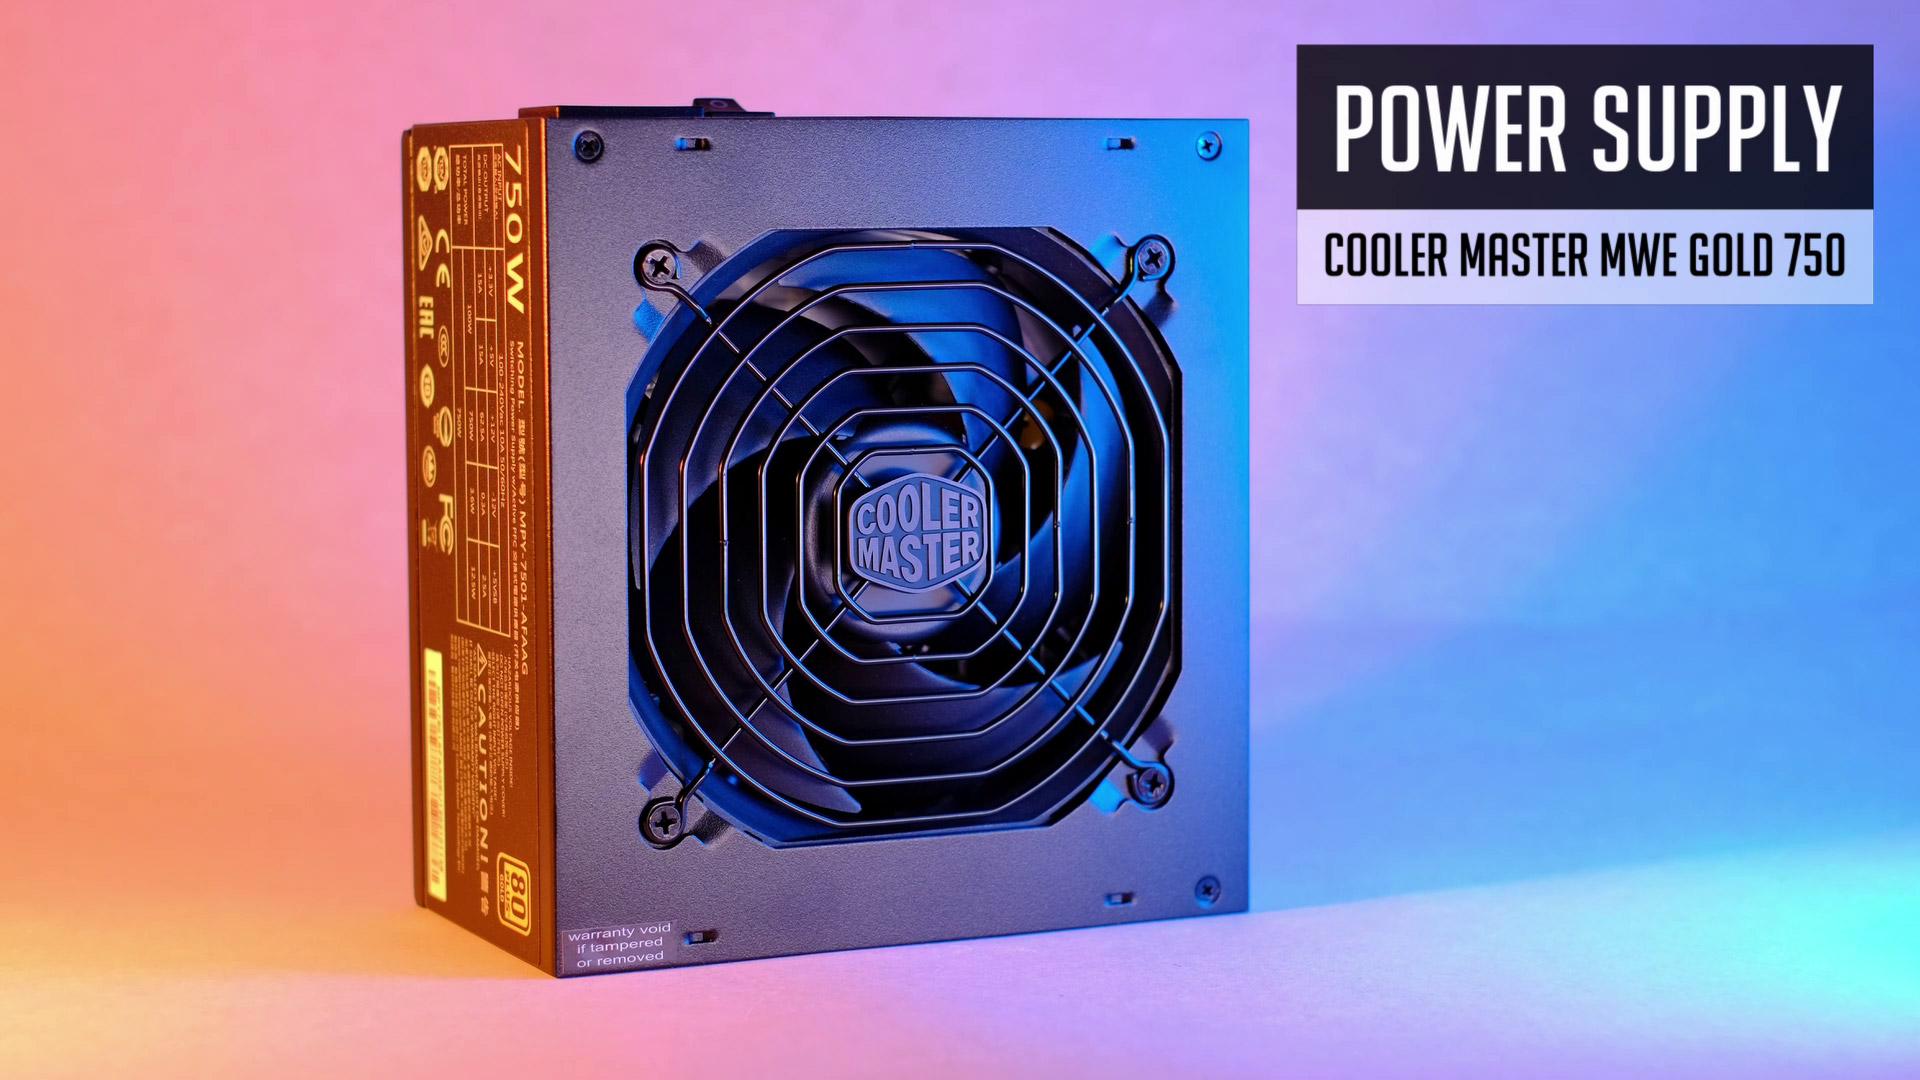
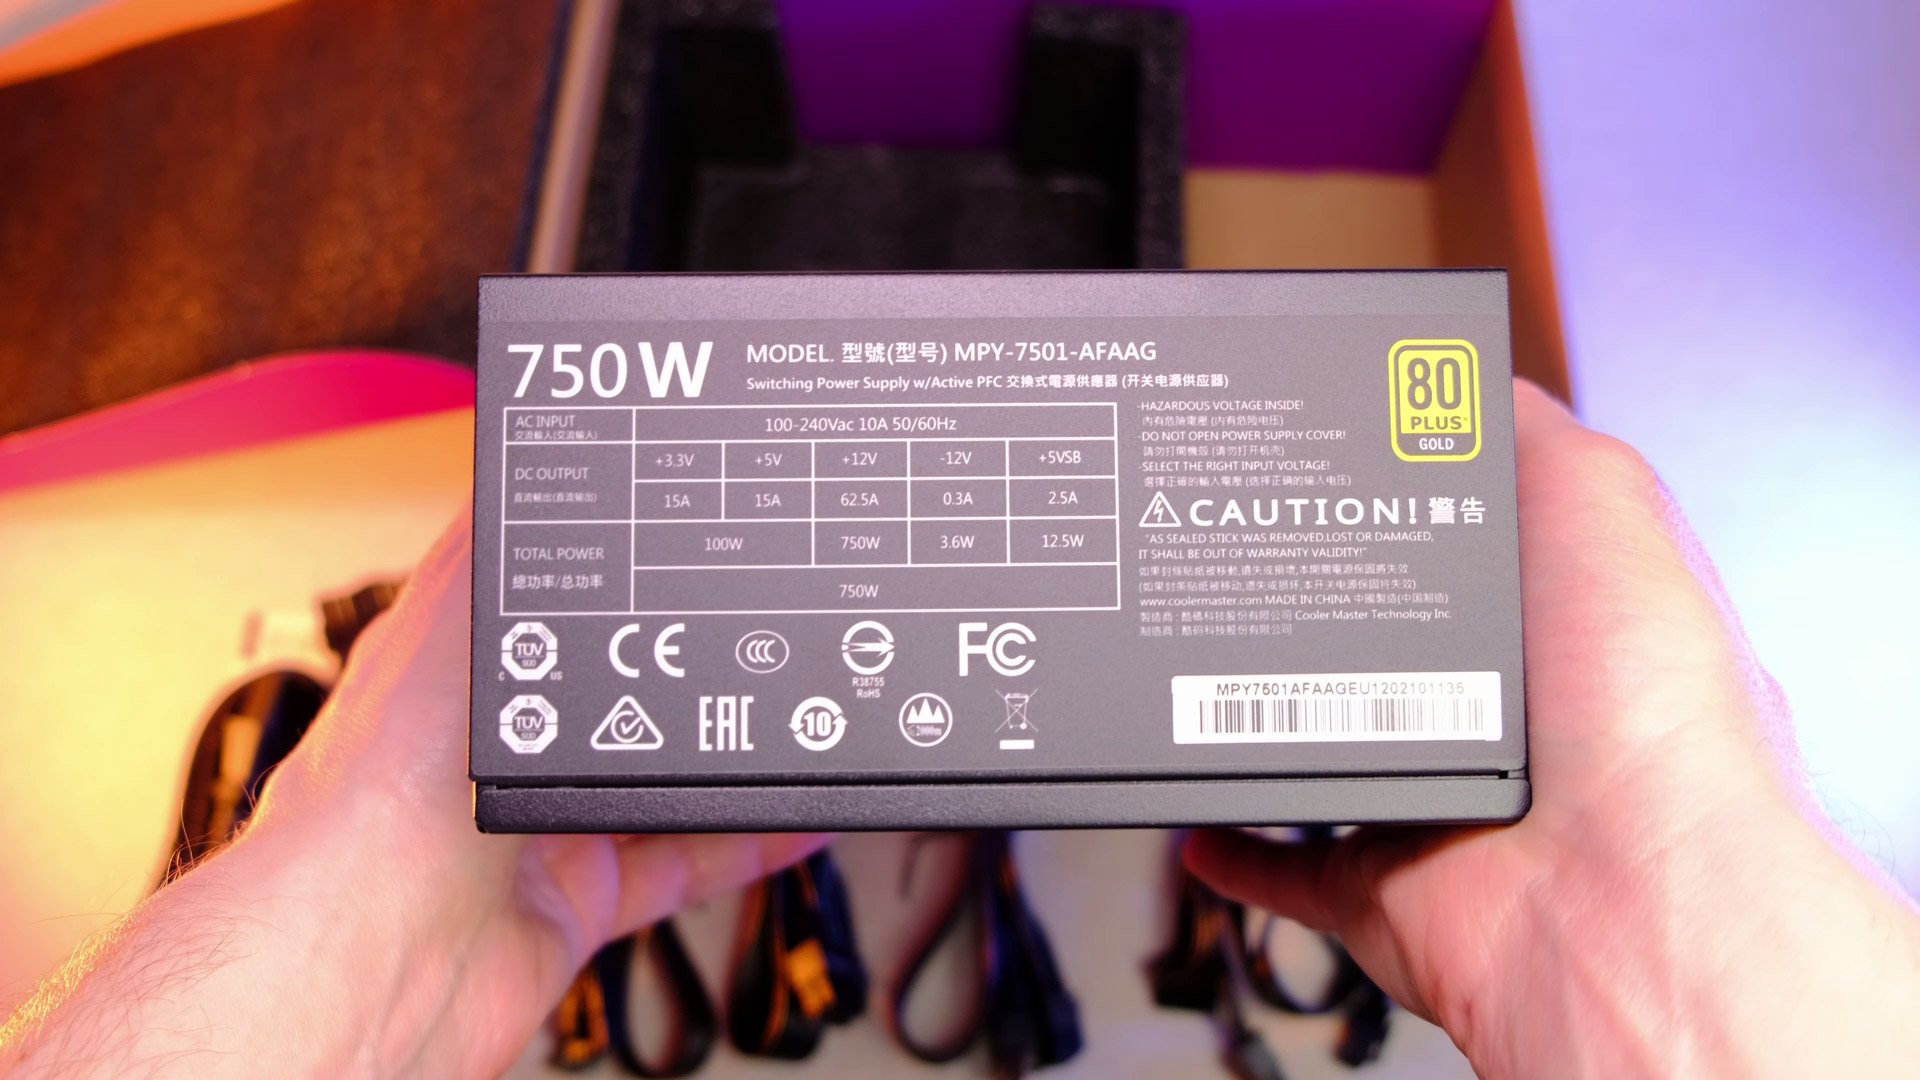
And the last thing before we get back to a motherboard, our power supply. We will be using MWE Gold 750 PSU from a Cooler Master.
With 750watts we will have some headroom for future upgrades, but currently, it’s kind of a challenge to find some of the PSUs at a decent price, at least in some regions.
So most likely, you will need to grab any good deal from the ones that are in-stock and not priced insanely high.
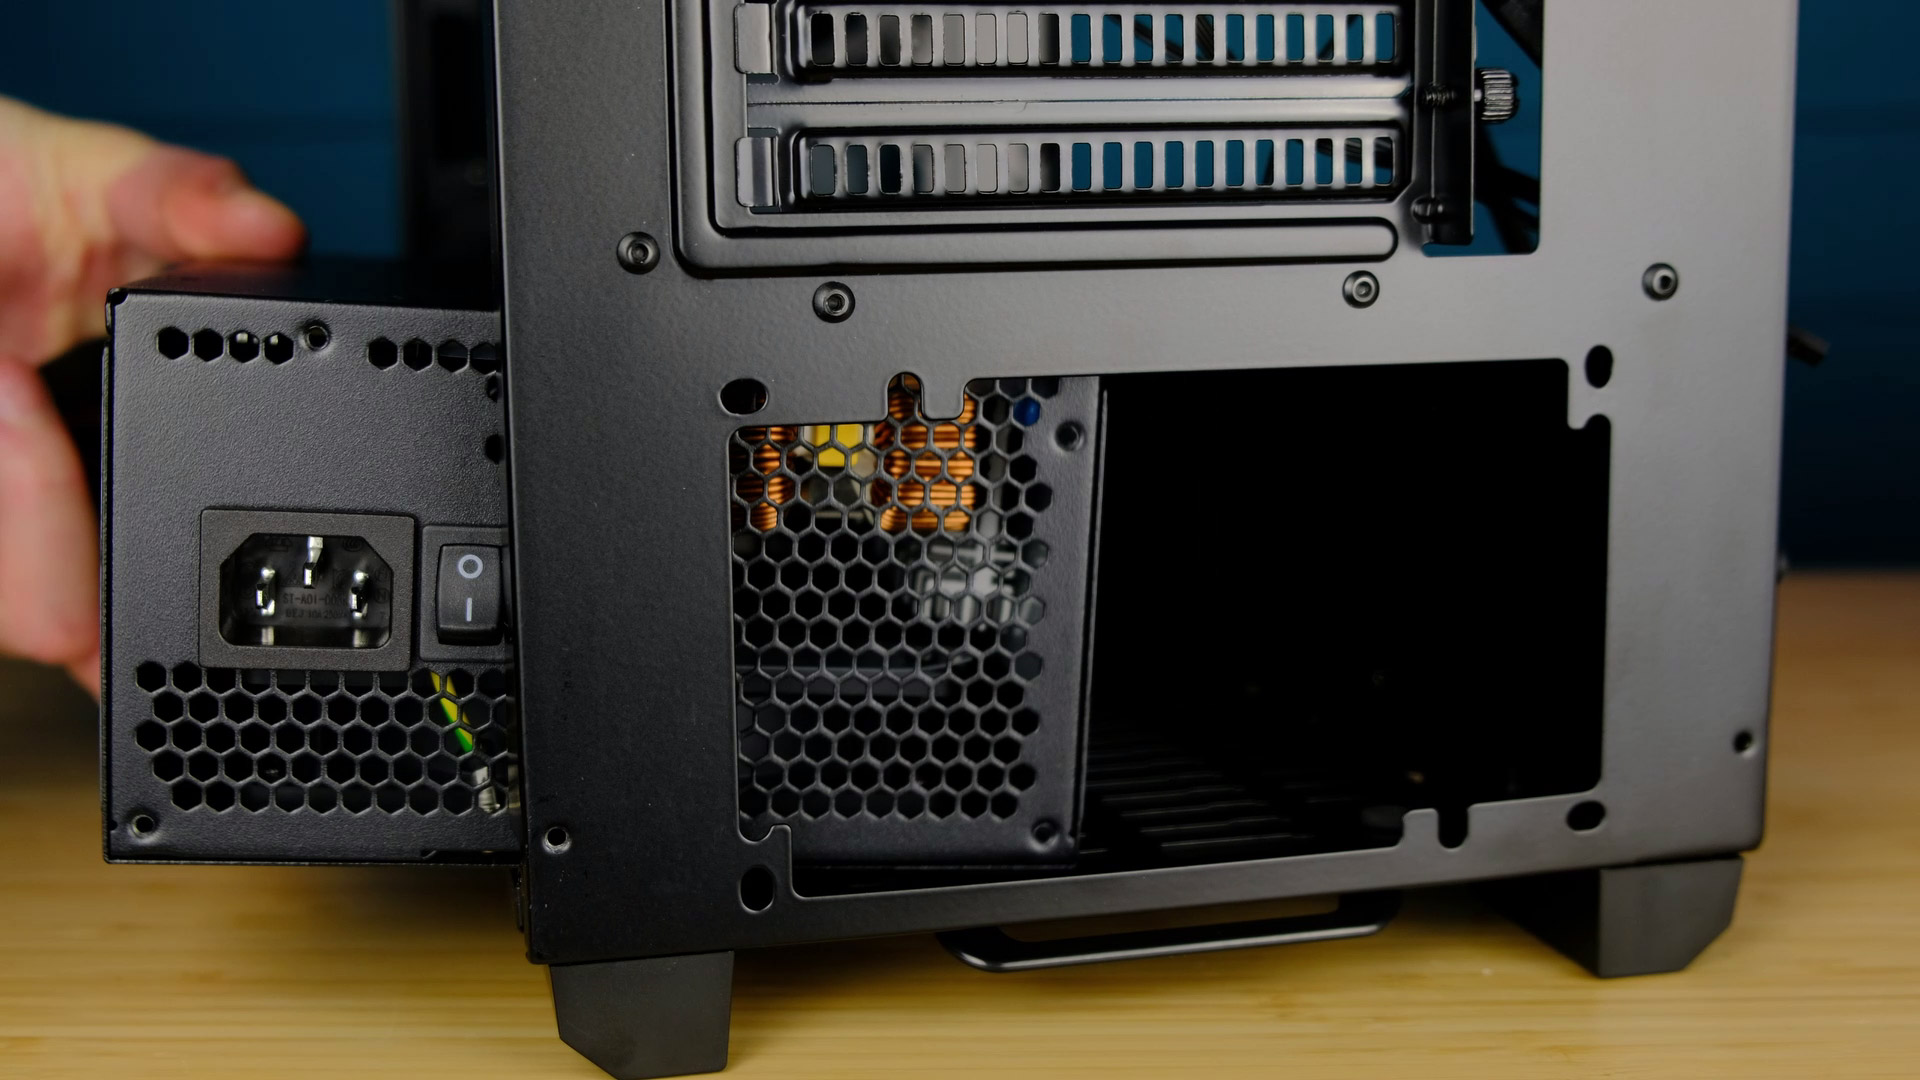
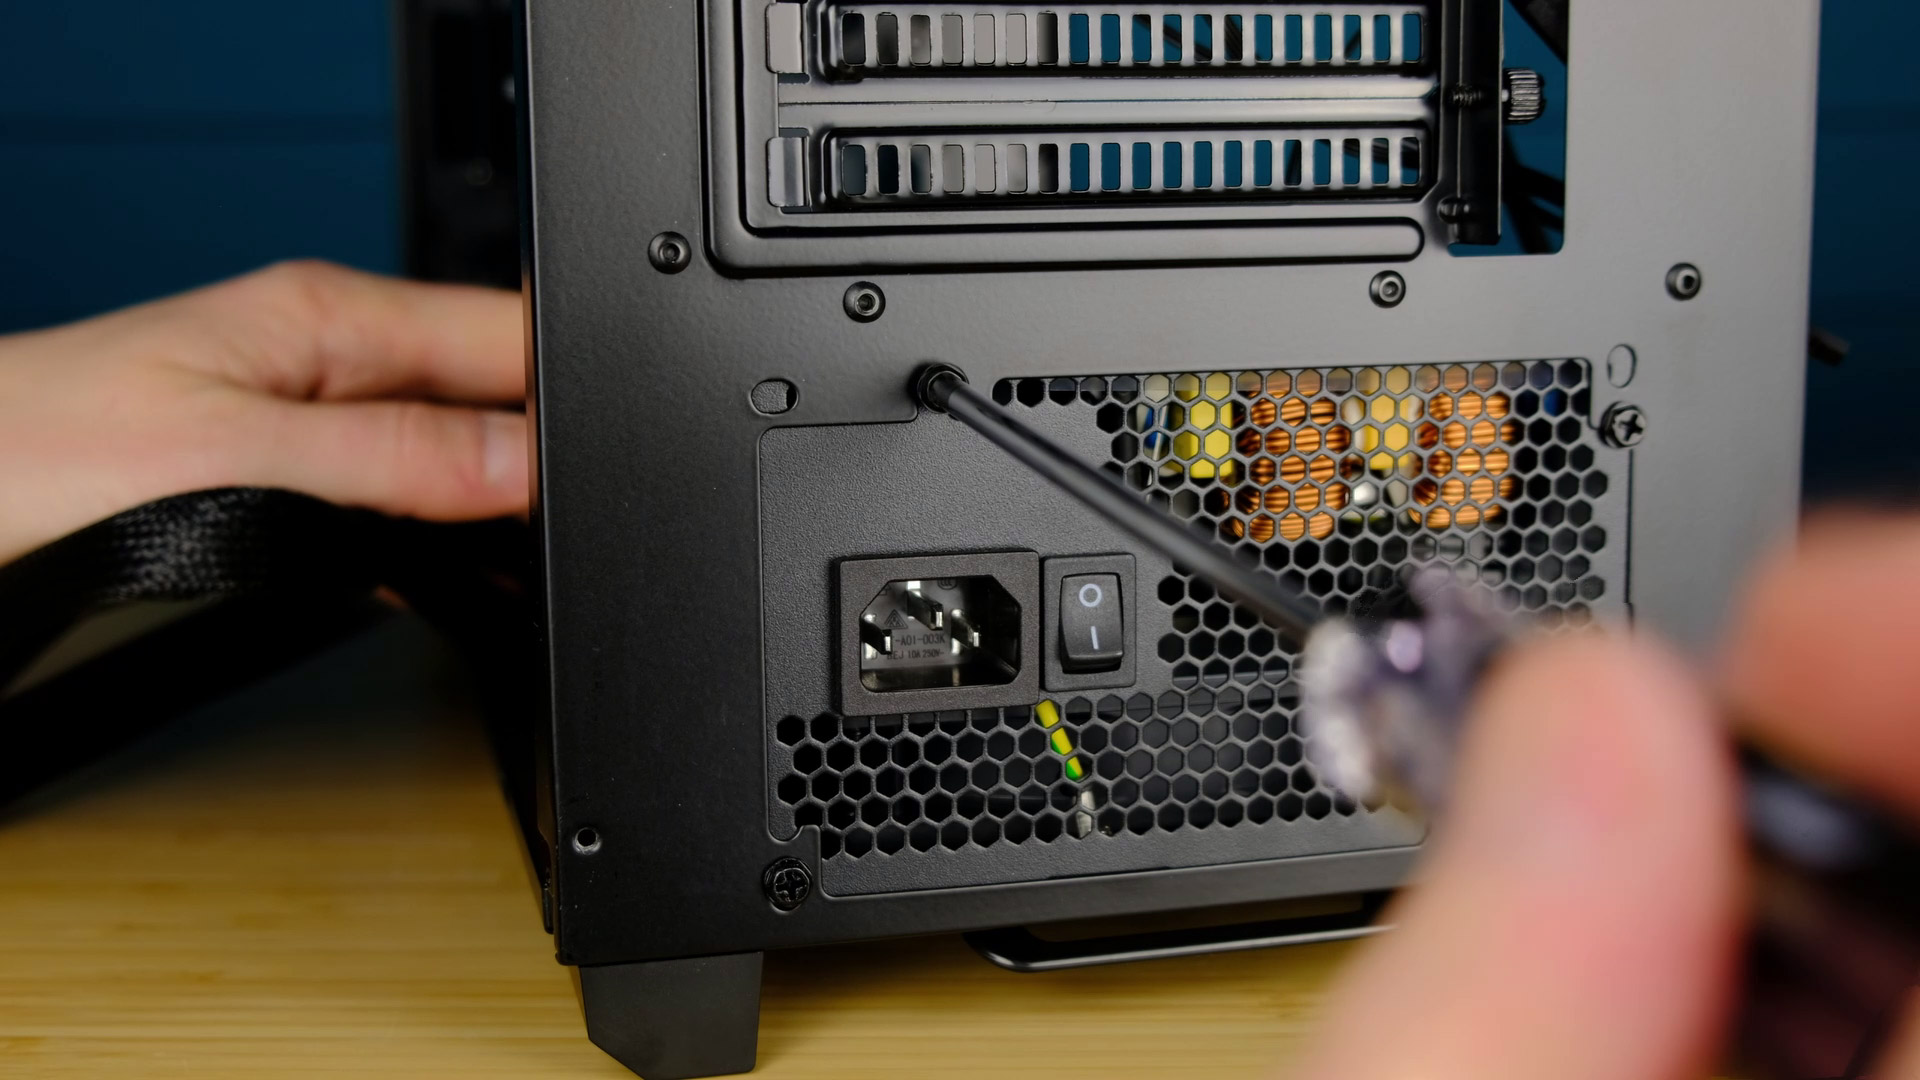
Just a few screws and we are done.
It’s time to install our motherboard. Sometimes a PC case will have pre-installed motherboard standoffs, but in some cases, it won’t and you will have to screw them by yourself.
In our case, we have everything we need – standoffs are in place and the IO shield is already built in the board. Let’s put it in place and secure it with an included screws.
In case you have an IO shield separately, do not forget to install it before a motherboard.
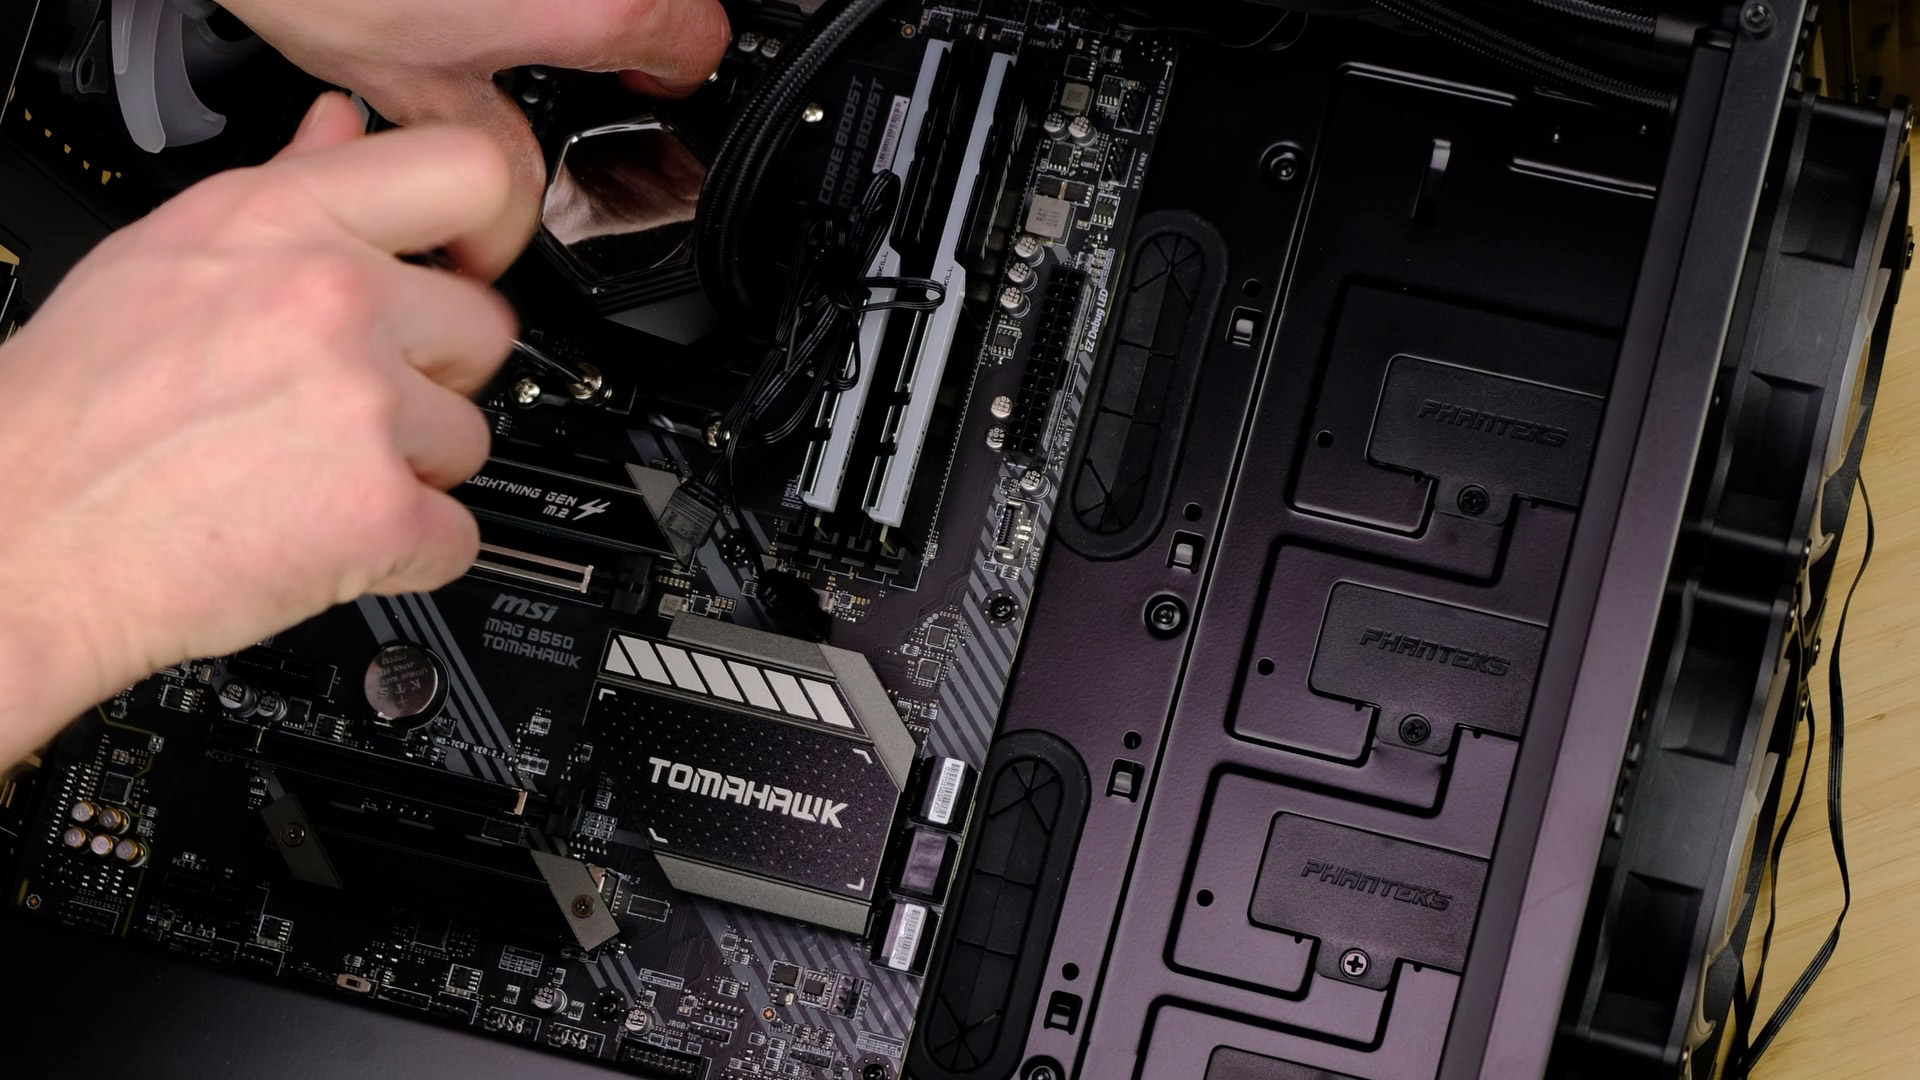
In some cases, you want to connect power supply cables first, but I will go with a CPU cooler installation first.
Be sure you follow an included manual on how to prepare water block mounting for the AM4 platform.
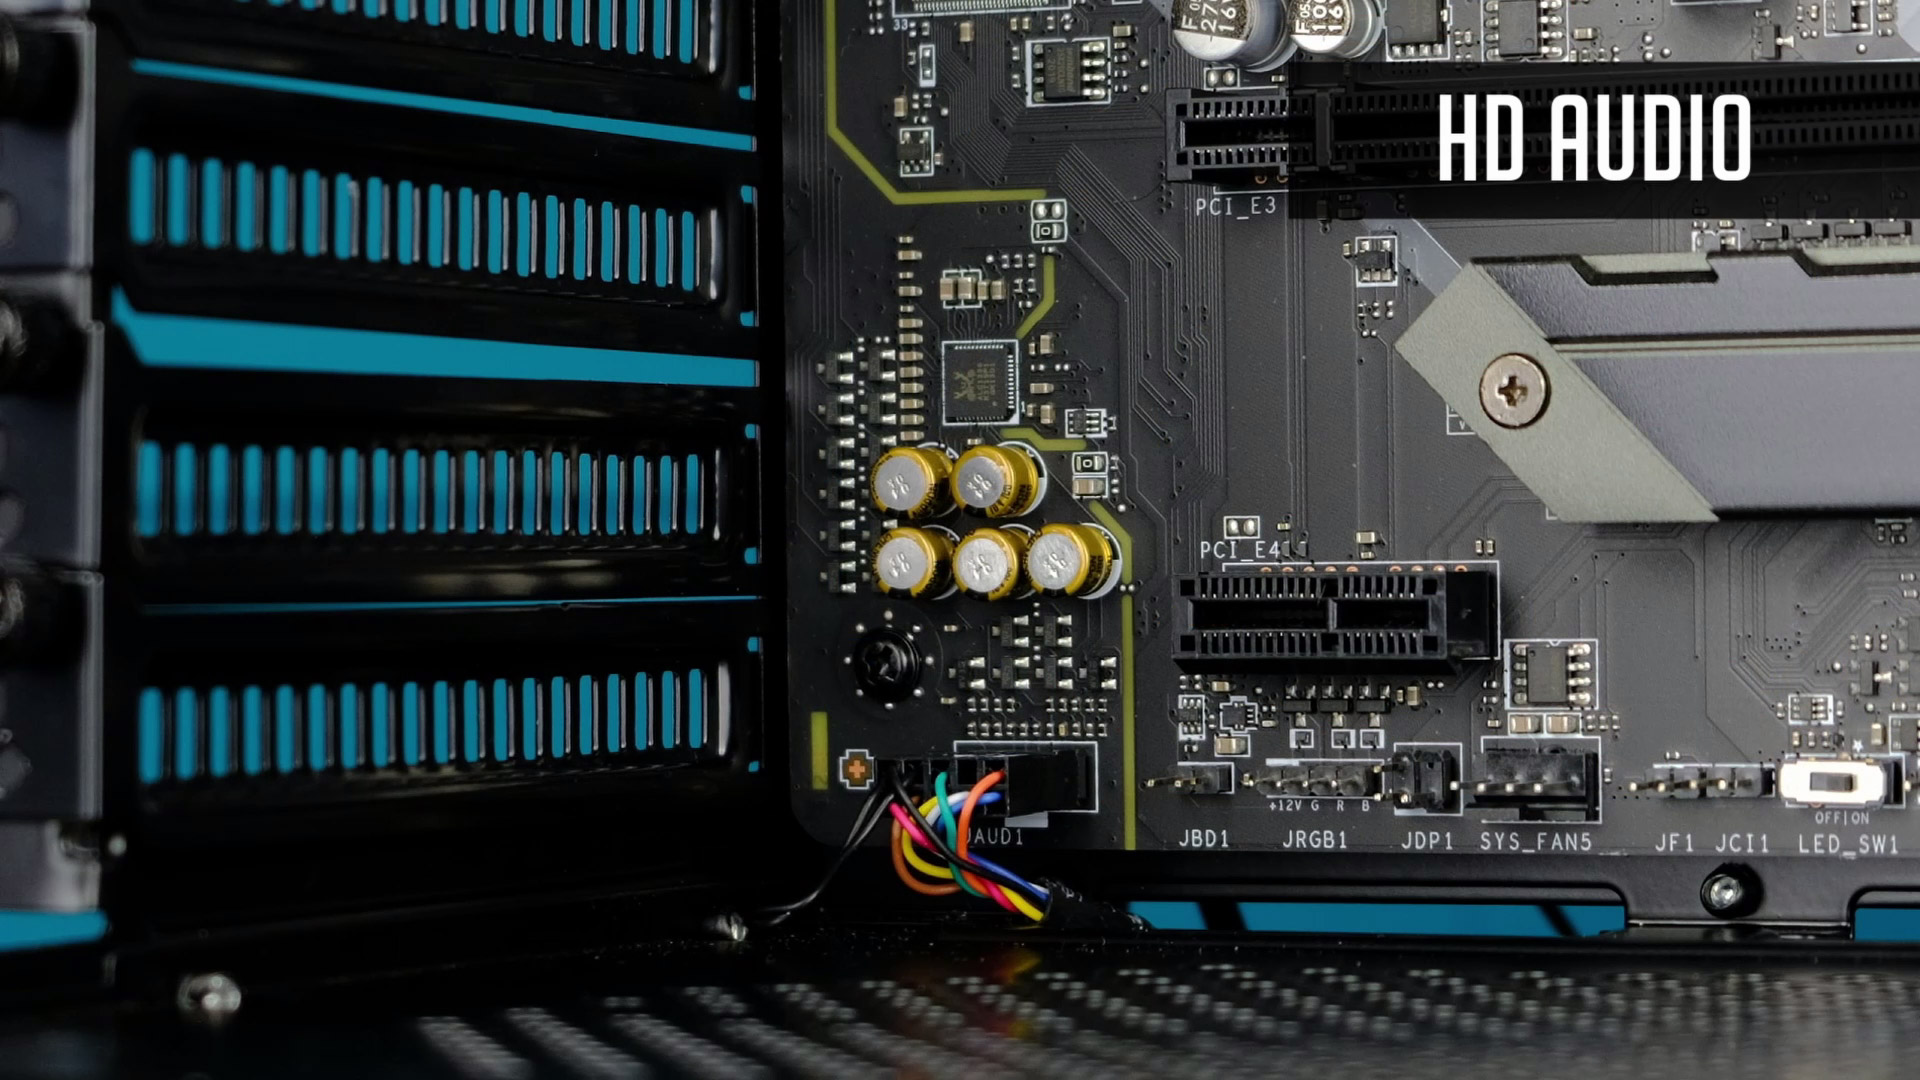
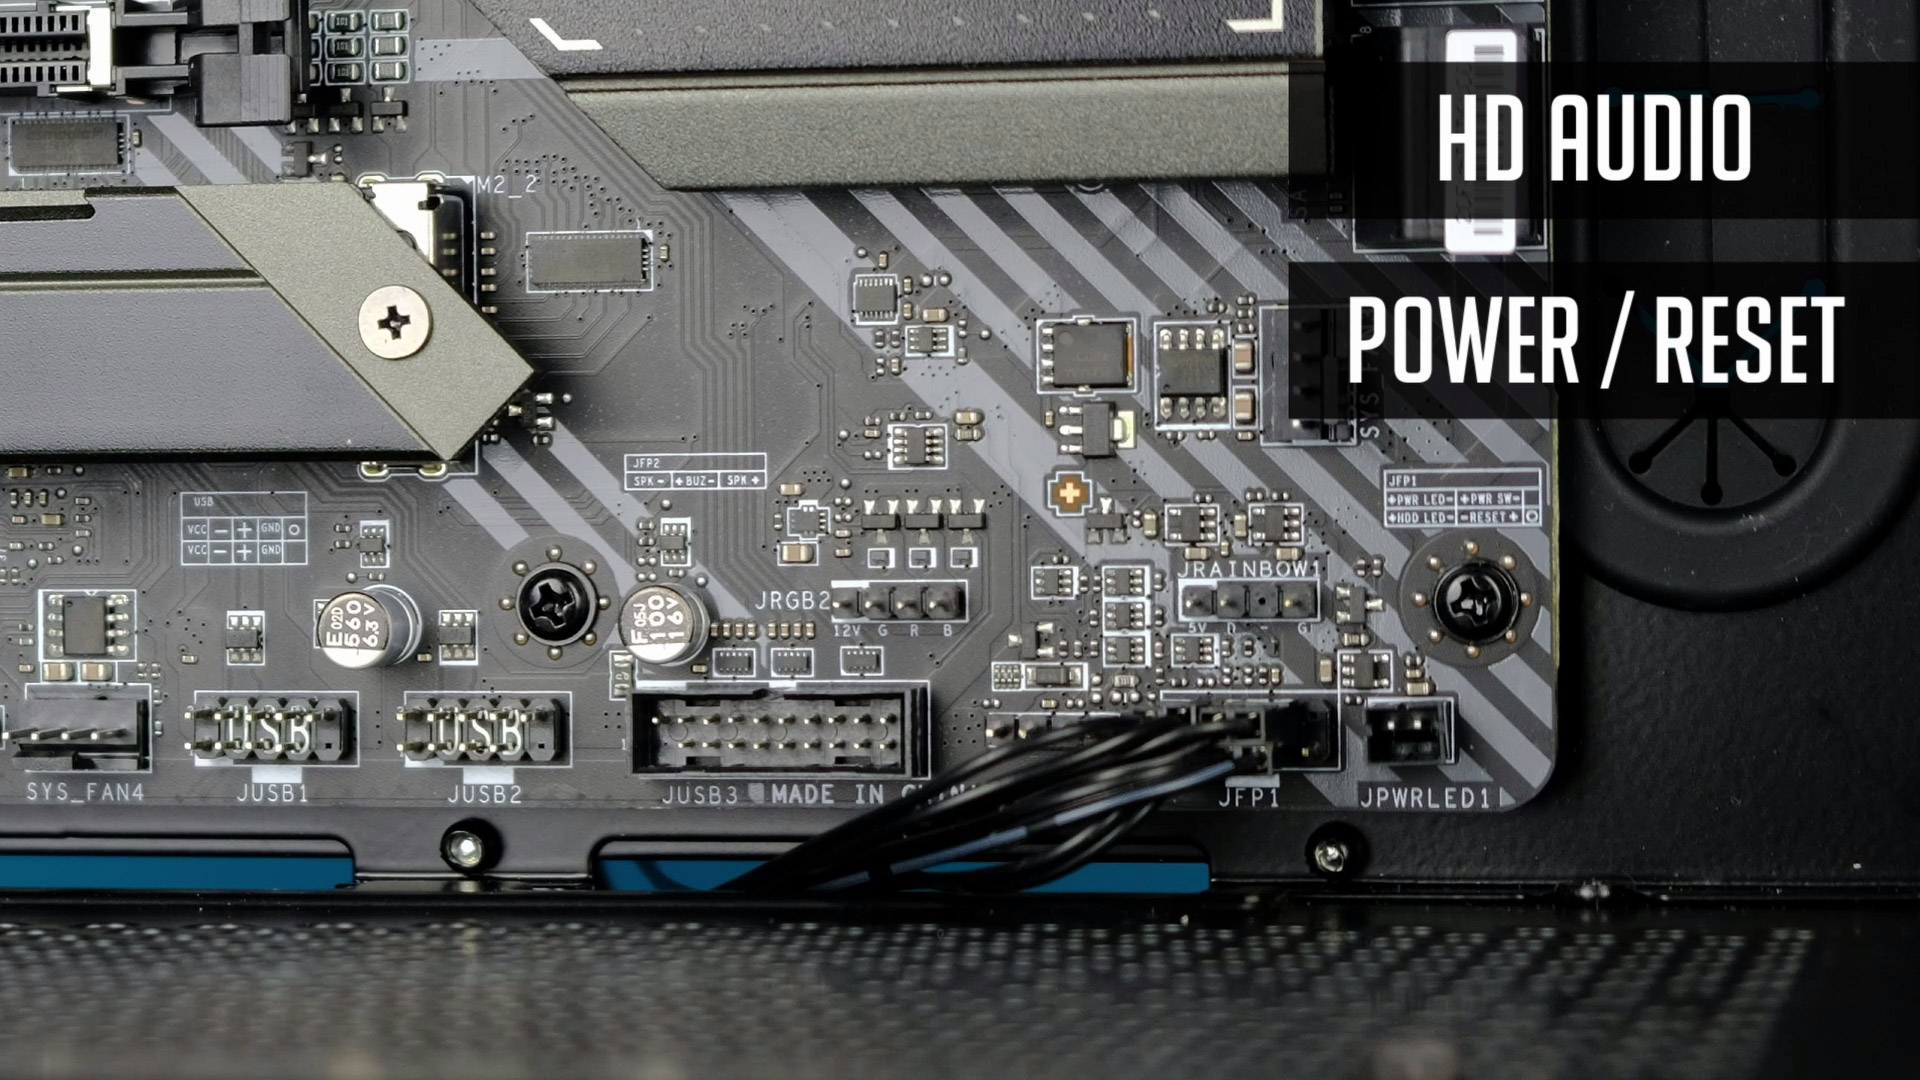

Alright, let’s do some wiring. It’s much easier to connect pc case front IO panel before you add-in a video card.
Graphics Card (GPU)

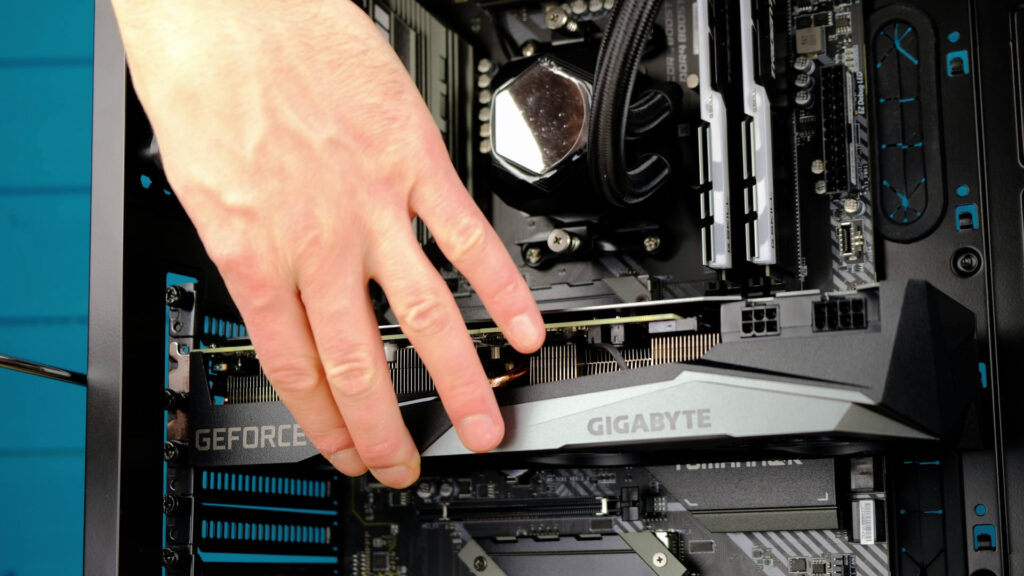
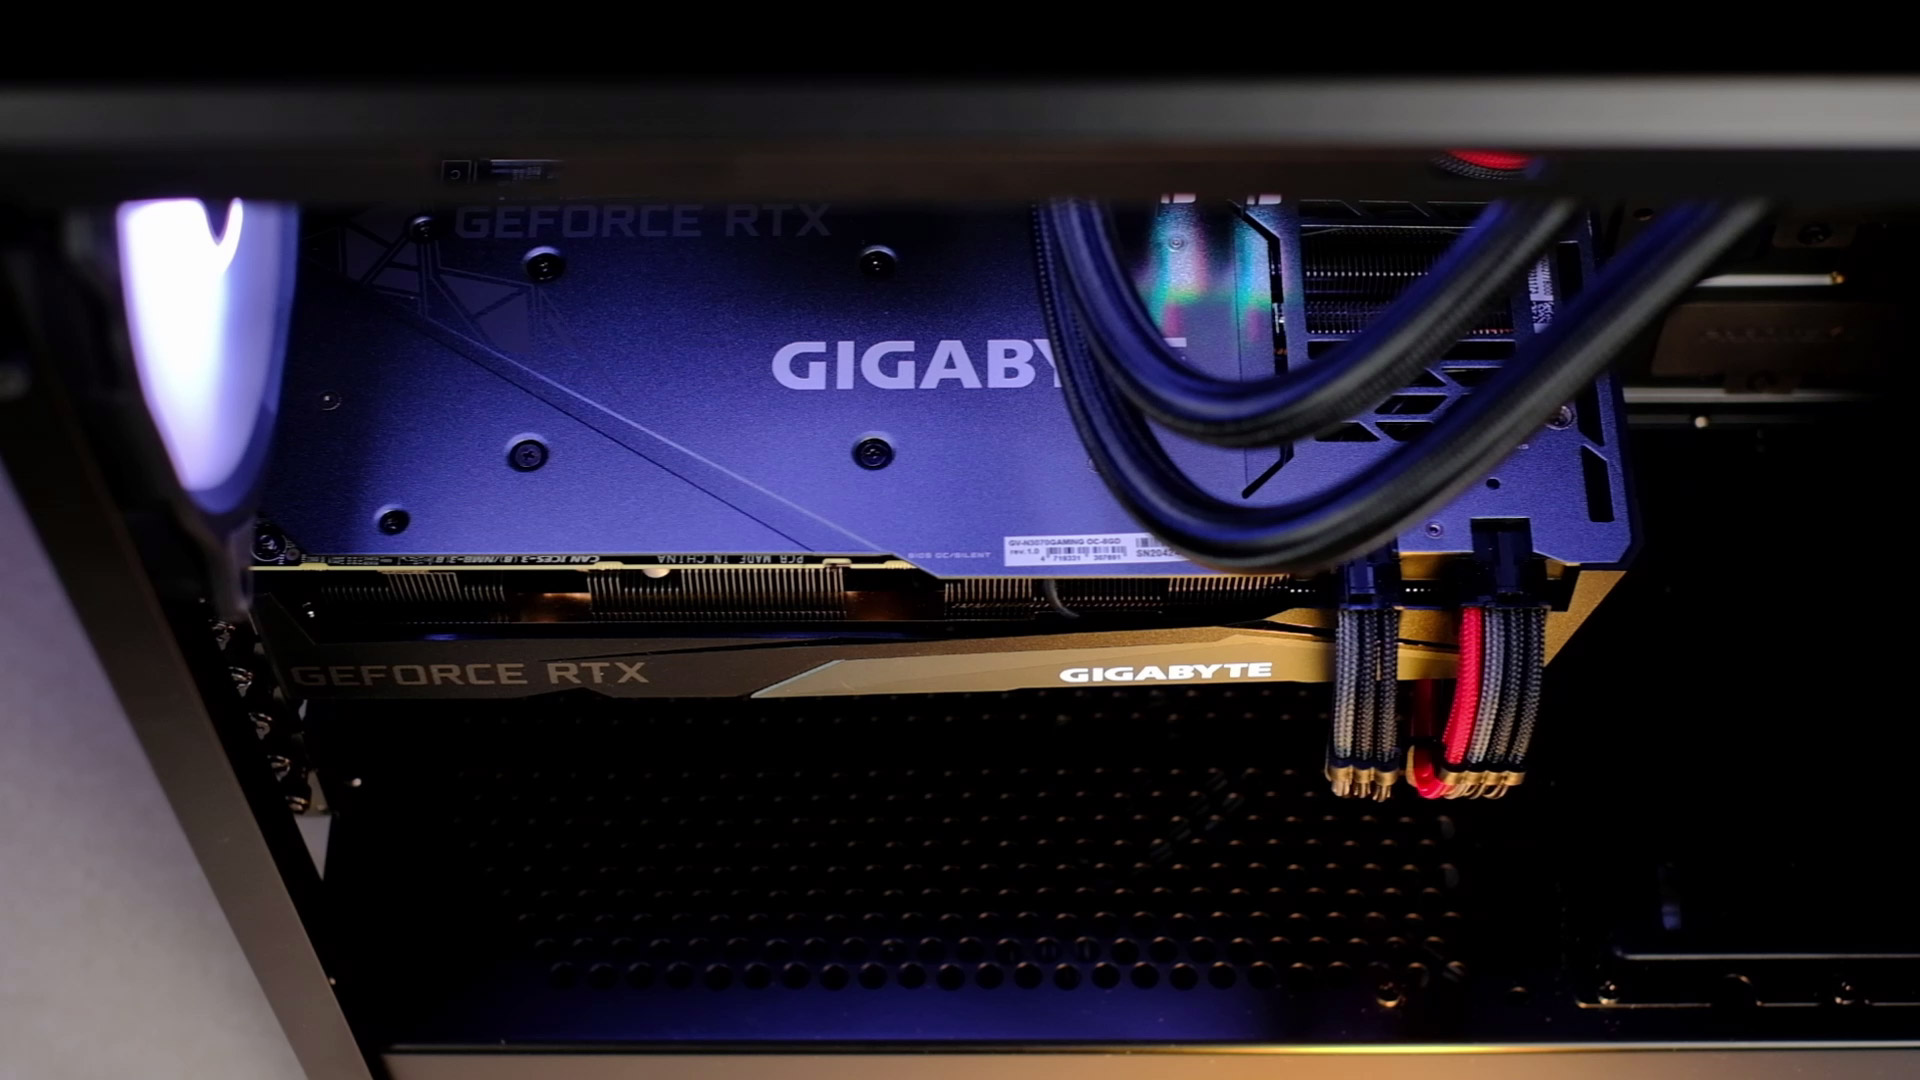
It’s finally time to check our GPU. This is Gigabyte RTX 3070 Gaming OC. It’s one of the better-priced models, but sure, it depends on your region/country and so on.
You might also consider RTX 3060 Ti as it provides even better value for the money. RTX 3070 is a better option if you need those higher frame rates in 1440p and especially in 4k. We will look into the benchmarks later-on.
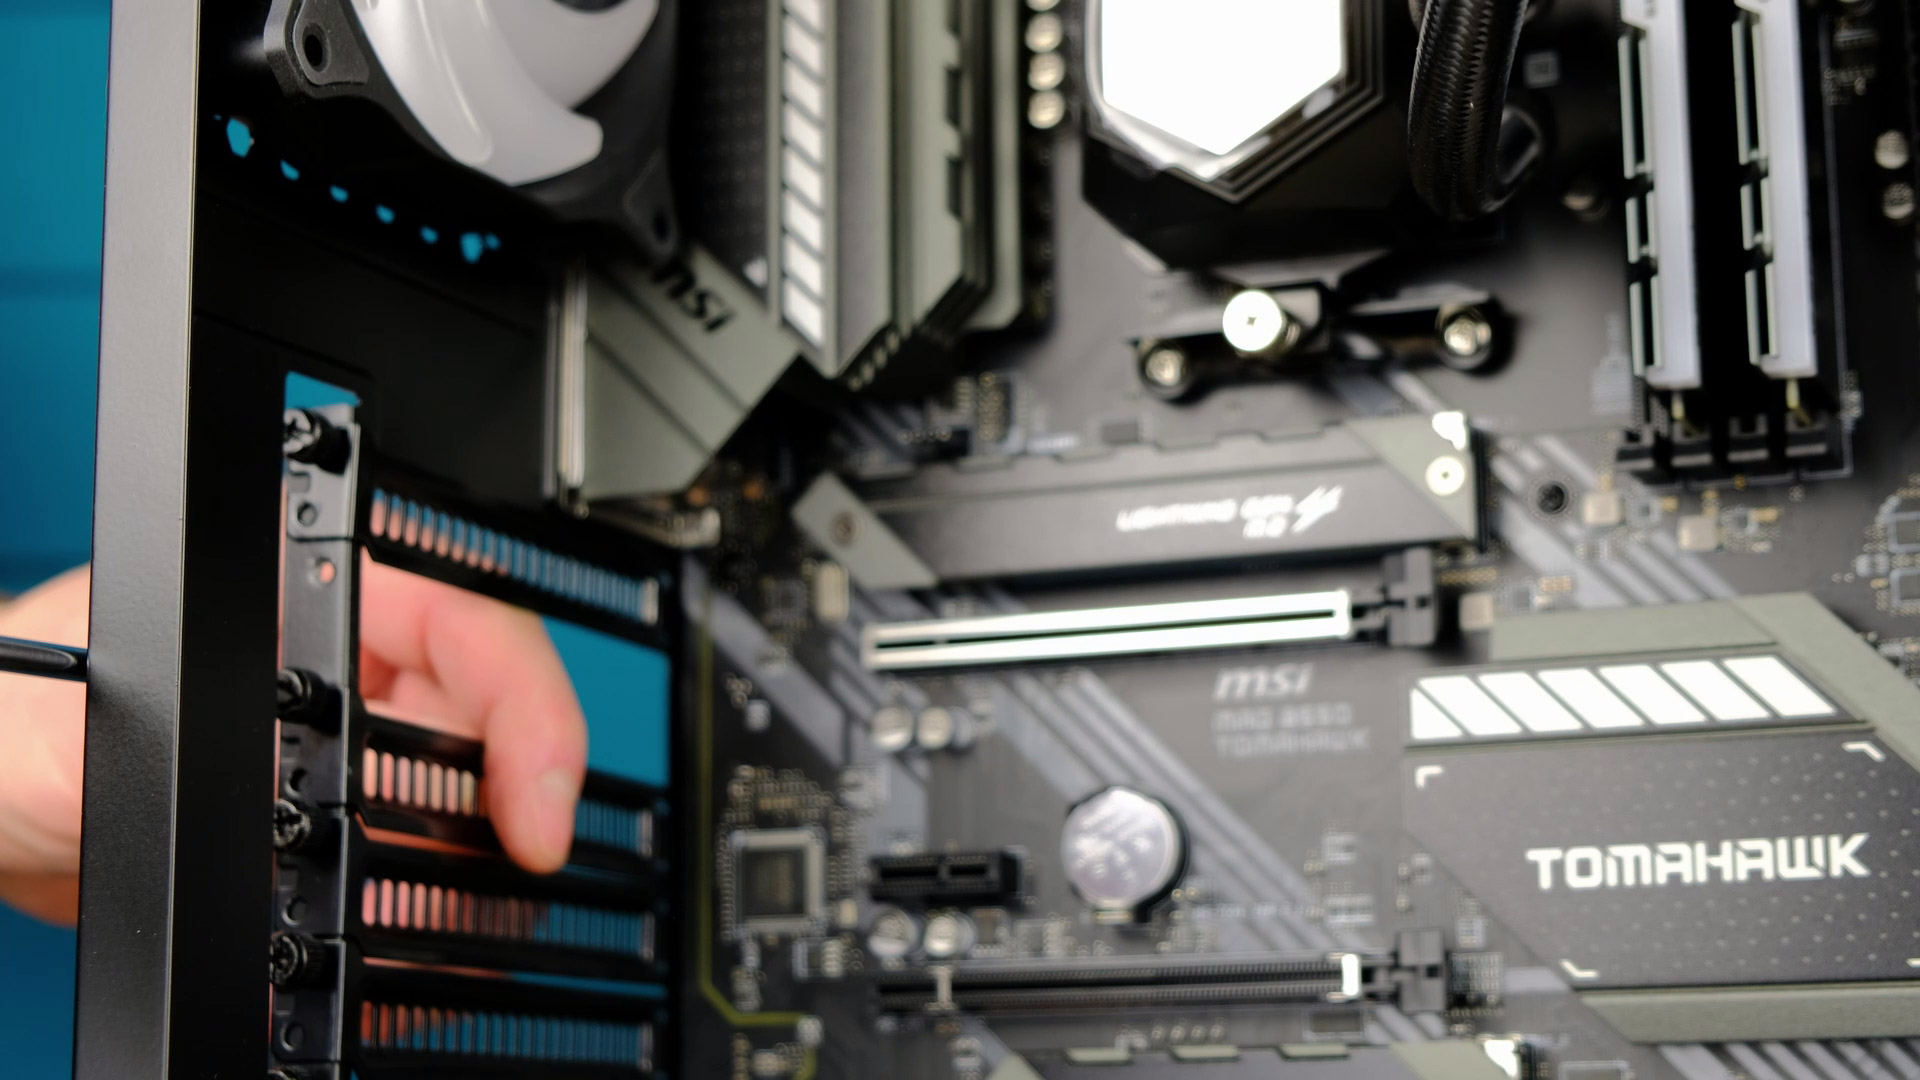
Before installing GPU you need to check which PCI covers you need to remove as it depends on the pc case you are using. But in our case, we need to remove the 2nd and 3rd PCI slot covers.
Then, make sure this retention clip is pulled back, slide in your GPU, and secure it in place with screws.
Sleeved Cables
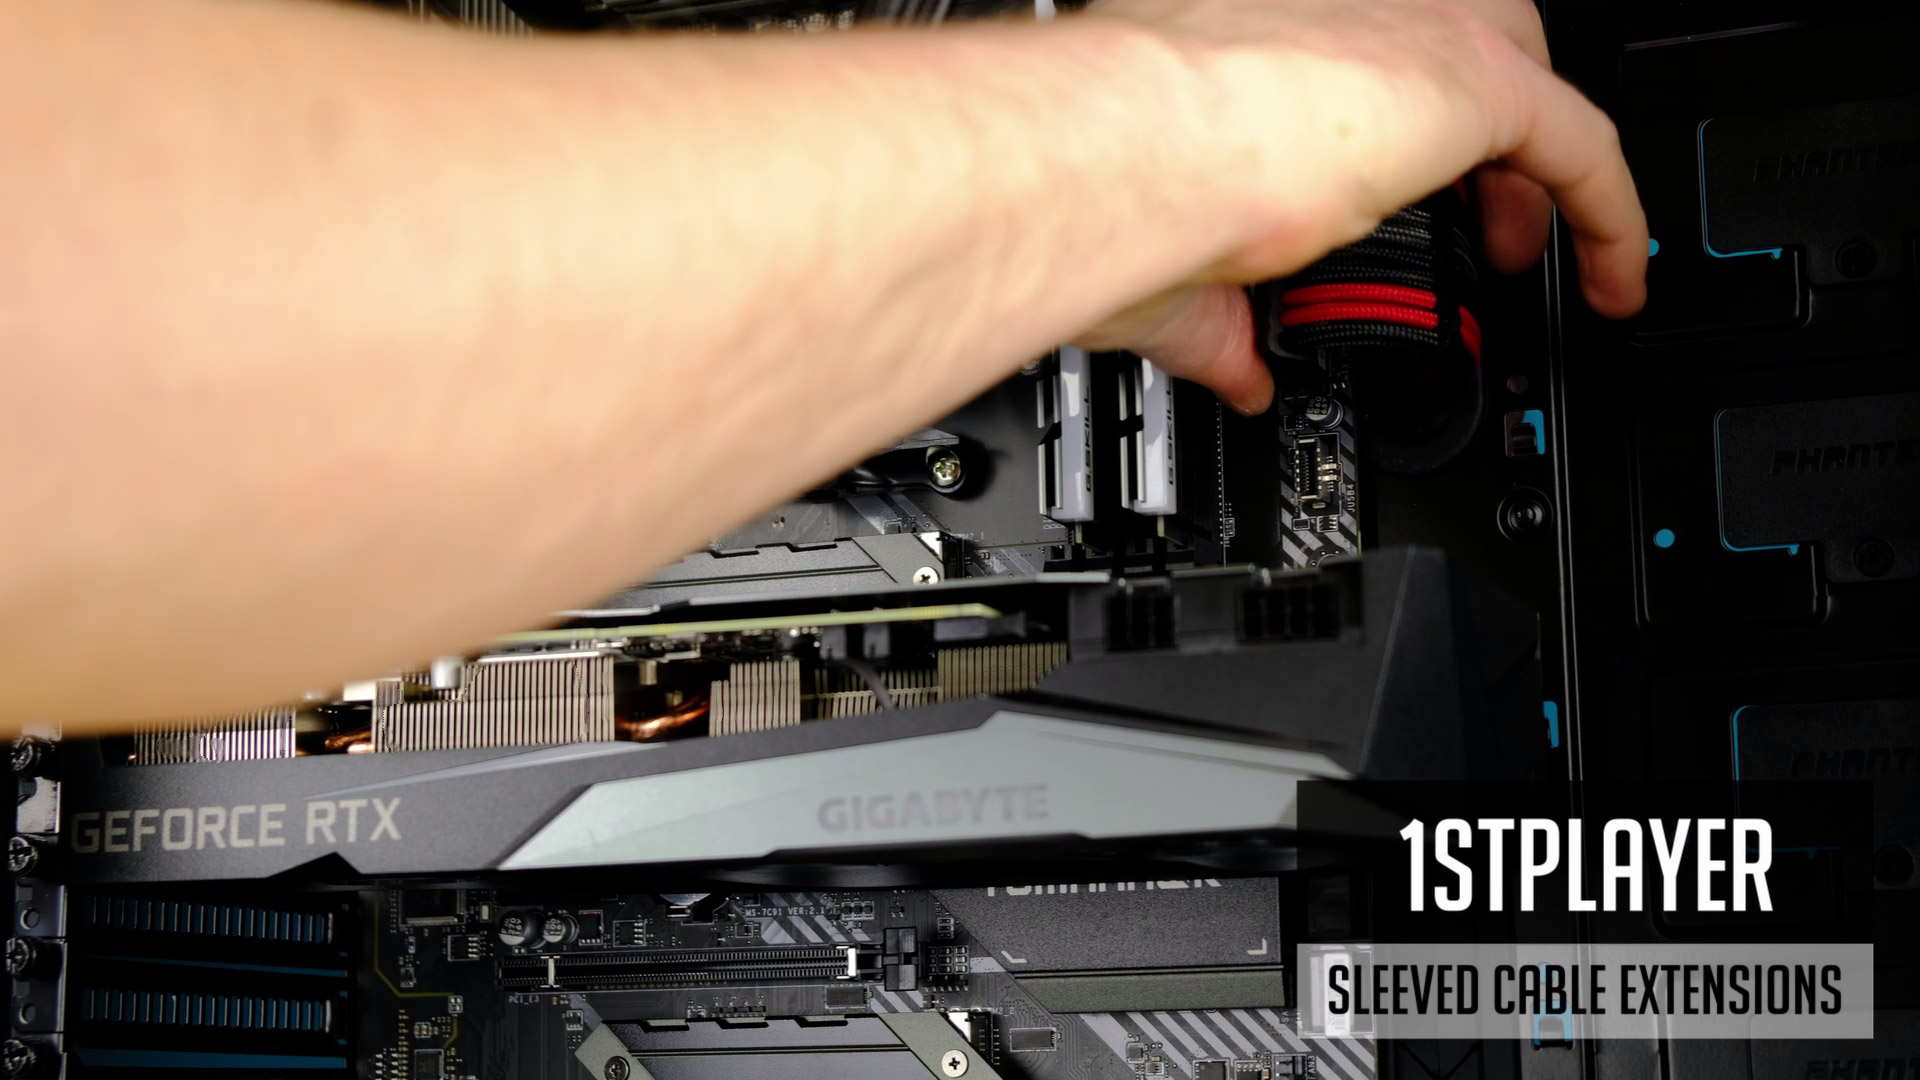
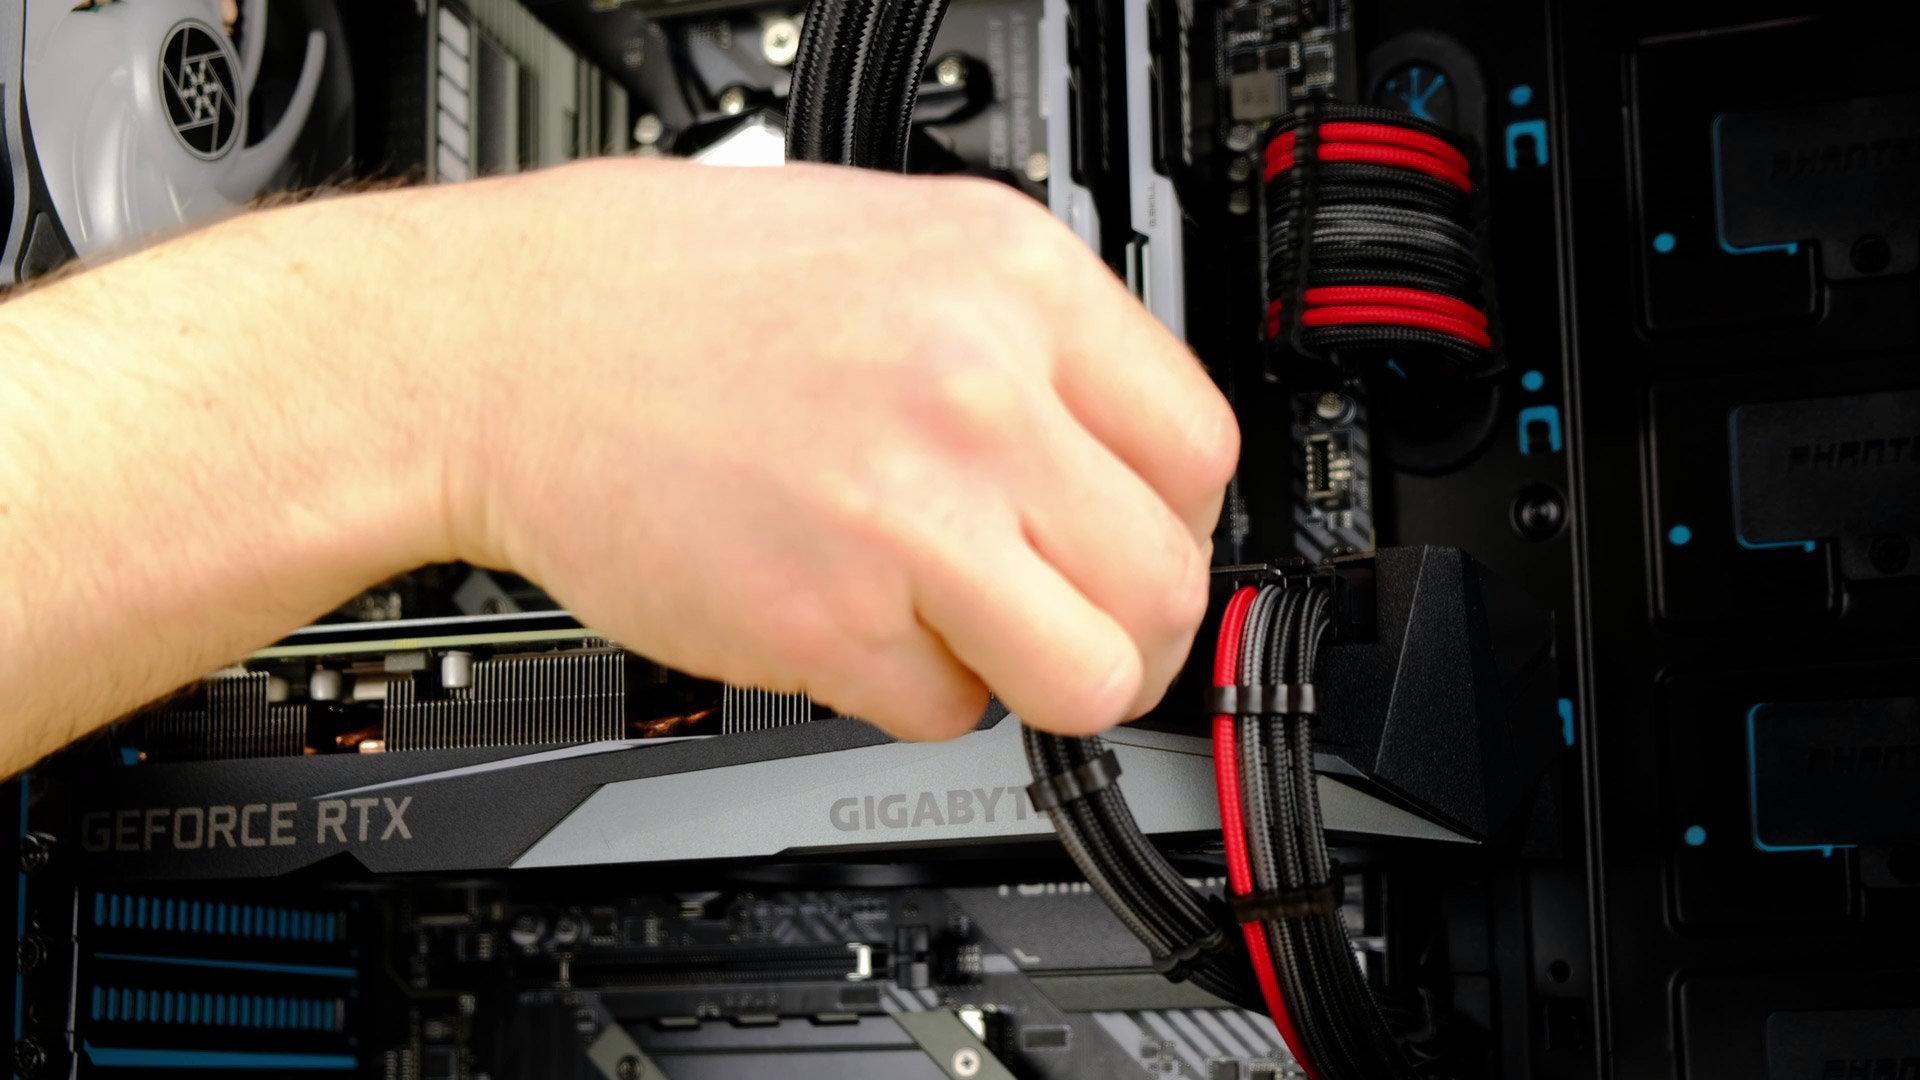
It’s time to plug some power cables. I’m using 1stplayer Sleeved Cable Extensions, but it’s more of the style detail. So in case you want to save some money, you can use stock cables for sure.
As always, I will leave links to all of these parts in the description below.
And let’s have a look at some b-roll and benchmarks will follow next.
Benchmarks
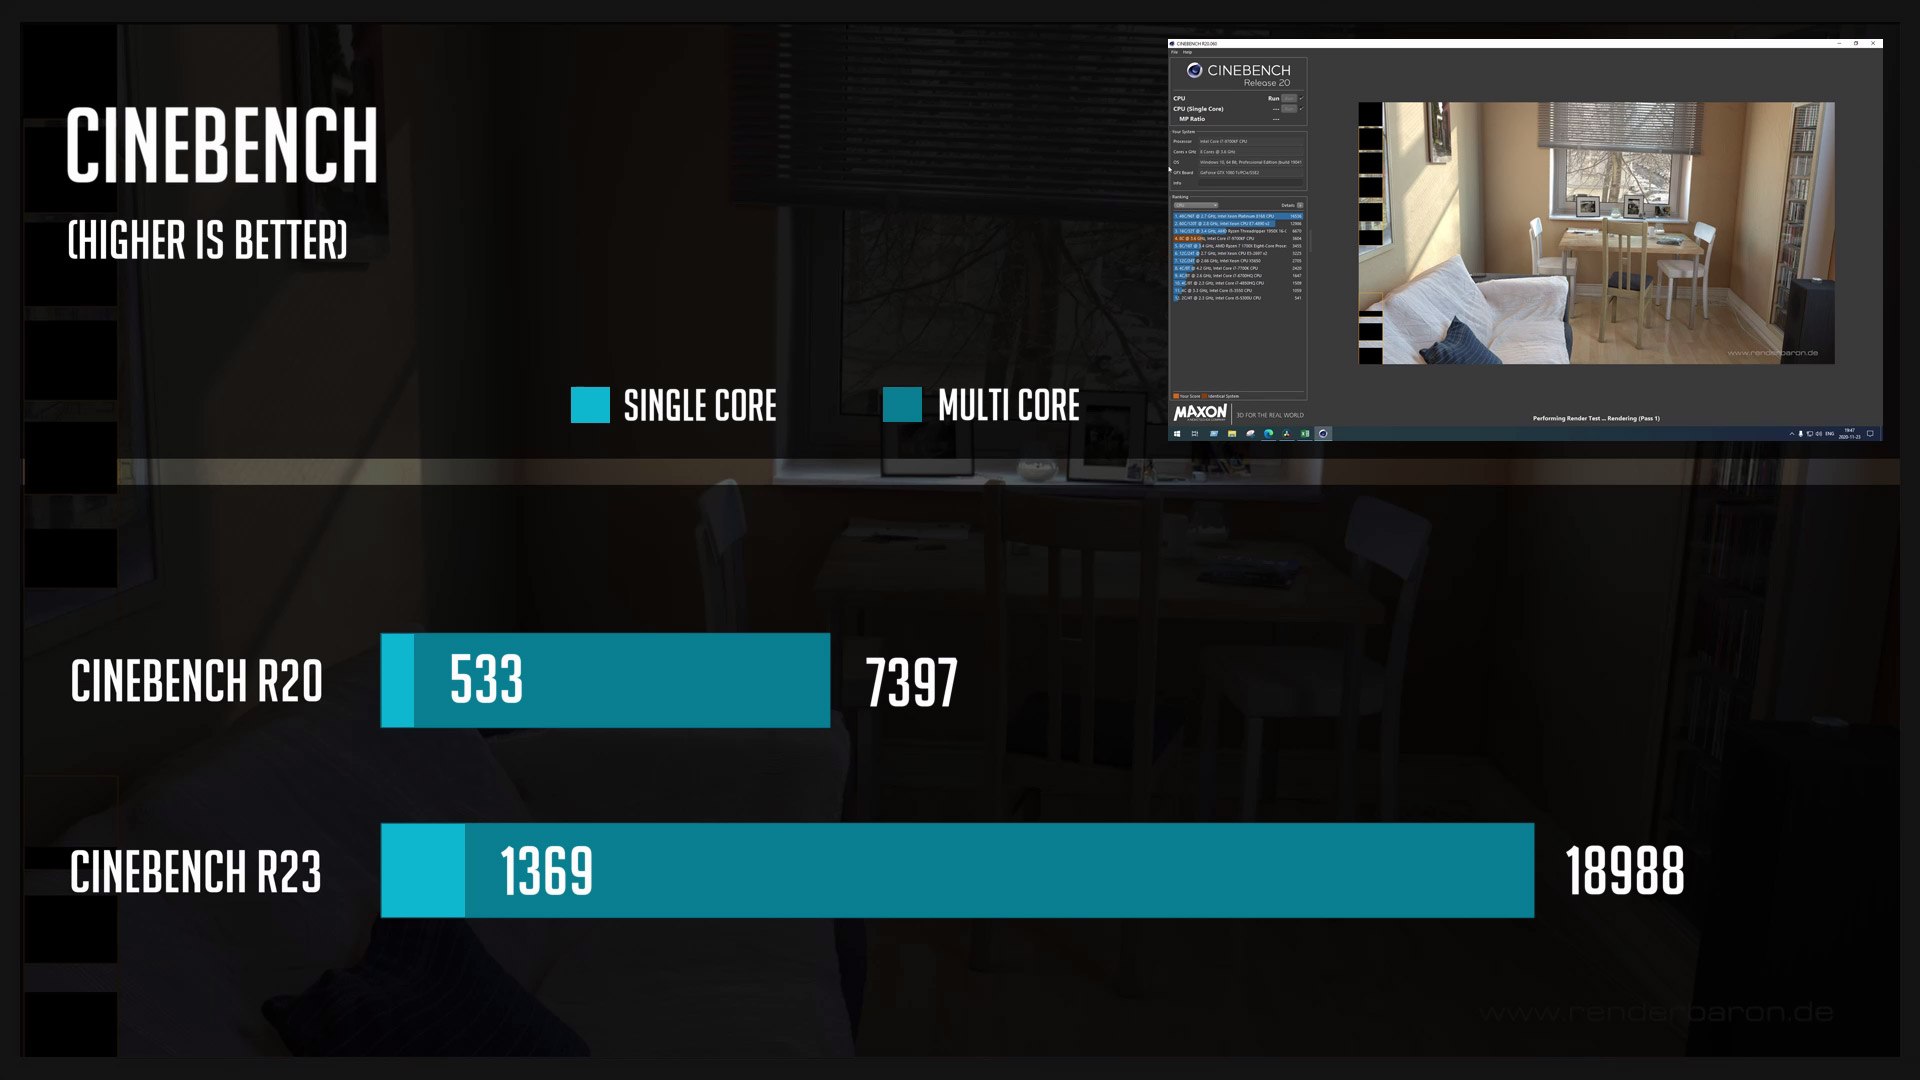

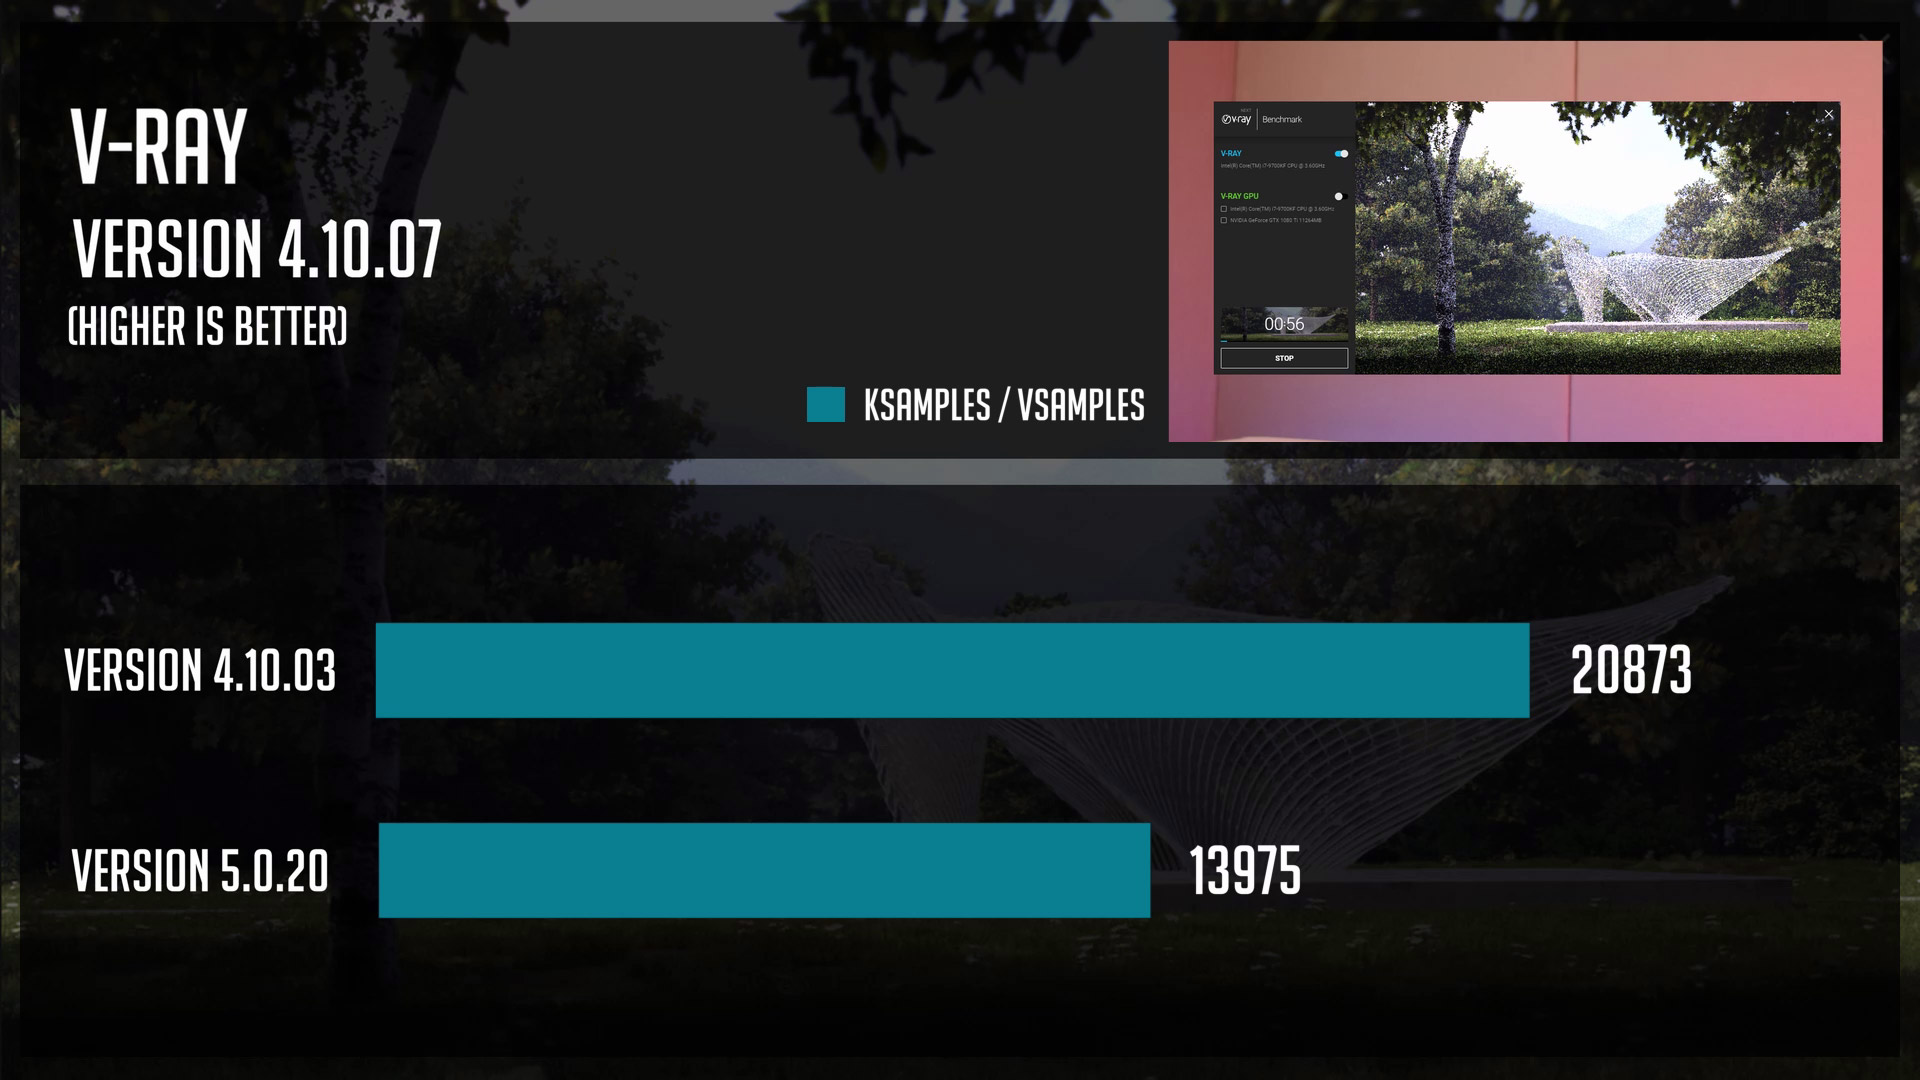


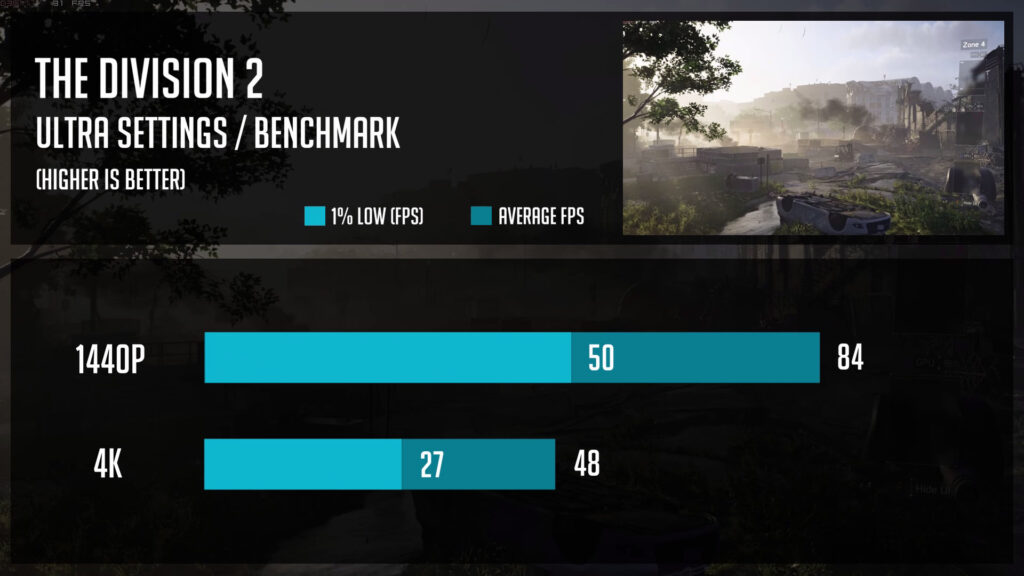

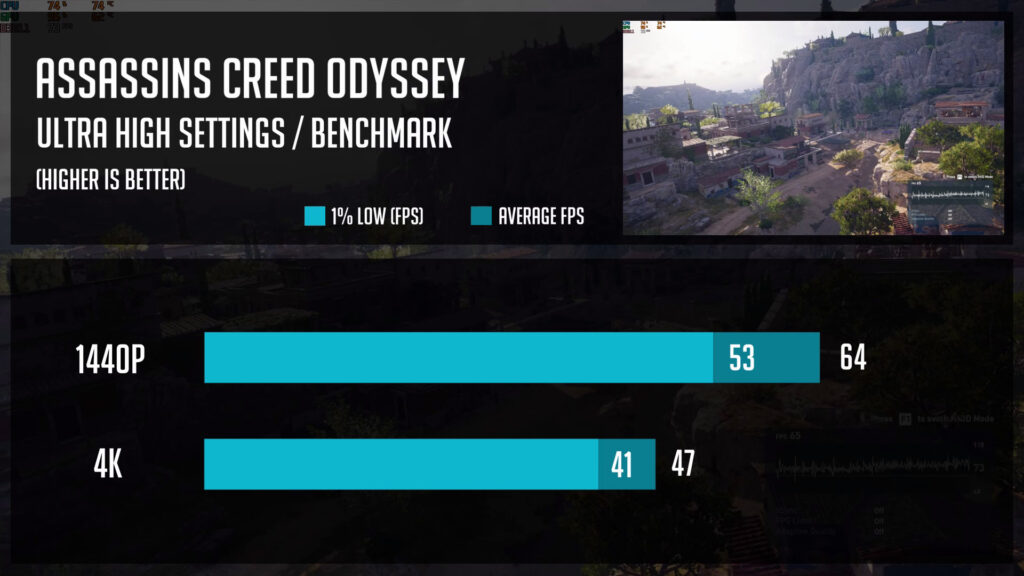
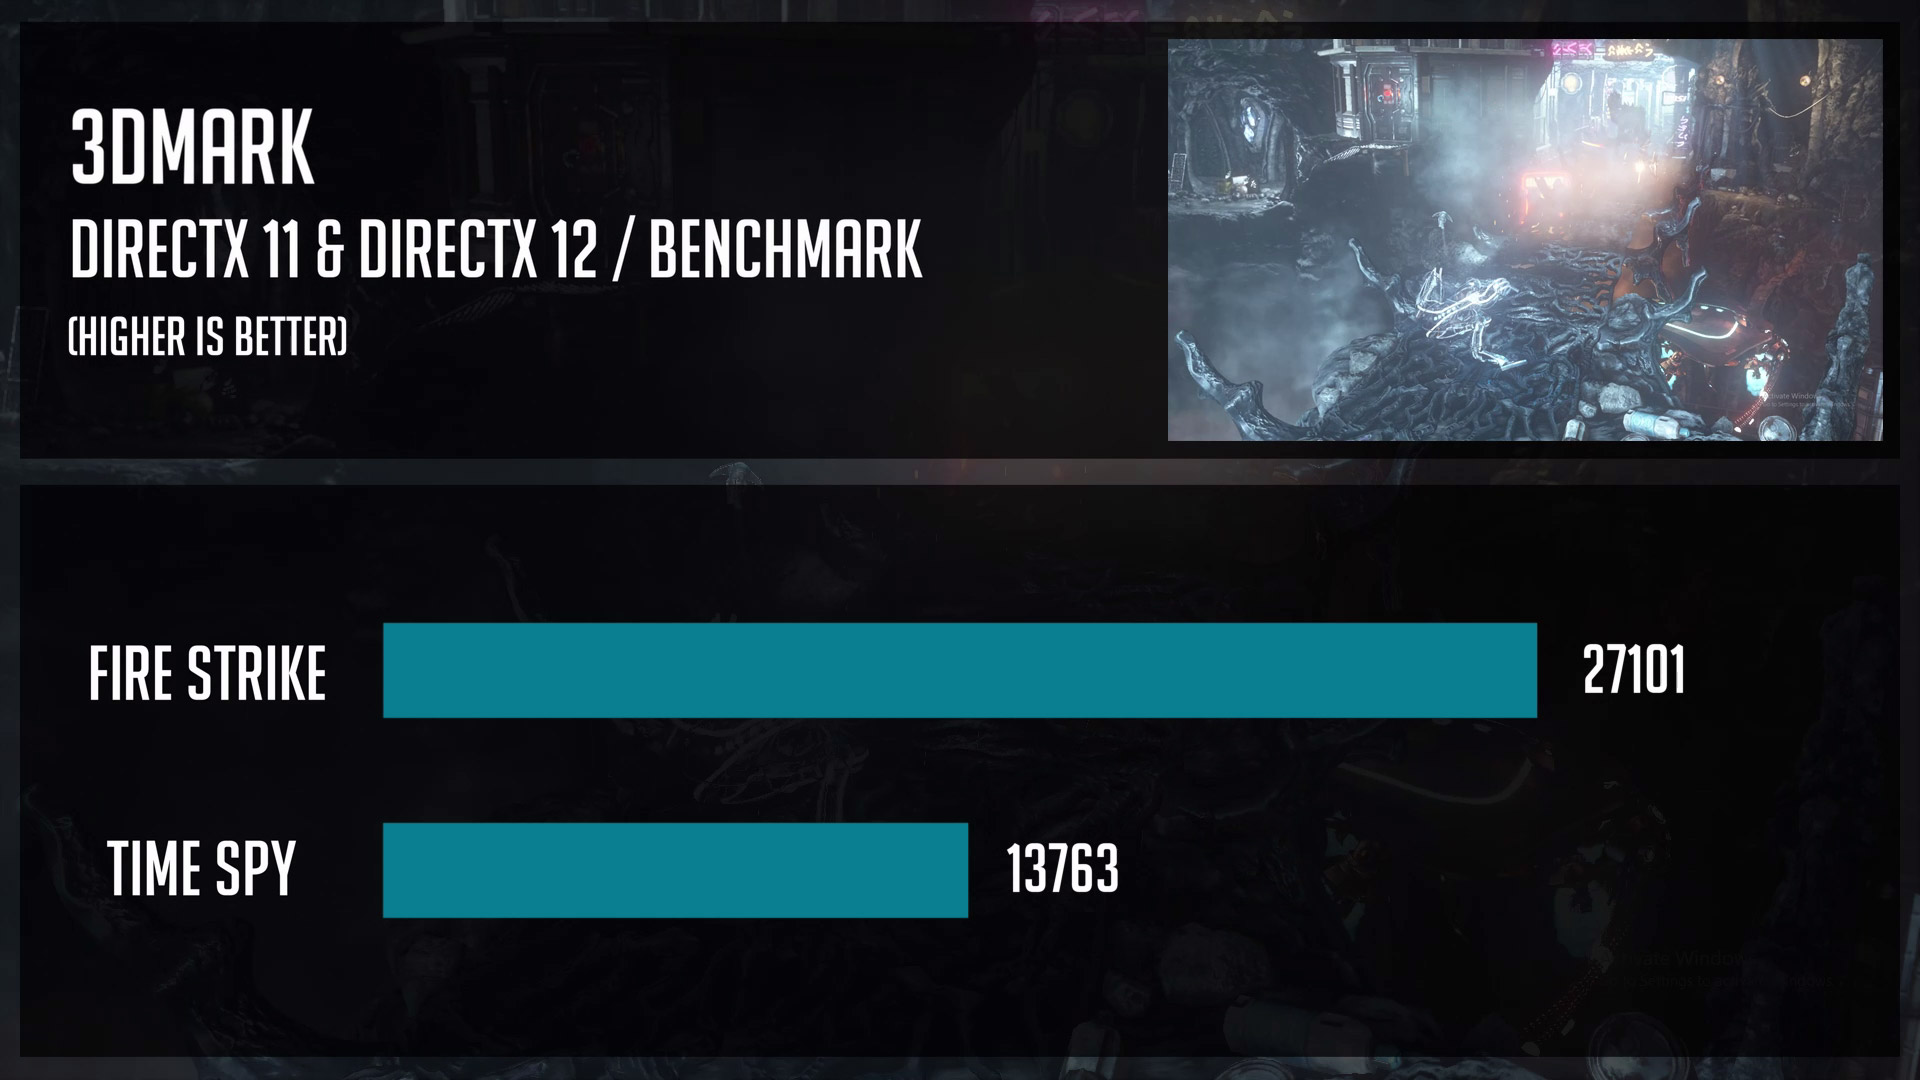
Let’s have a look at benchmarks. I’ve enabled XMP and PBO but no further overclocking was applied. And so you will see some productivity benchmarks like Cinebench or Blender and then some games will follow.
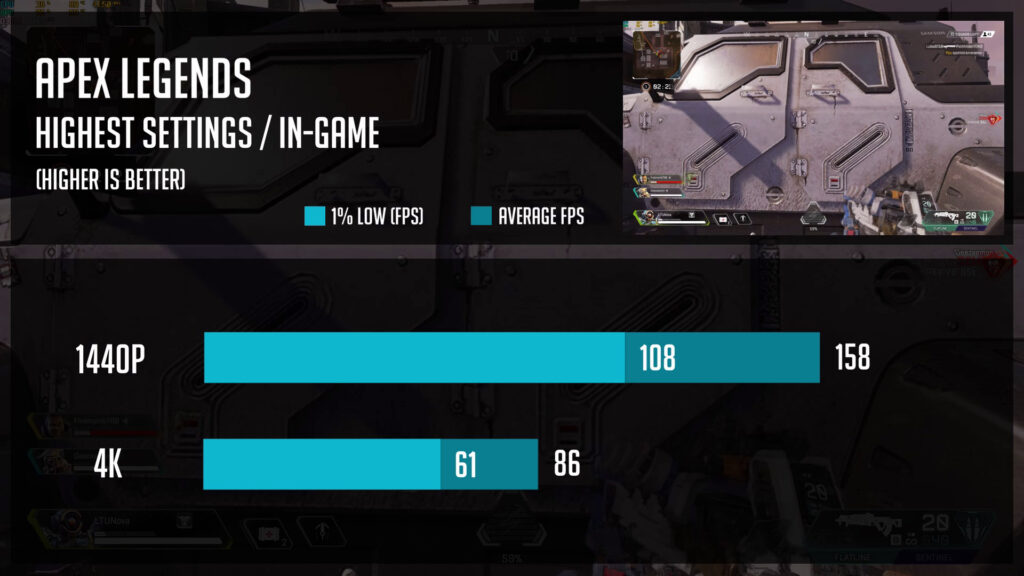
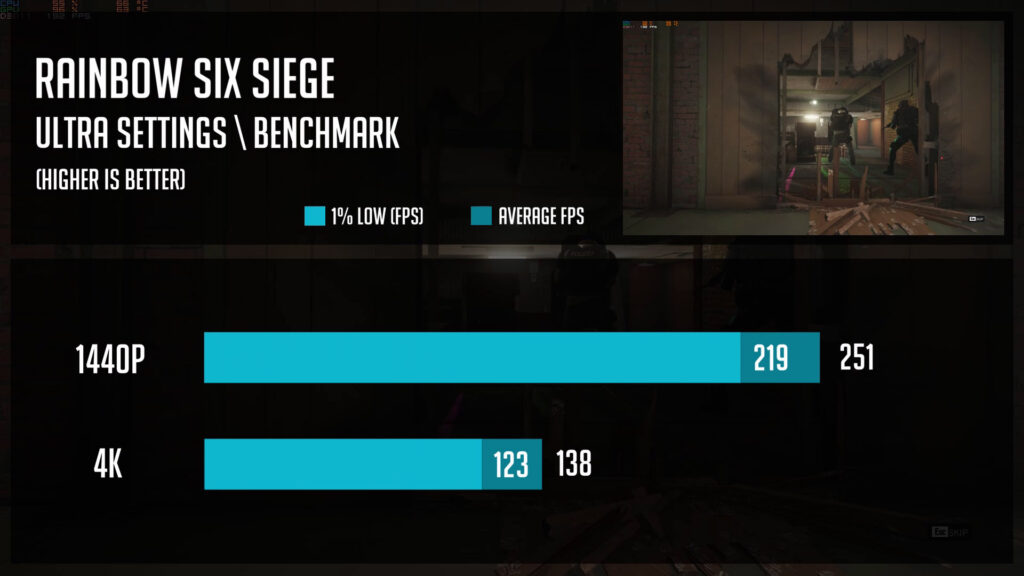
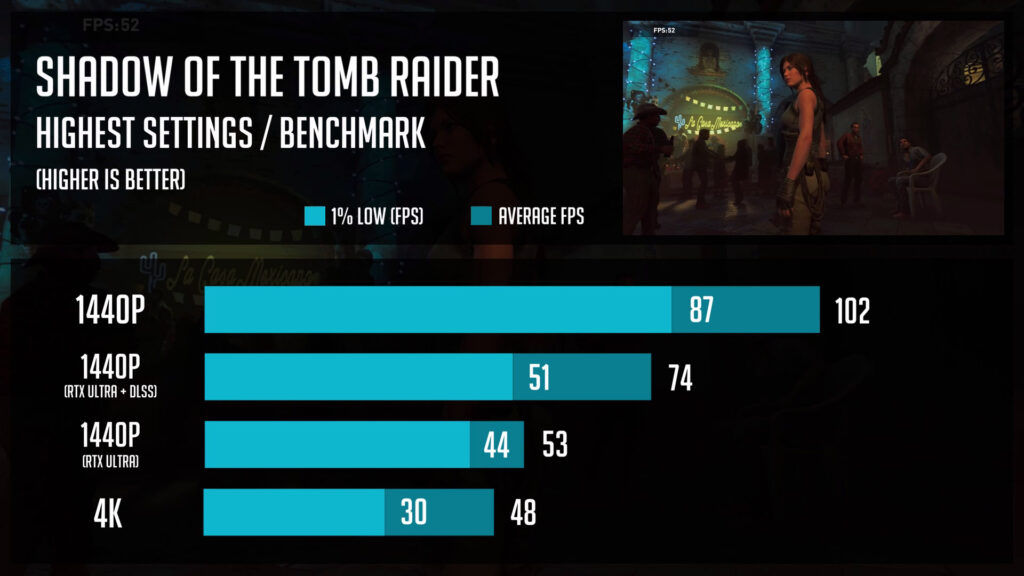
All games were tested using Ultra or highest setting in 1440p and 4k resolutions. As well as I’ve tested few games with Ray Tracing and DLSS enabled.

So here you have it – a PC that is not only looking good but can handle quite a serious video editing, streaming, and gaming workloads.
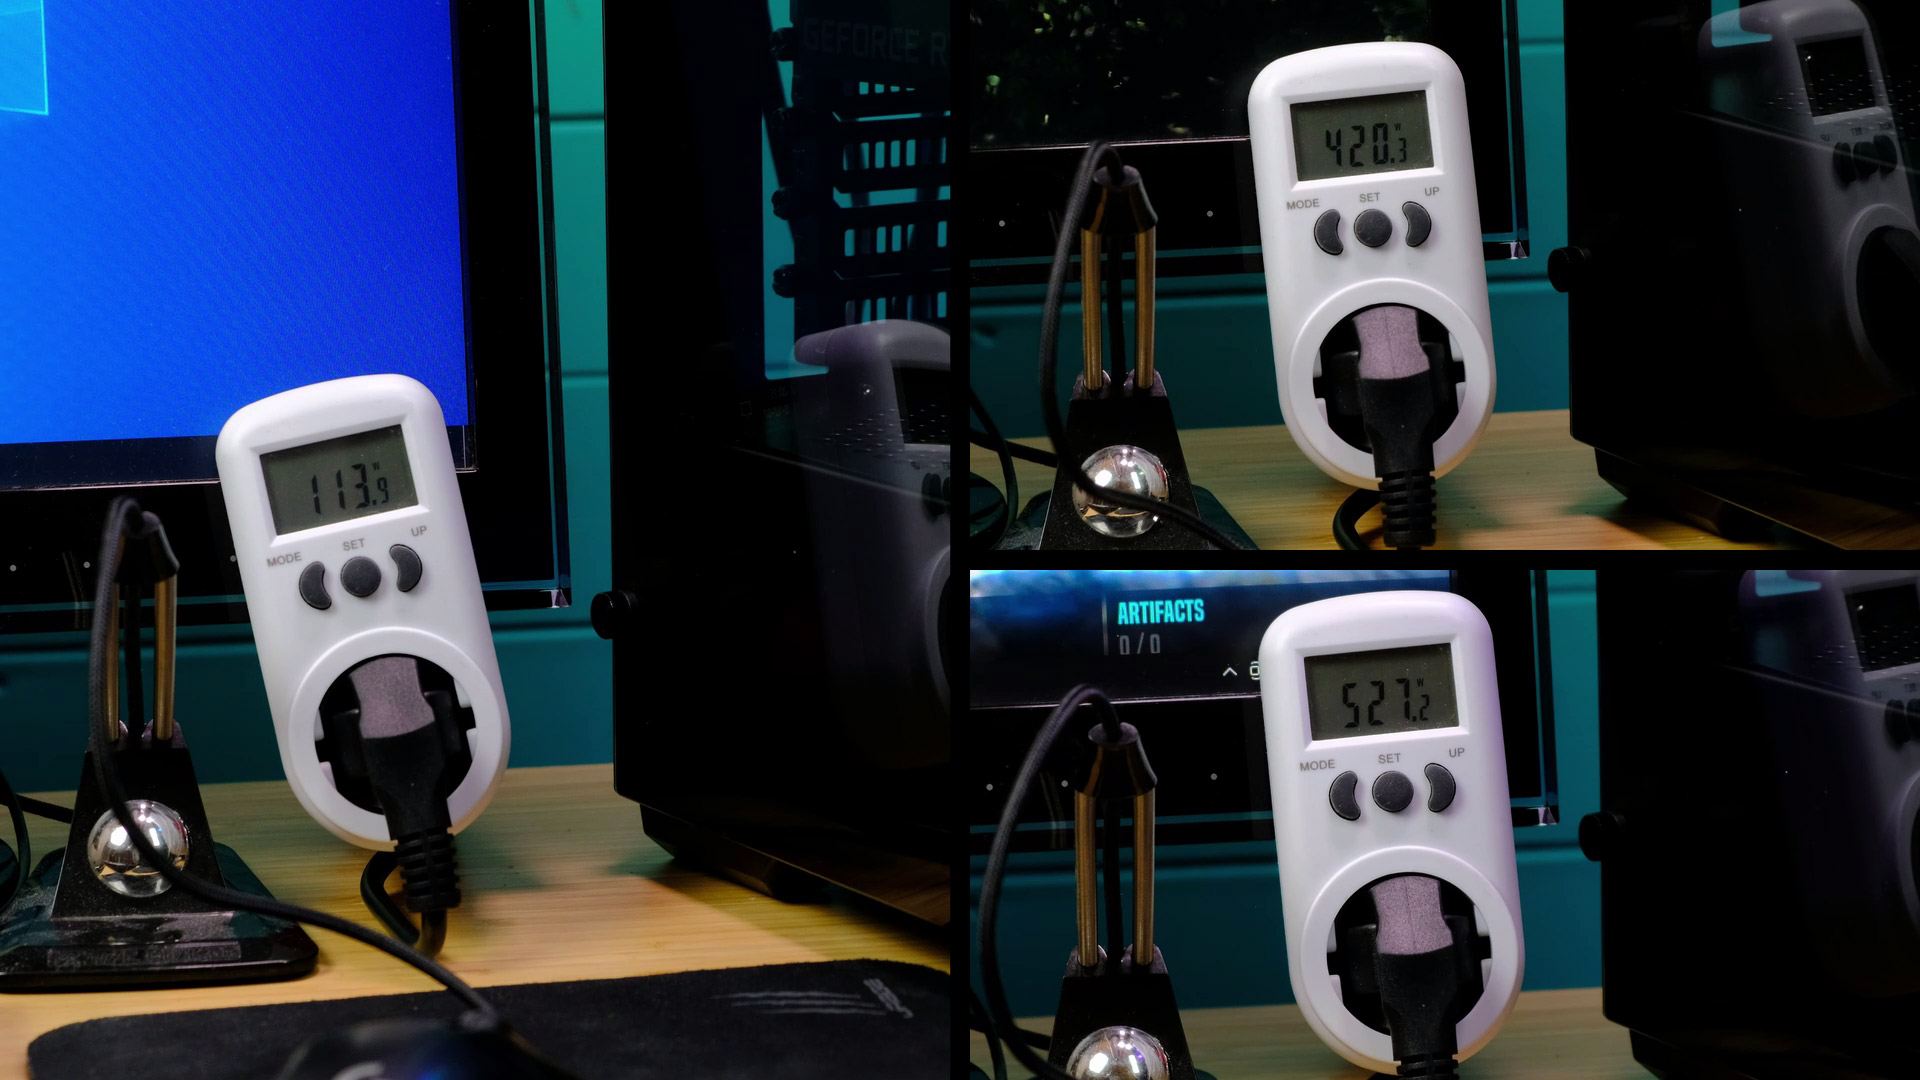
As the last thing, I would like to share some power consumption numbers.
When idle, I saw around 130wats from the wall. When benchmarking games, the number got to around 400wats. I’ve also measured when stressing CPU and GPU to 100% at the same time. And that pushed to 530 watts.
I hope you enjoyed this PC Build video and you can find even more stunning PC Builds by visiting here.
PC Parts List
CPU: Ryzen 9 3900x – https://geni.us/NLDXFL5
CPU Cooler: Silverstone PF360-ARGB – https://geni.us/z0BUD4
Motherboard: MSI MAG B550 Tomahawk – https://geni.us/oPfkO
Memory: G.Skill Trident Z RGB 3600mhz 32GB (CL18) – https://geni.us/gNkQrf
Storage #1: WD Blue SN550 1TB NVMe – https://geni.us/WSyc
Storage #2: Adata XPG SX8200 Pro 1TB NVMe – https://geni.us/w3N9
Graphics Card: Gigabyte RTX 3070 gaming OC – https://geni.us/6evYFyq
Power Supply: Cooler Master MWE 750 Gold – https://geni.us/7TcA2G
Cables: 1stplayer Sleeved Extensions – https://geni.us/O5Km
PC Case: Phanteks Eclipse P400A – https://geni.us/PCOC0h
Fans: Silverstone Air Blazer 120R – https://geni.us/iZzBF
Disclosure: EpicGameTech gets a small commission when you purchase something via our Amazon links. It doesn’t cost you anything extra since that comes from Amazon’s end. So, please be aware, the links provided to Amazon are affiliate links.