Table of Contents
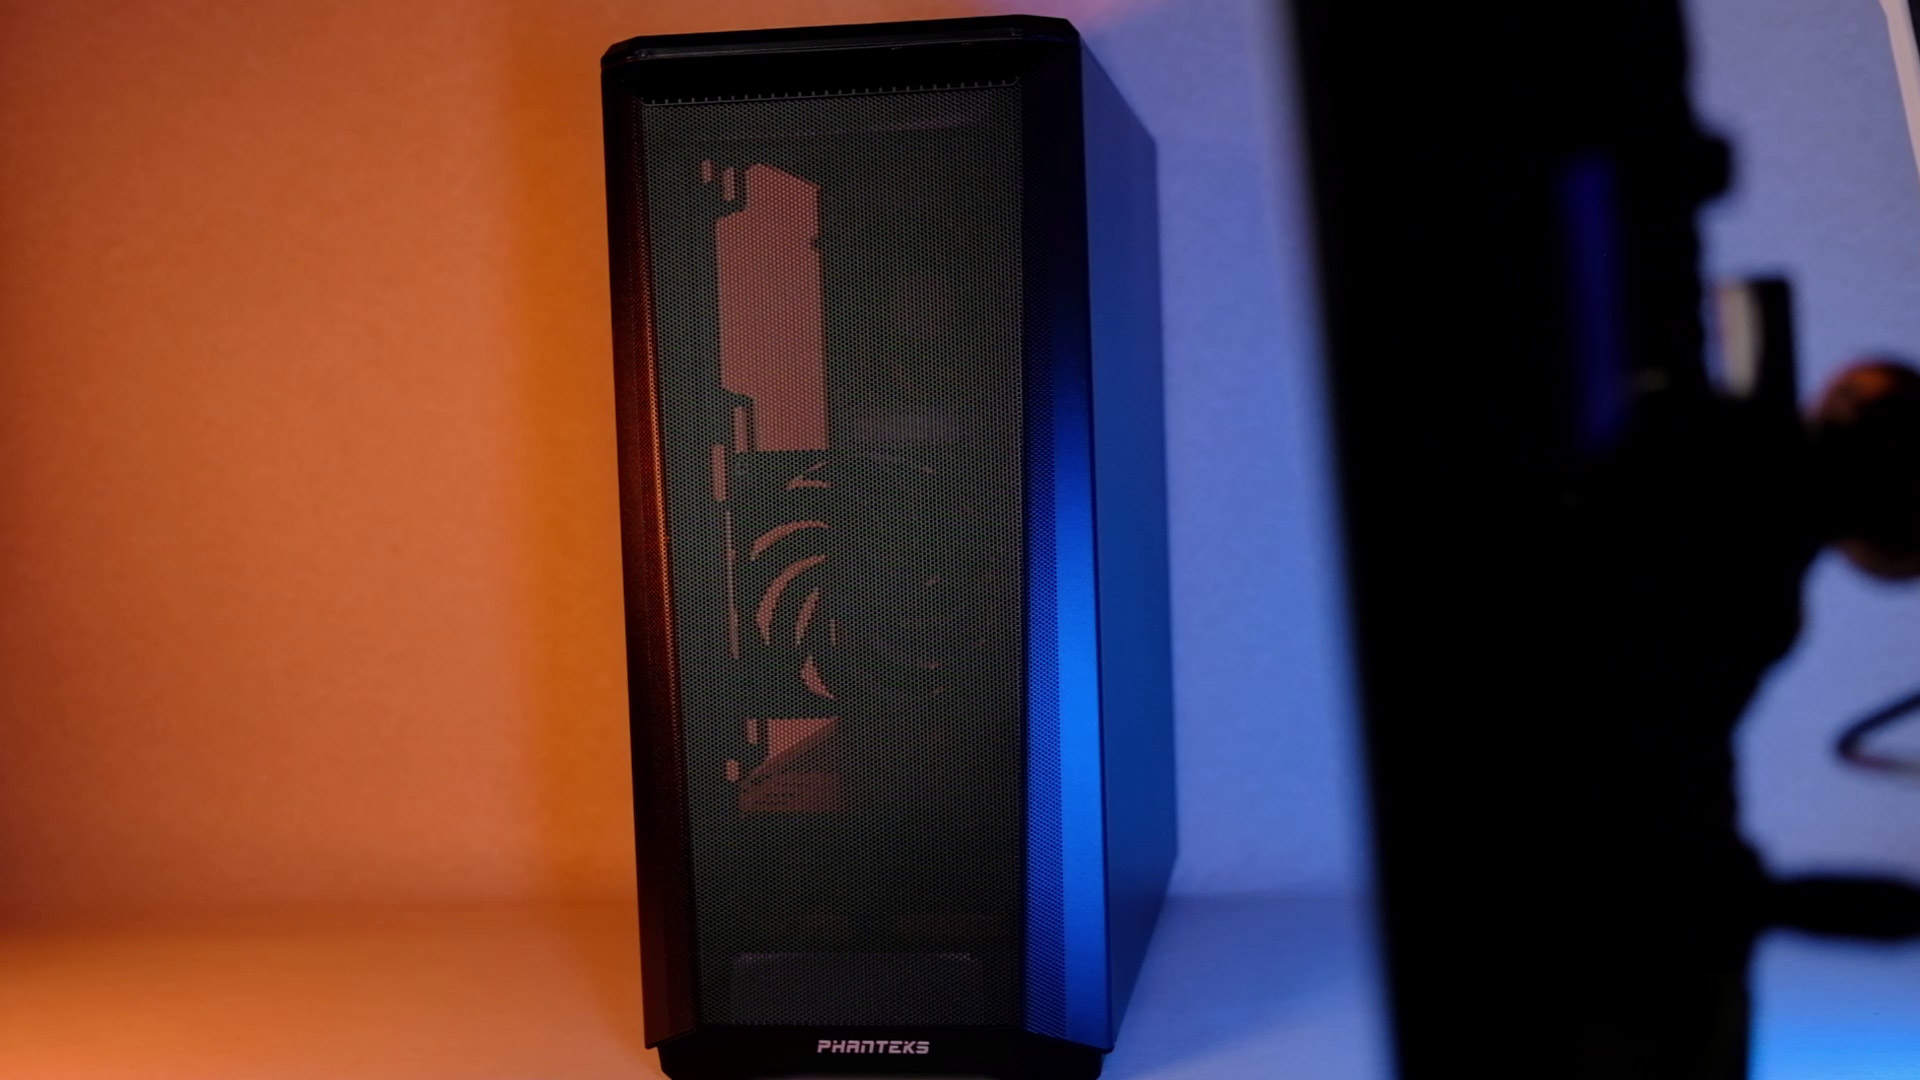
For quite some time I had in mind getting Phanteks P400A. And here we are. It’s an ATX Mid-Tower, very affordable PC case with a mesh-type front panel. And today I will be unboxing and having a closer look inside as well as running a thermal test so you guys could see how it performs.
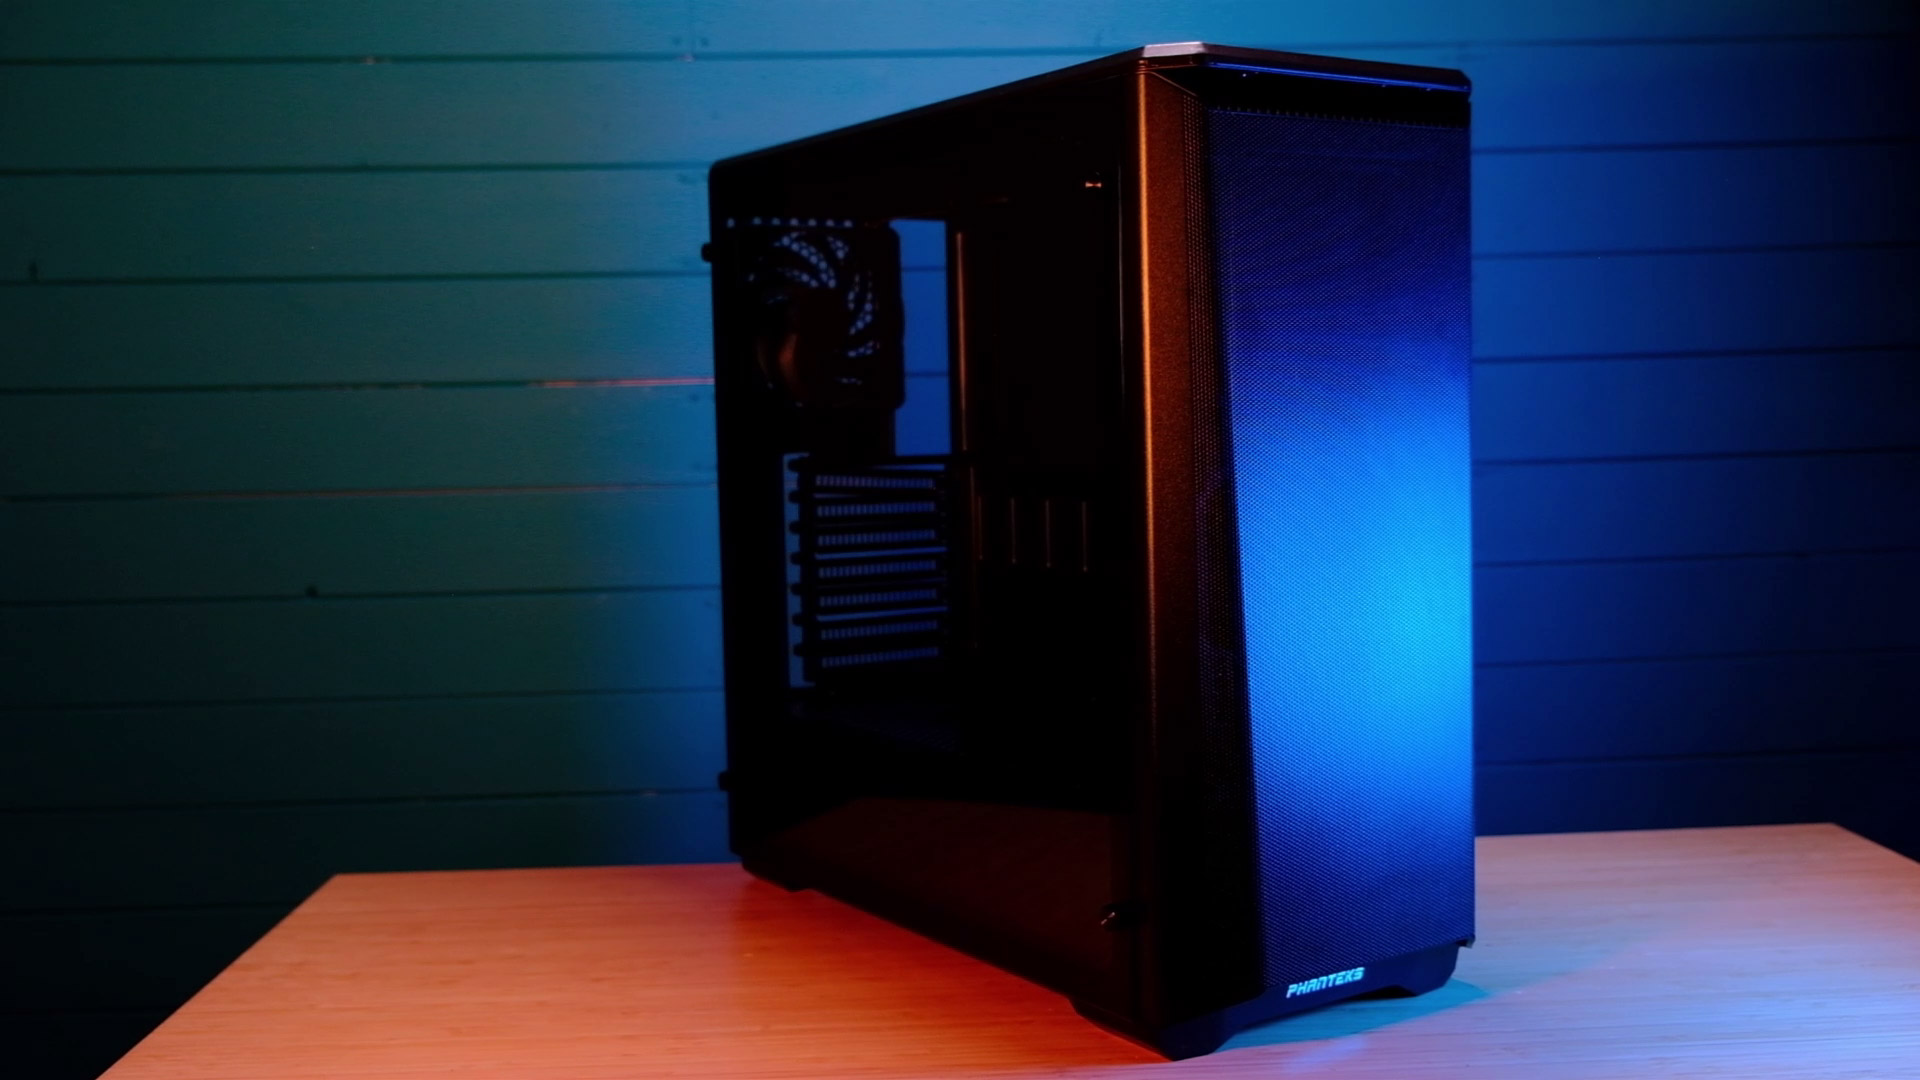

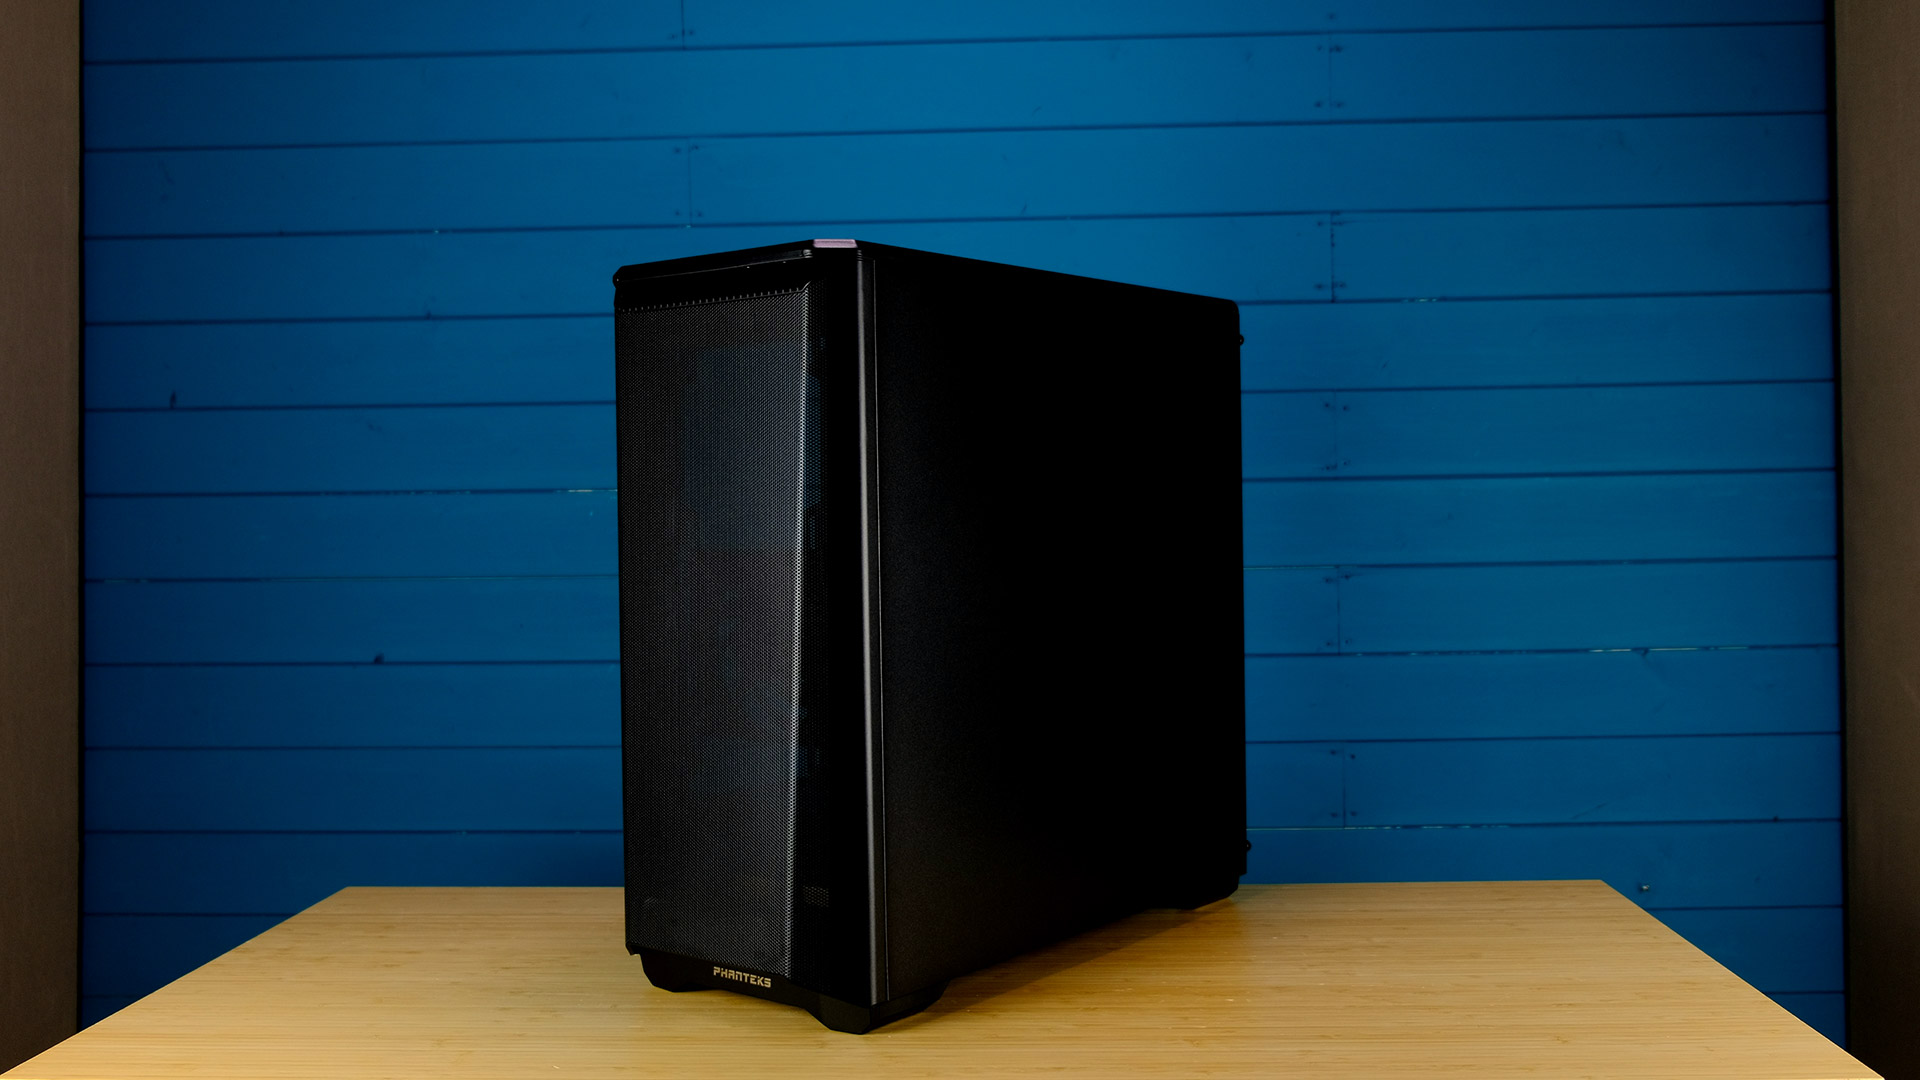


So, Phanteks Eclipse P400A was one of those PC cases I wanted to review myself as I’ve seen quite some praises from other content creators. As I’ve used it in one of my recent PC Build, I have a chance to deep-dive and present P400A features and thermals to you guys.
P400A features an edge-to-edge tempered glass side panel. It’s held in place by a few thumbscrews. Just make sure you place your hand below a glass when removing it. The side panel sits quite well even with no screws, but I suggest securing it as soon as possible.
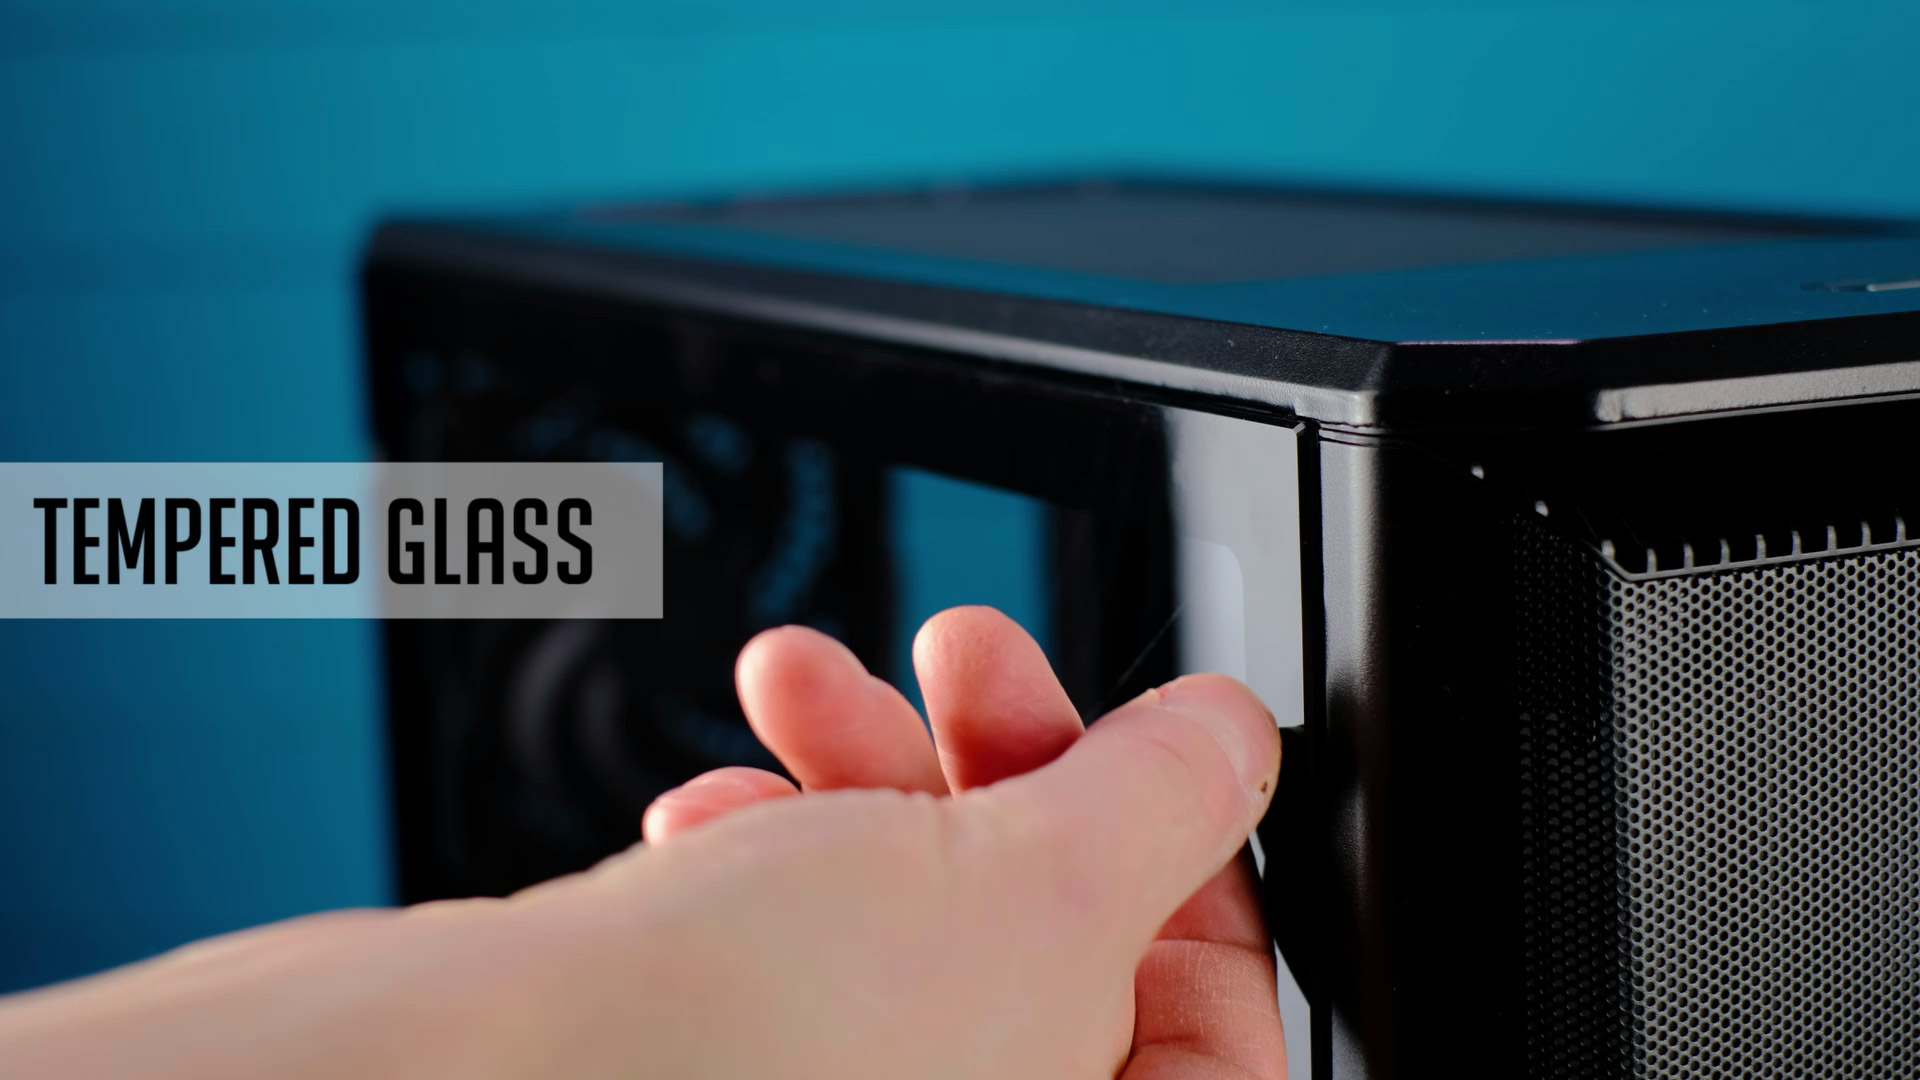
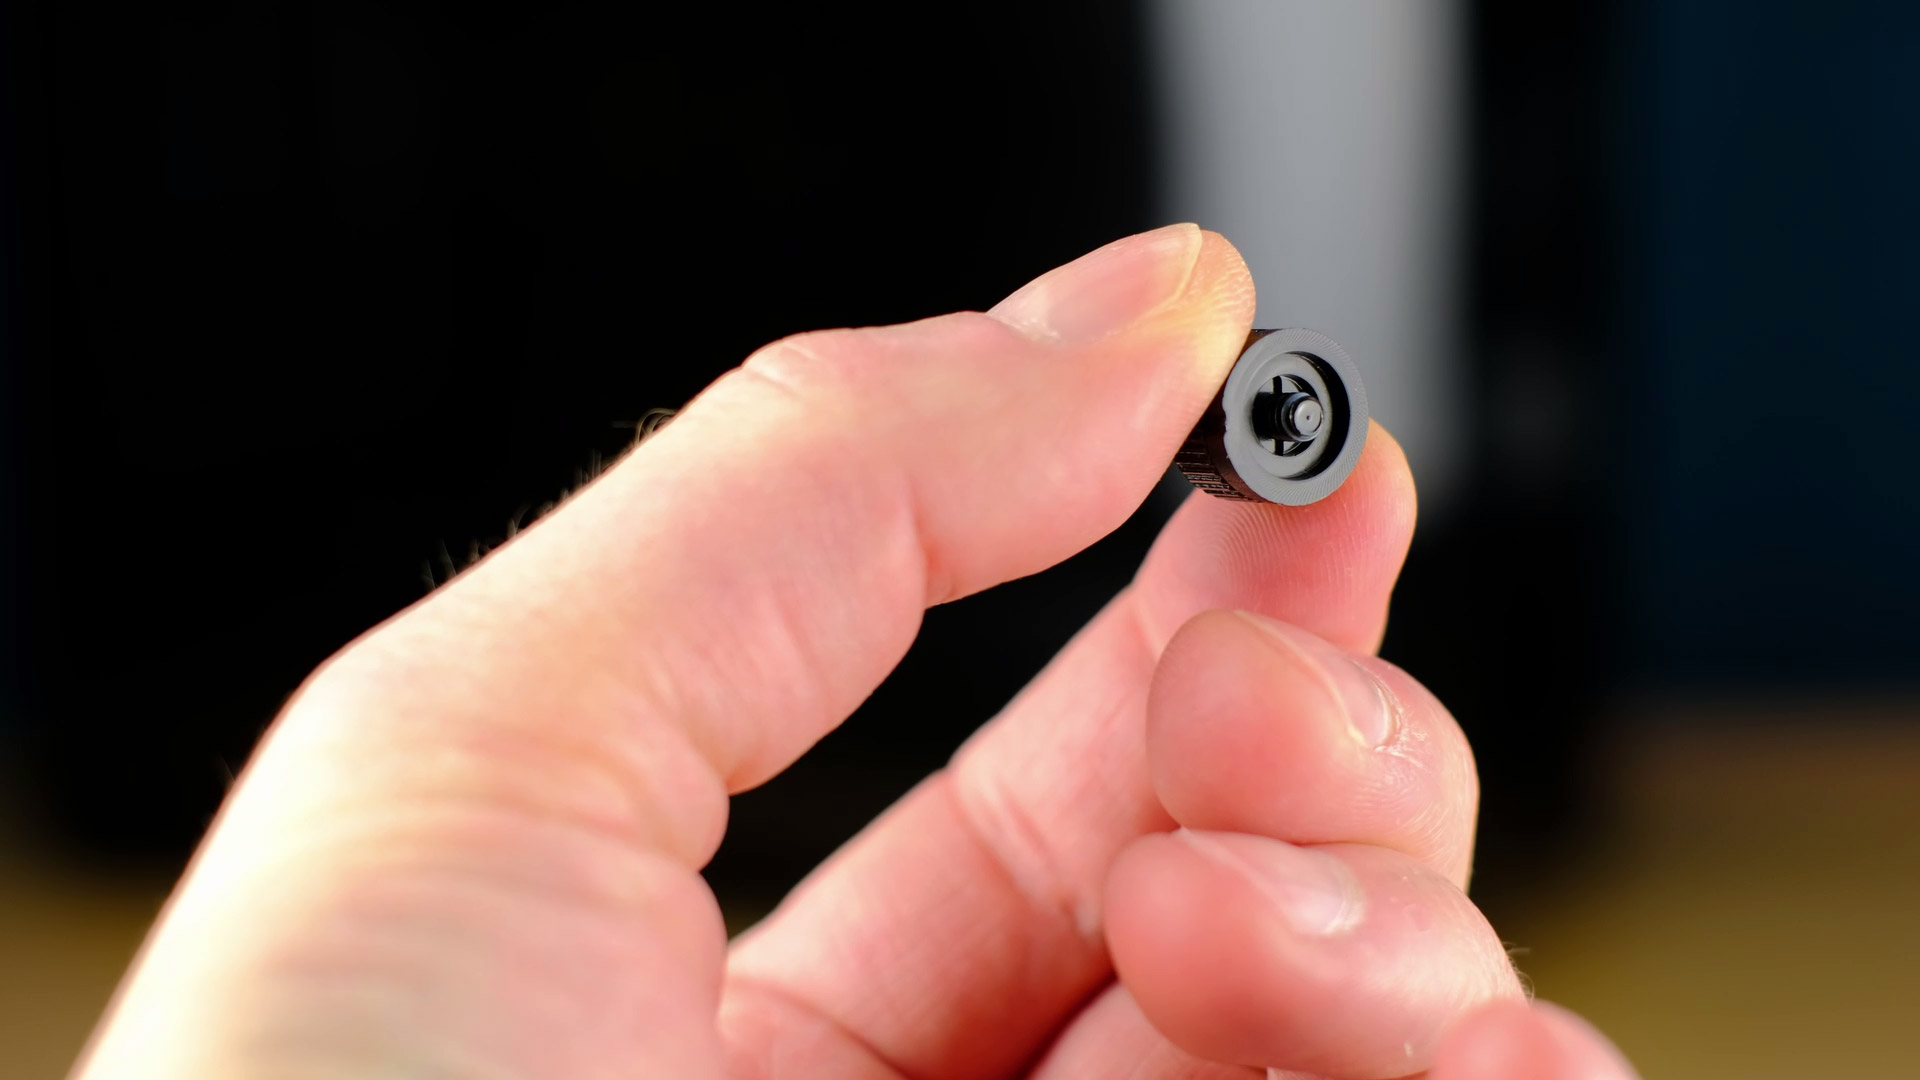

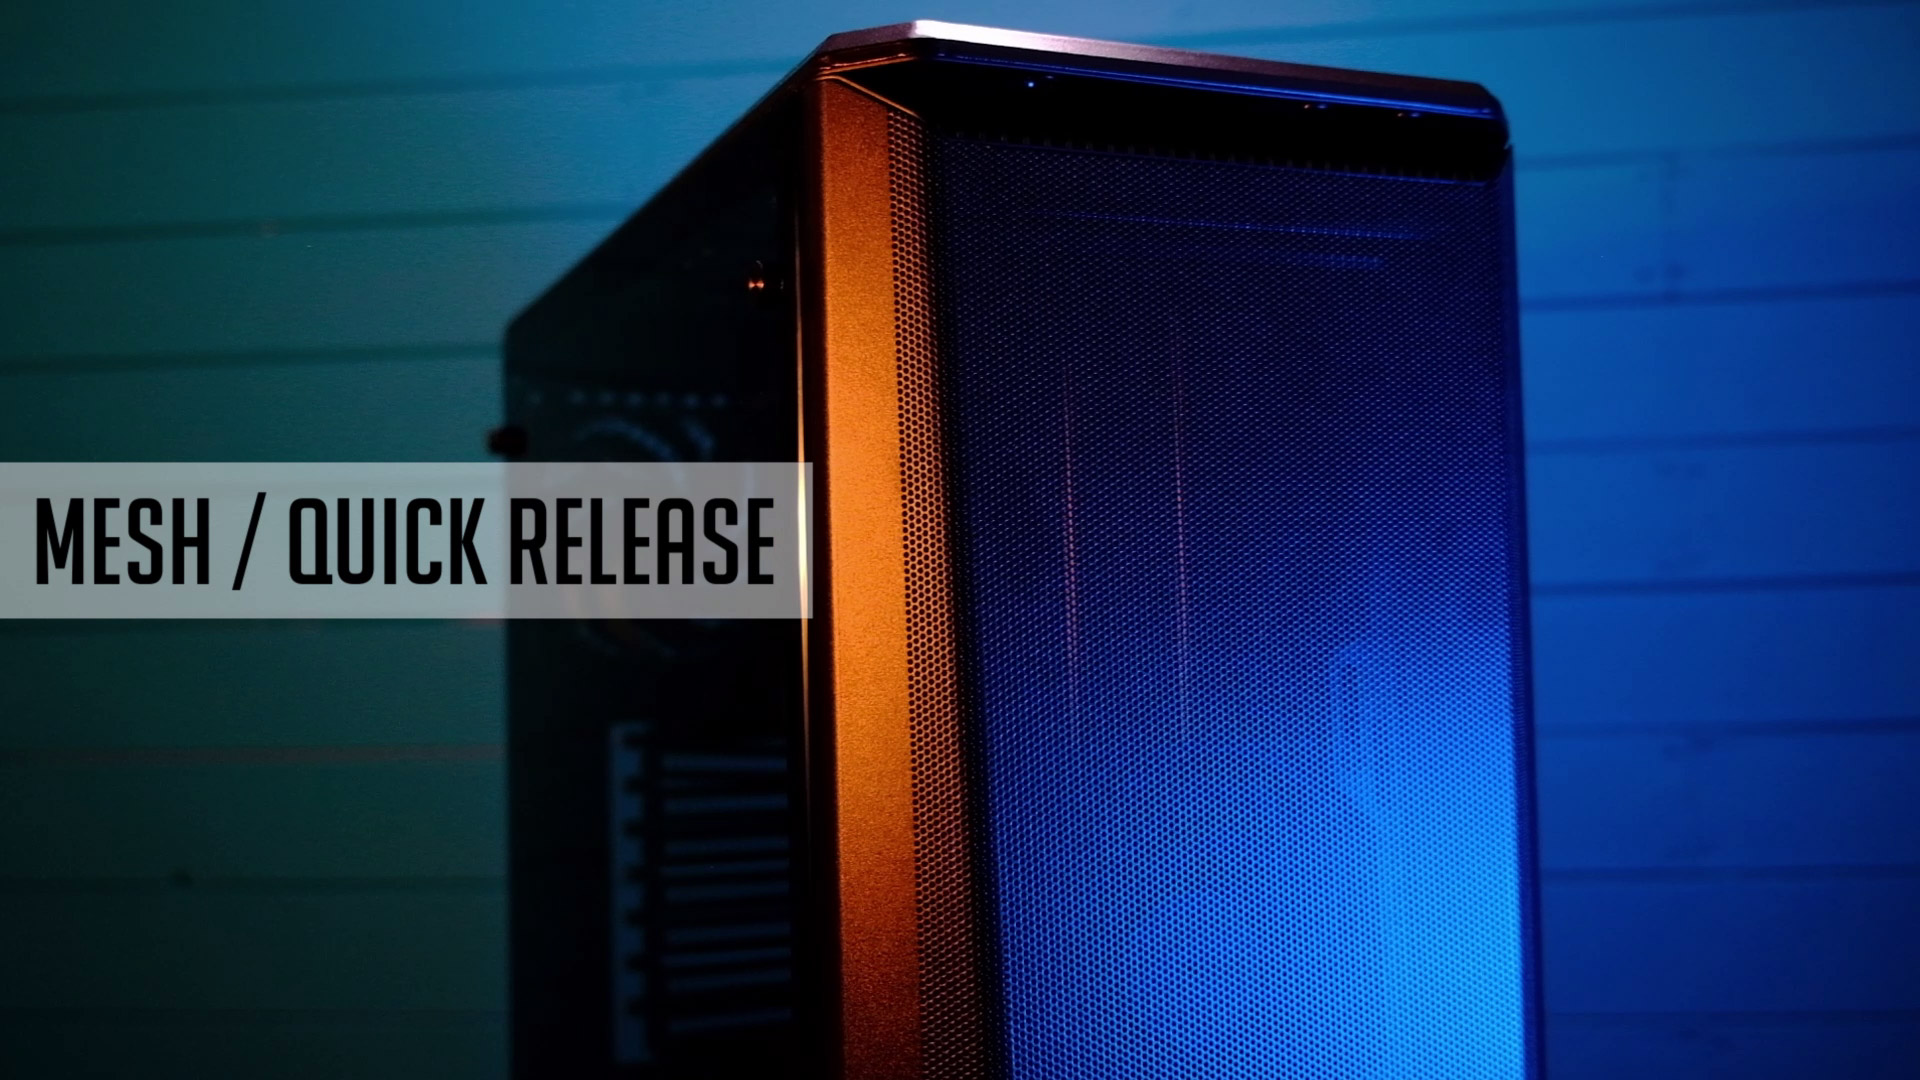
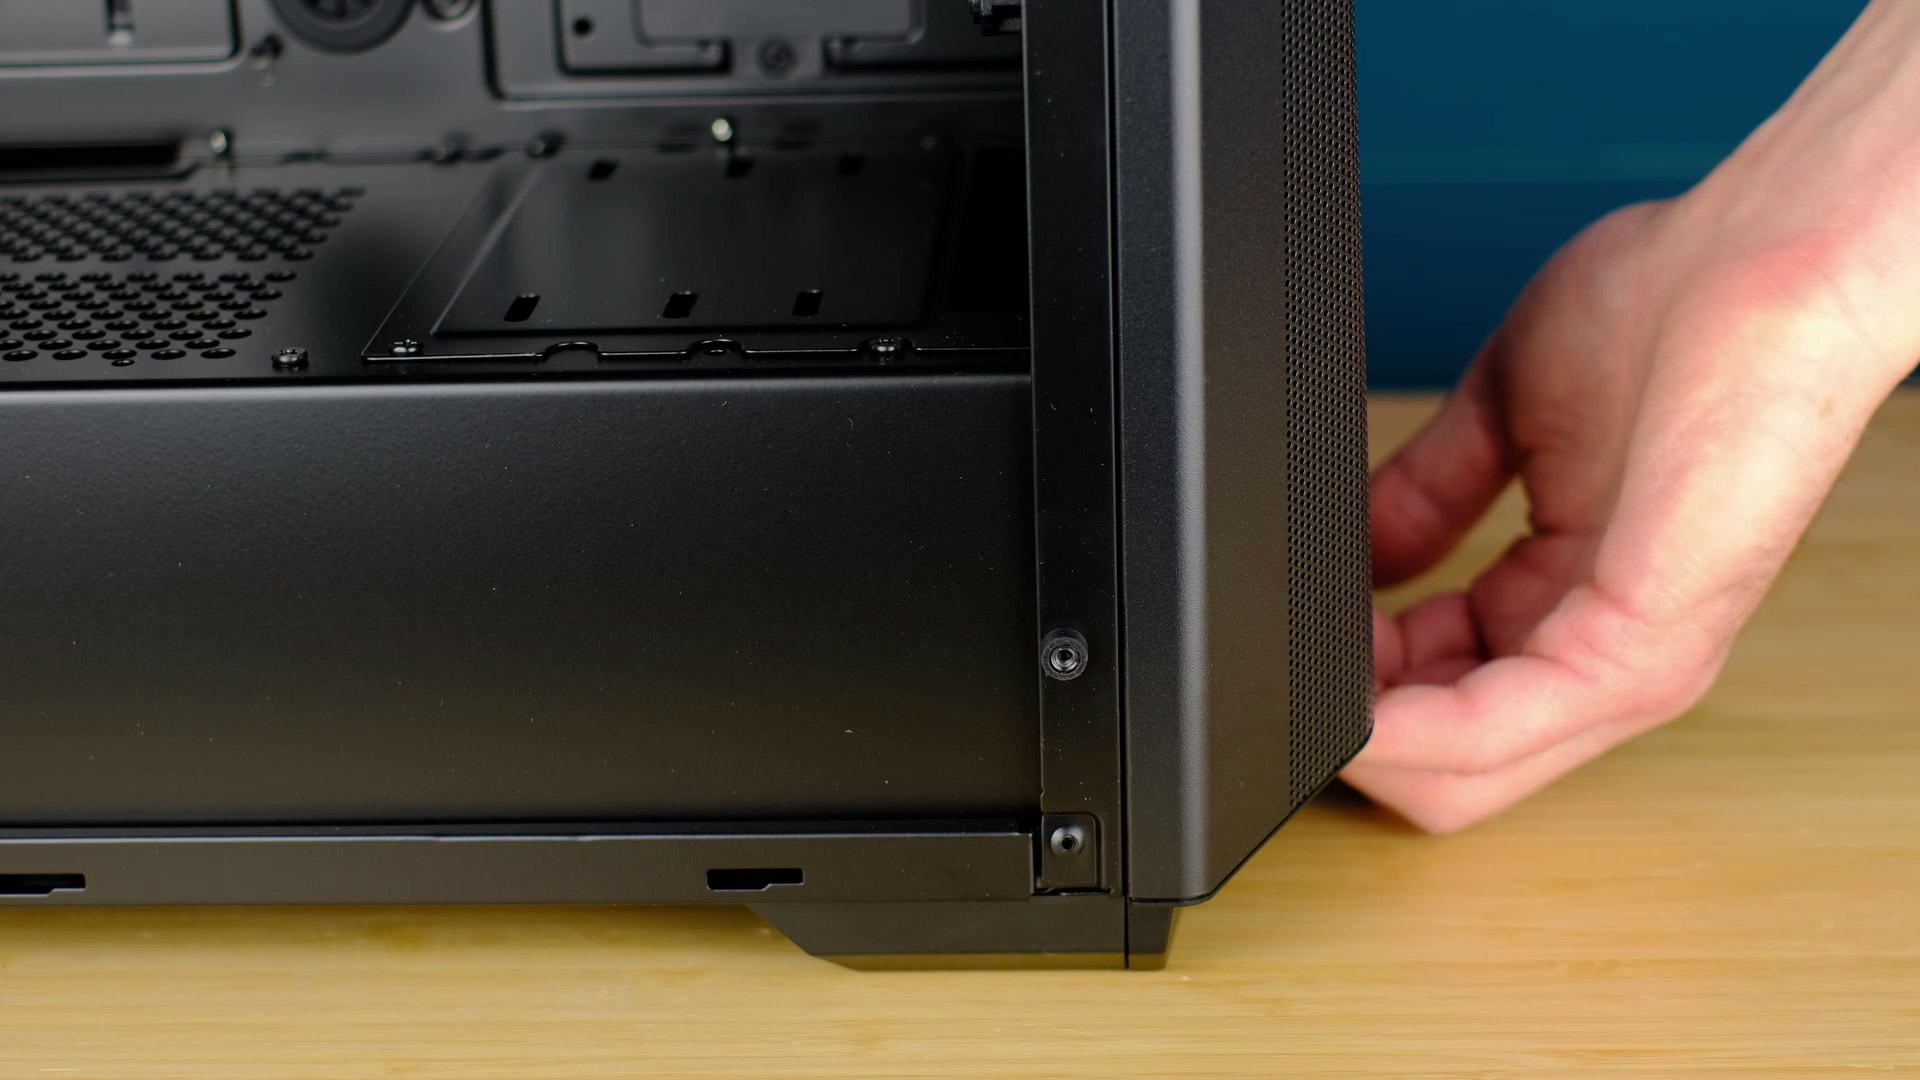
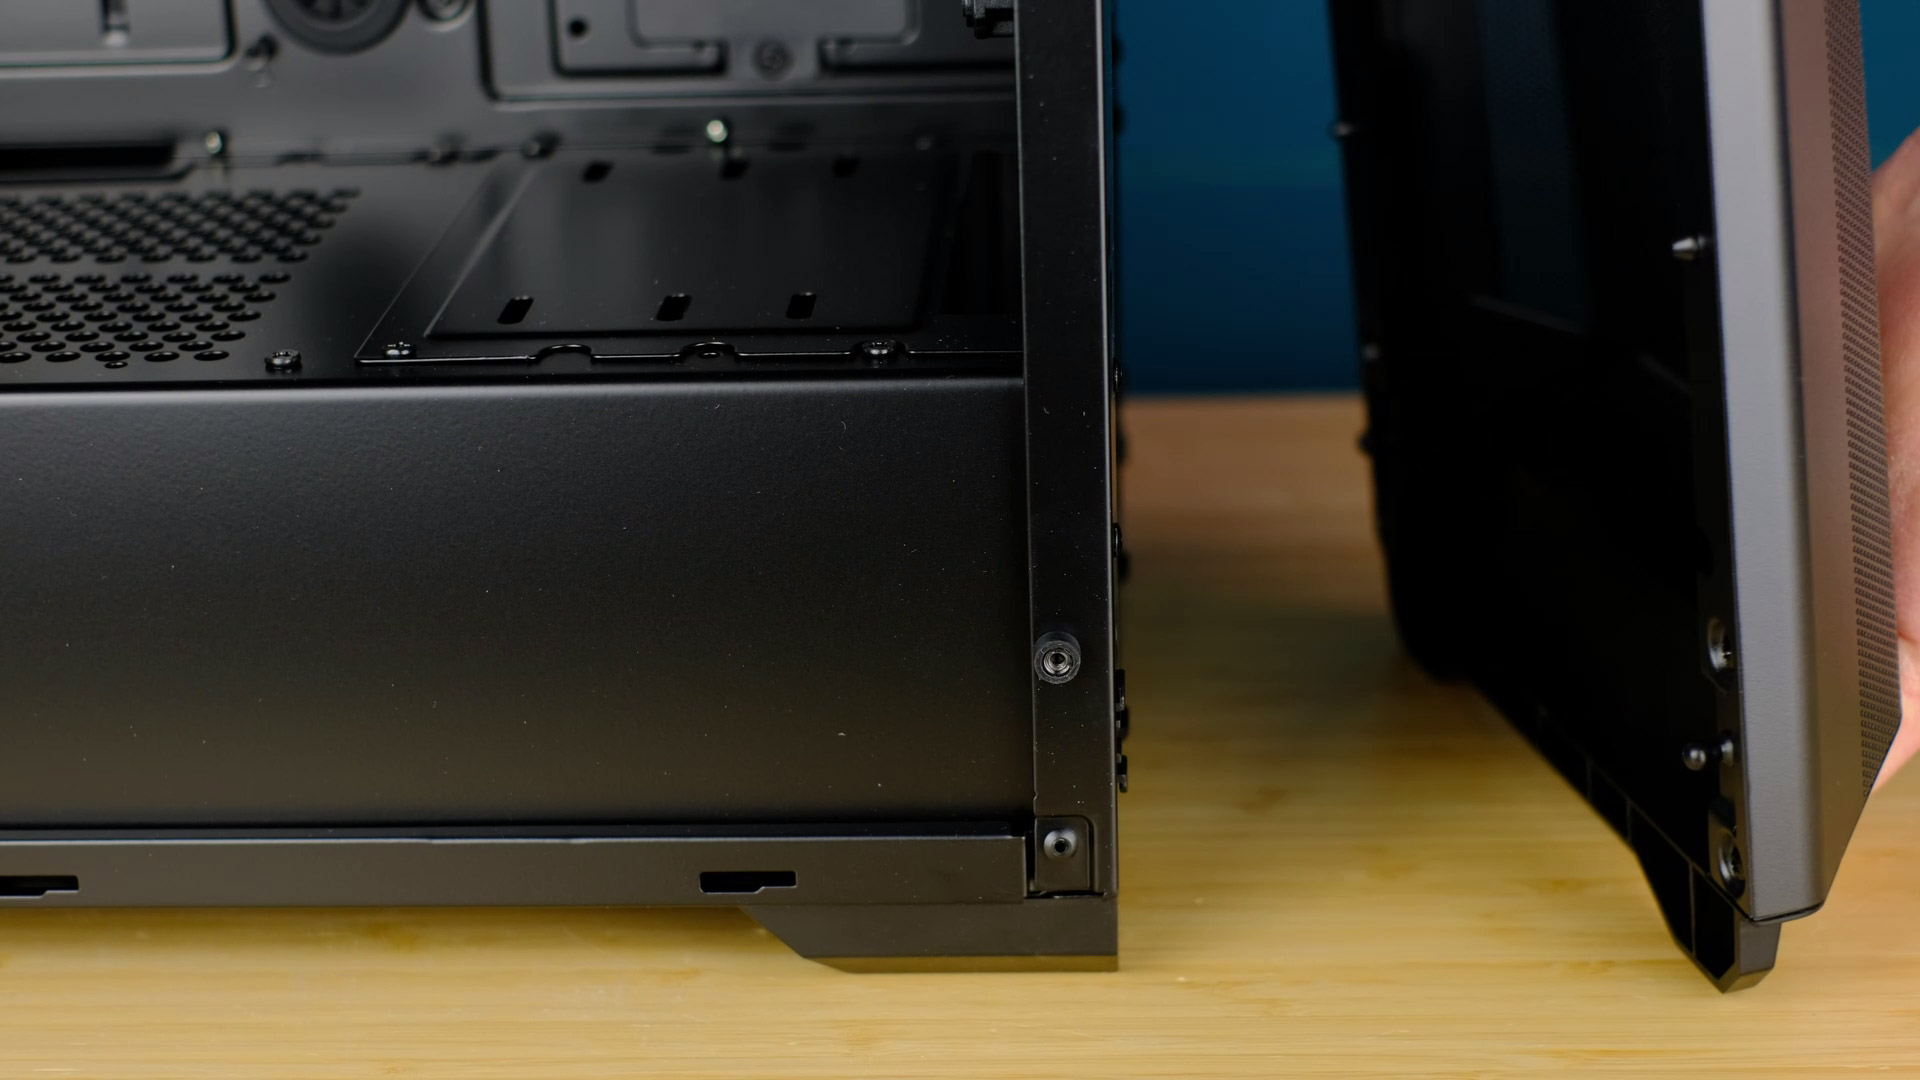
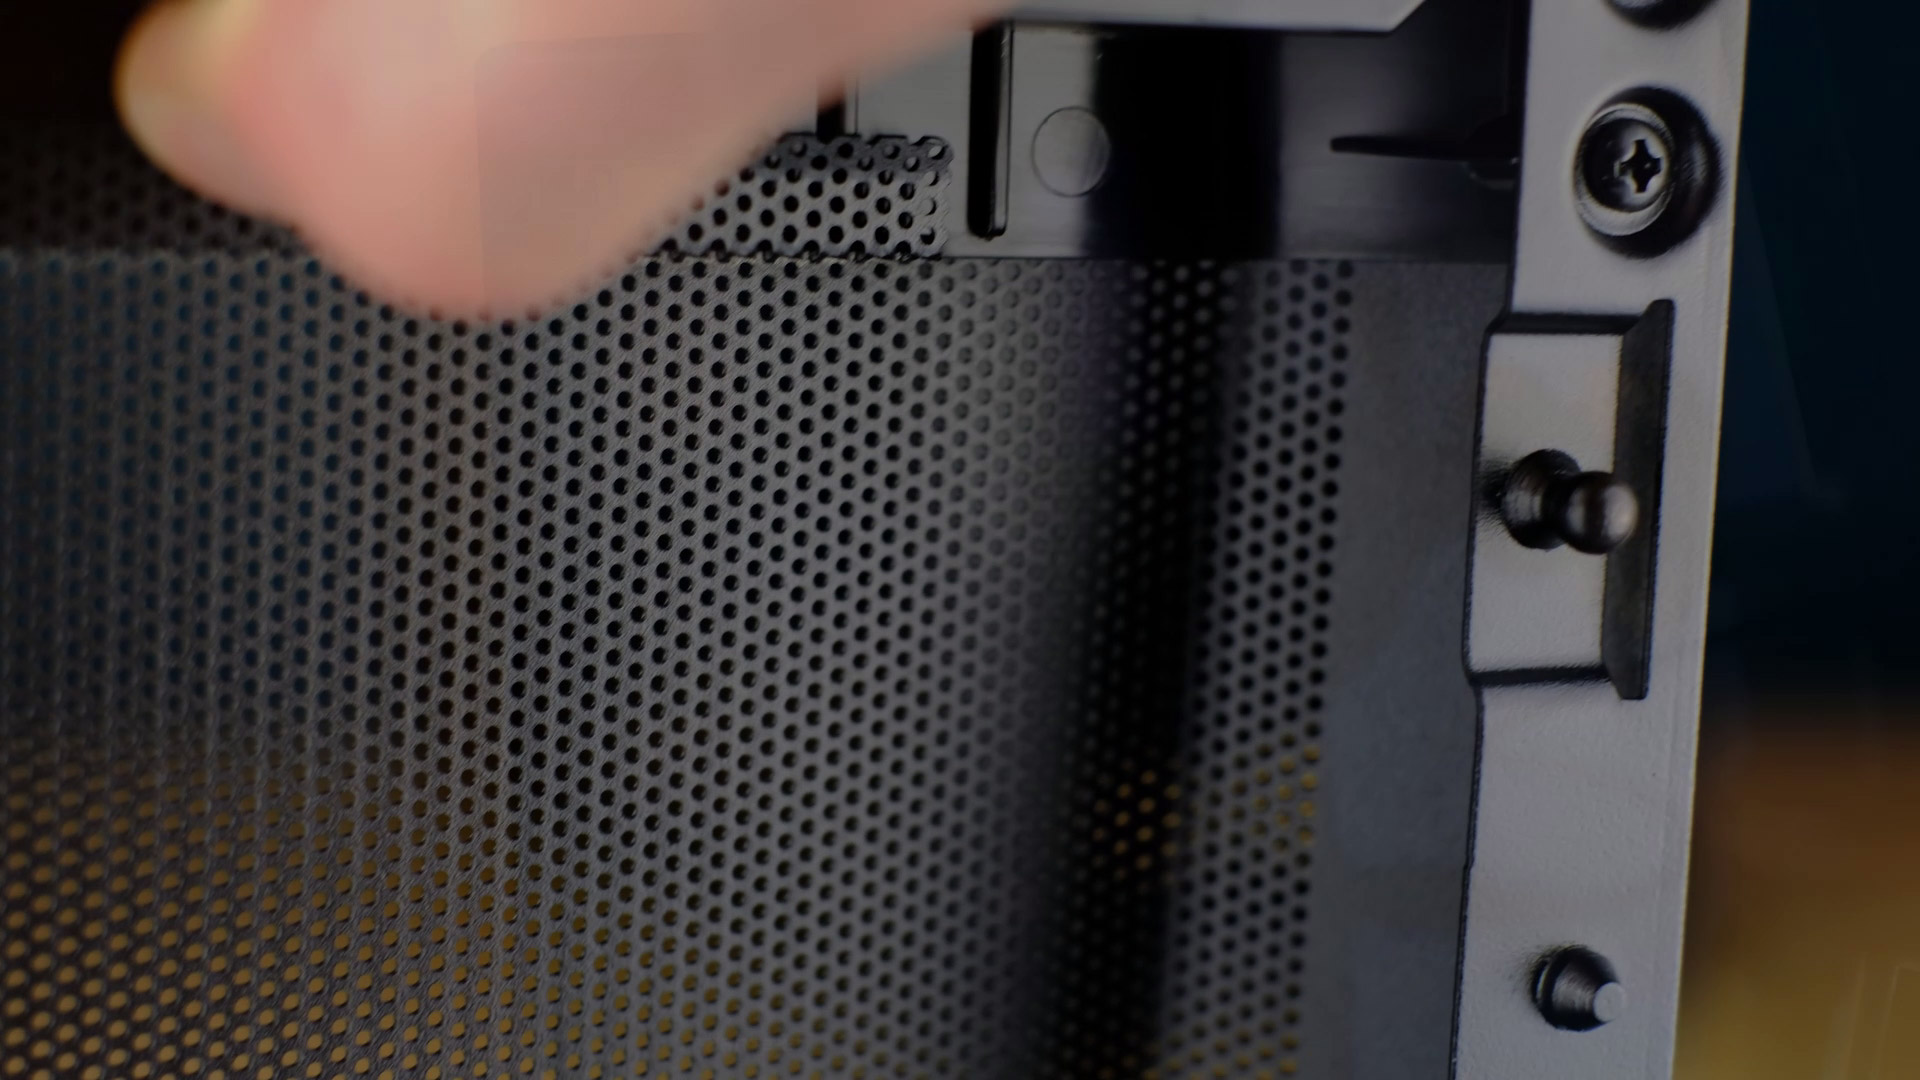
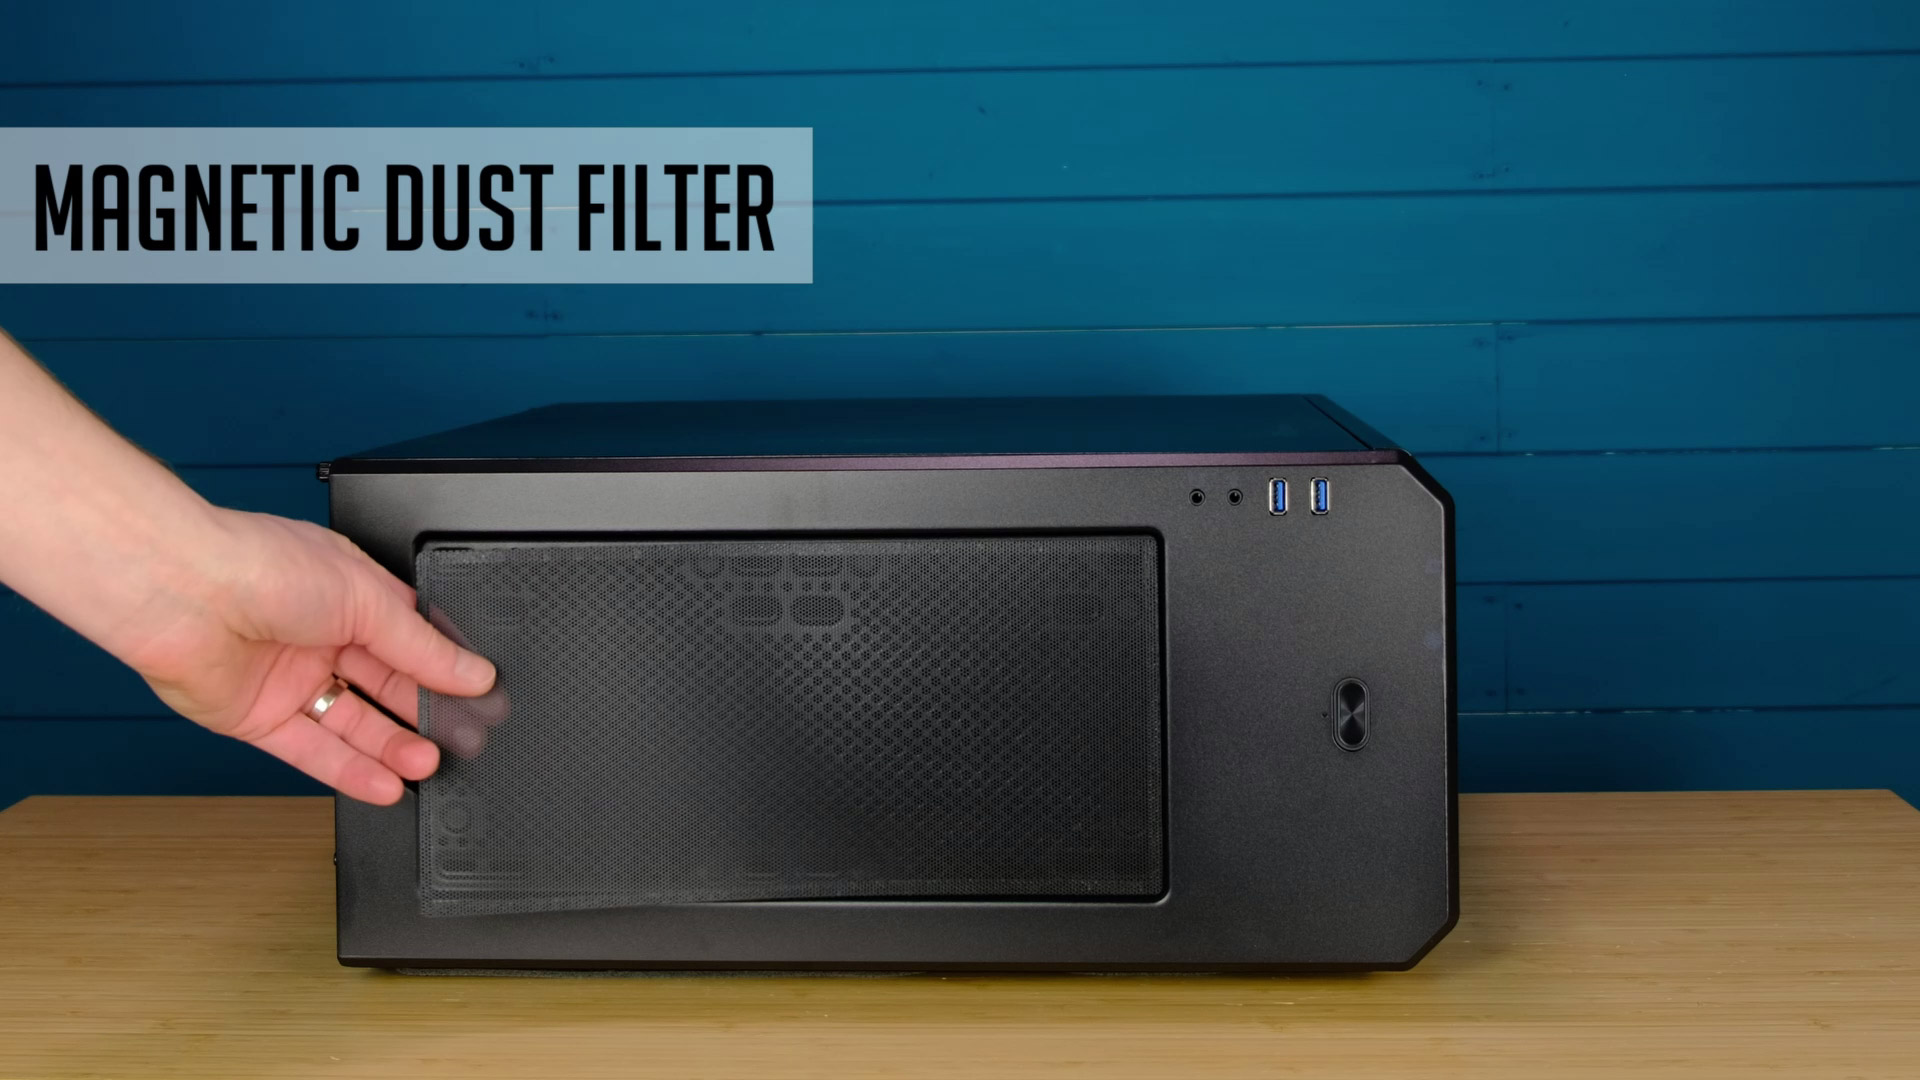
I’m really a big fan of Phanteks front panel quick-release implementation. Just place your hand below and the front panel will pop off very easily. So you have no probs removing or mounting a panel again.
Mesh should not restrict any airflow, but we will check the thermal test with a panel on and off later in this video.
Also, a panel acts sort of as a dust filter. Well, smaller particles will pass through, but it’s good enough having in mind you will get lots of fresh air.
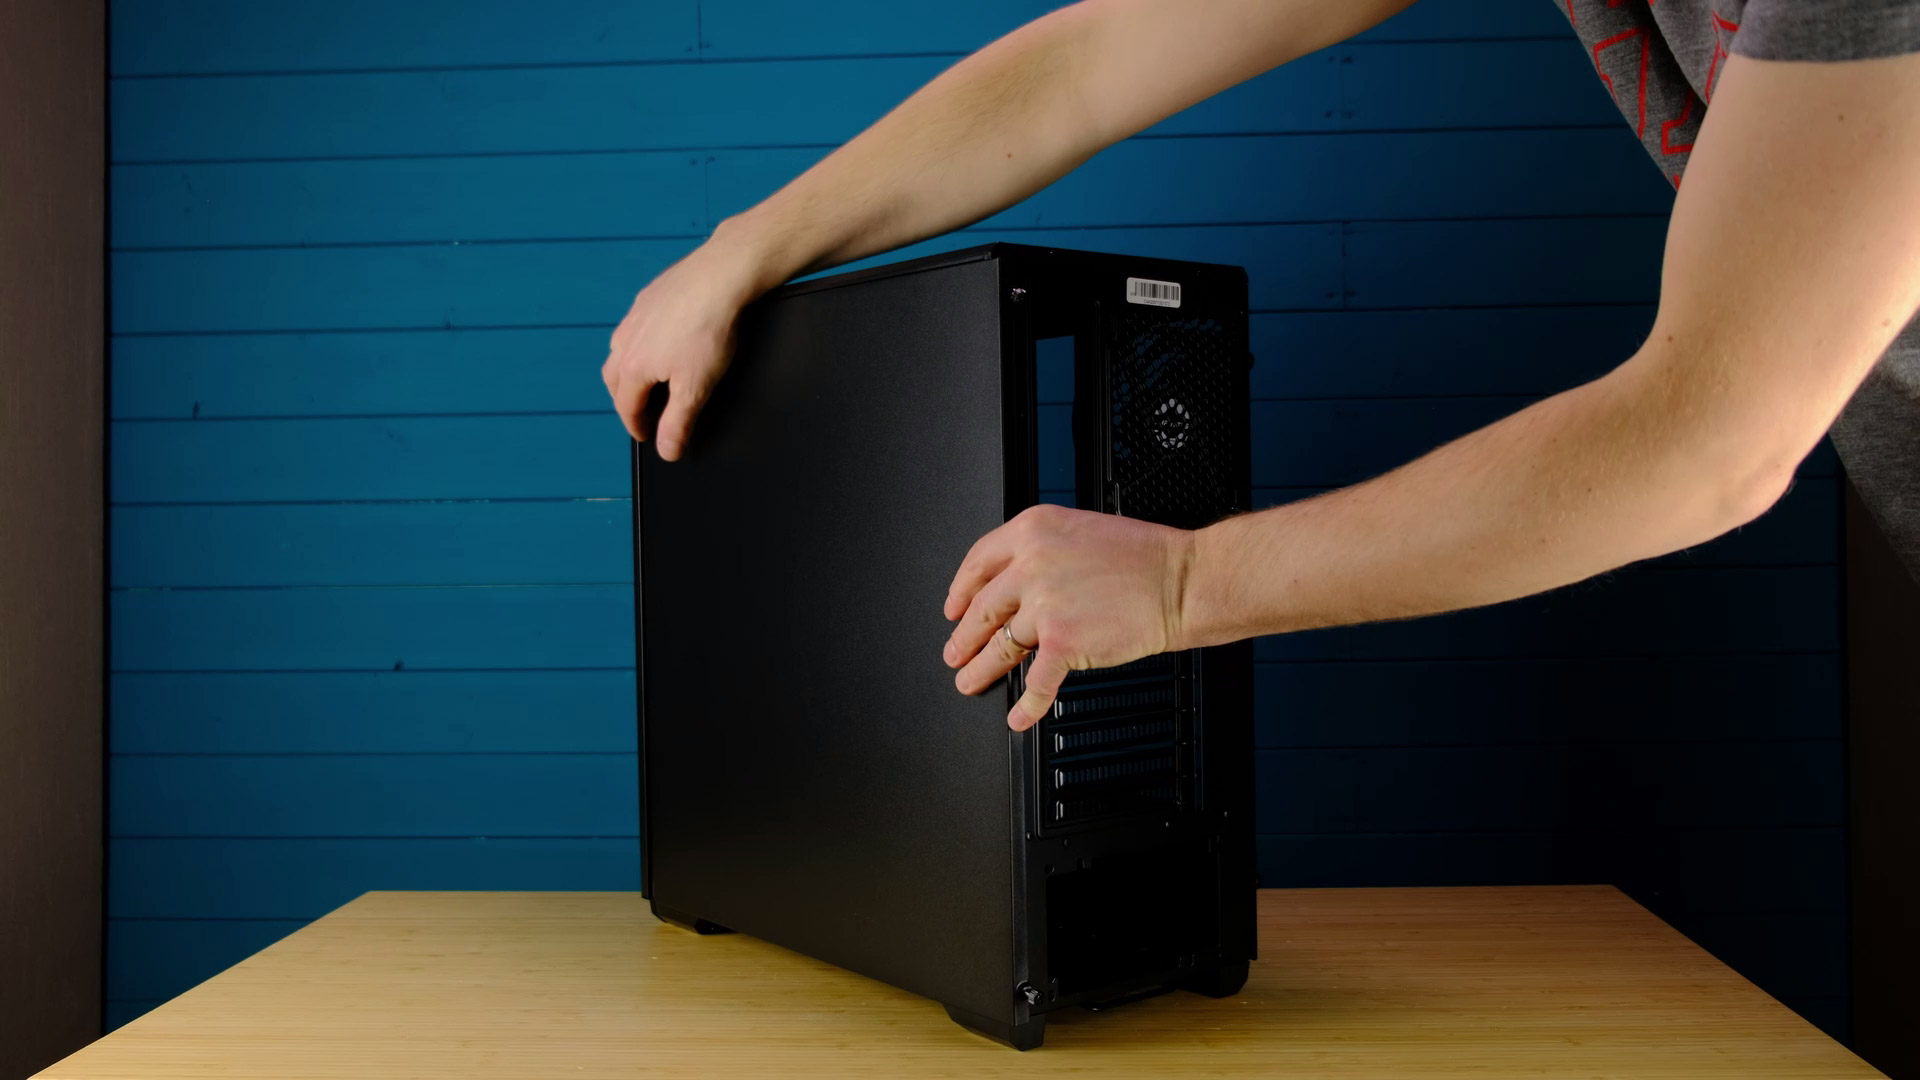
The other side panel is a standard one and is held by two captive thumbscrews so you do not have to worry about losing them.
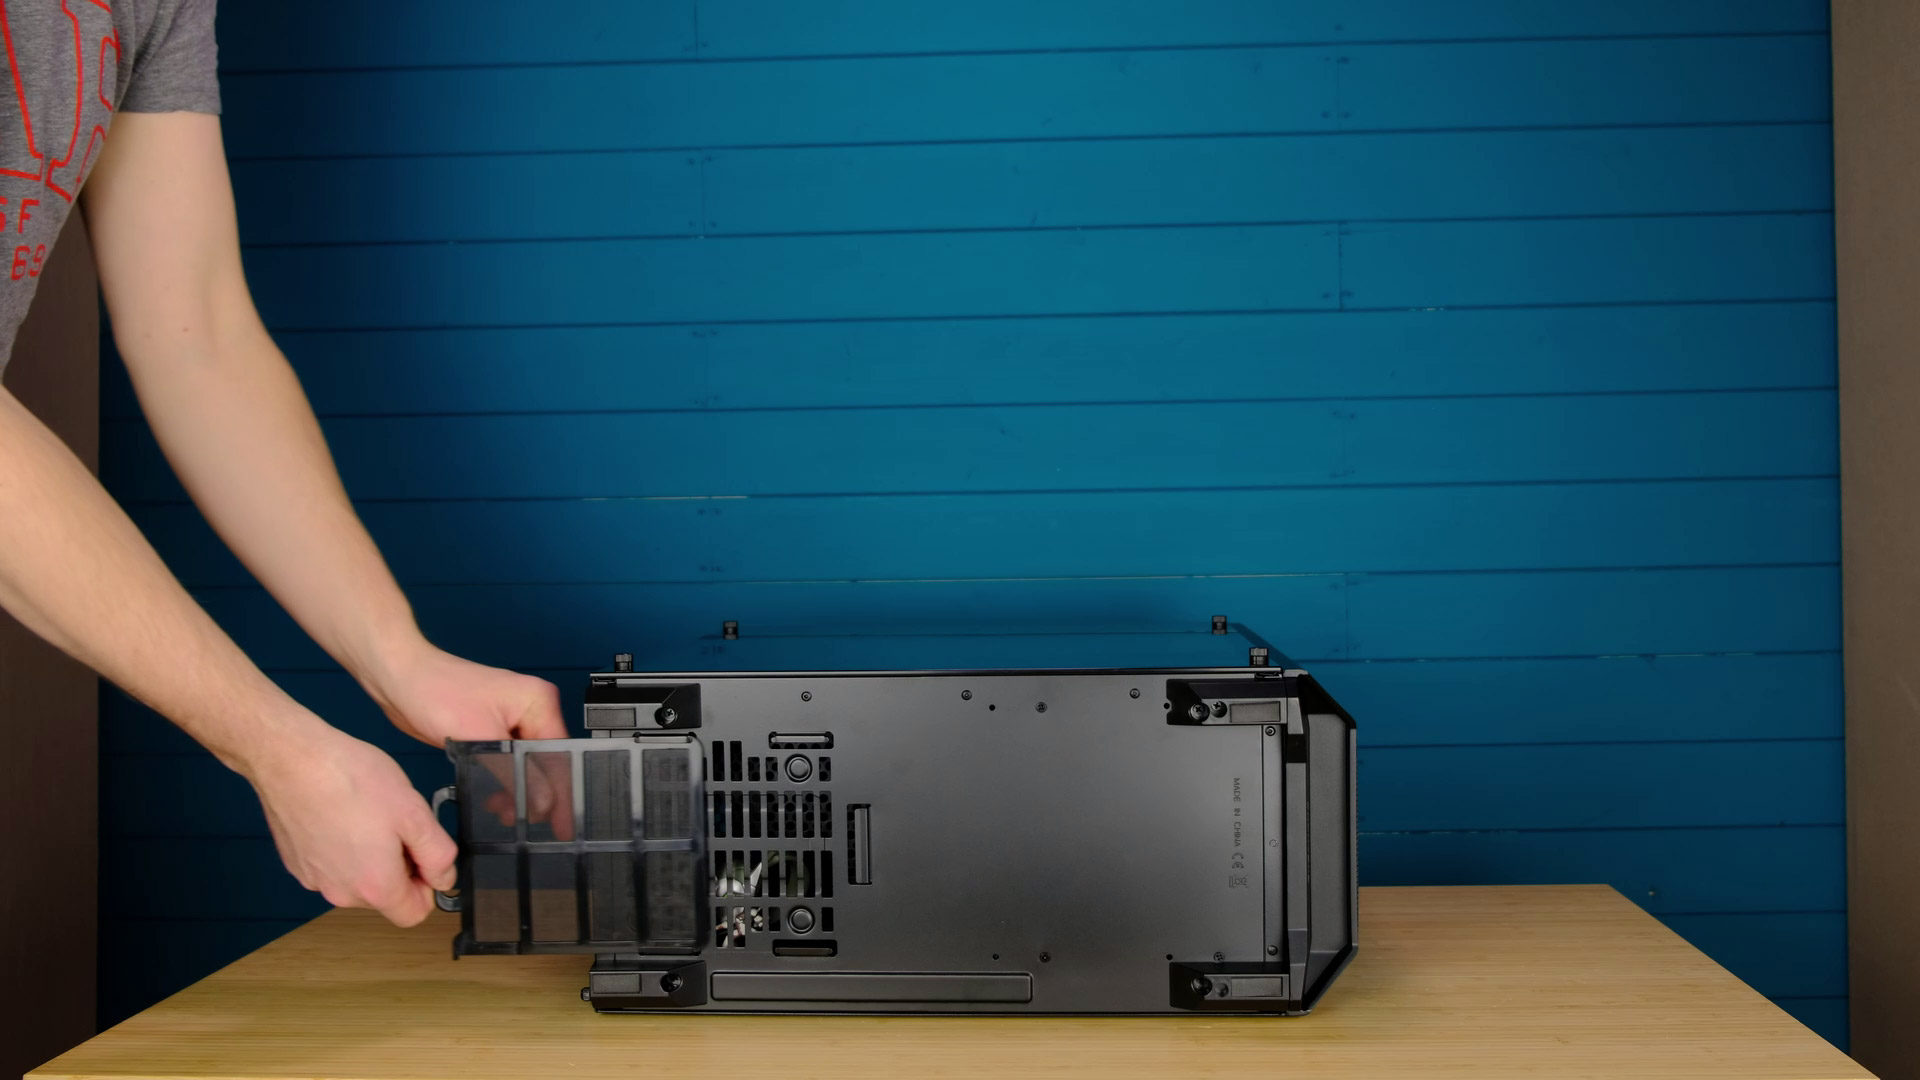
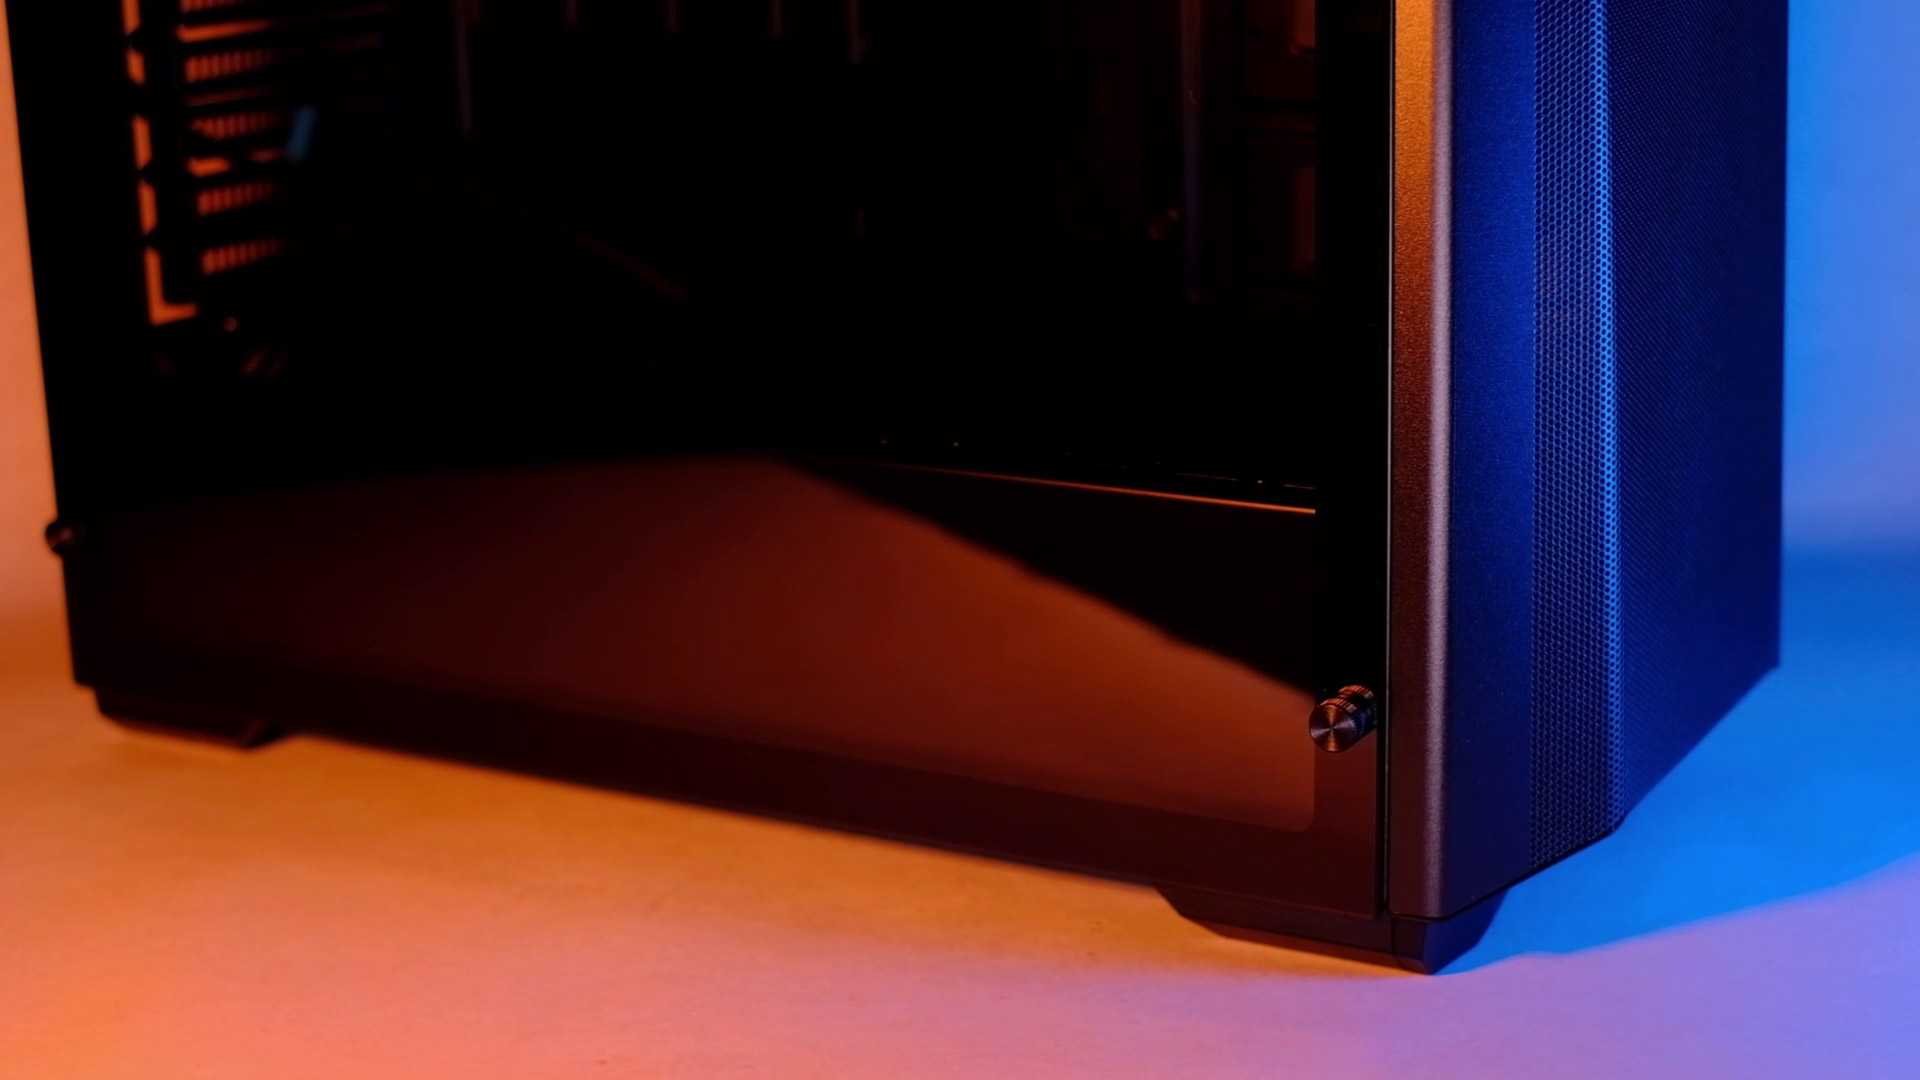
At the bottom, underneath a PSU, we have a dust filter. I like this bottom filter as it has some plastic housing so it’s quite easily removable and you will have no probs when cleaning.
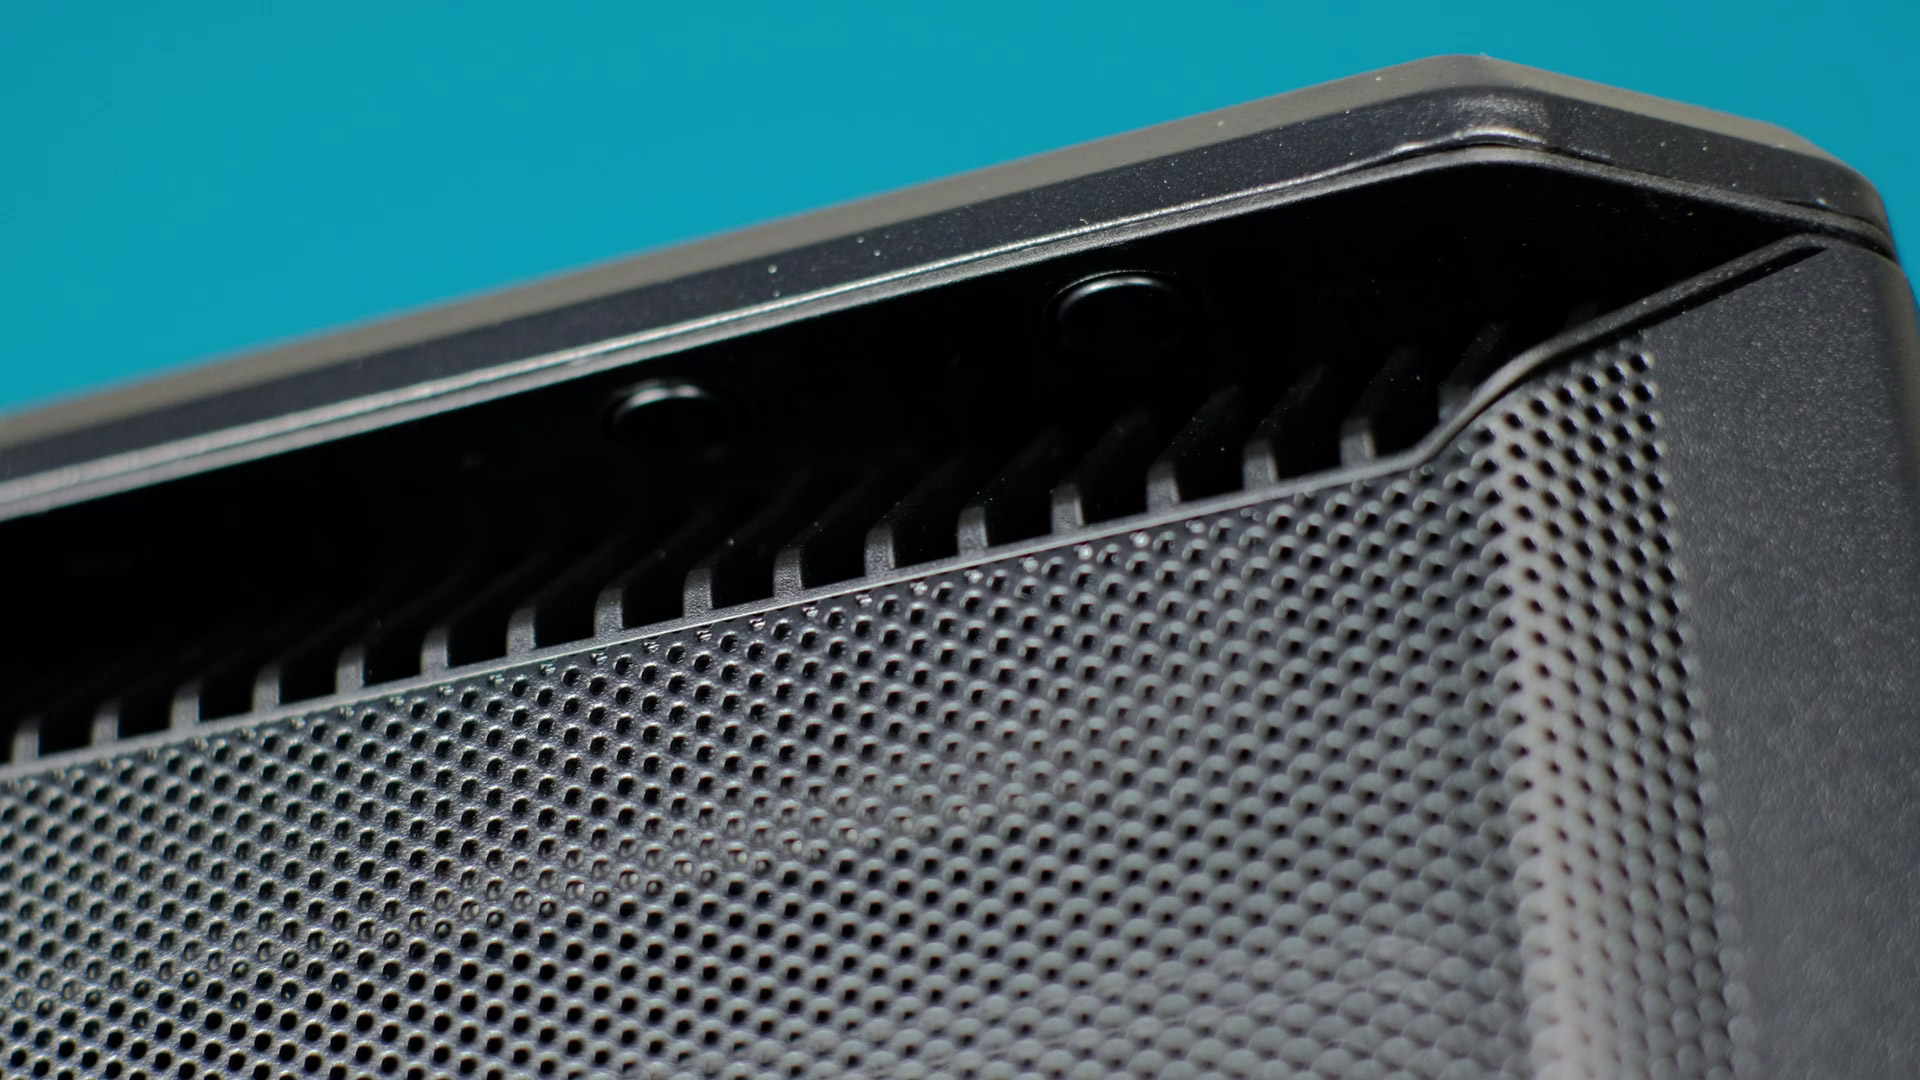
At the top, there is a magnetic dust filter, but most likely, it will be not so useful as the top fans should be mounted as exhaust ones.
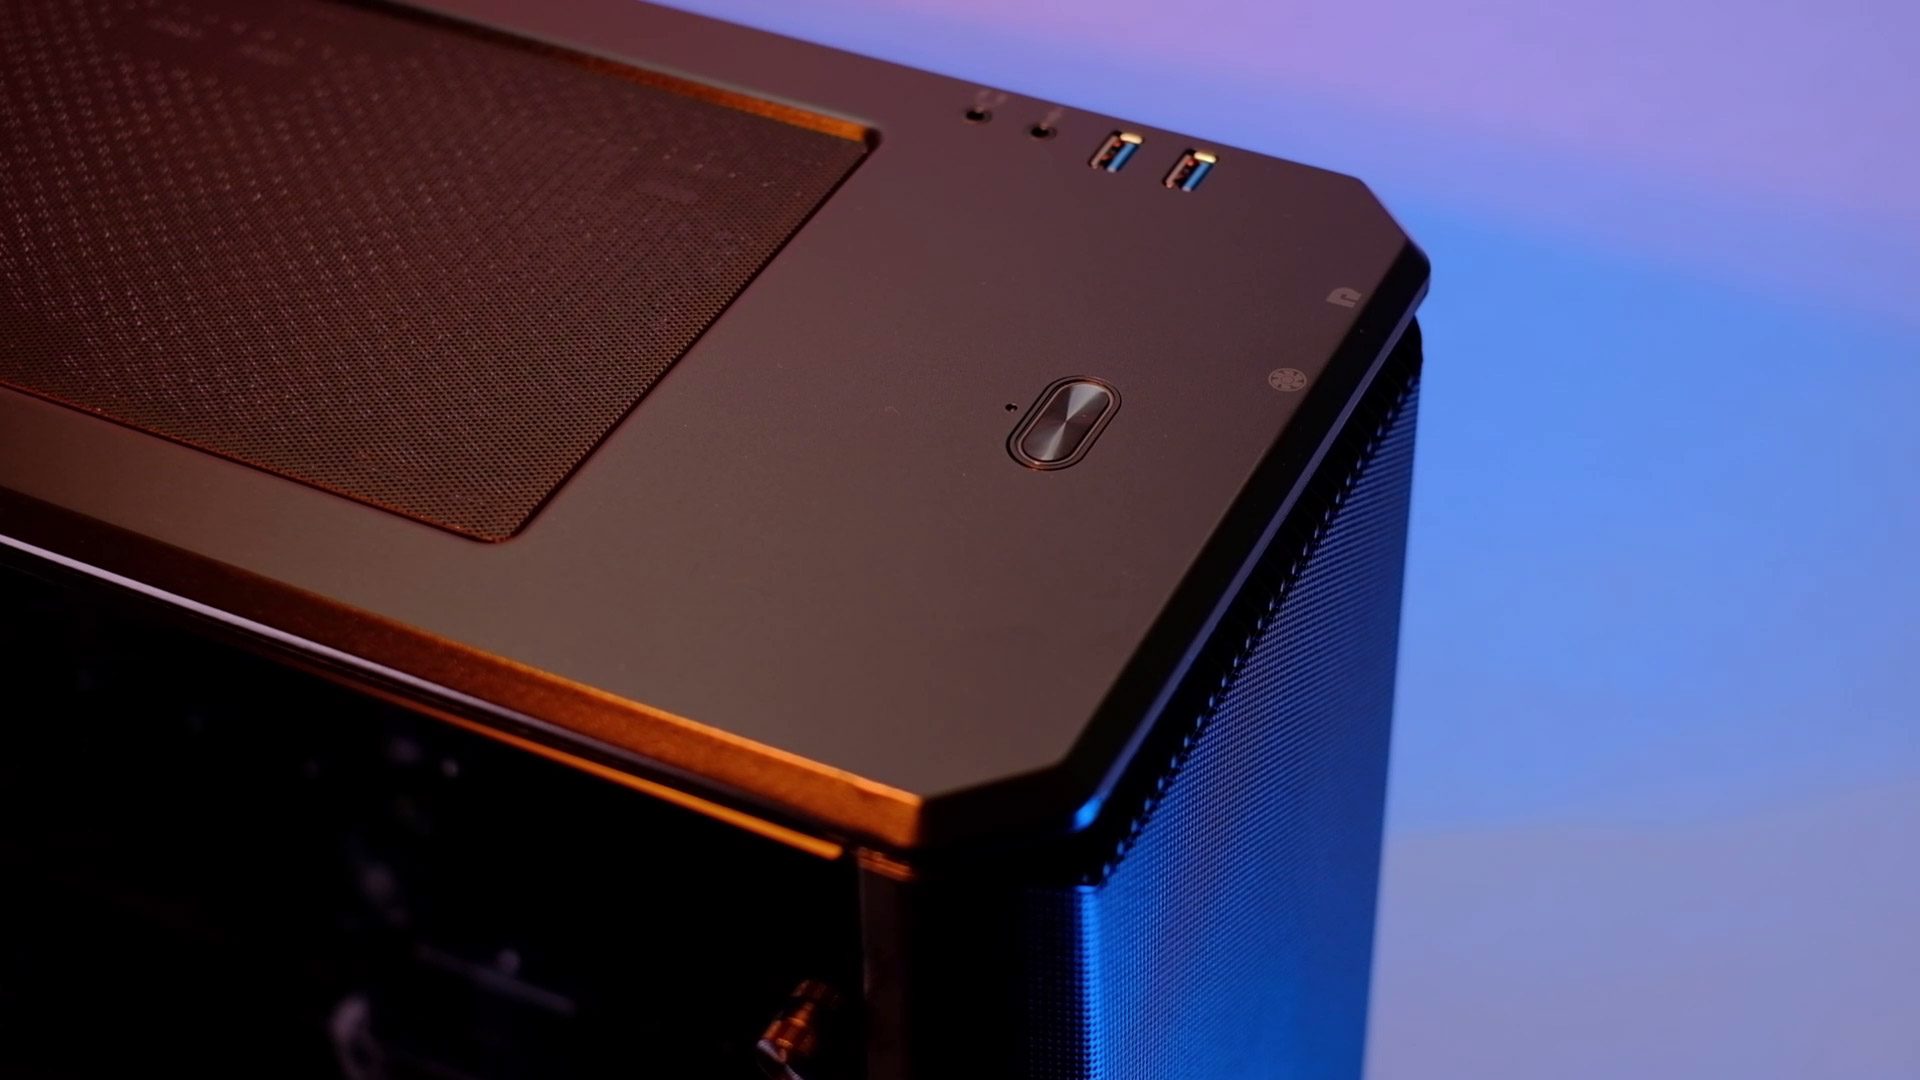
IO Panel
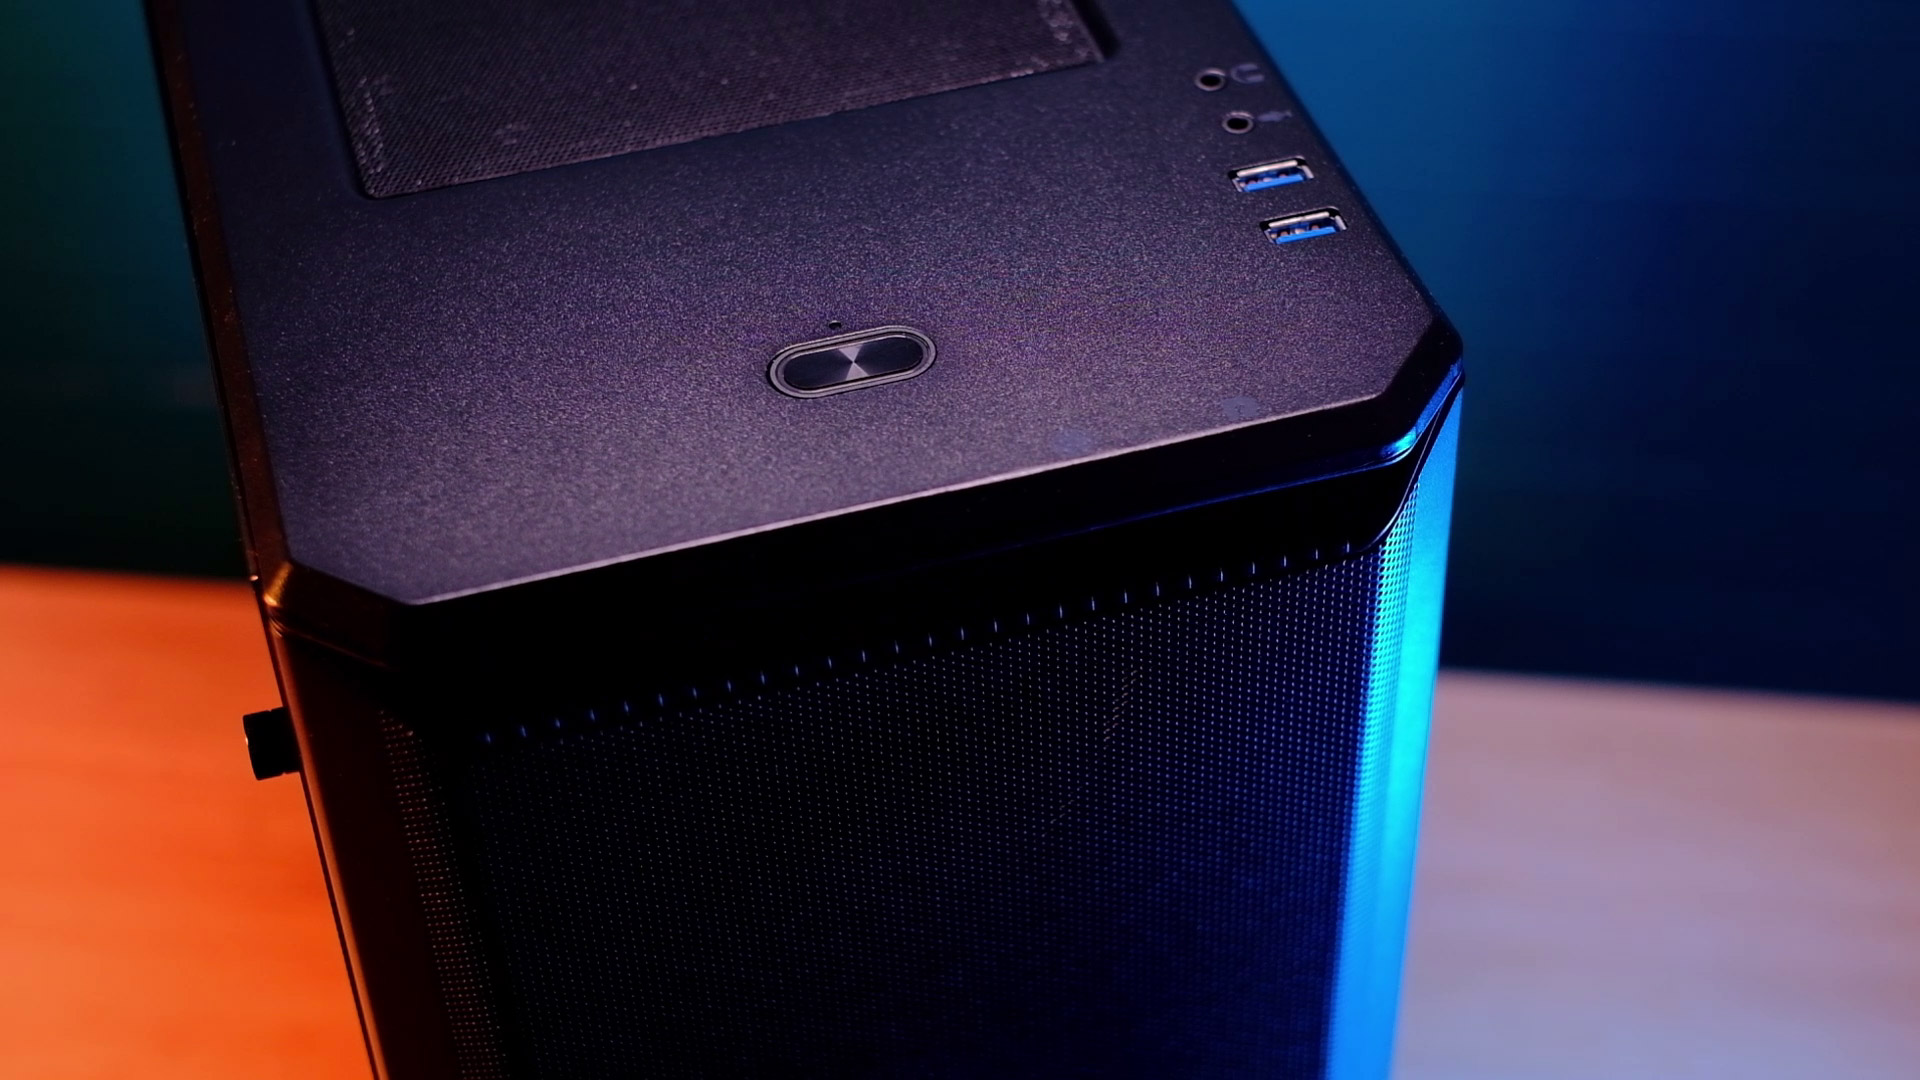
Let’s have a close look at the front IO. We have an audio and mic jack, two USB 3.0 ports, and a power button. Two more buttons are hiding under this edge – a reset button and the other one is for controlling fan speed in case you are using an integrated fan hub.
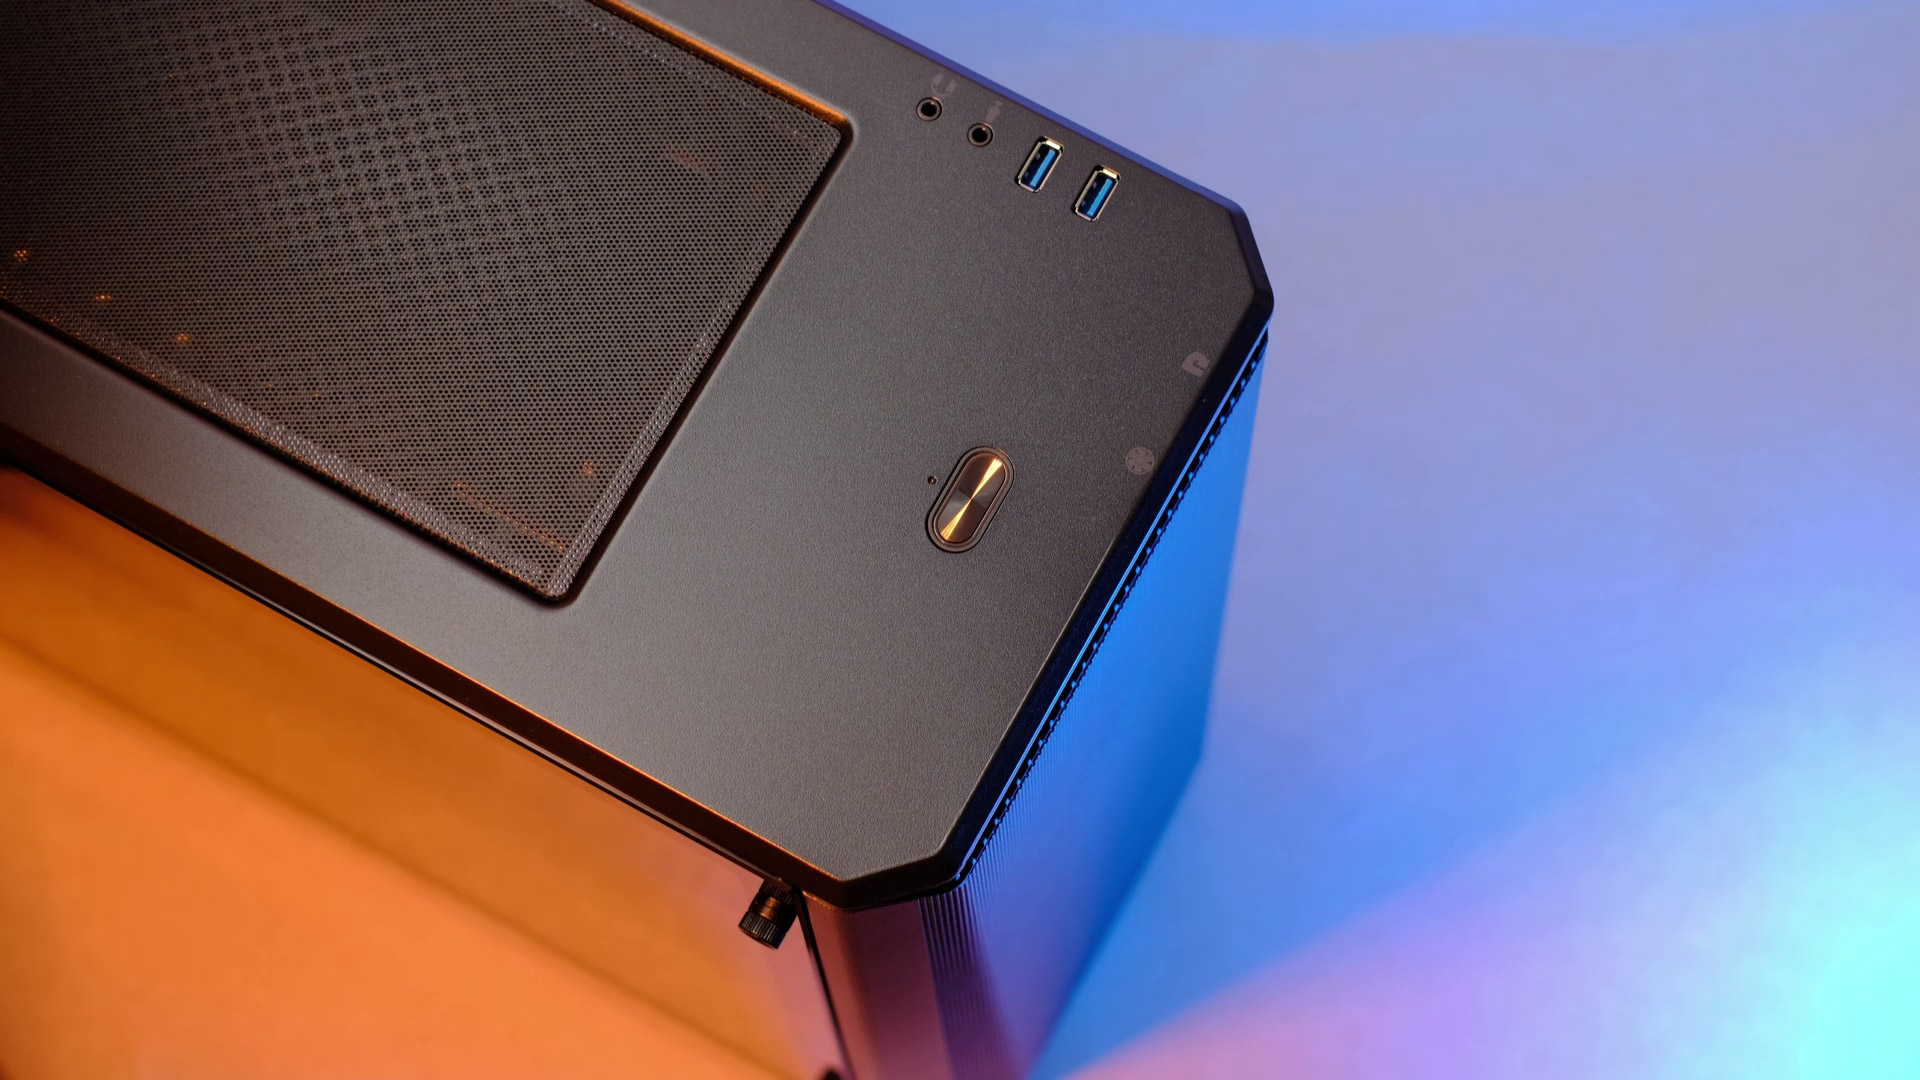

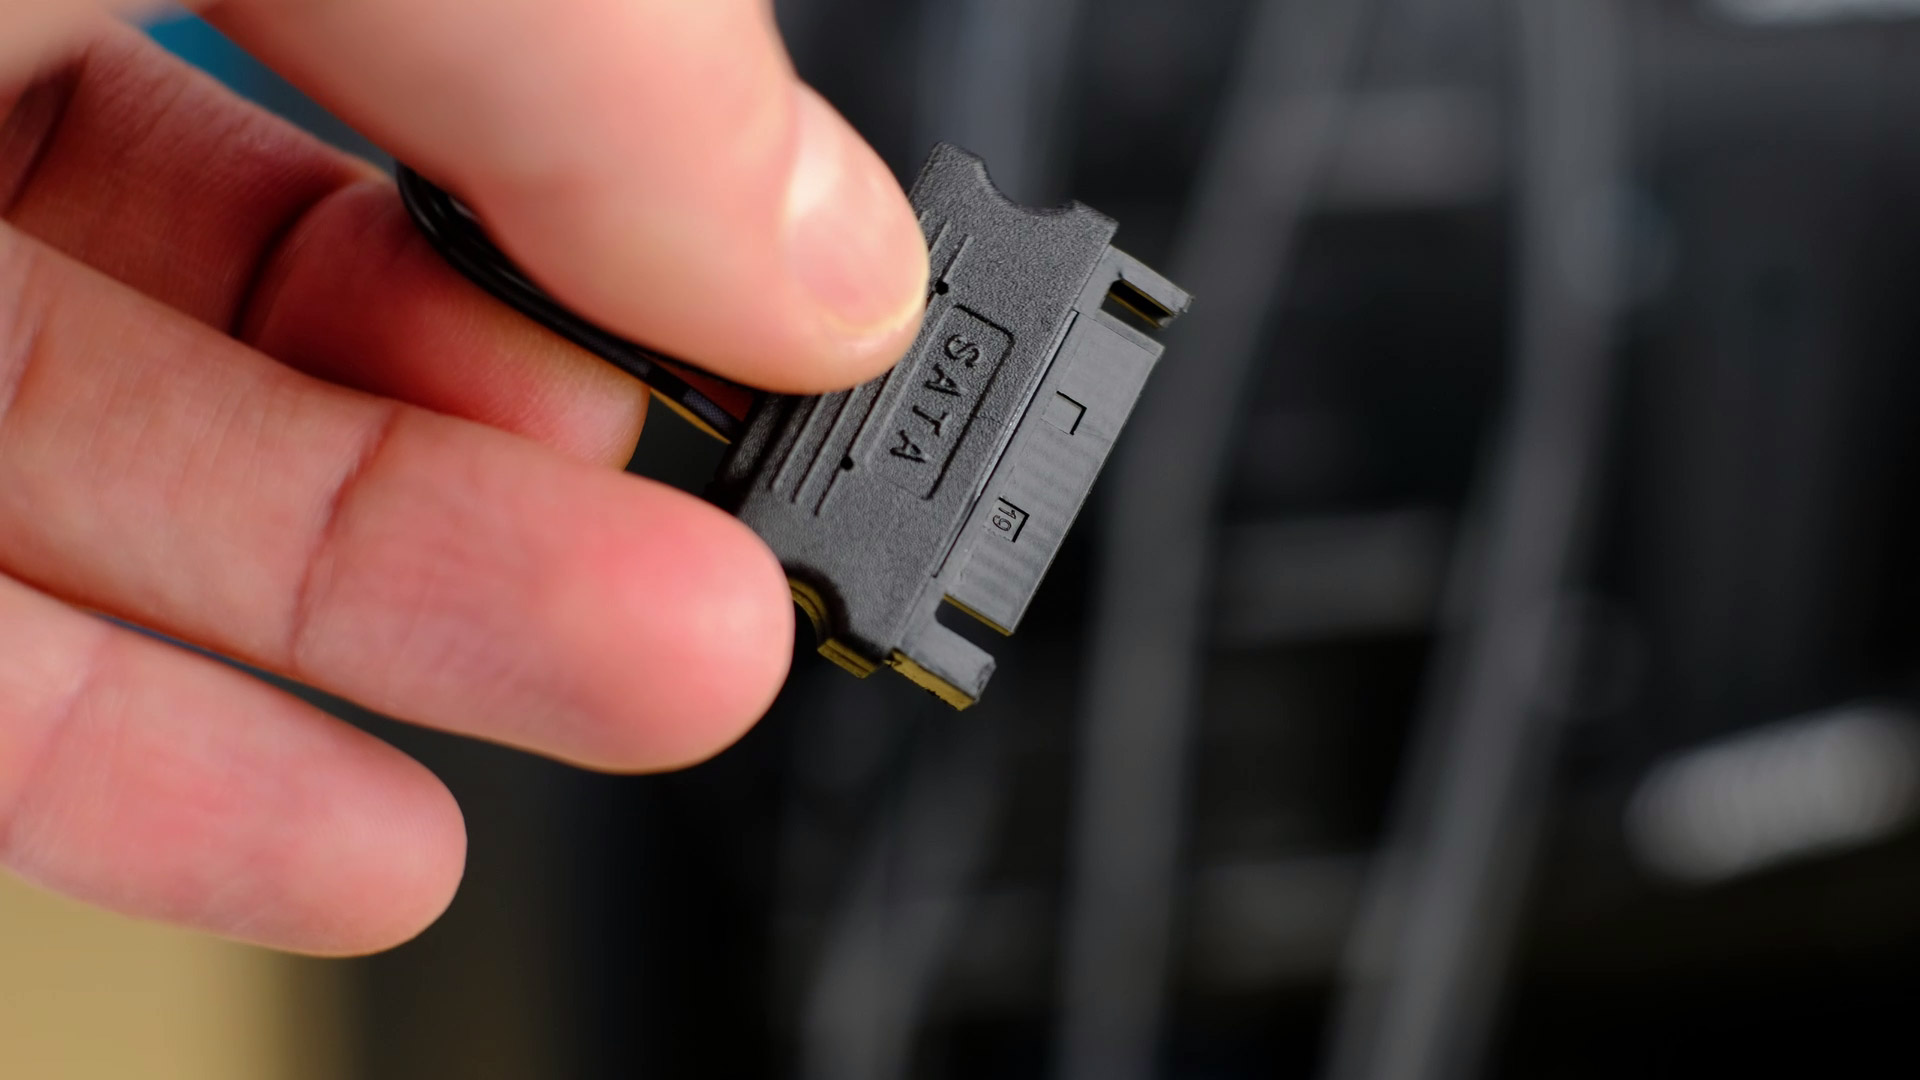
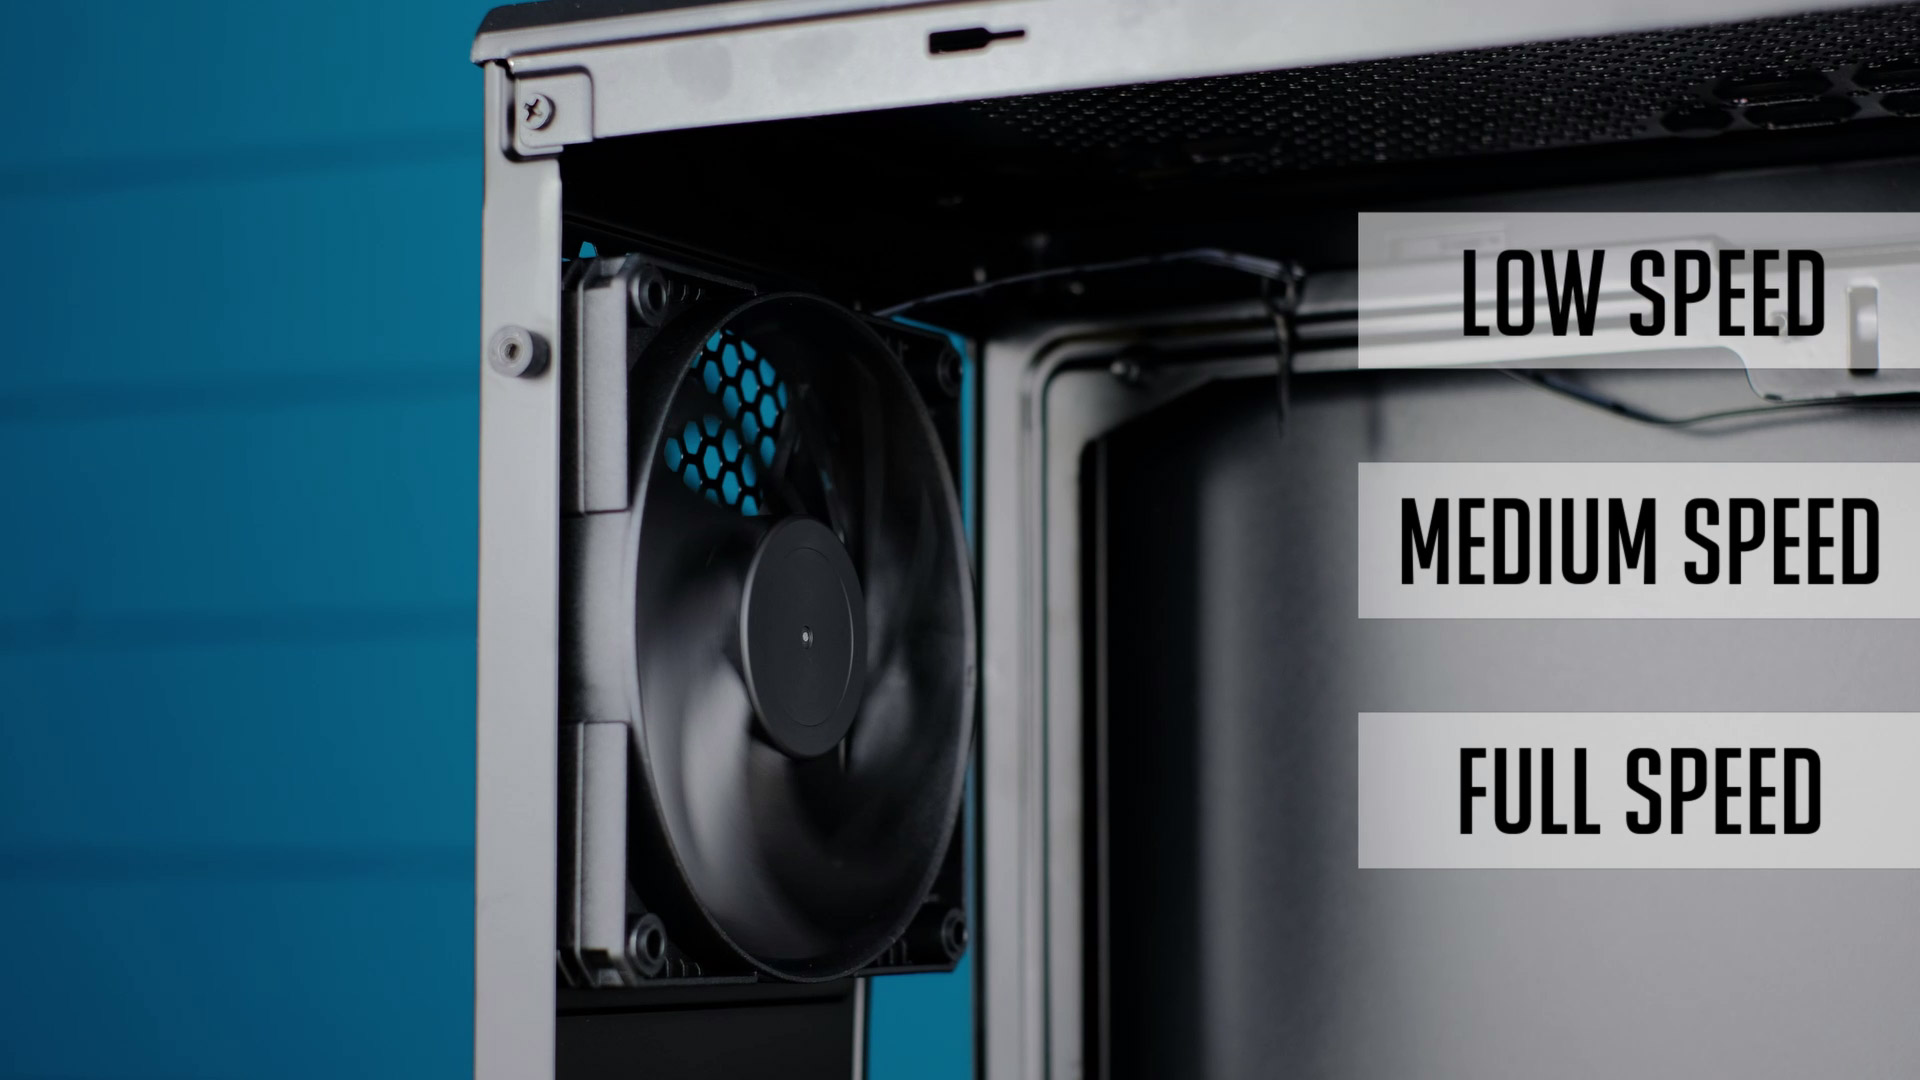
And so a fan hub supports up to 3 fans, probably more if you have an additional splitter. Also, you will need to connect a SATA power cable, and using this button, you will be able to switch between three different fan speeds – low, medium, or full speed. I’ve tested all of these speeds in a thermal test so you will be able to see a difference if any later on.
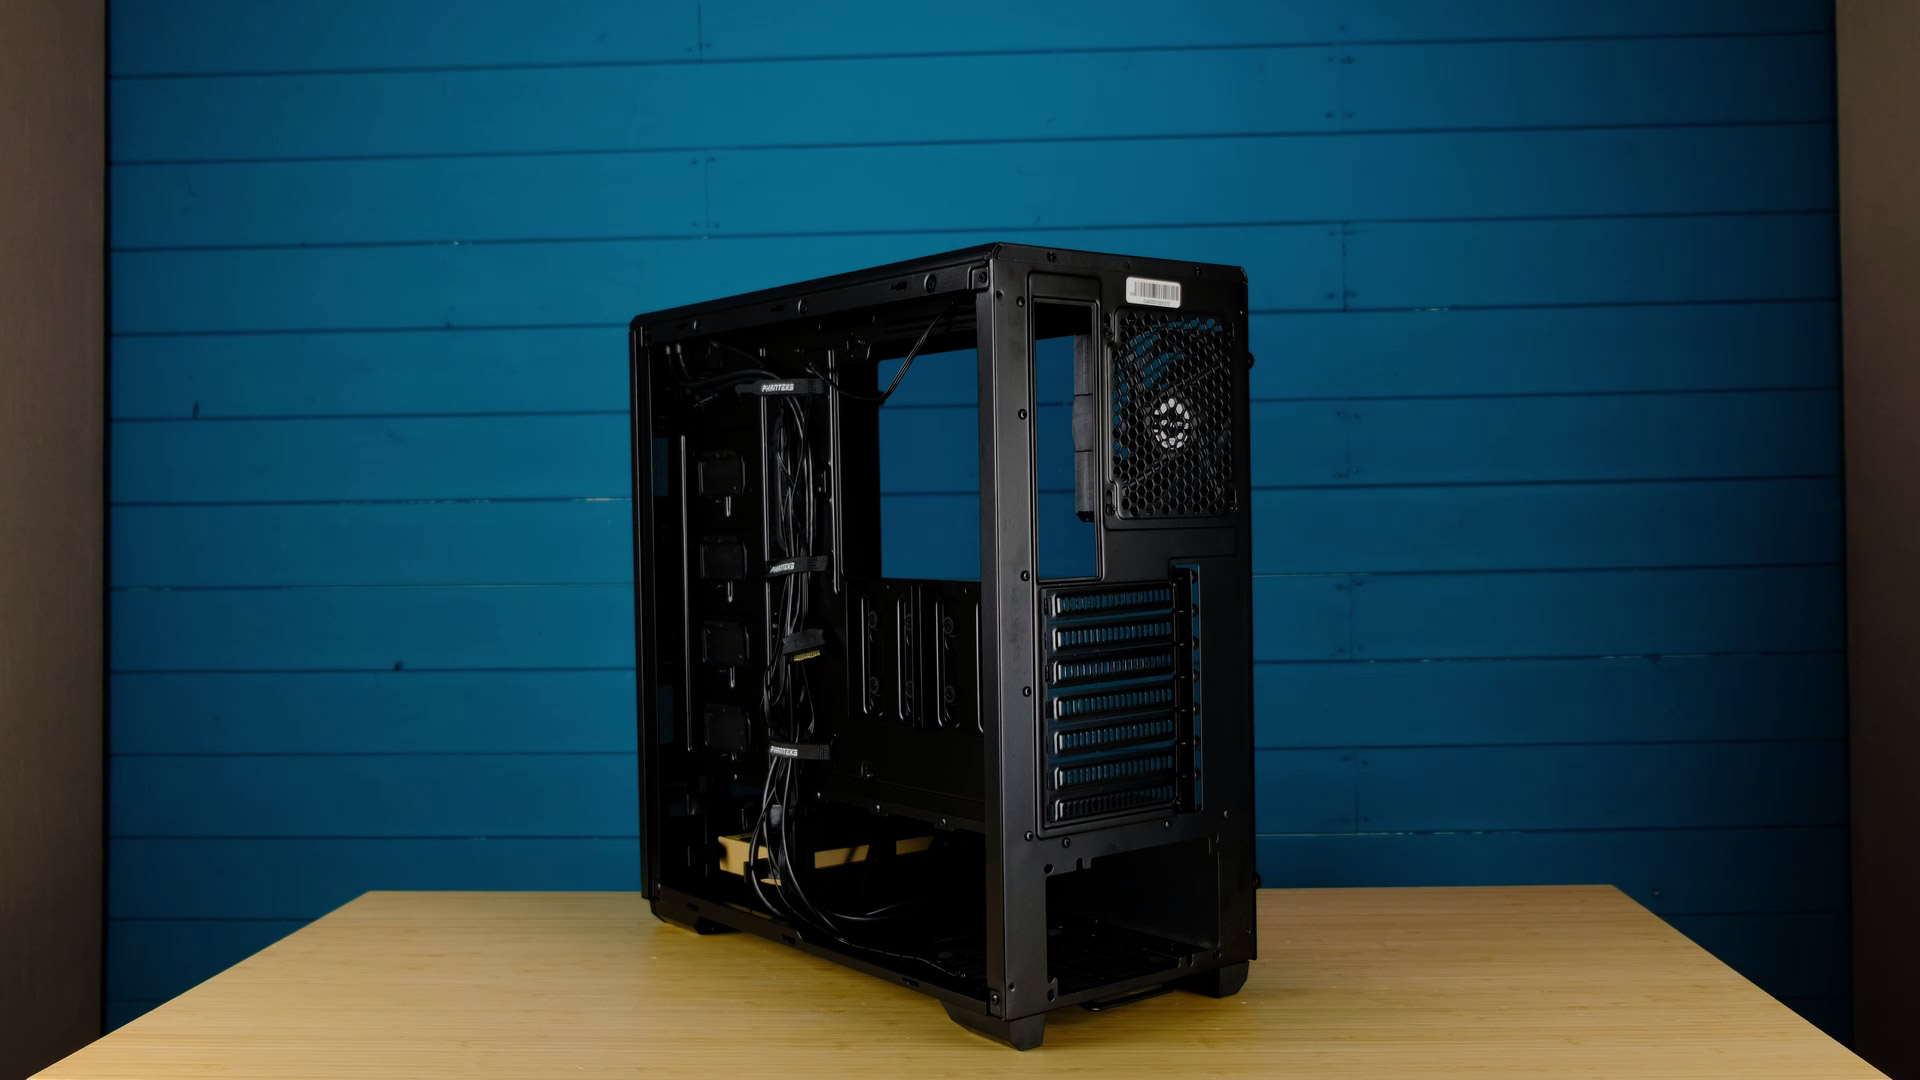
Inside a PC Case
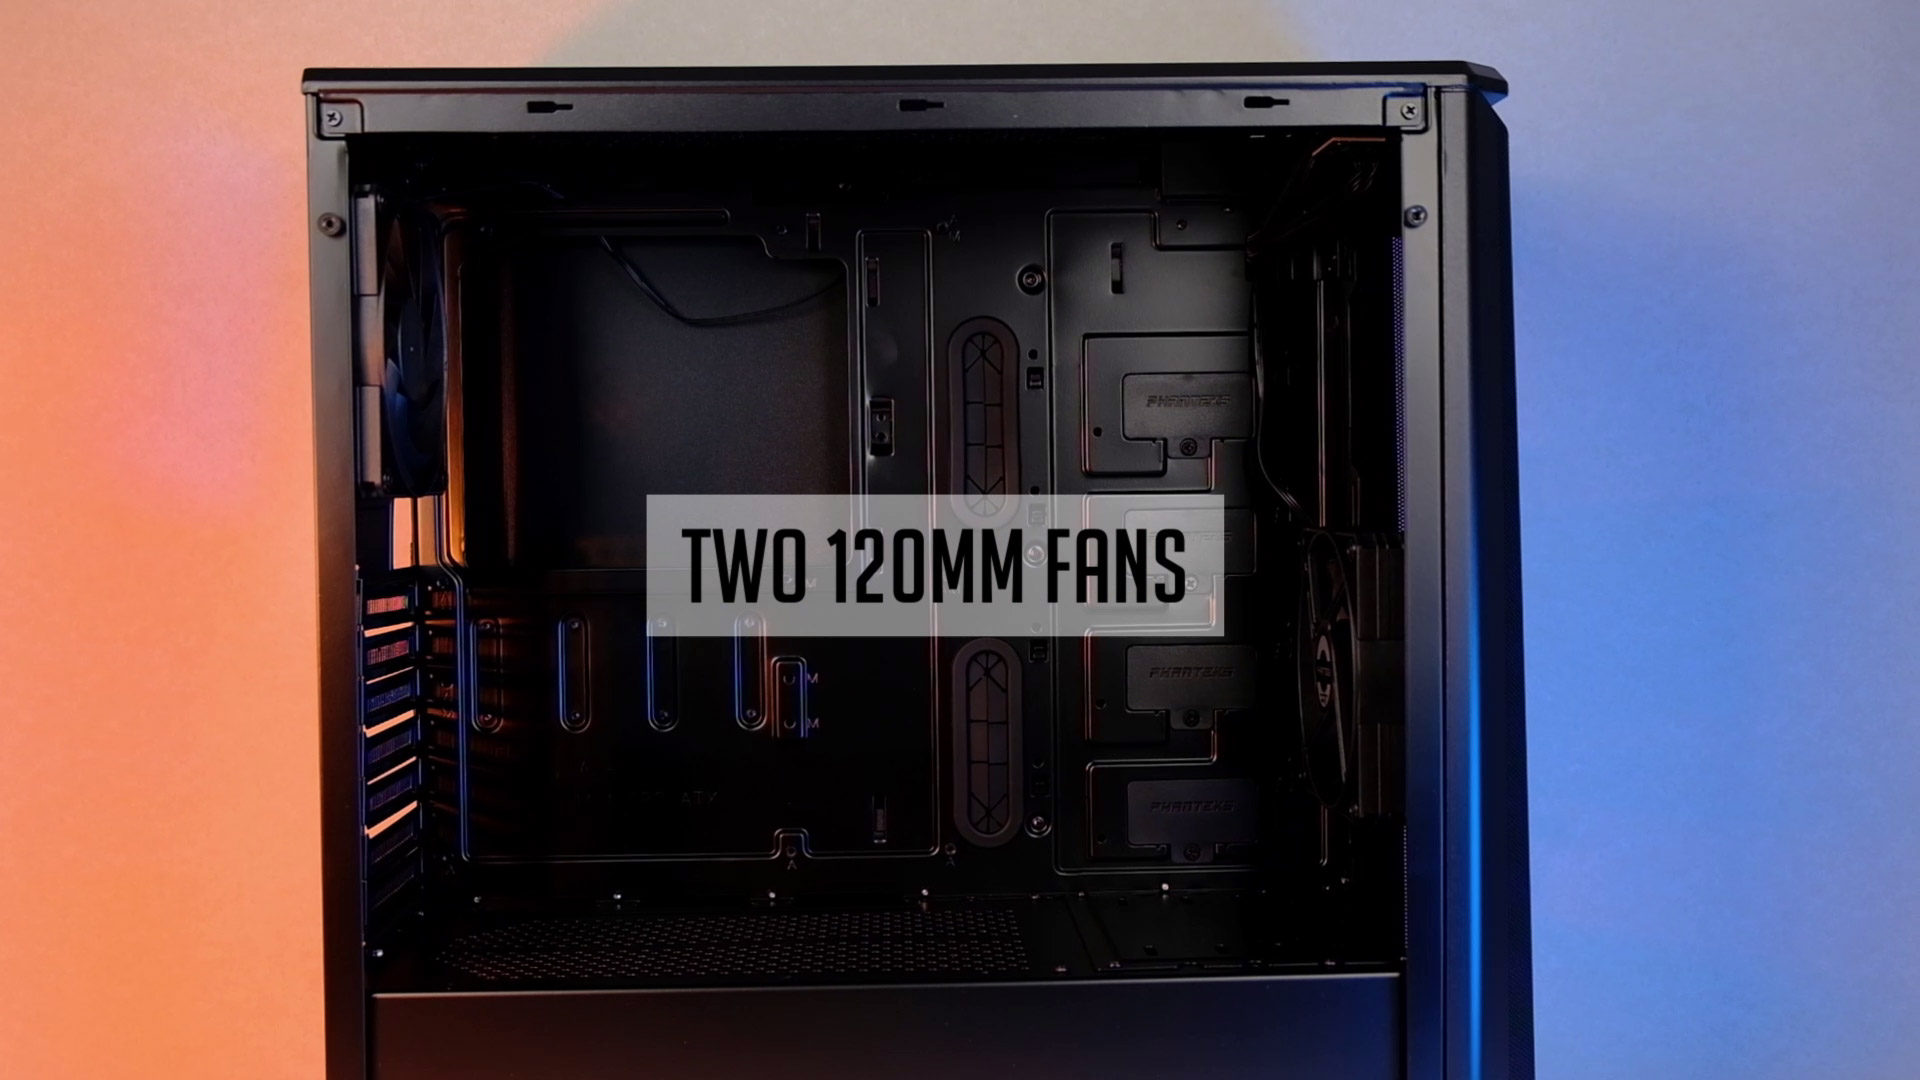
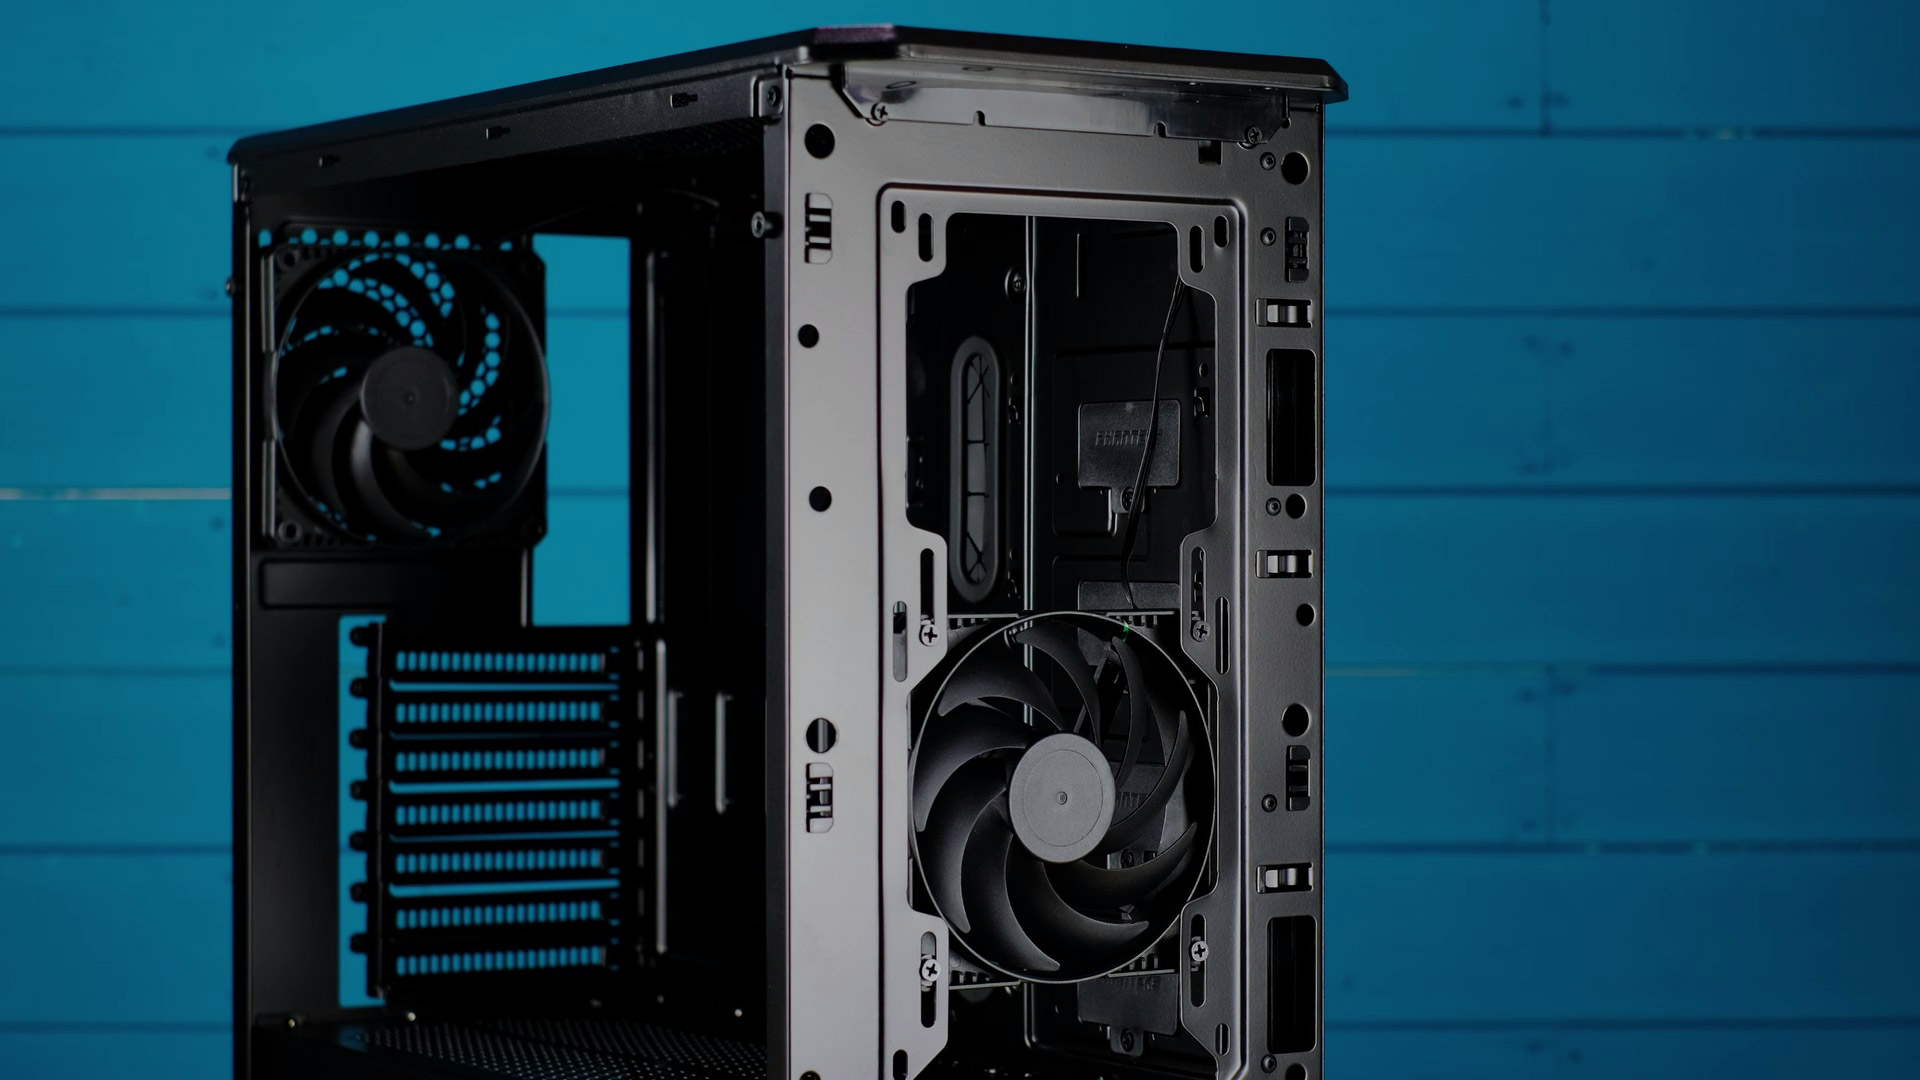
Let’s have a look inside. Eclipse P400A comes with two pre-installed 120mm fans – one is mounted at the front middle section as an intake and the other one at the back as an exhaust. So I would say it’s quite an OK out-of-the-box fan configuration.
There are some cable management cutouts at the top, bottom and the ones in the midsection are covered with rubber grommets. And on the other side, we have a few hook and loop straps that make a sort of a cable routing channel and some zip tie points.
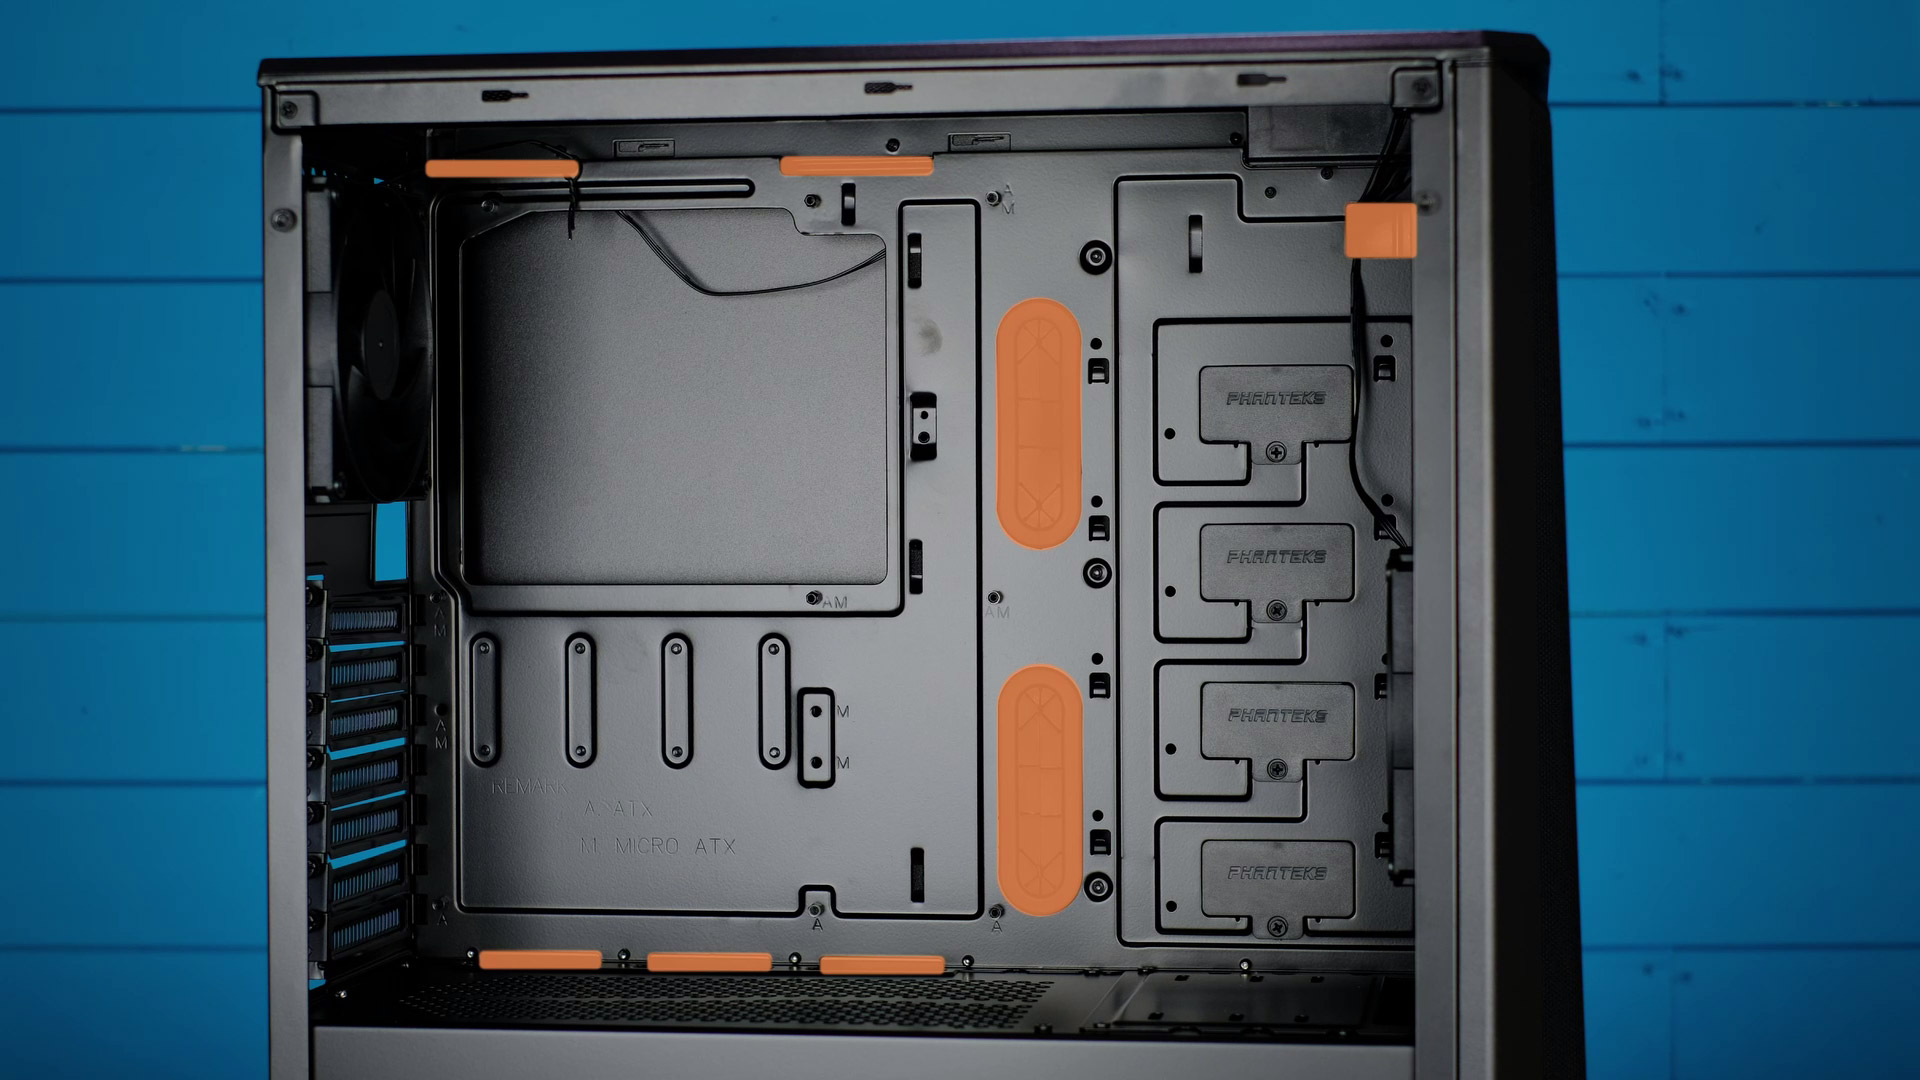

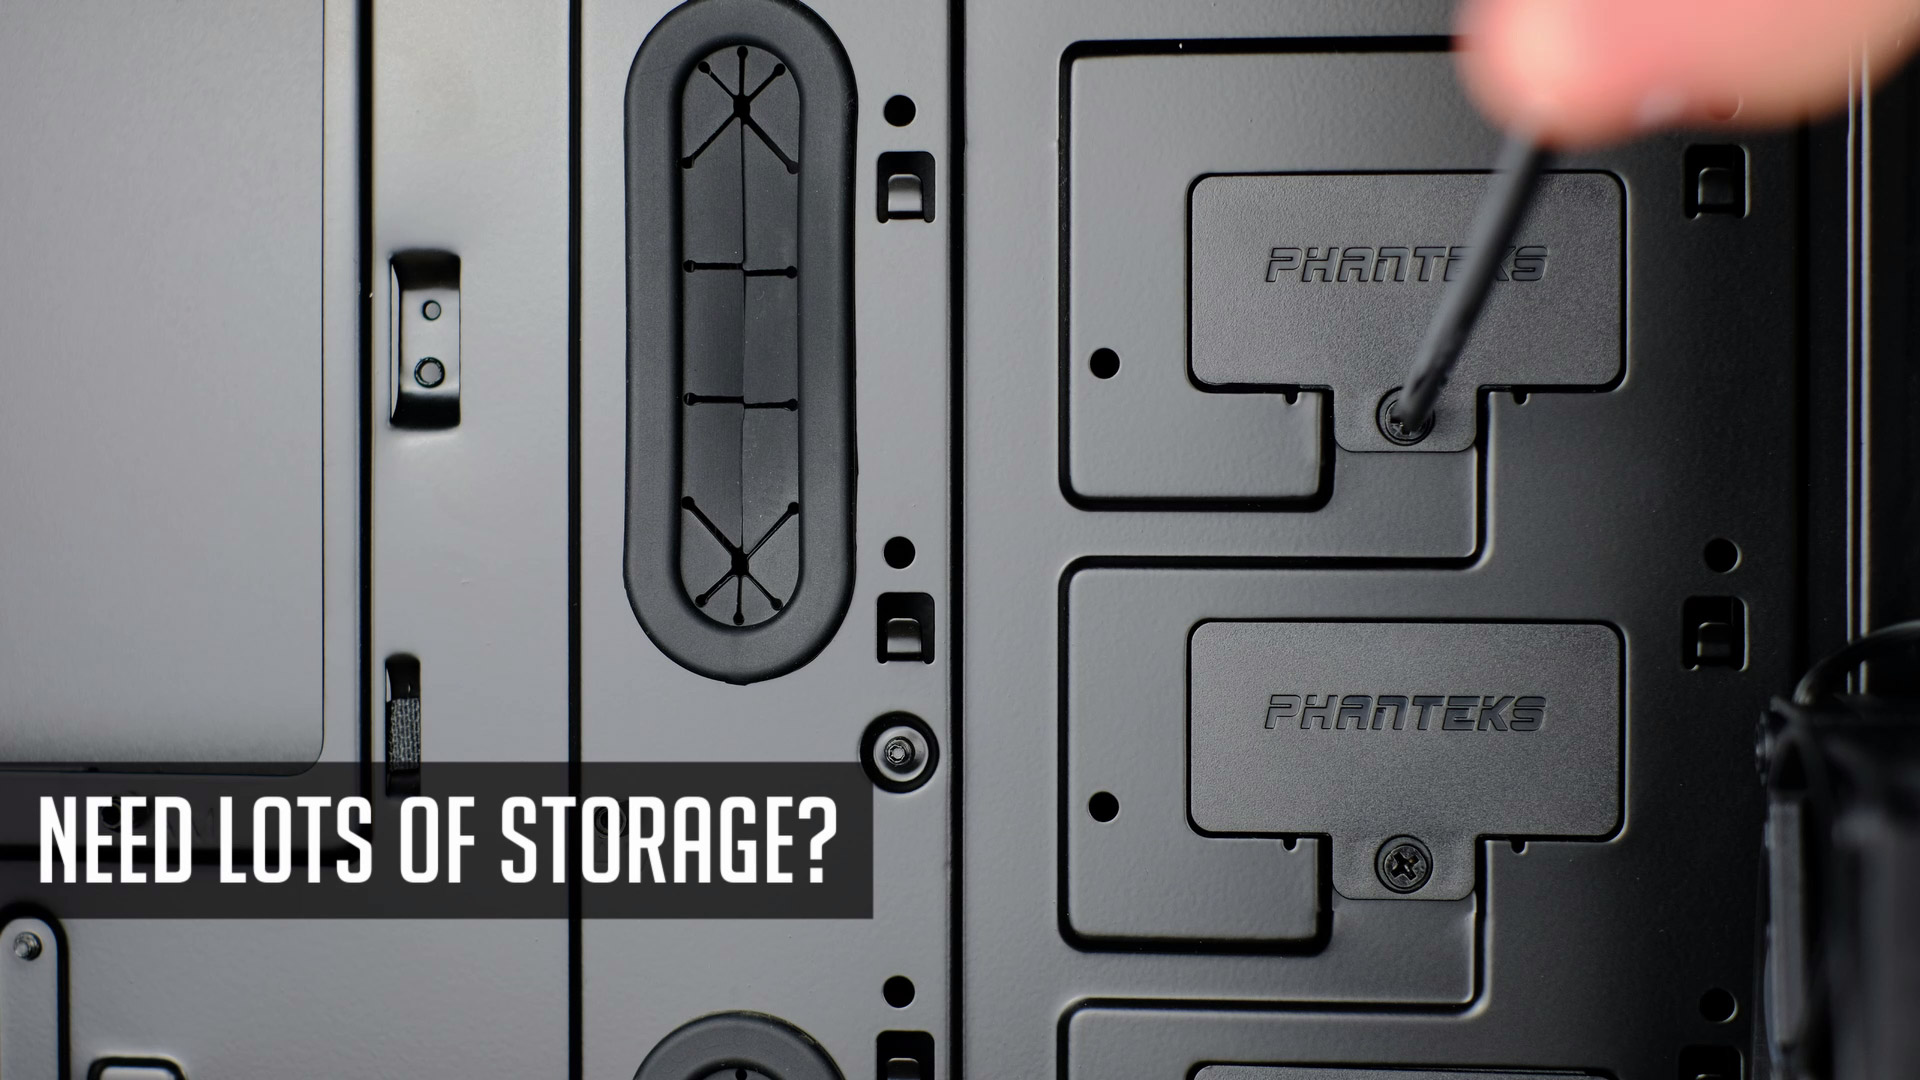
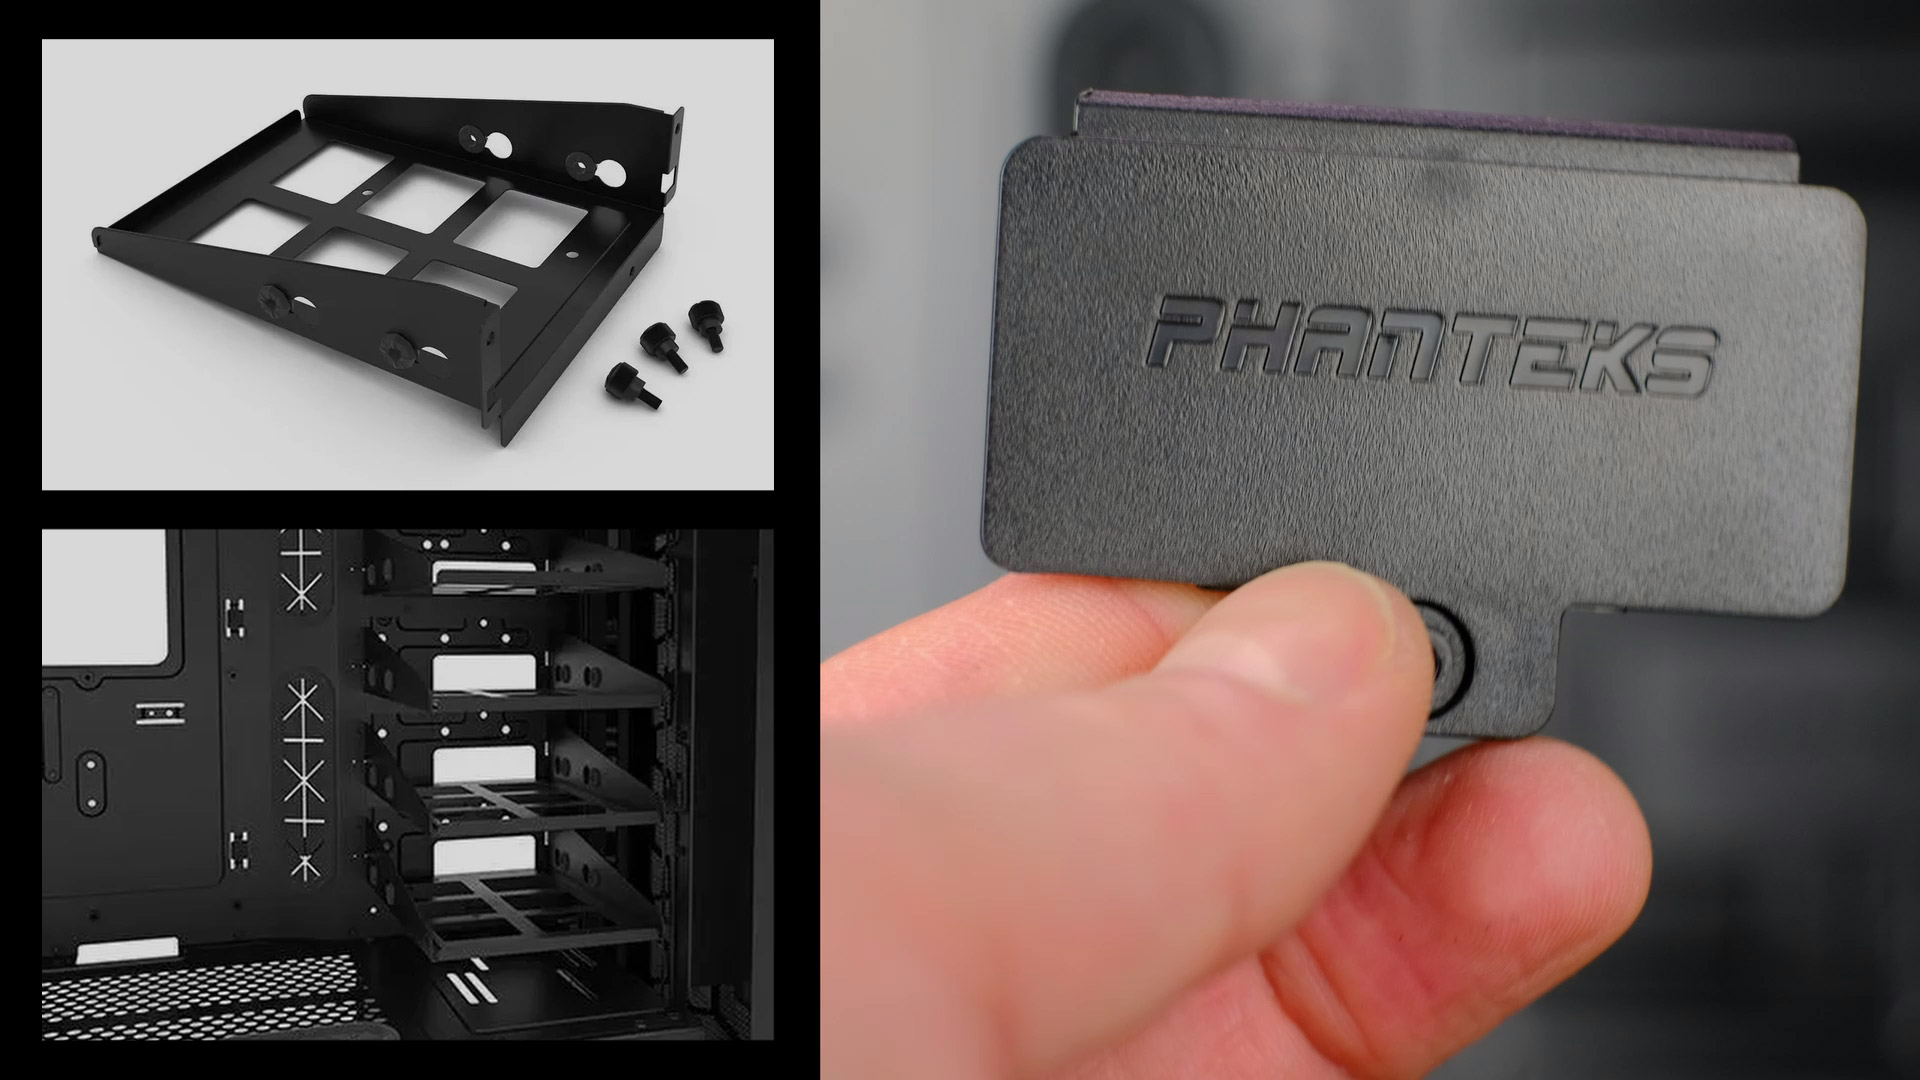
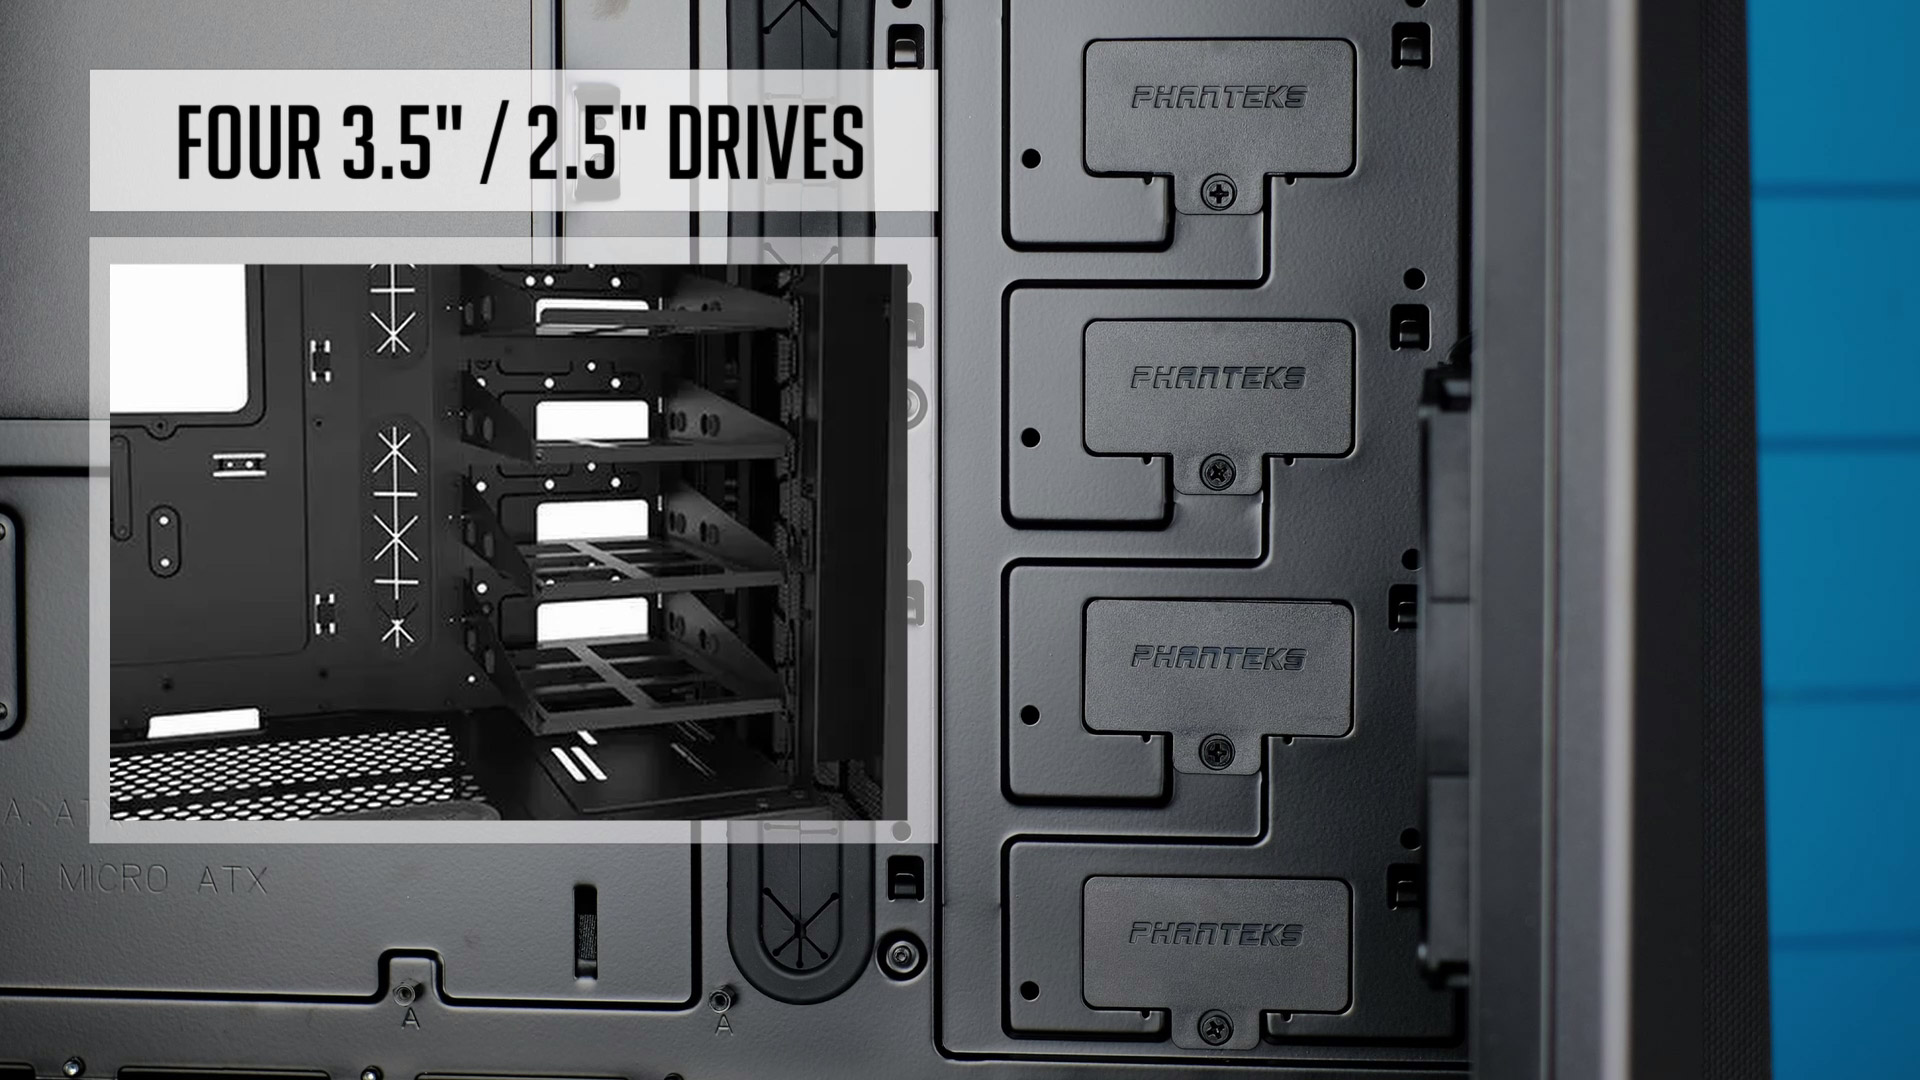
This case has quite nice storage capabilities. But in case you are planning to use tons of drives, you can remove these plastic covers and so you will be able to mount four hard drives or SSDs using these HDD brackets.
But have in mind you’d have to order them separately because they do not come with a pc case. I guess it’s useful if you are building a home server or a workstation with lots of storage.
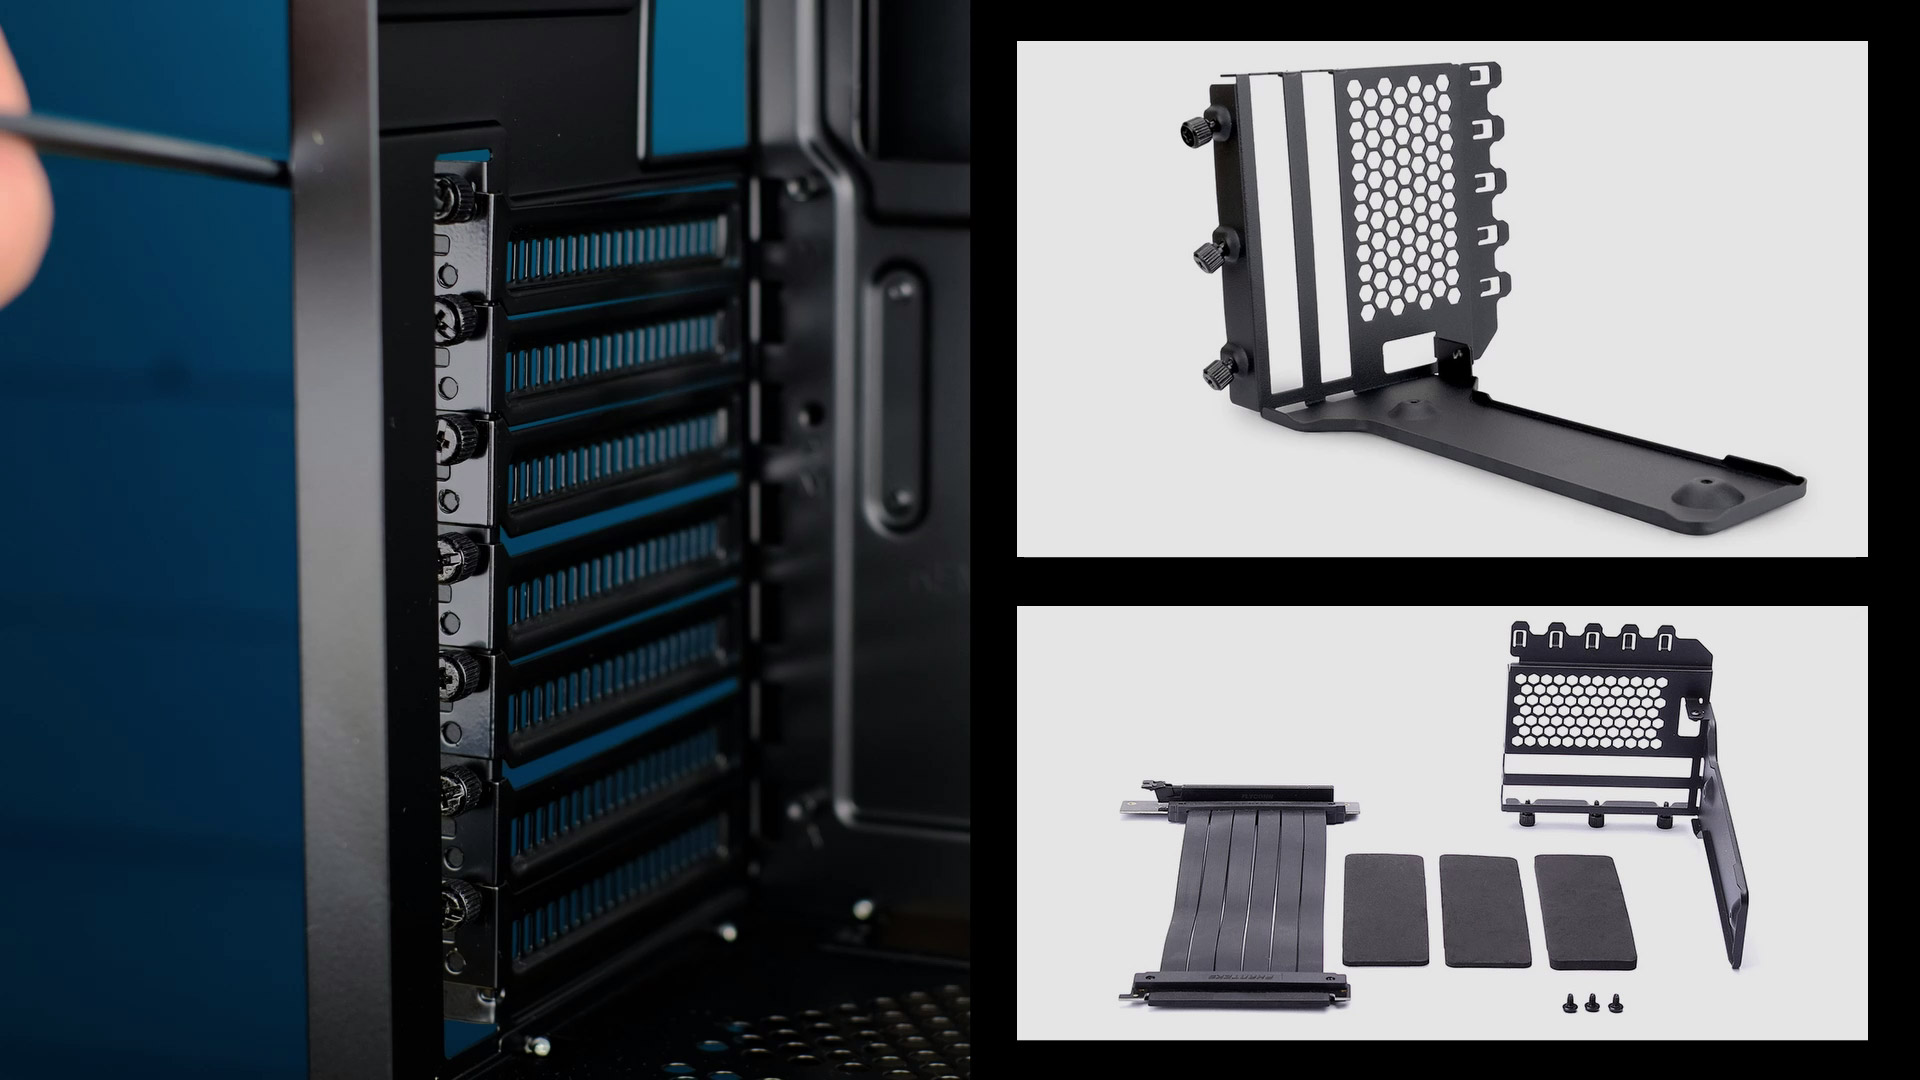
Actually, P400A supports a vertical GPU mount, but an additional bracket needs to be purchased separately.
That’s right, you need to spend some bucks again but have in mind, most of the built-in vertical GPU mounts are not so great since a GPU appears very close to a side glass panel.
With a Phanteks bracket, GPU sits further and so your video card has more space to breath.
Motherboard, Fans and AIO Support
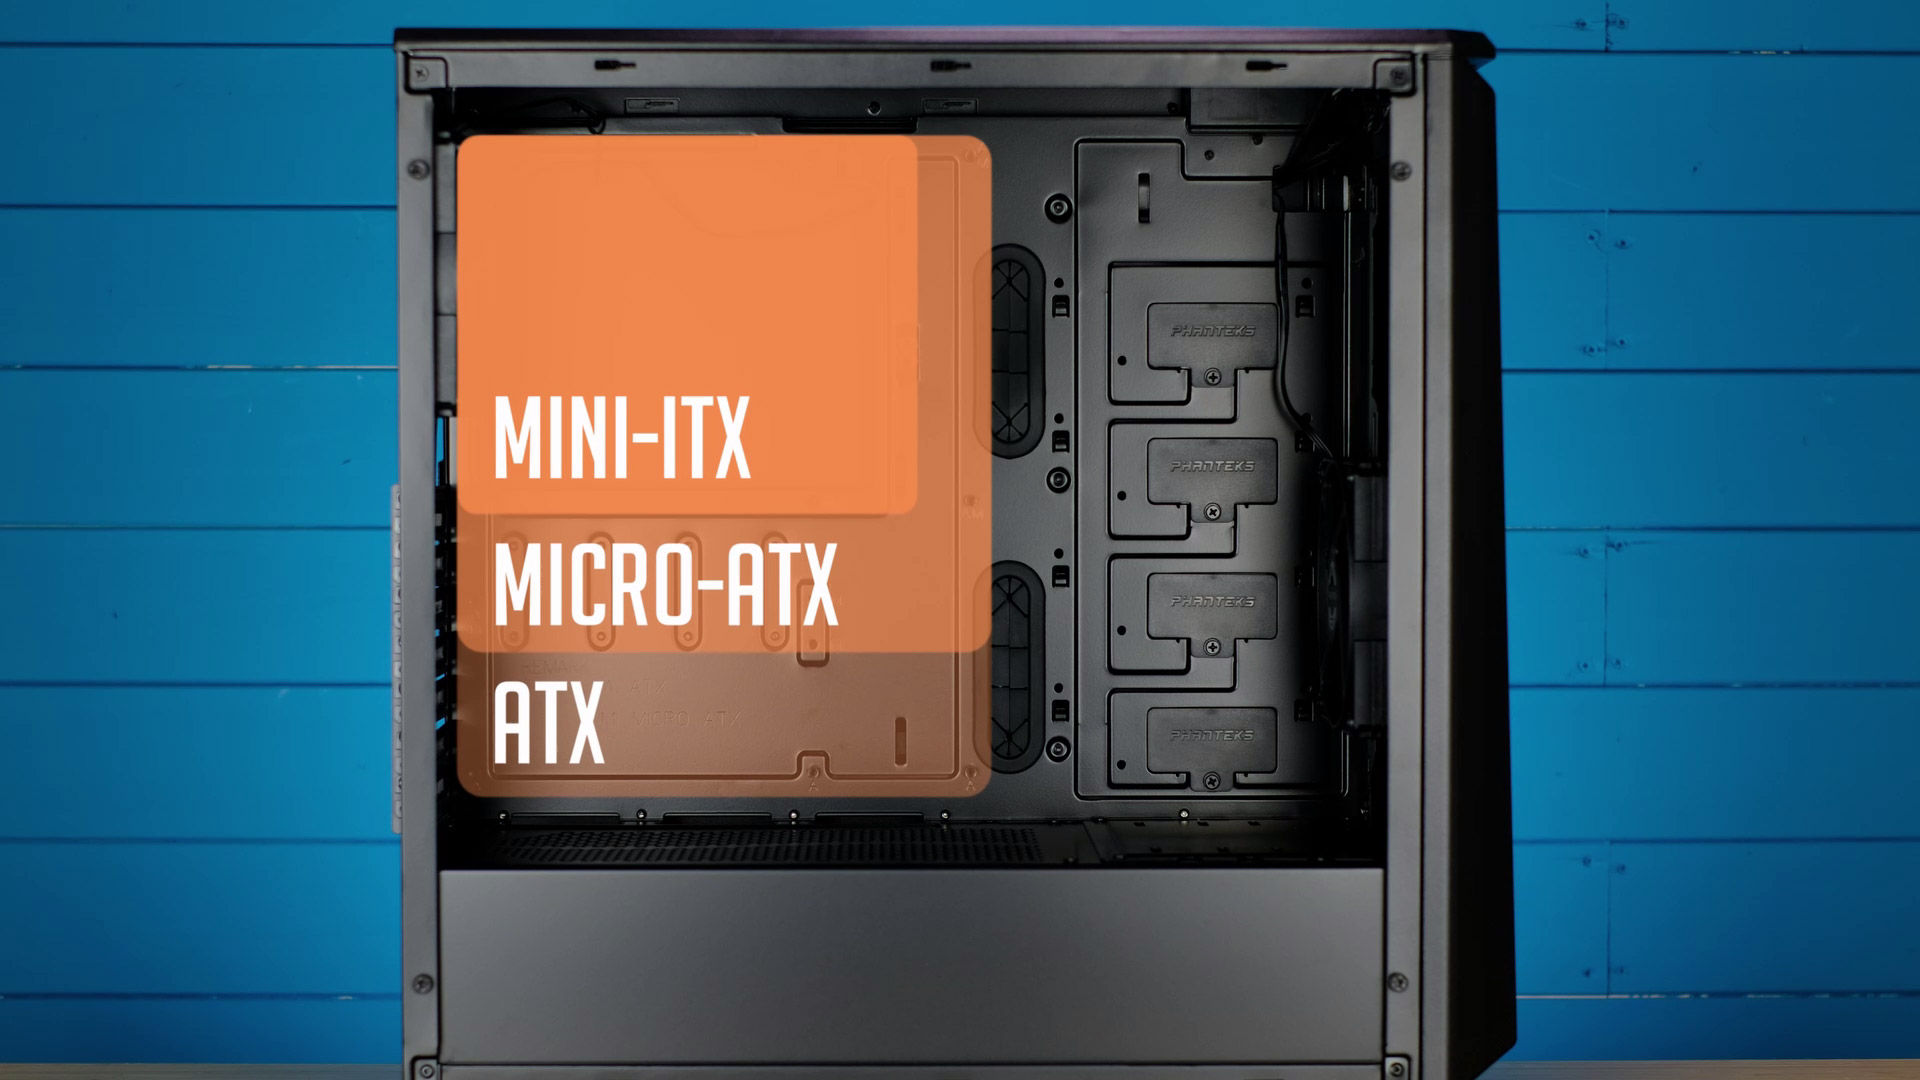
P400A has really decent motherboard support as you can fit ATX, micro-ATX and mini-ITX motherboards. Even E-ATX motherboards are supported (up to 272mm wide) but you will not be able to use those rubber grommets.

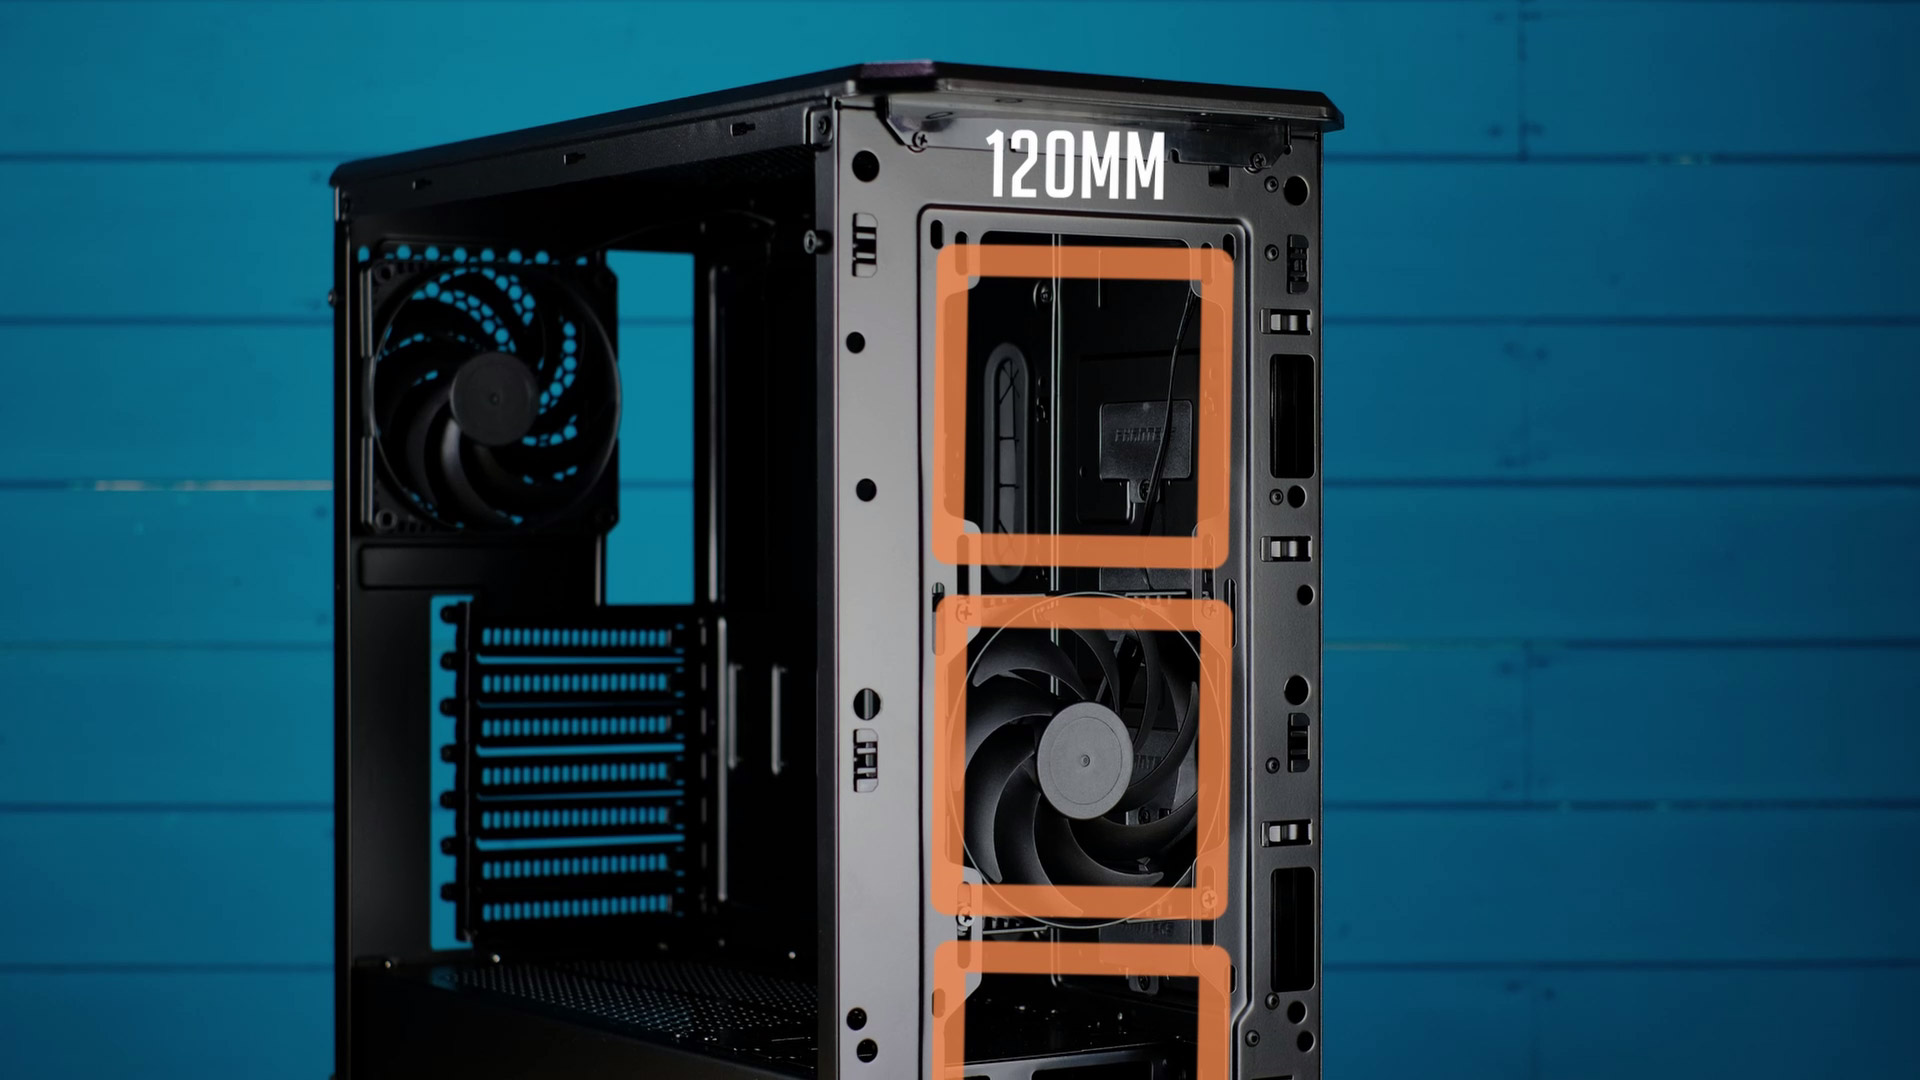
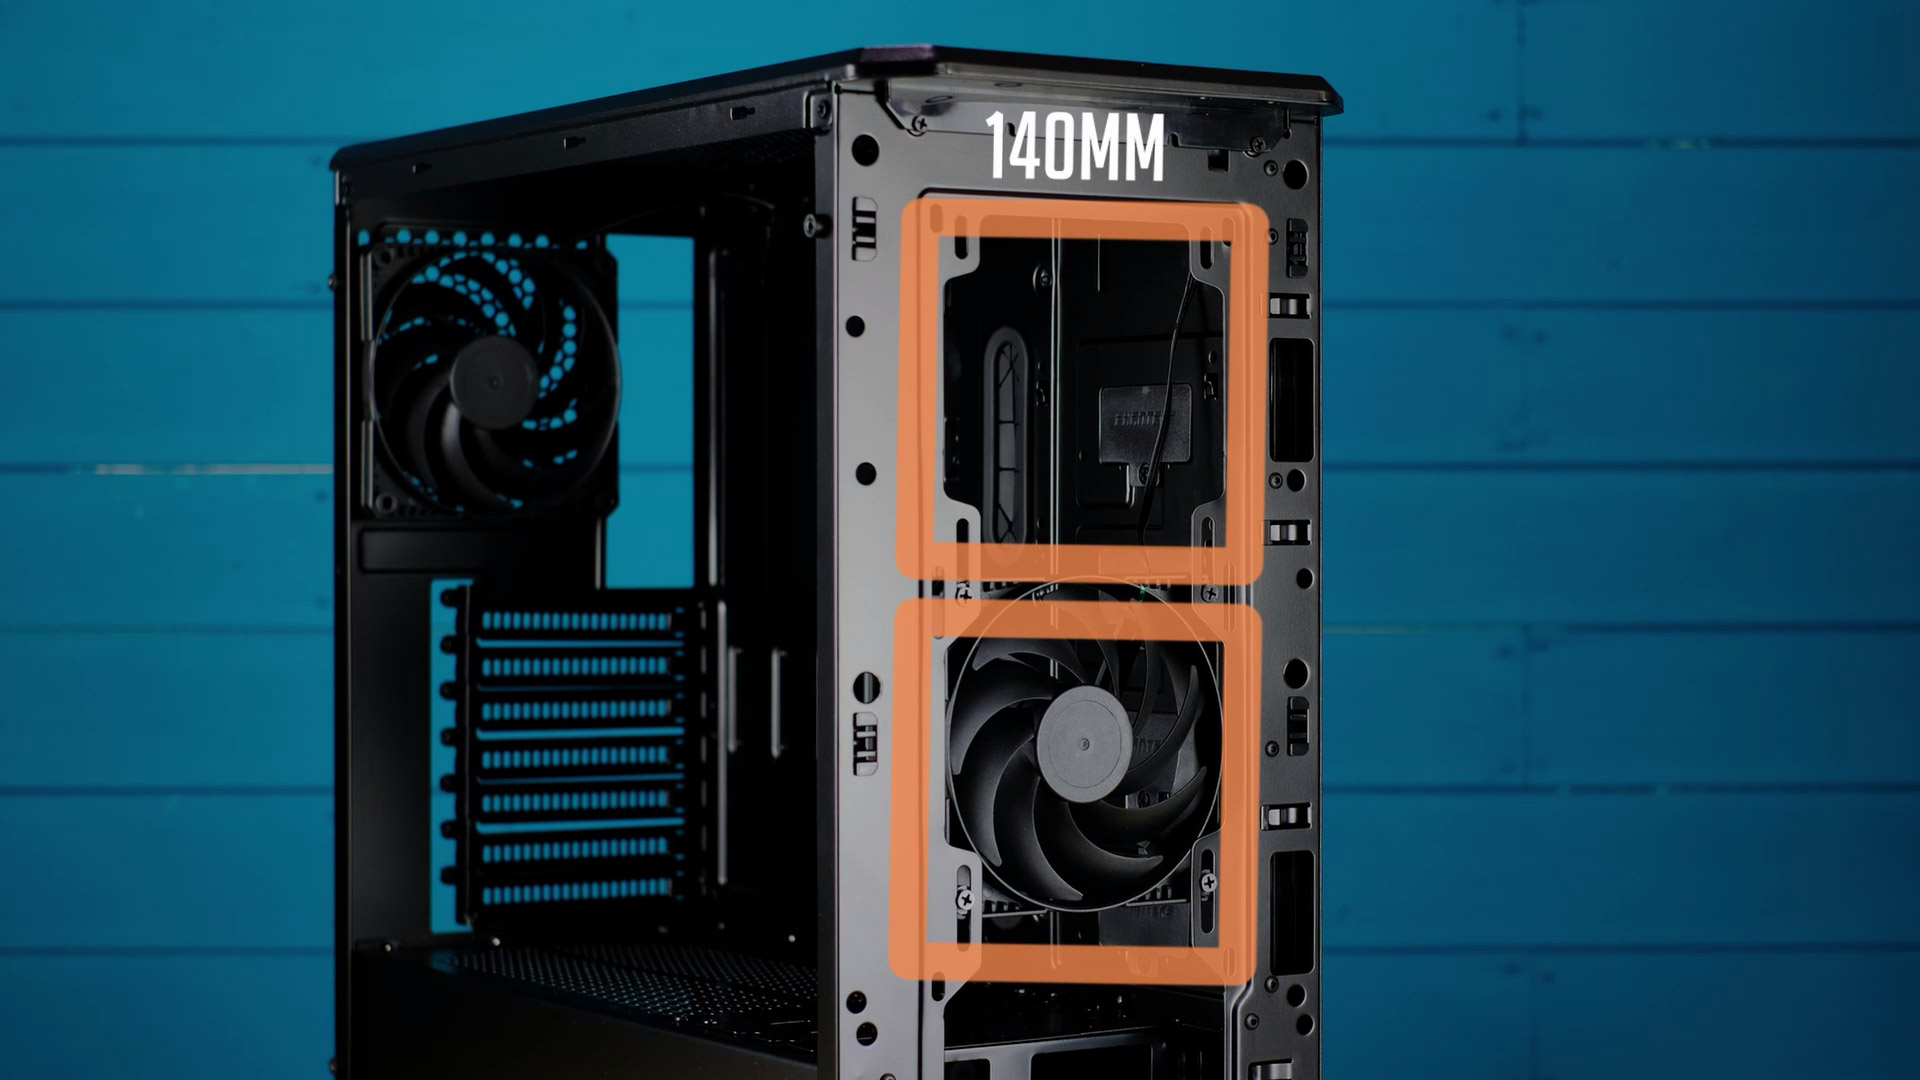
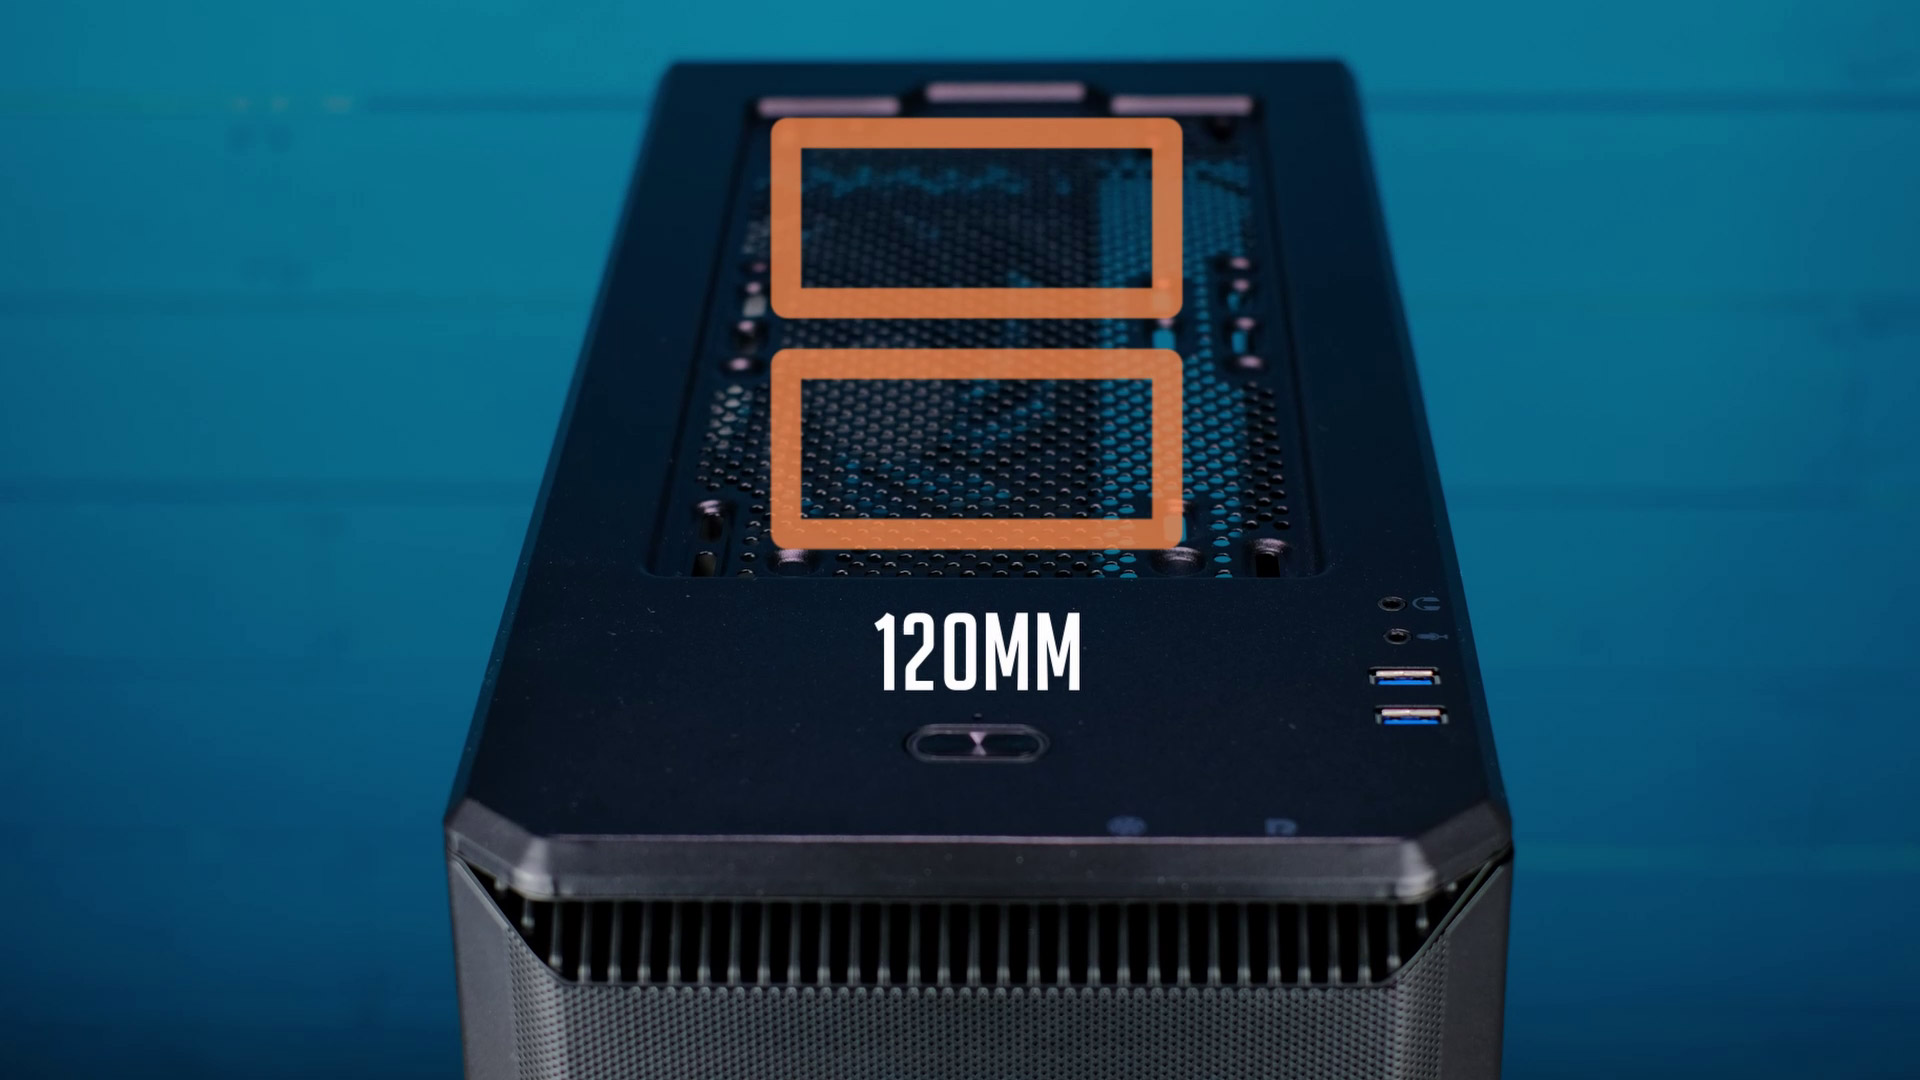
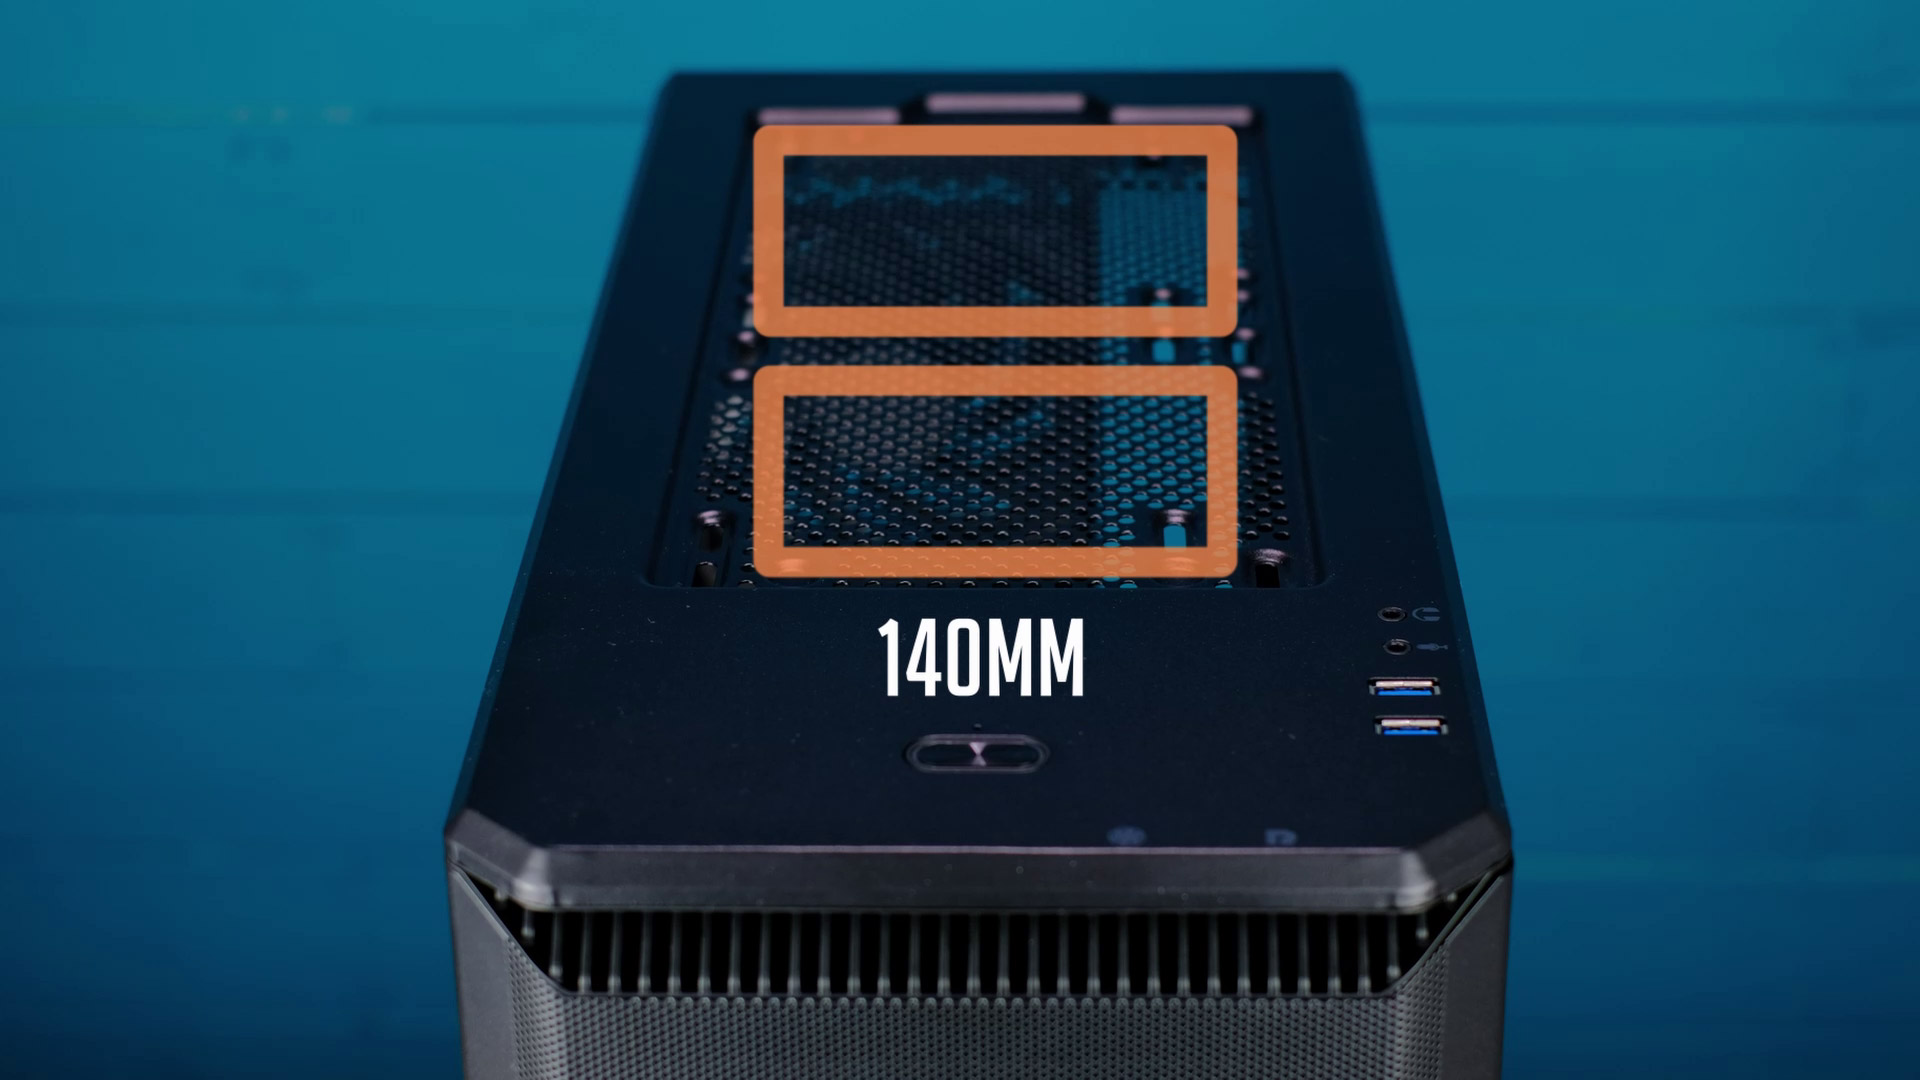
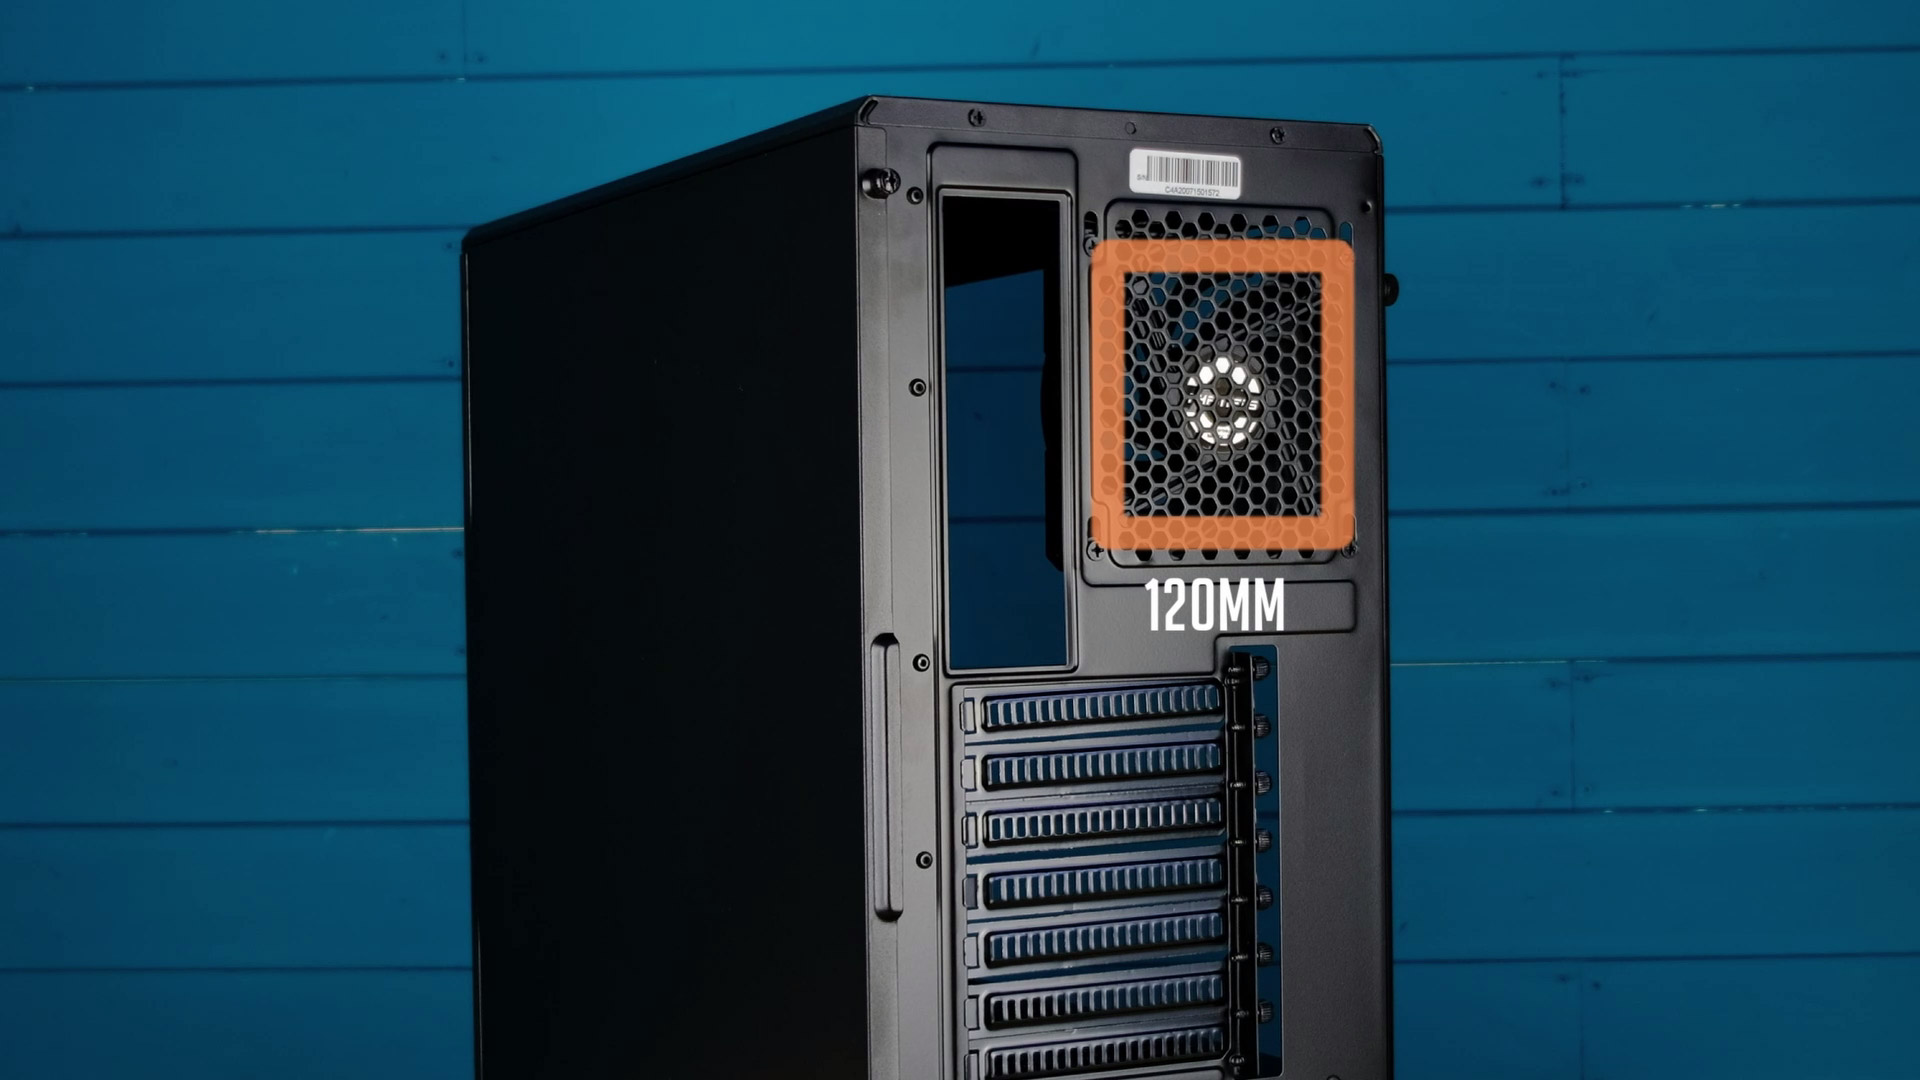
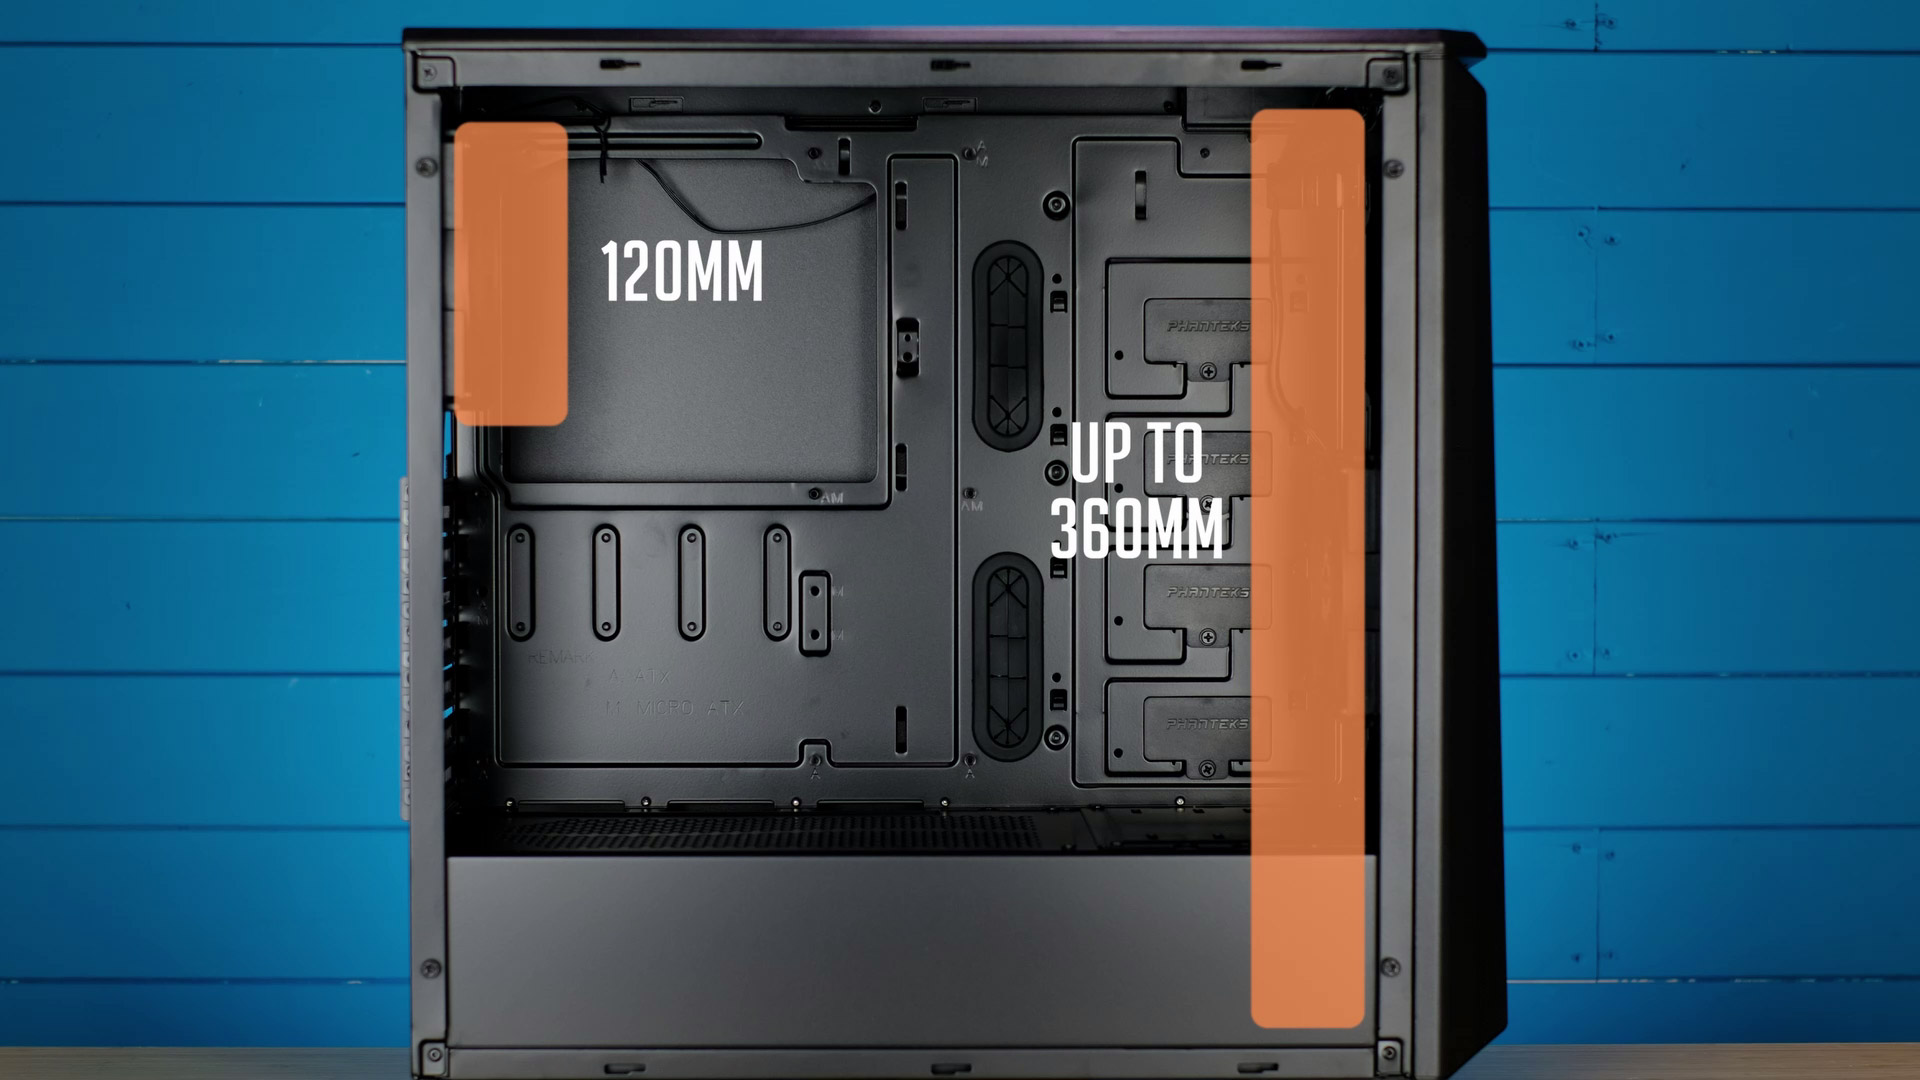
As for fan support, you can mount three 120mm or two 140mm fans at the front, two 120mm or 140mm fans at the top, and one 120mm fan at the back.
In case you decide to opt-in for a water cooling system, you can mount up to 360mm radiator at the front or 120mm rad at the back. Unfortunately, radiator mounting is not supported at the top. At least officially.
But possibly you could mount some thin rad with low profile fans in case you have a good clearance with your motherboard/cooler and low profile RAM. But I would stick with using front mounting if you want to run AIO.
Also, have in mind, when using 360 and possibly 280mm rad at the front, you will need to remove a plate. Depending on how you want to mount your fans – inside or outside, you might need to remove a drive cage as well.
Storage Support
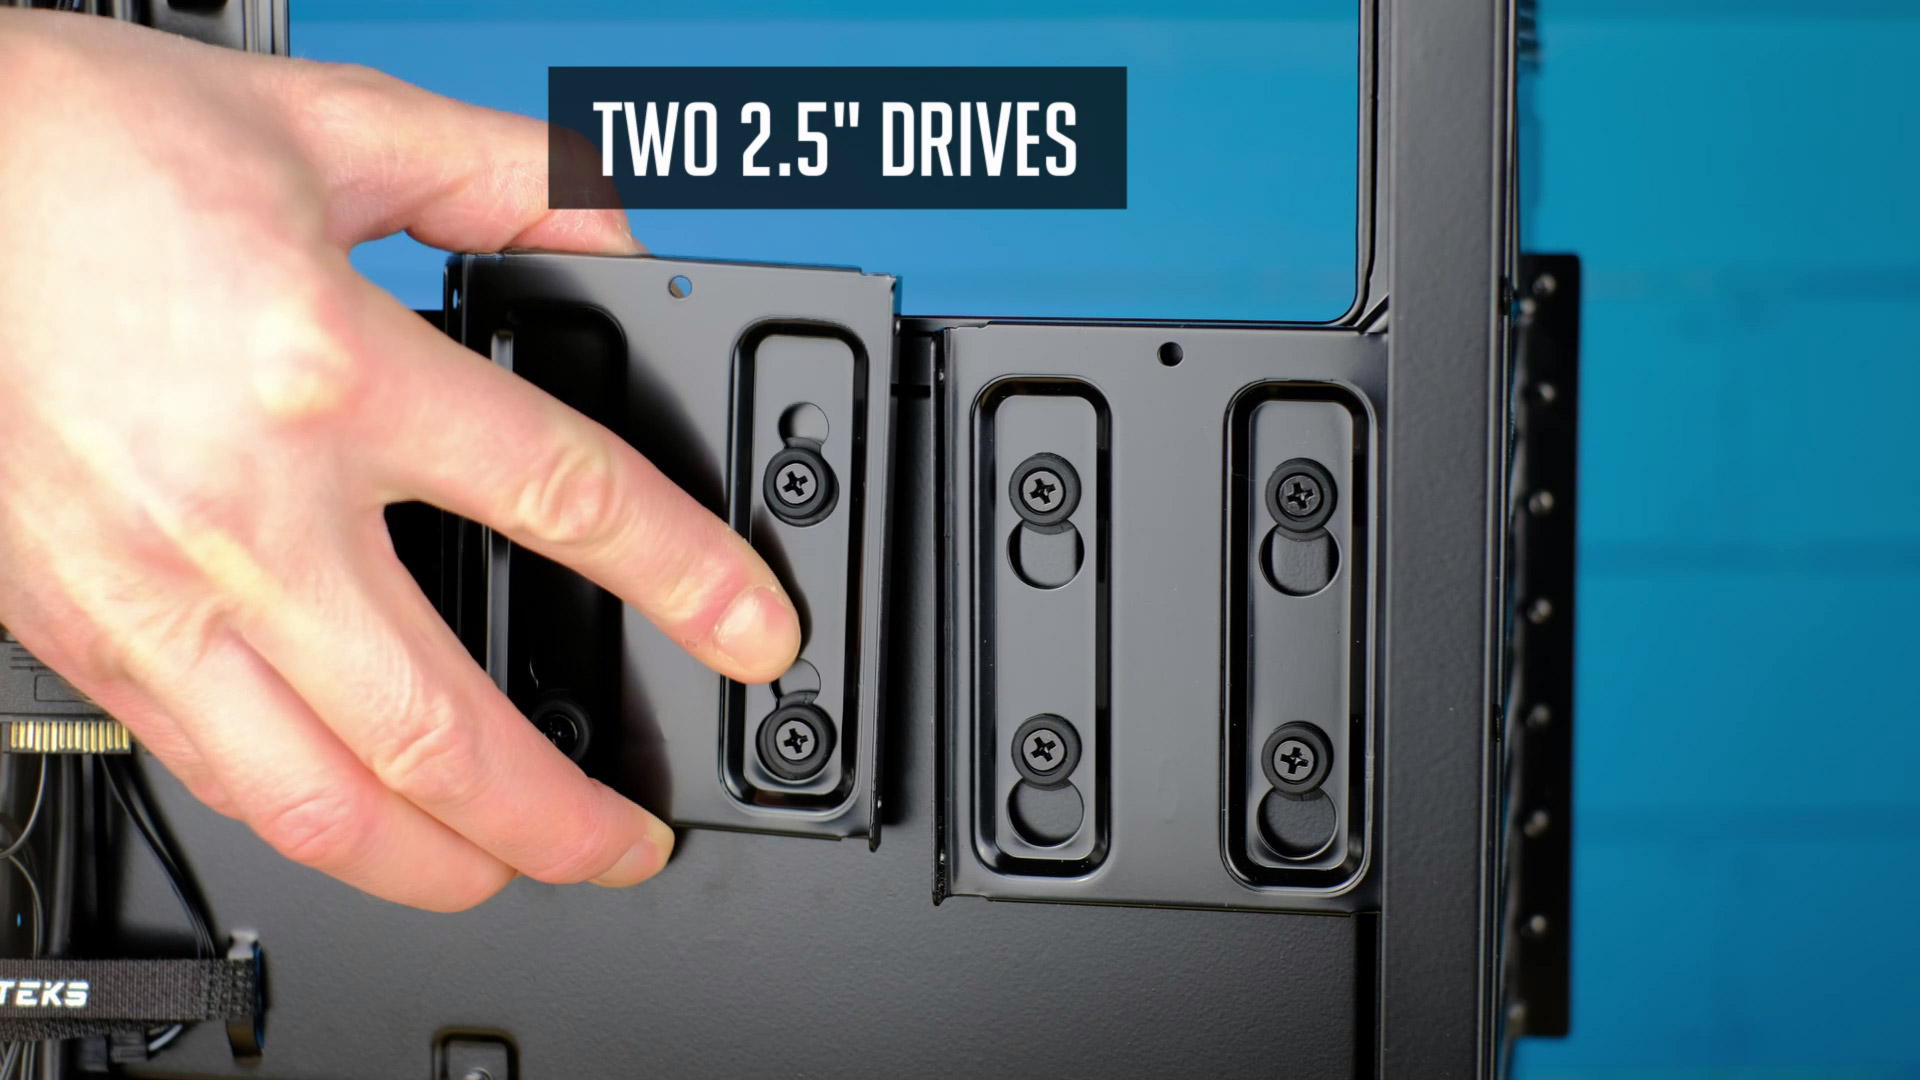
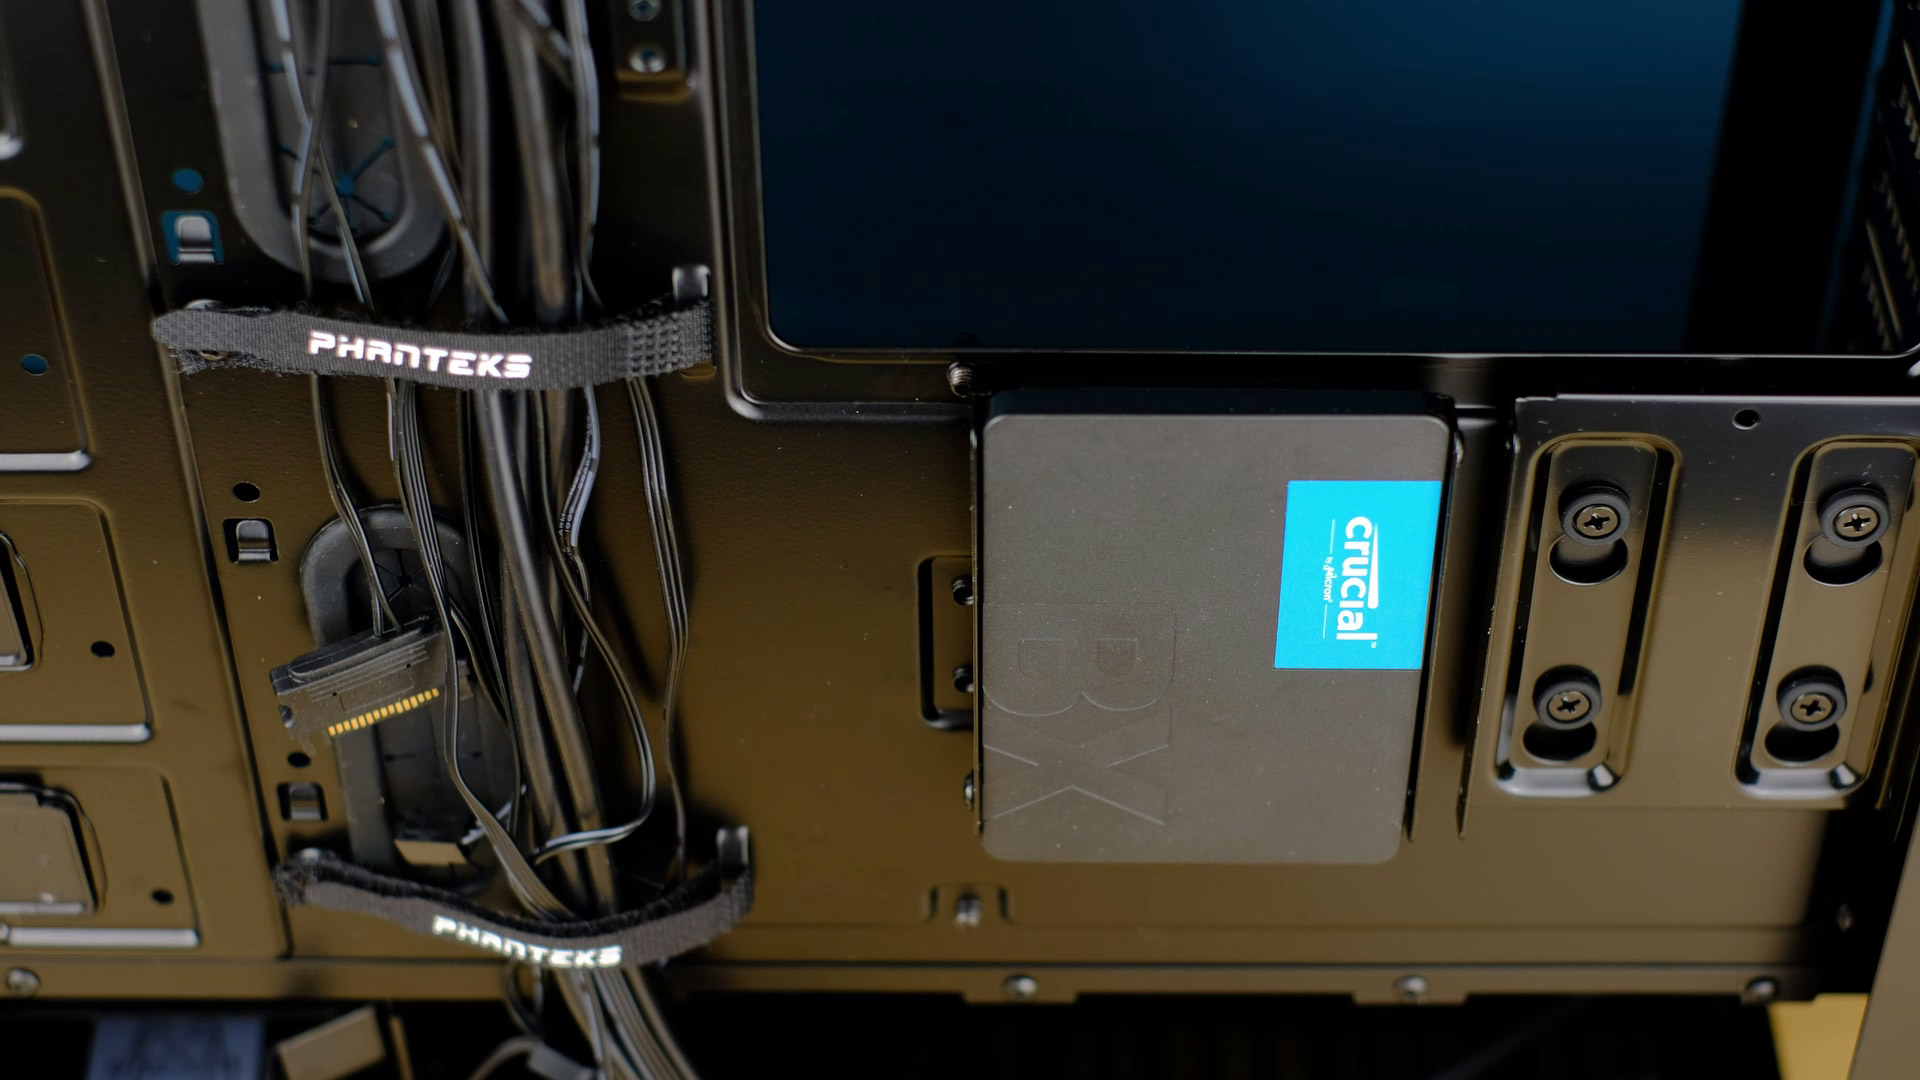
Phanteks P400A has quite a nice storage support. You can mount two 2.5-inch drives behind a motherboard tray. You will have to screw a drive to a bracket and then slide it on rubberized screws.
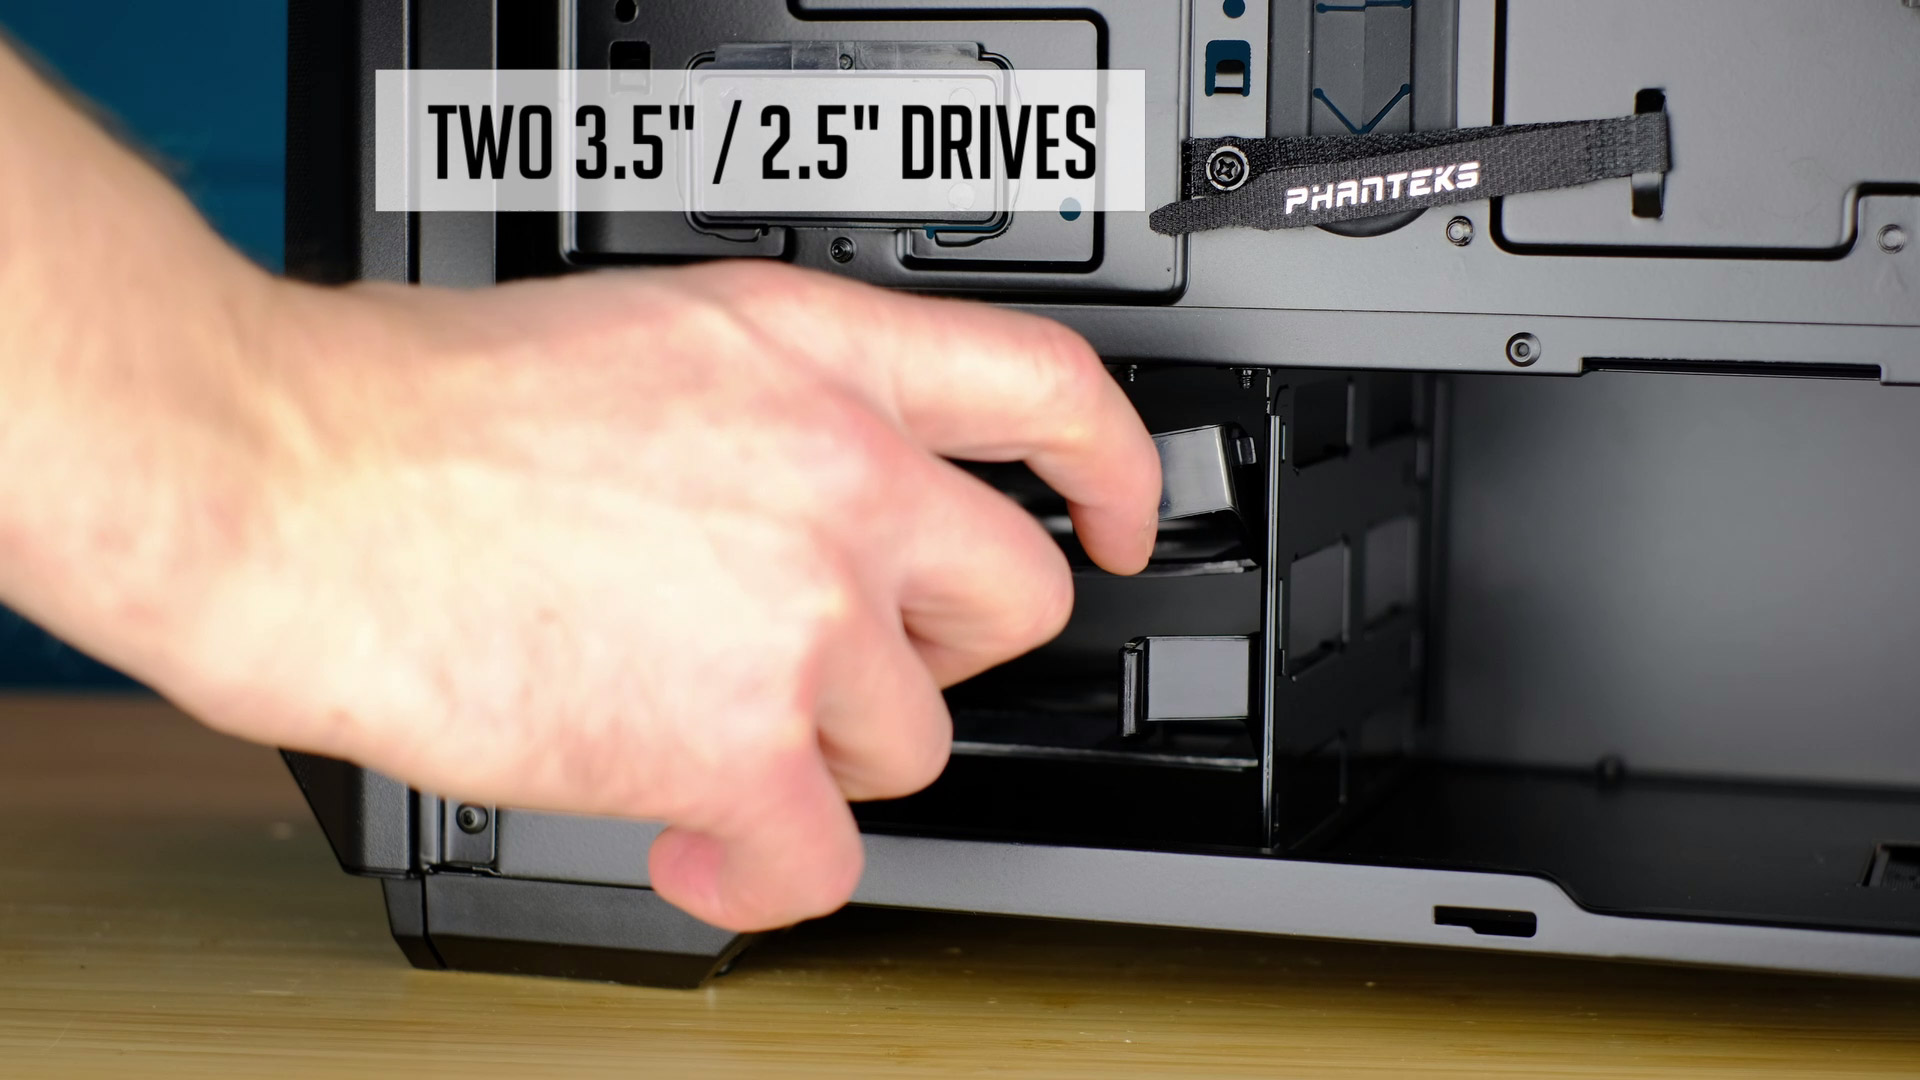
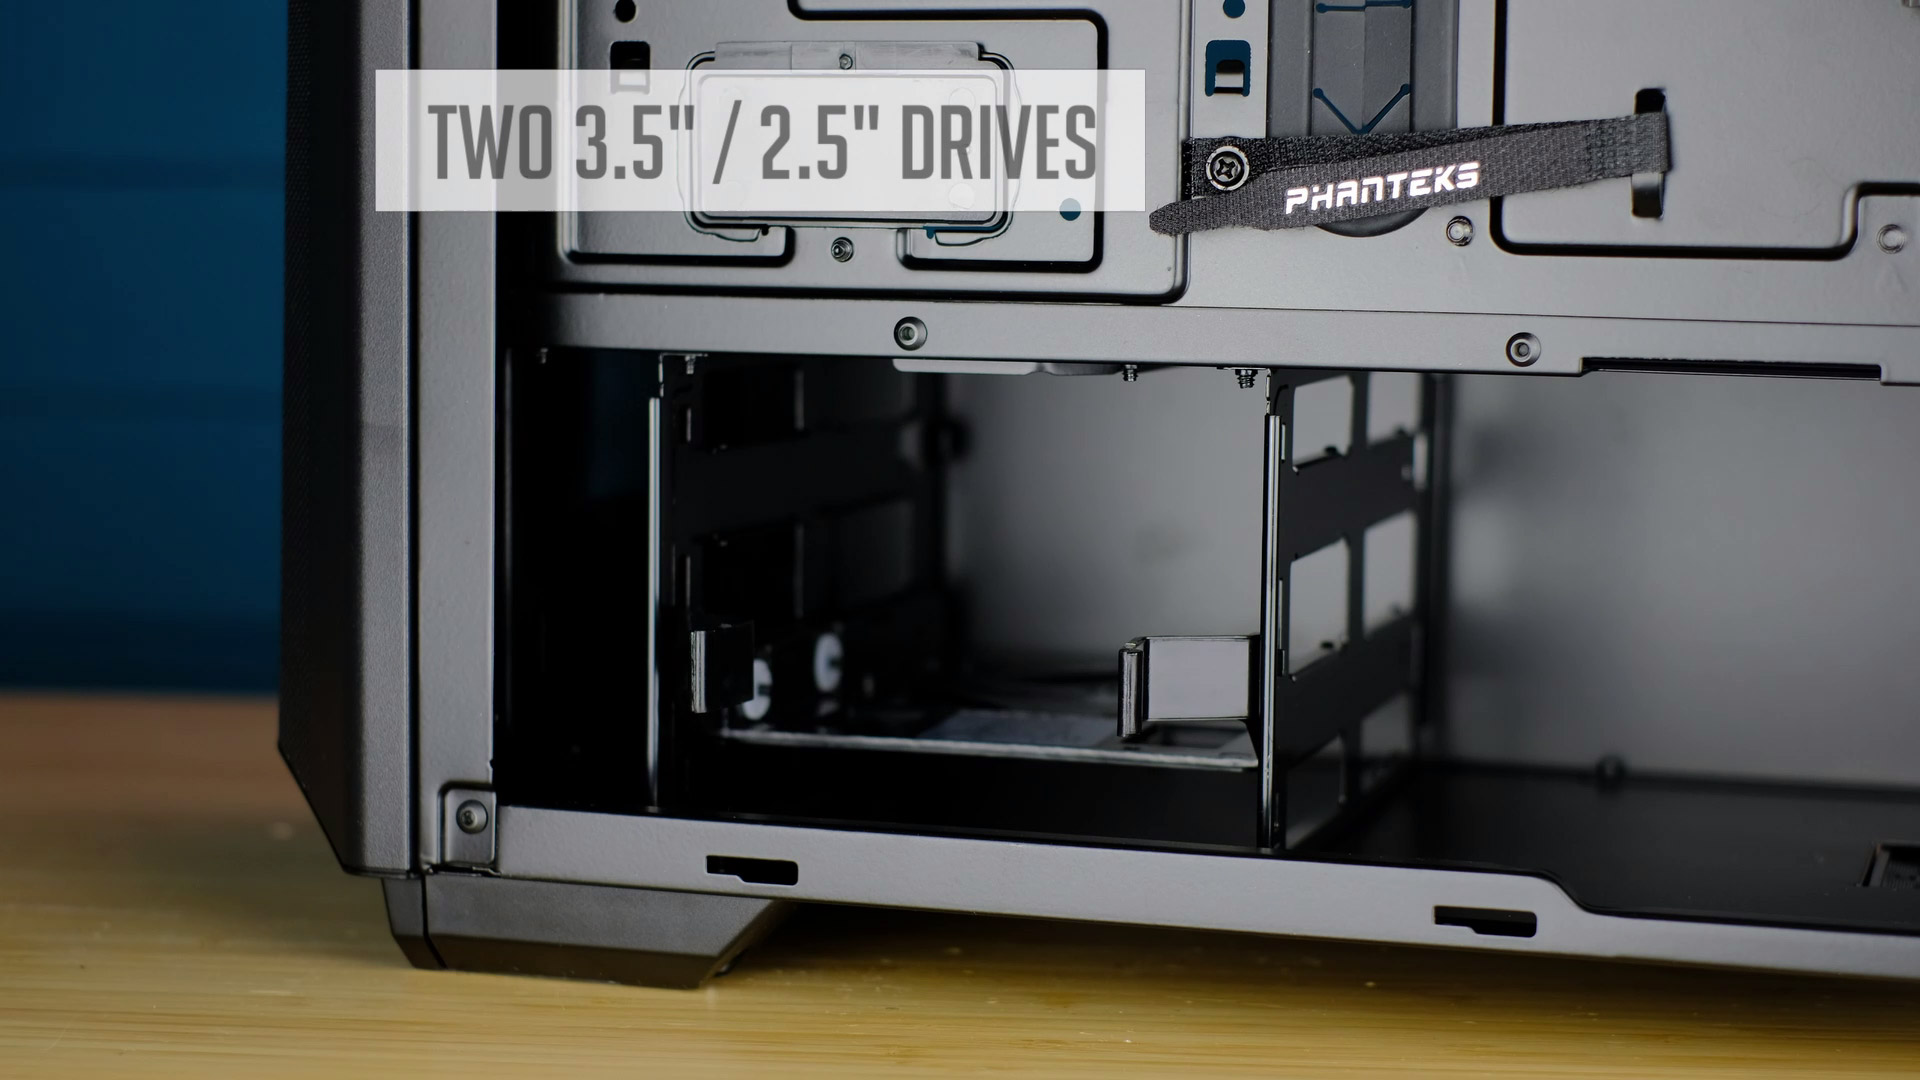
Two more 3.5 or 2.5-inch drives can be installed to a drive bay. 3.5-inch drive can be mounted super easy and no tools are required. As for 2.5-inch drive, you will need to use screws.
Additional to this, you can mount four 3.5 or 2.5-inch drives inside of the case using the optional brackets I’ve mentioned previously.
I’ve used P400A in my recent PC build with RTX 3070 and Ryzen 9 3900x. It turned out really awesome so It’s really worth checking before you make a decision.
Thermal Stress Test
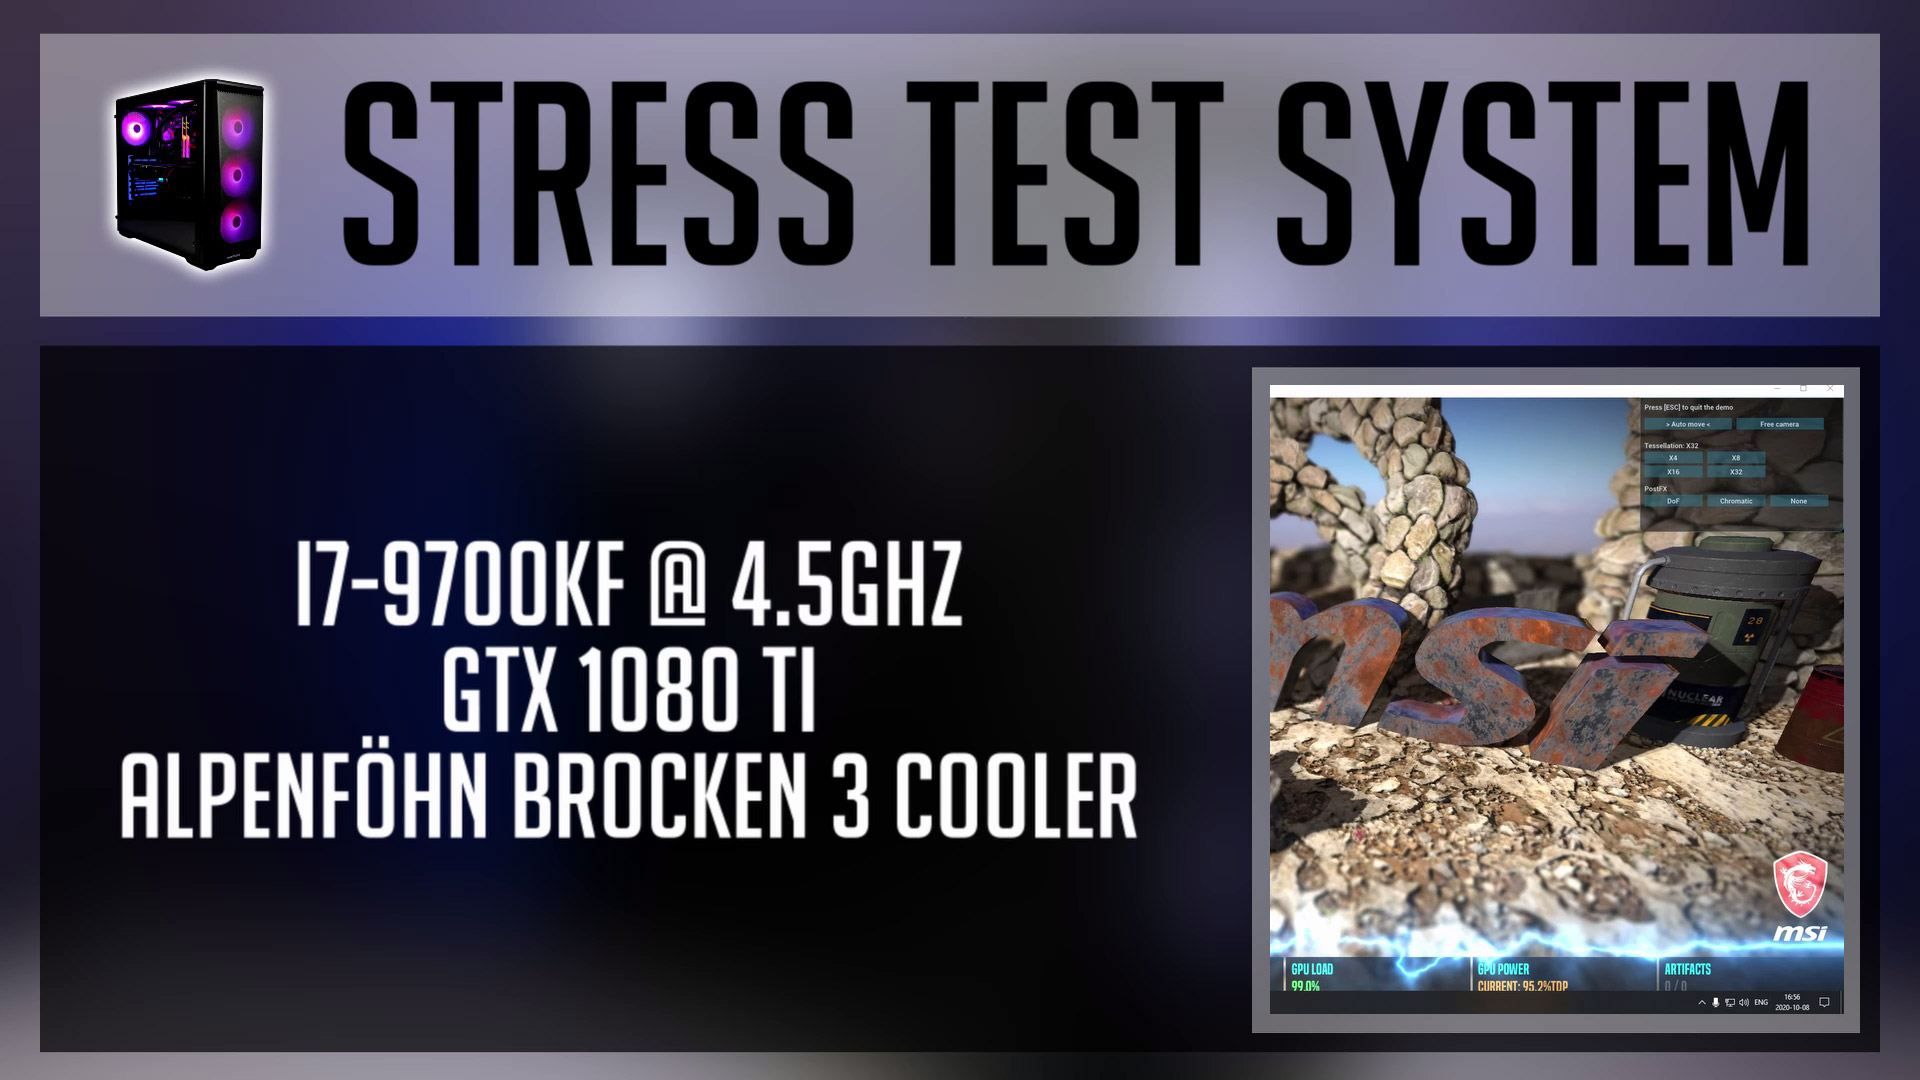
Alright, let’s have a look at thermal numbers. To stress the CPU I was running a Blender and at the same time, I was stressing a GPU with MSI Kombustor.
Measured a few different configurations:
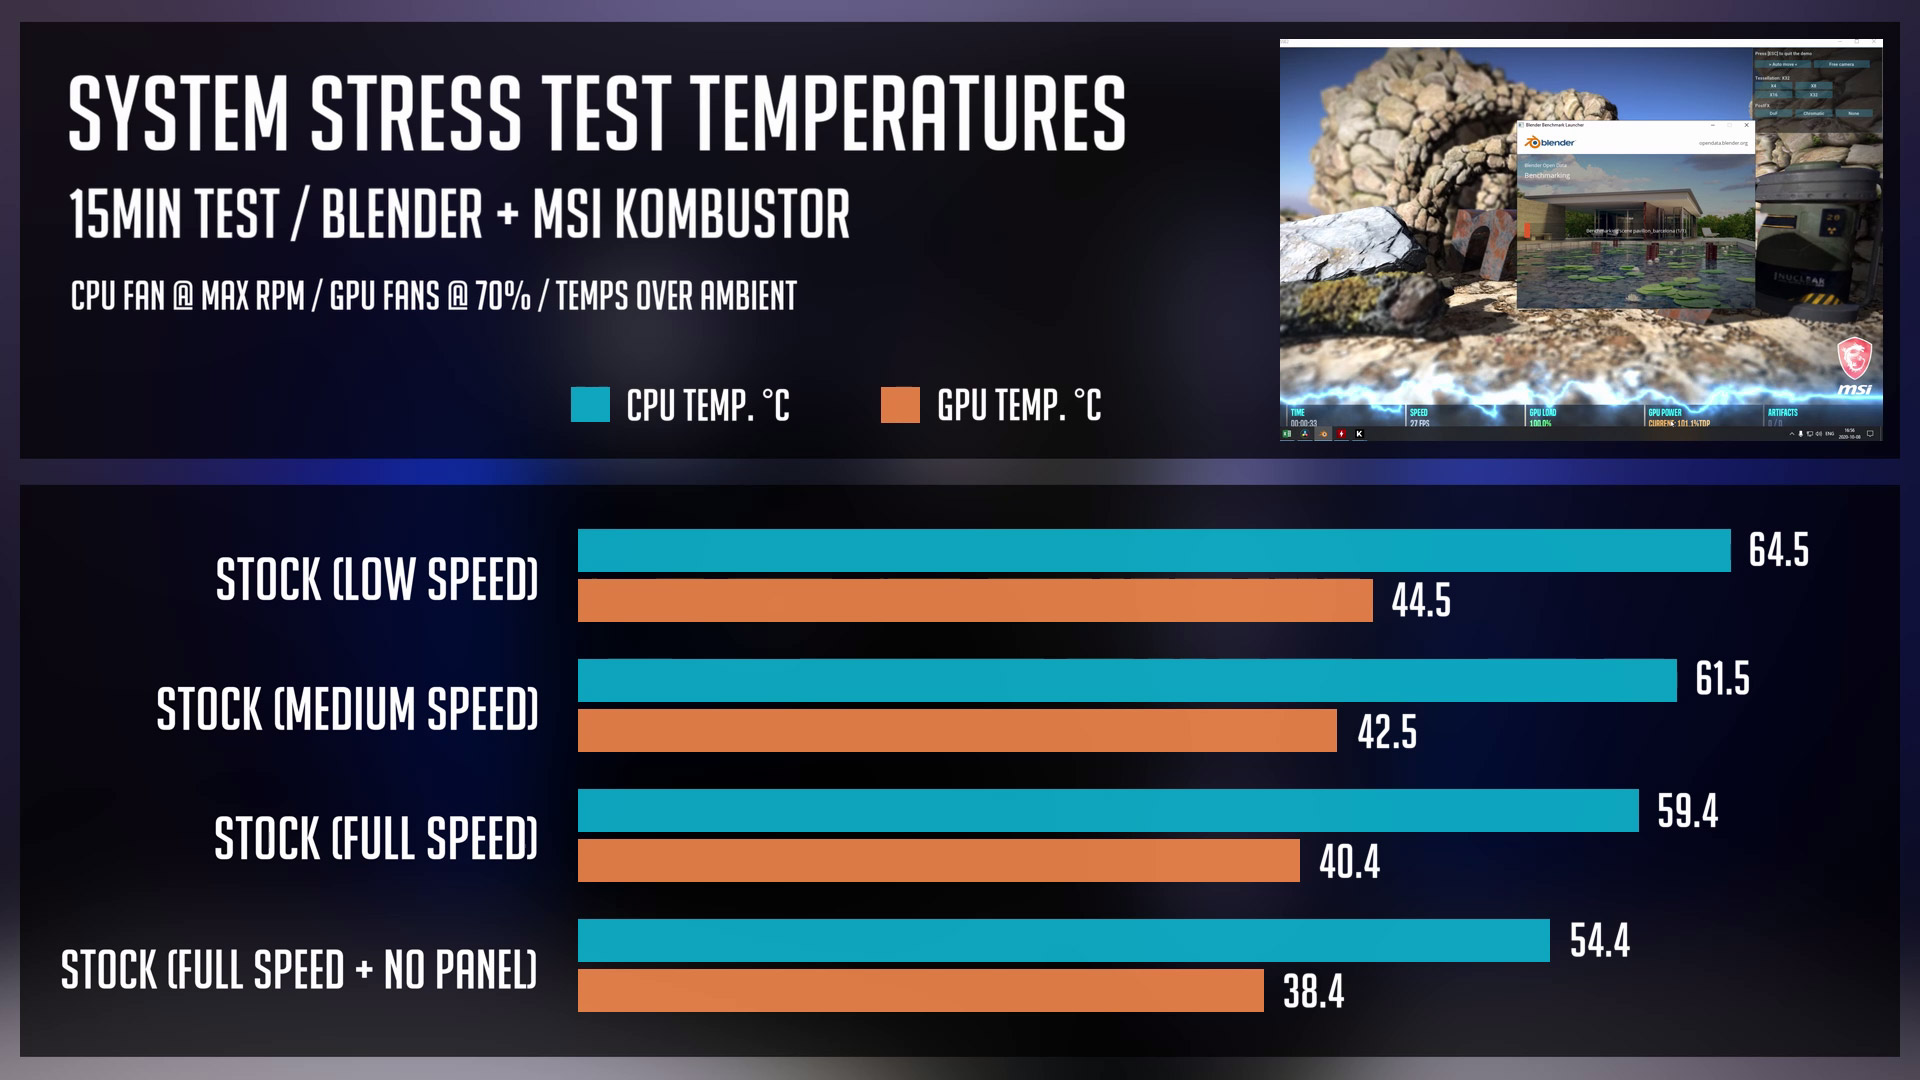
- Starting with two stock fans and low fan speed mode using an integrated fan hub. The CPU temperature was almost 65 degrees celsius delta t over ambient. And a GPU was running at 45 degrees.
- With the same configuration but medium fan speed, CPU temp dropped by three degrees and a GPU by two degrees celsius.
- Using a Full speed setting, temperatures got even better and so both CPU and GPU dropped a few degrees more. But as you can see, a bigger improvement is achieved when switching from low to medium fan speed.
- For the last configuration, fans were running at full speed but the front mesh panel was removed. An so, the temperature dropped by 5 degrees on a CPU and 2 degrees on a GPU side. That’s also a decent temps improvement. I’ve tested some other PC cases where mesh panels were affecting temperatures less, but this is not a bad result by any means. It’s sort of an average temp drop you can expect when removing a mesh front panel. And compared to non-mesh PC cases, it really shines.
Phanteks P400A MSRP price is $69.99, but currently, you can find it for around 75 bucks in the US or 70 EUR in Europe. In total, there are three versions of this PC case:
- P400A Black (reviewed in our post)
- P400A Digital Black
- P400A Digital White
Digital versions have three addressable RGB fans at the front.
So after building in Phanteks P400A, I can really recommend it to anyone building a mid-range PC for around 1000 US dollars or more.
I hope you enjoyed P400A review and you can find more PC Case reviews here.
Links @ Amazon
P400A Black – https://geni.us/6cFv
P400A Digital Black – https://geni.us/wlvOu
P400A Digital White – https://geni.us/quD1
Disclosure: EpicGameTech gets a small commission when you purchase something via our Amazon links. It doesn’t cost you anything extra since that comes from Amazon’s end. So, please be aware, the links provided to Amazon are affiliate links.