Table of Contents
Streaming, Gaming and Video editing – this PC Build will crush any task you demand. So today we will be building and benchmarking Ryzen 9 5900x paired with RTX 3070. There will be no fancy RGB fans, but white and black color scheme definitely looks great.
So this is not an RGB-oriented PC build, but rather a quiet operation video editing, streaming, and gaming machine. Especially when streaming or recording, you want to have as little noise as possible, and that leads to some of today’s pc parts choices. But let’s start building and I will introduce each of the PC components.
Motherboard

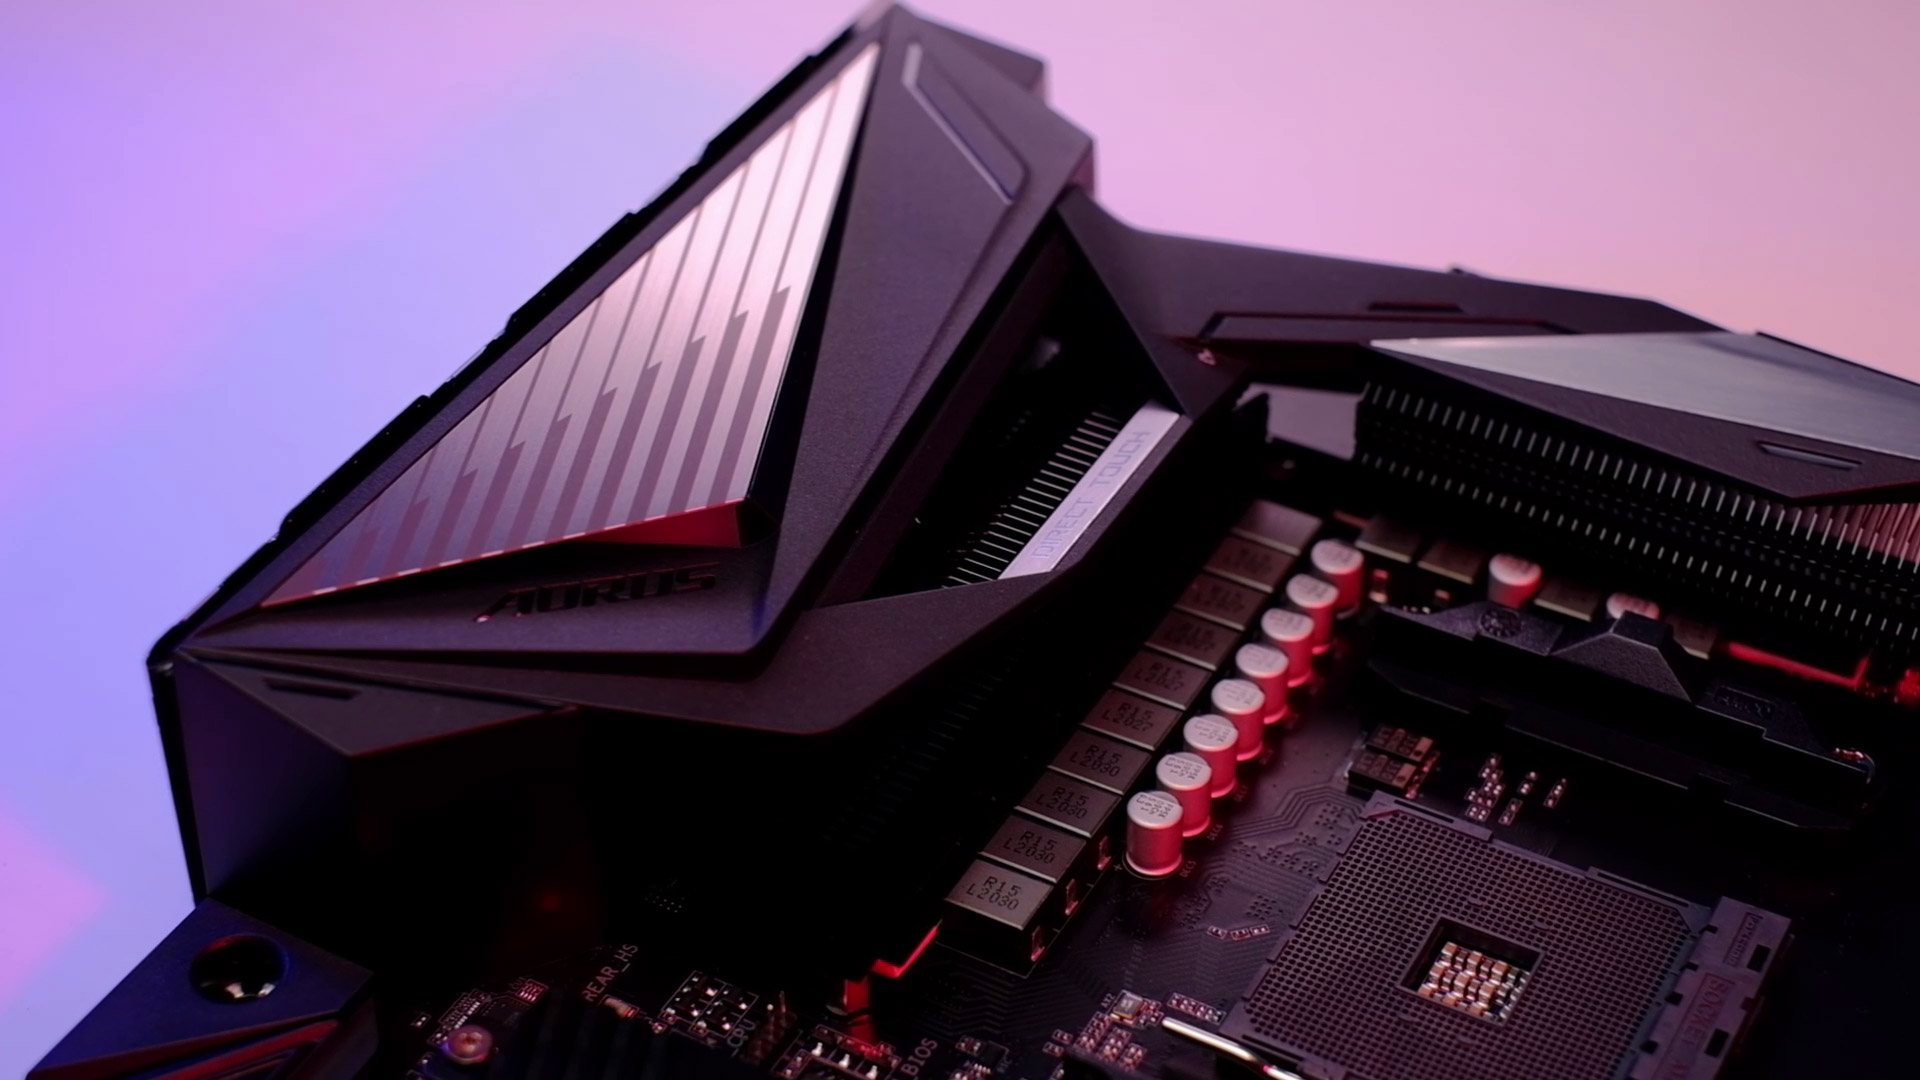
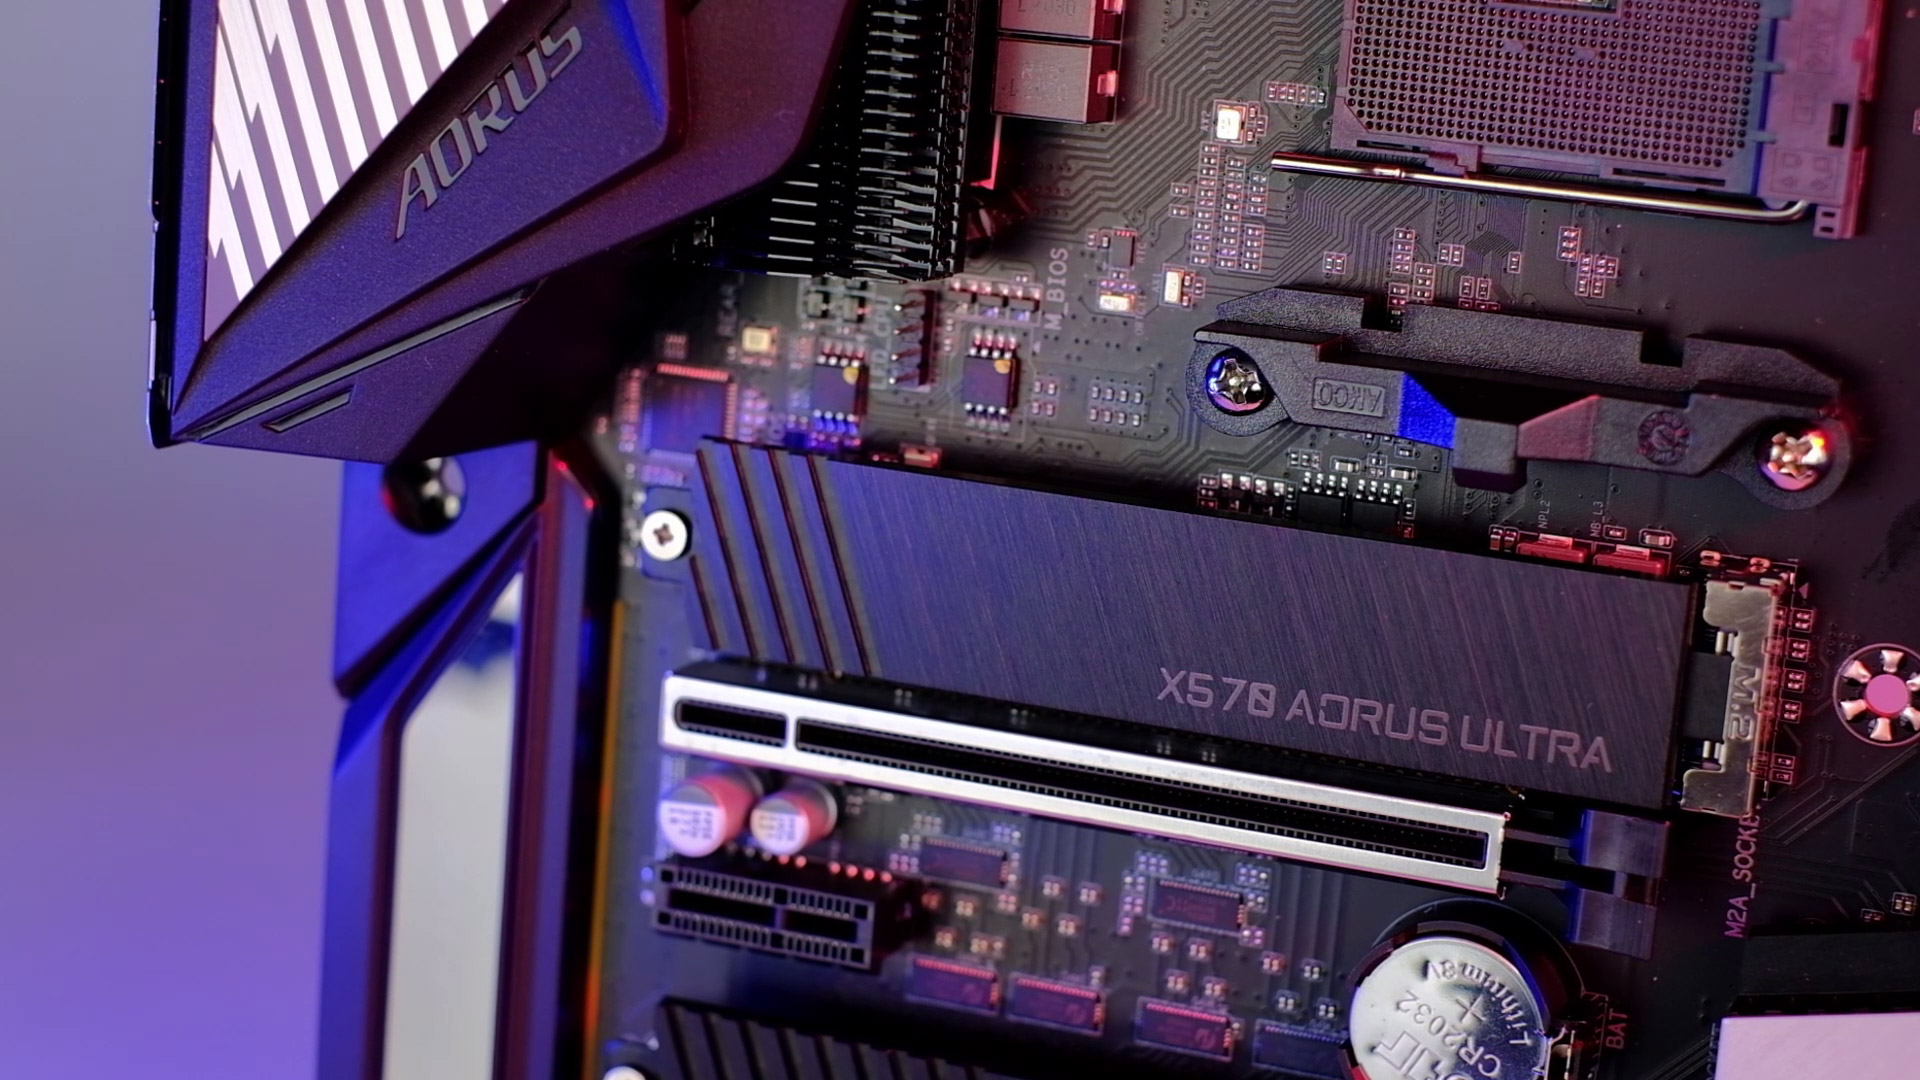
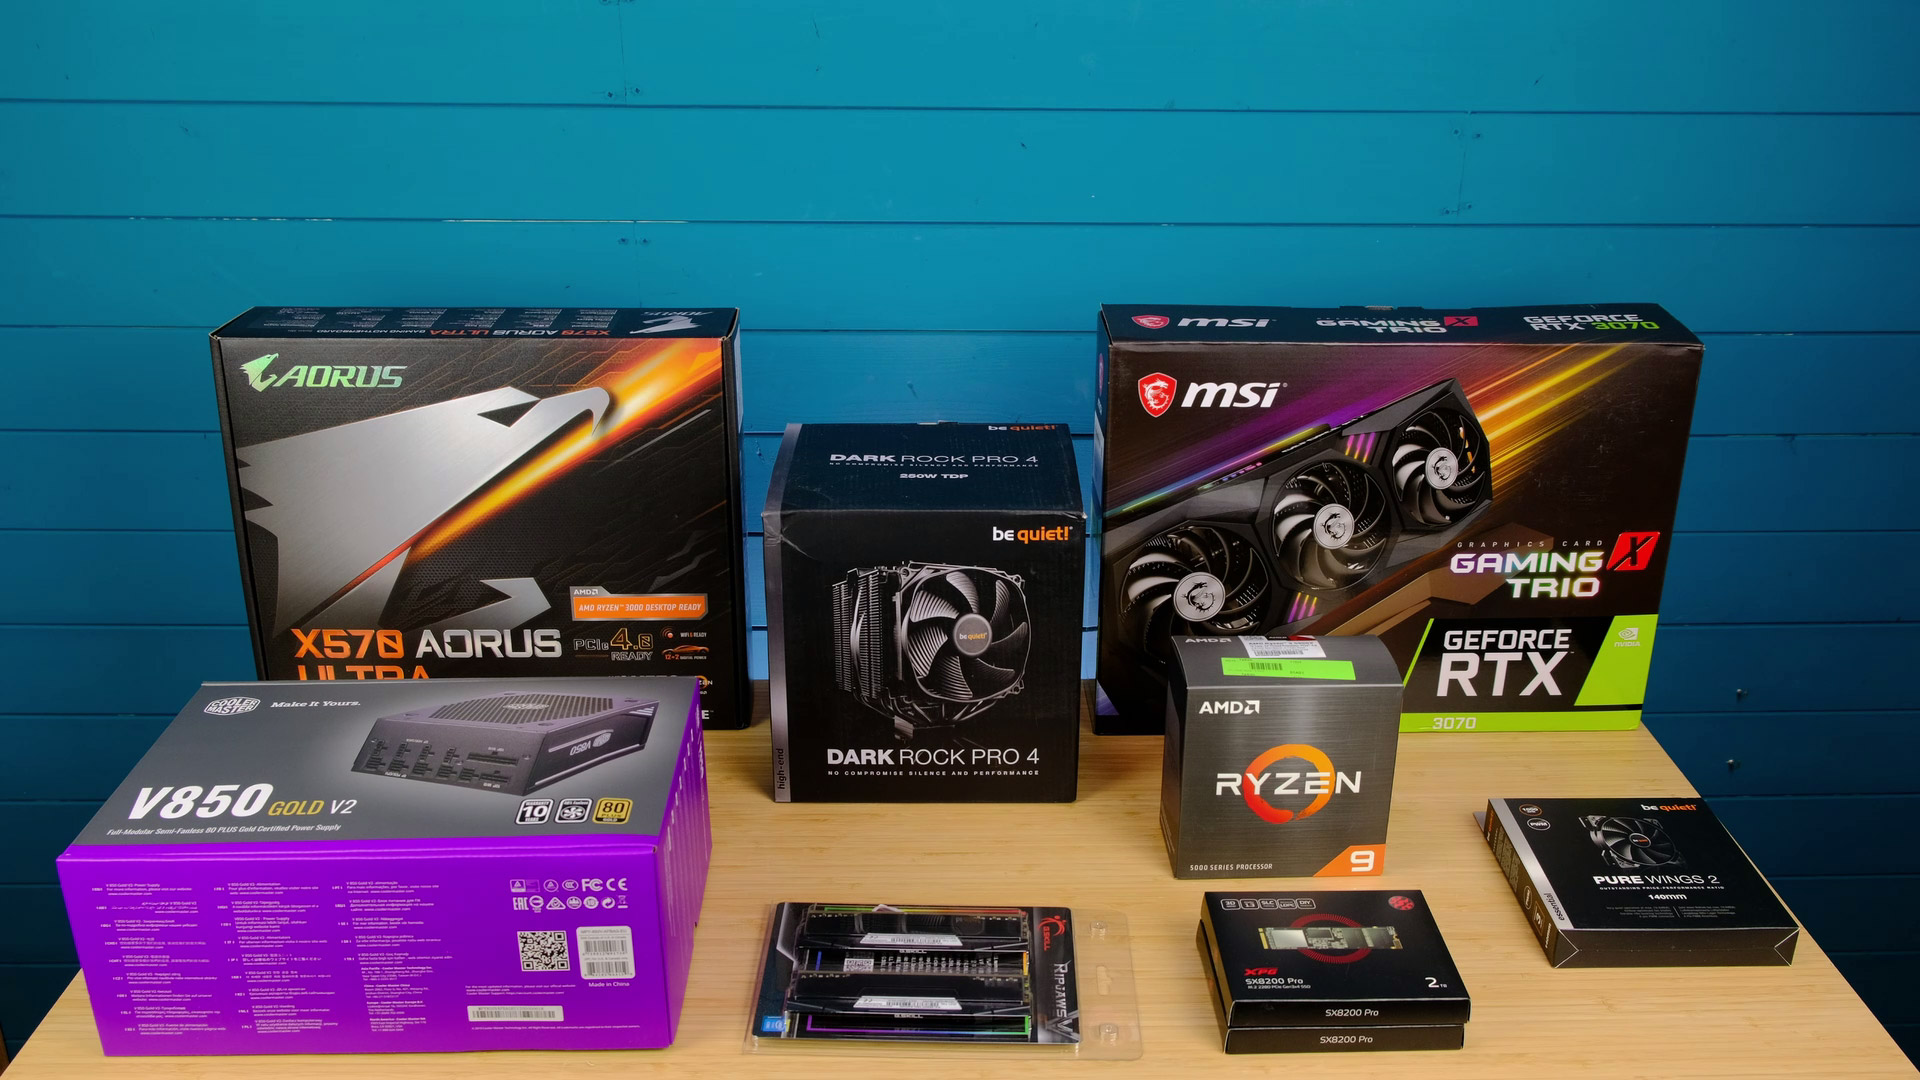
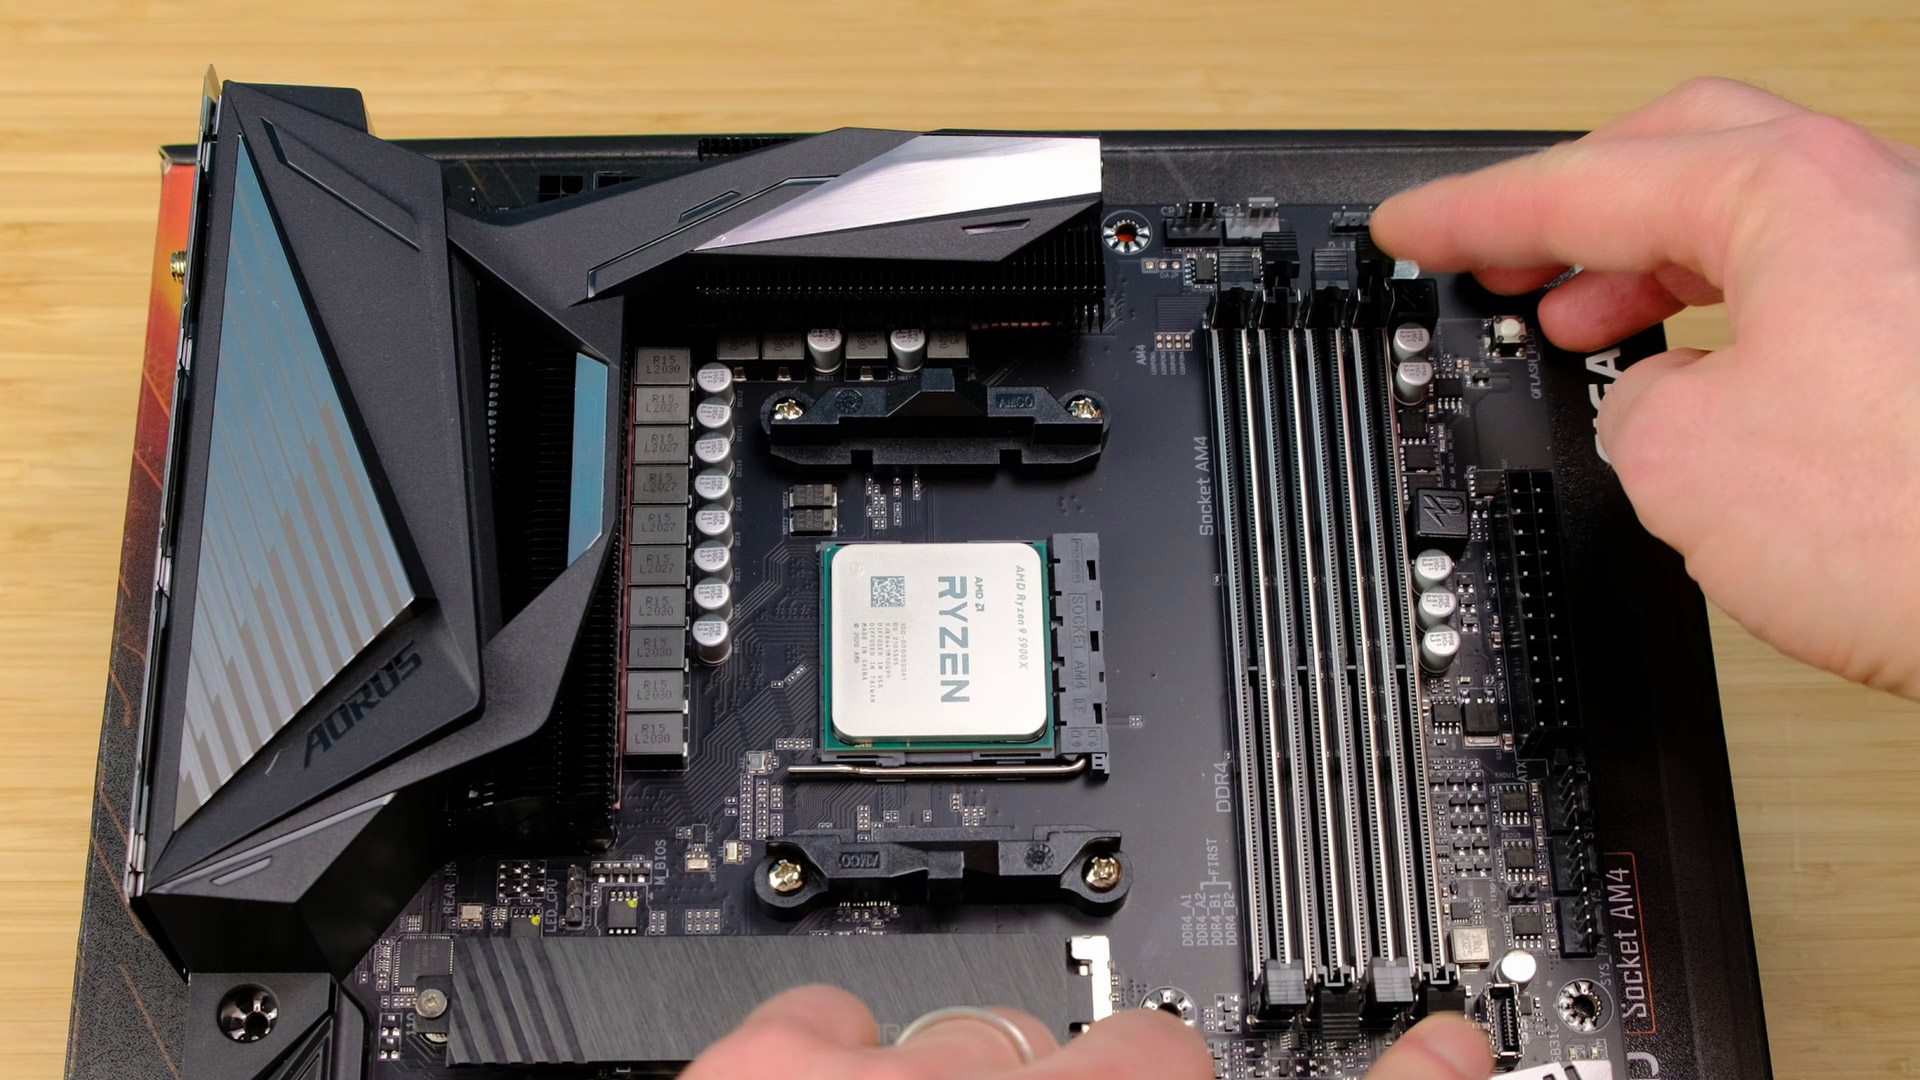
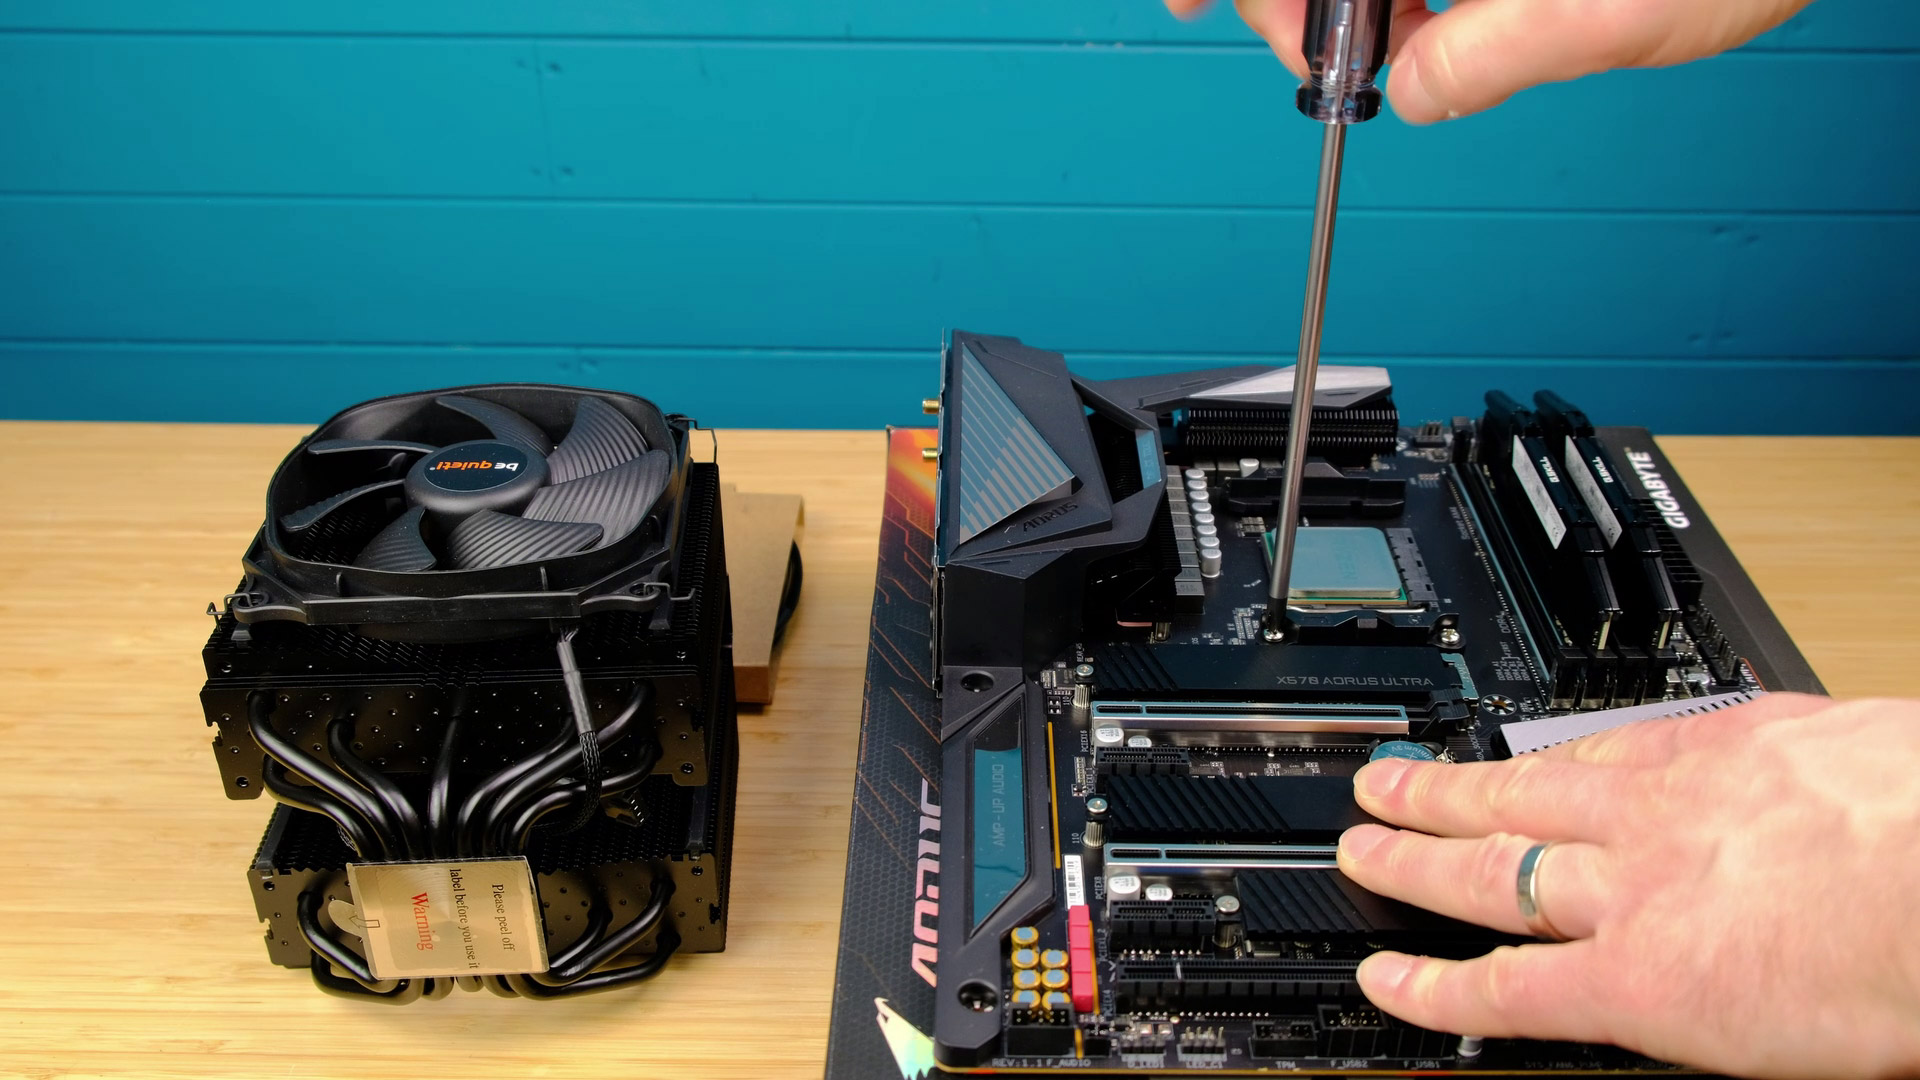
A motherboard of choice for this build is a Gigabyte X570 Aorus Ultra. It has really good VRMs, three PCIe 4.0 m.2 slots for NVME drives, and an integrated Wifi 6. This motherboard is capable of handling any Ryzen 5000 CPU.
Processor (CPU)
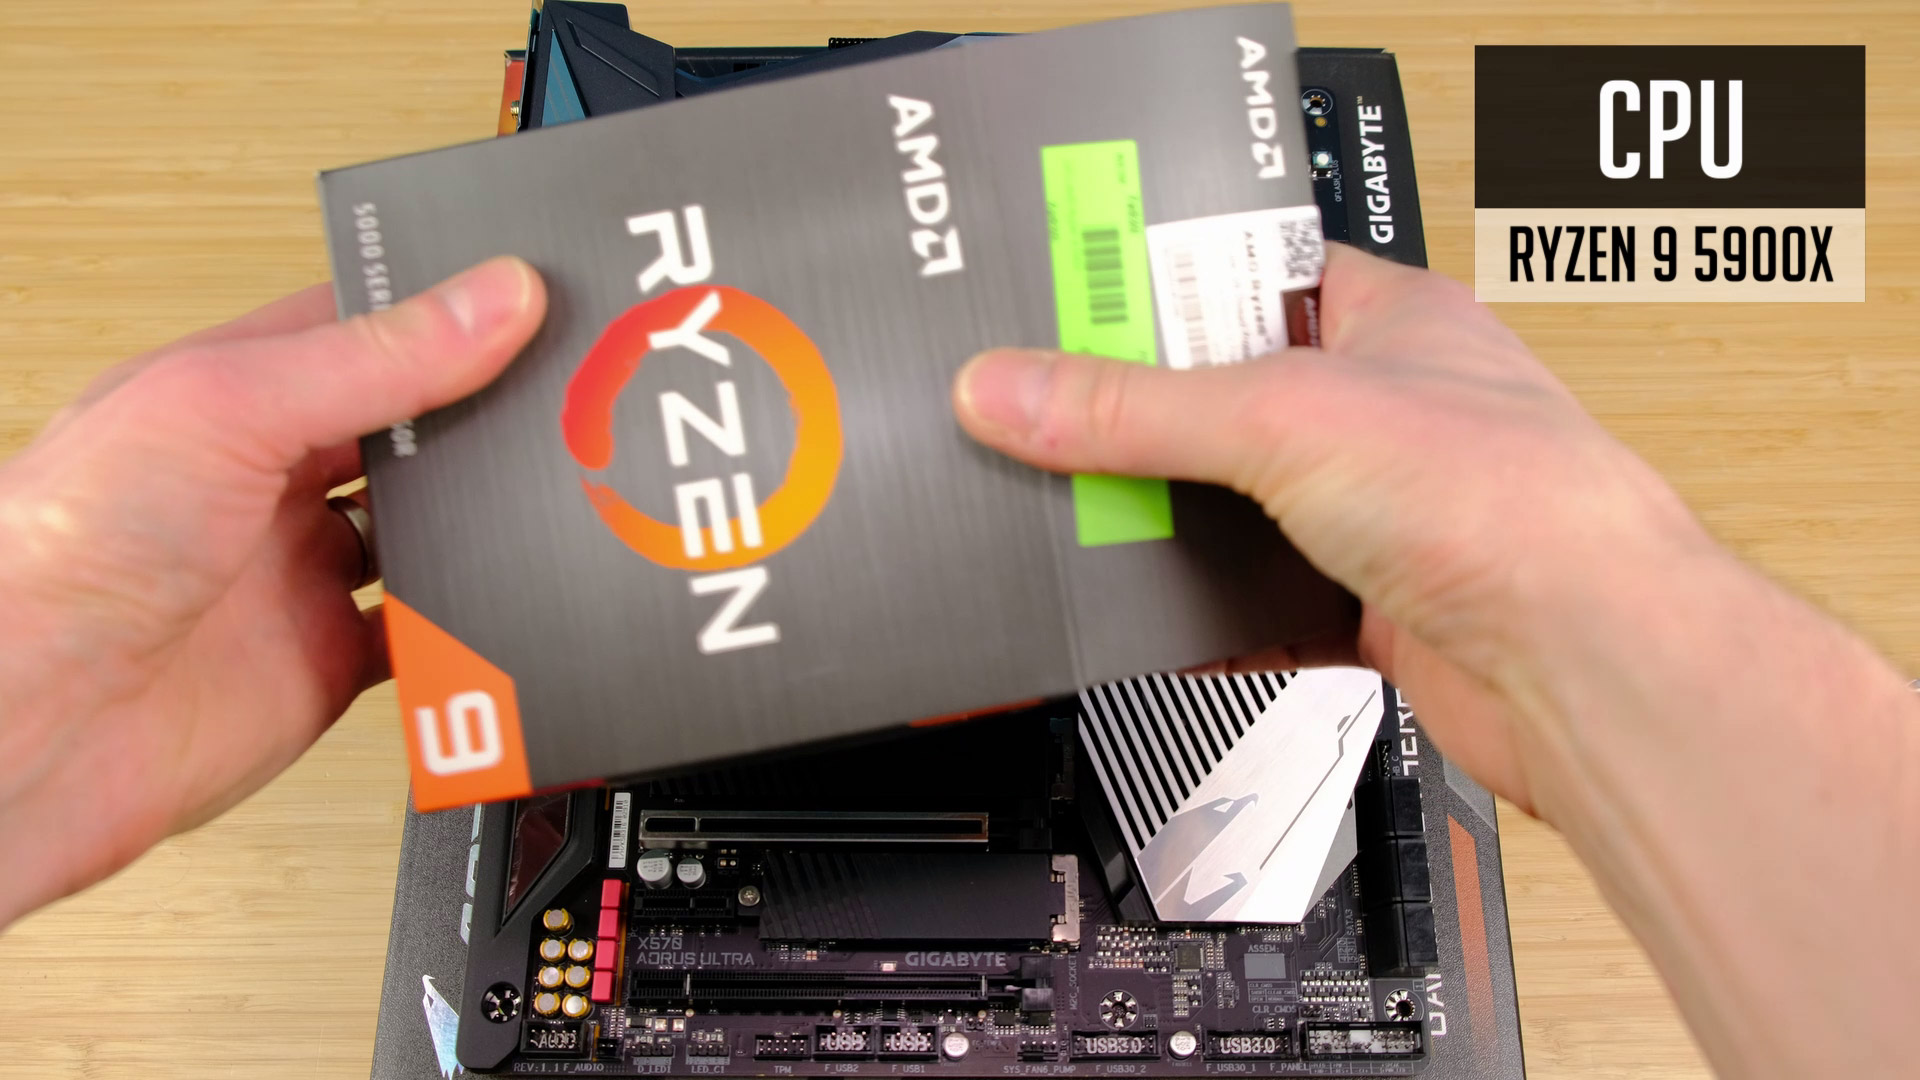
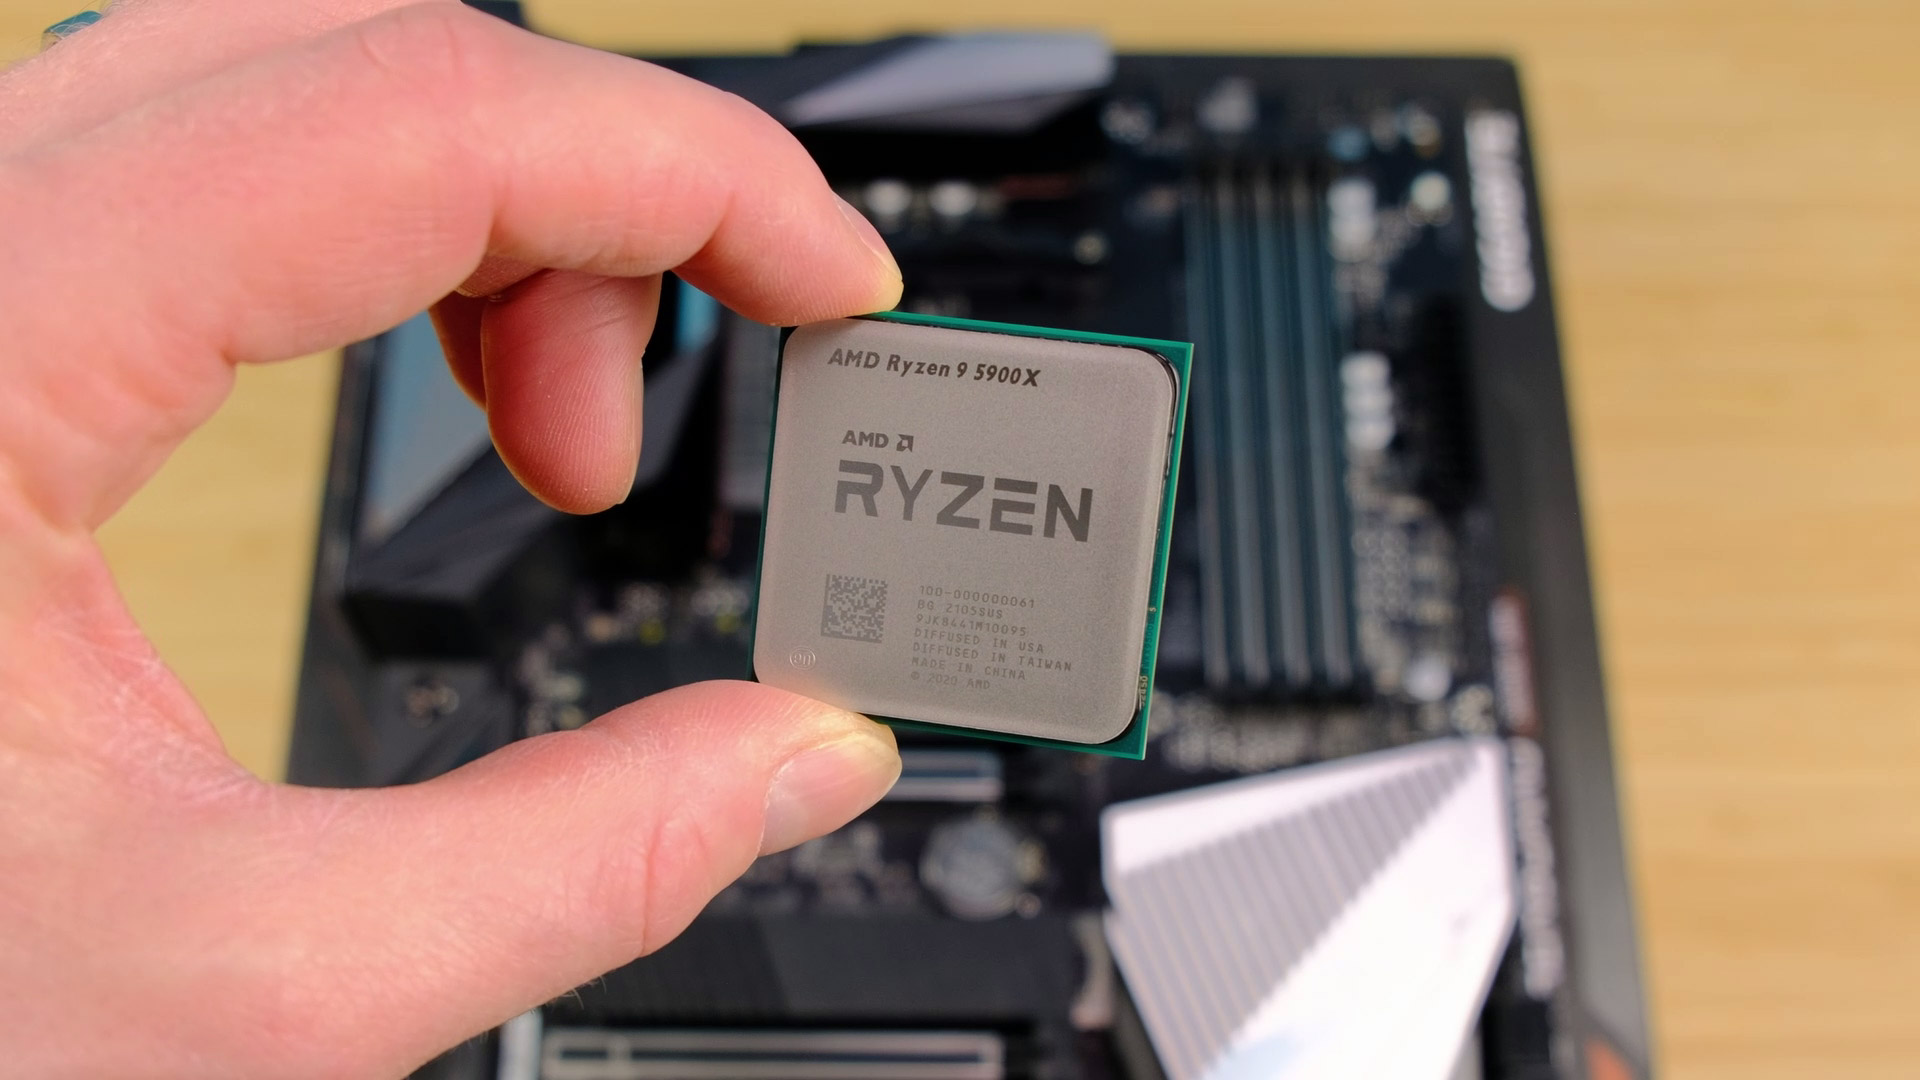


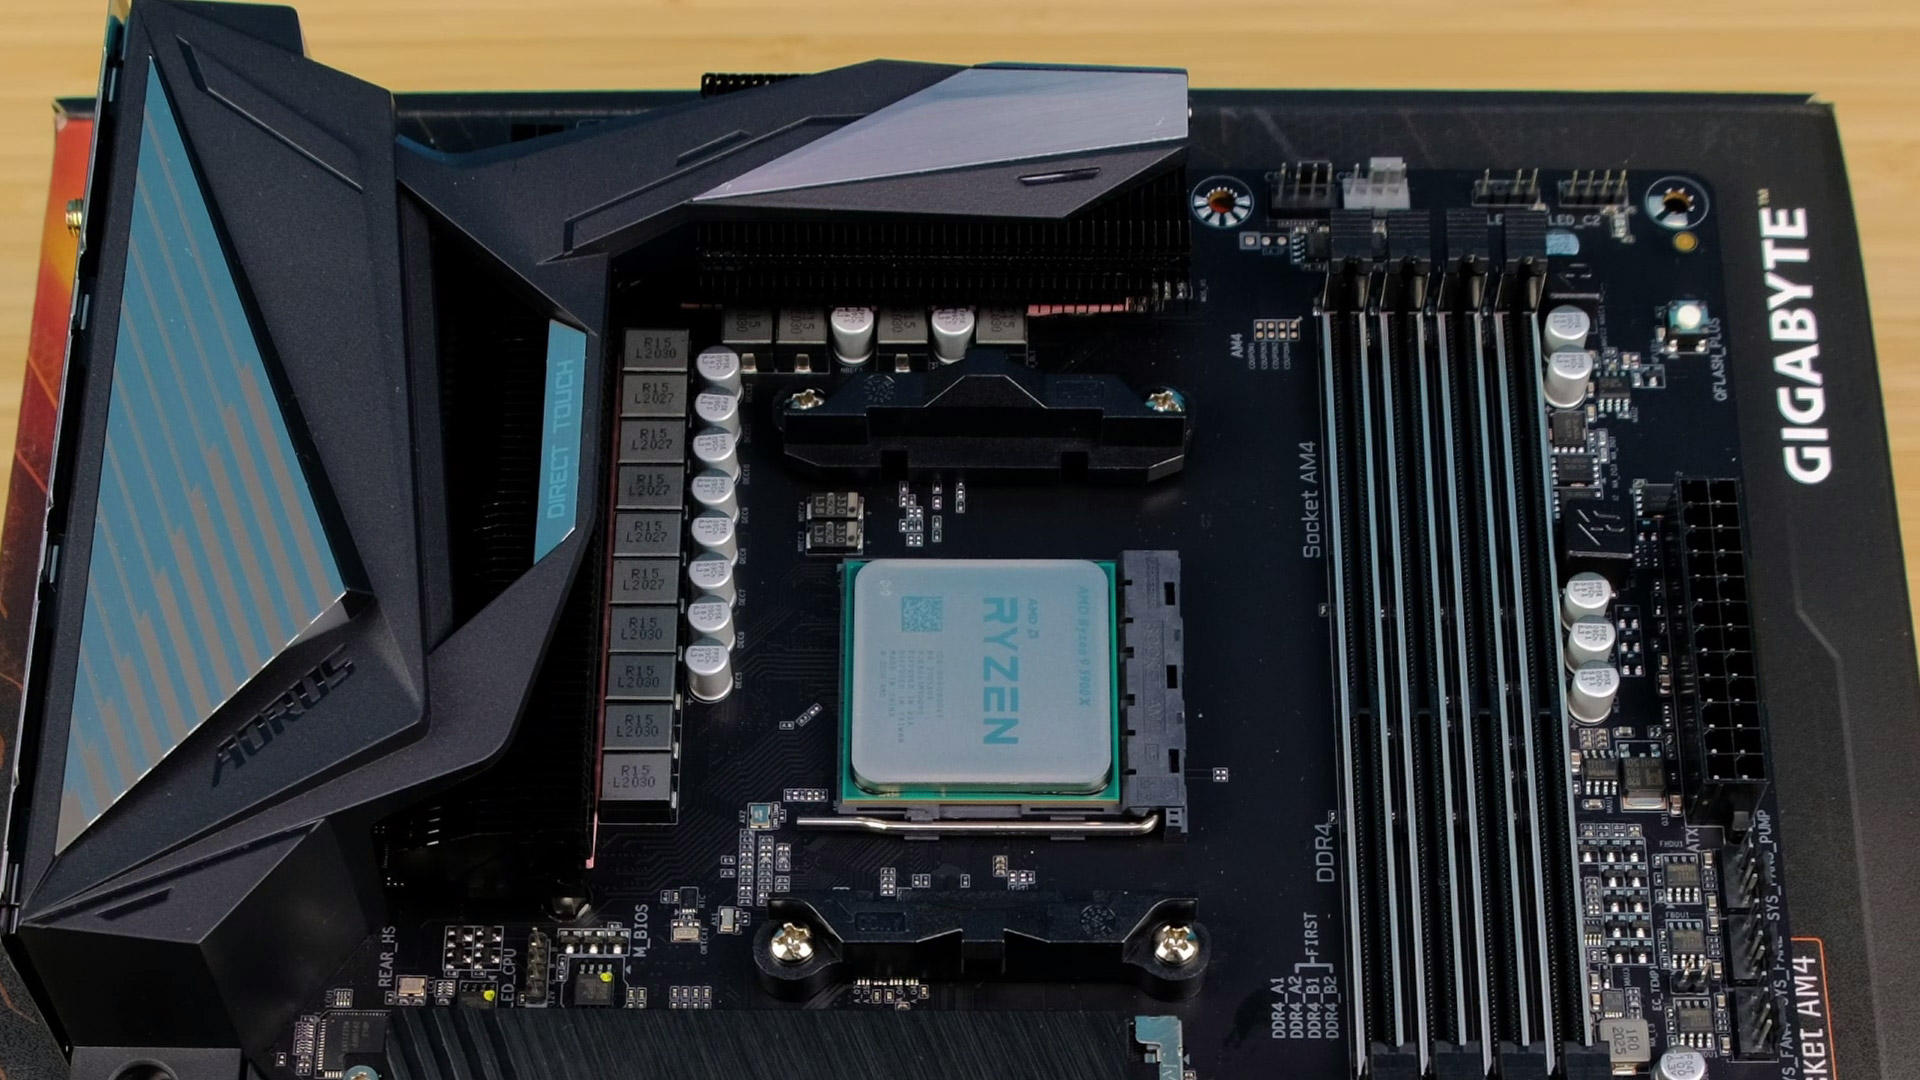
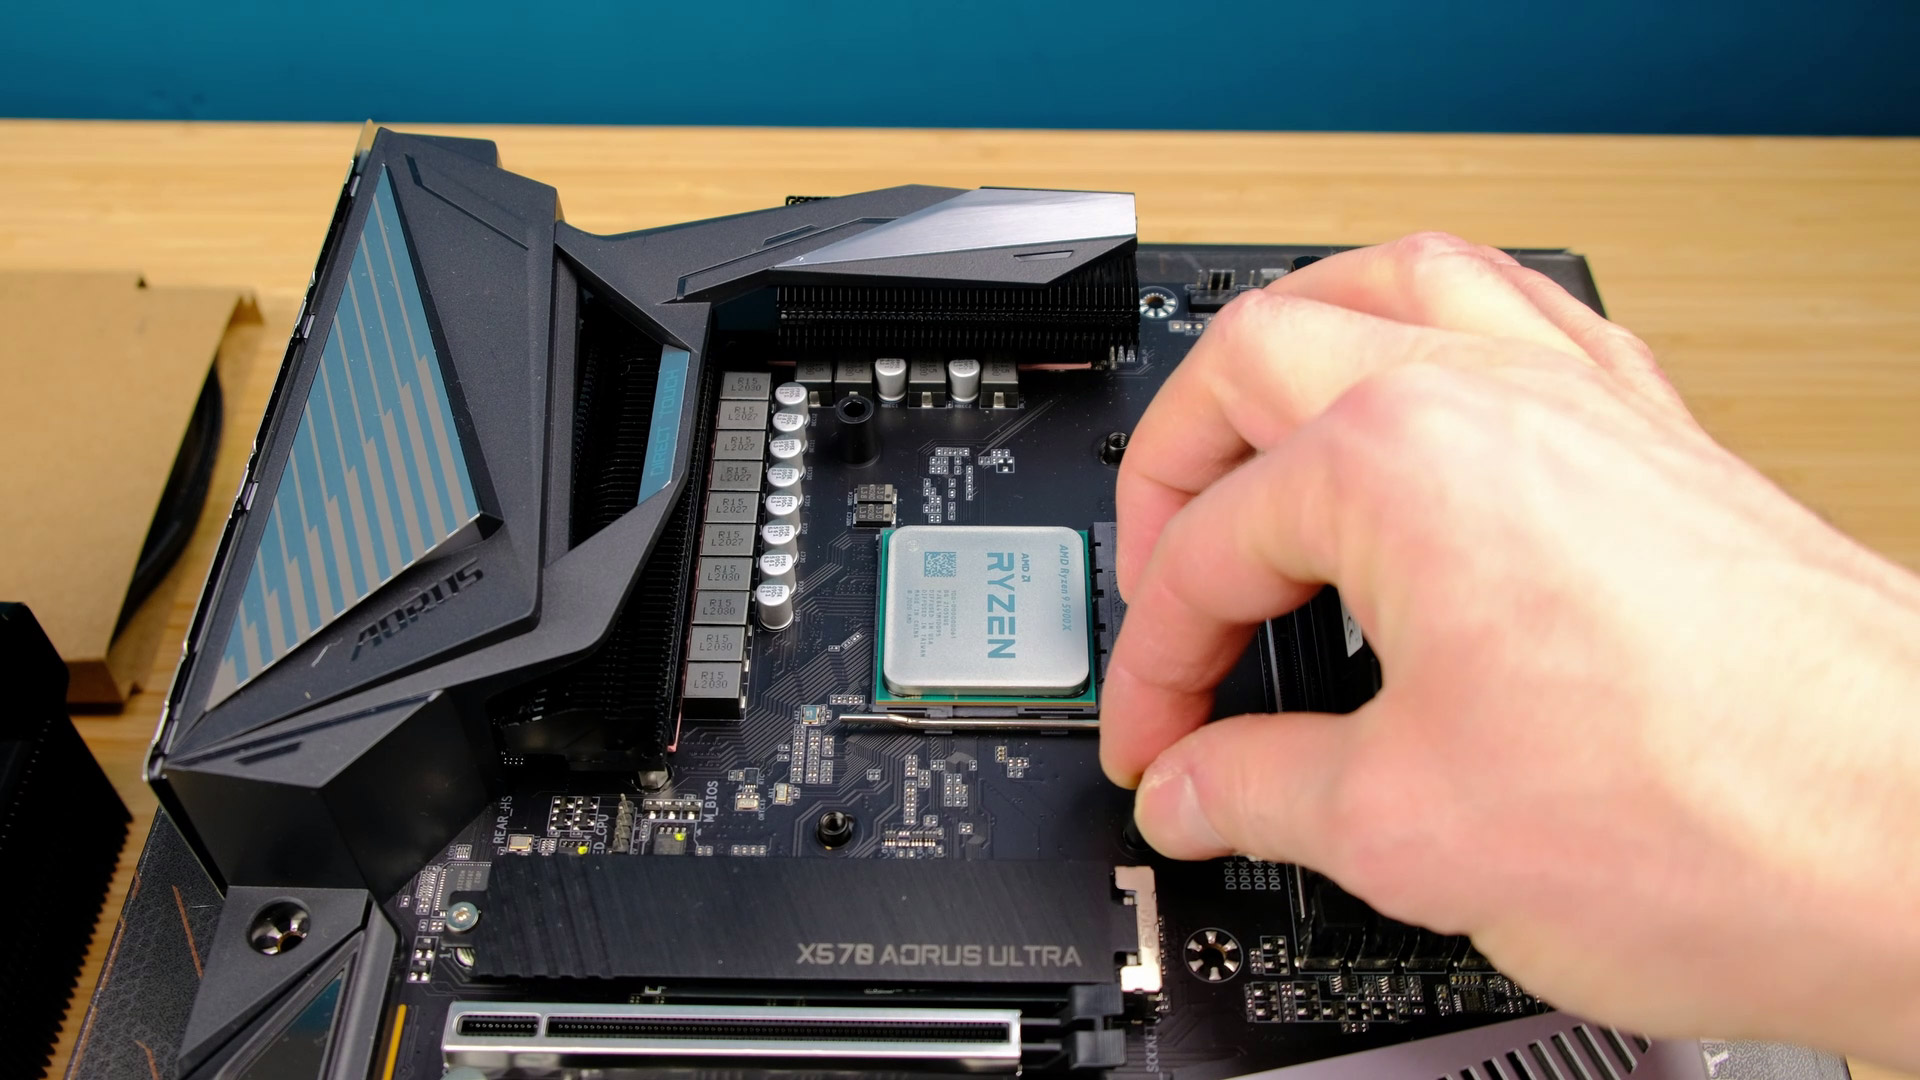
And in our case, we will be using 12 core beast Ryzen 9 5900x. It’s still a challenge to find this CPU in some regions, but it’s definitely one of the best choices if you need those cores for video editing or any other core-heavy applications.
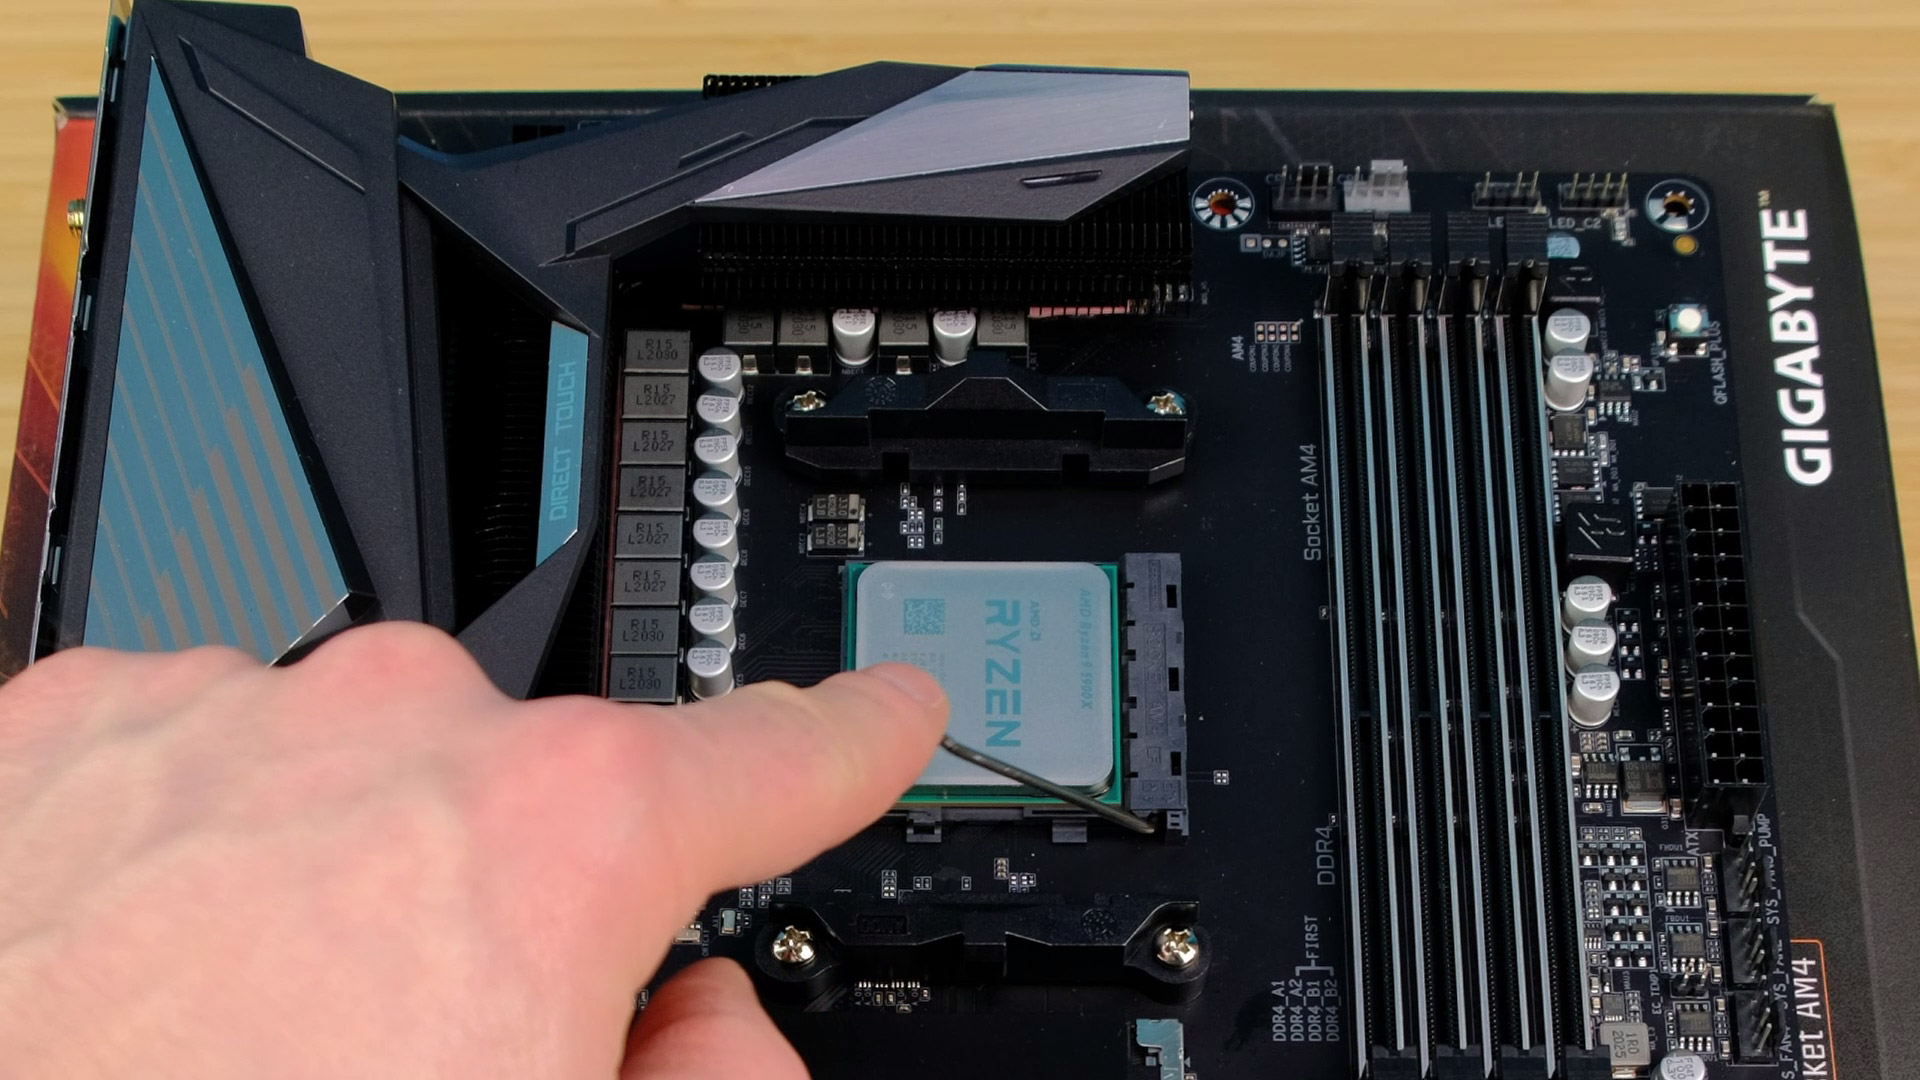
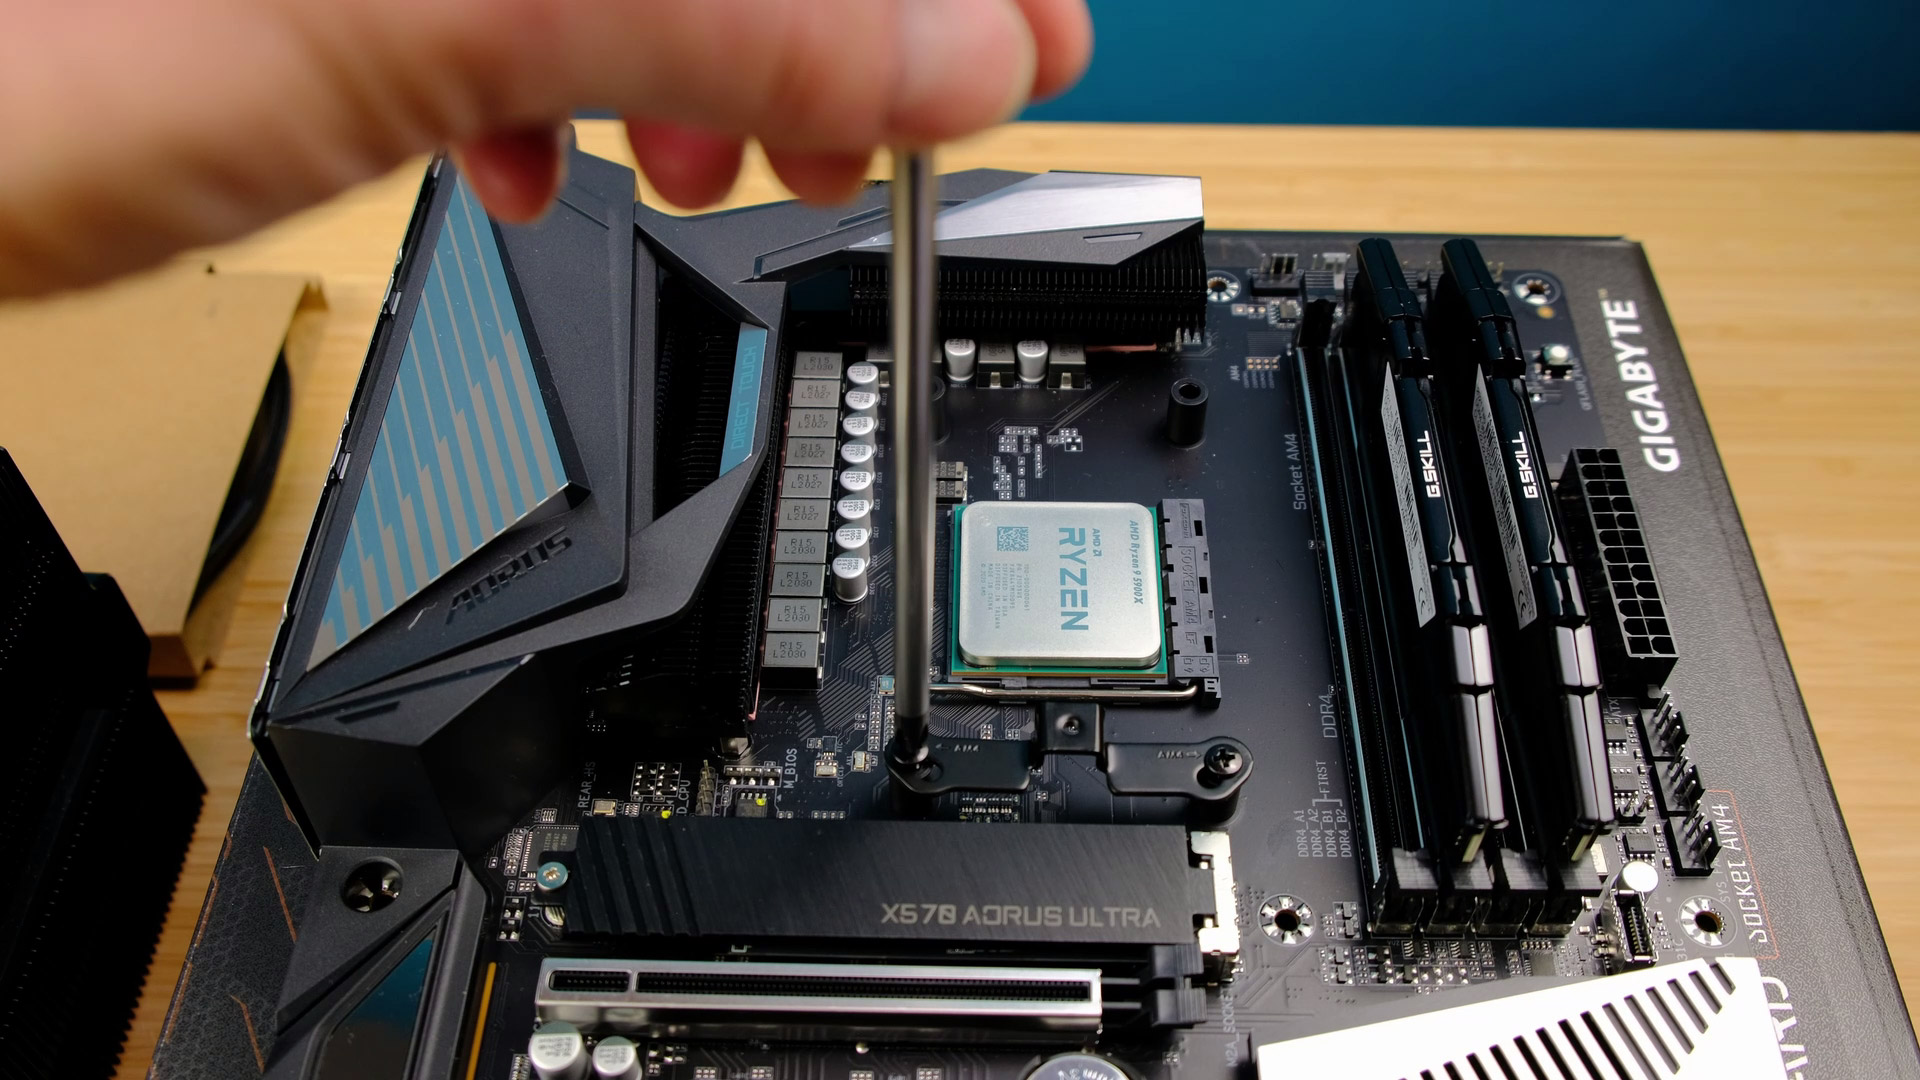
For a strictly gaming PC, Ryzen 5 5600x or Ryzen 7 5800x is more than enough, even when paired with the best performing GPUs. CPU installation is really simple:
- At first, pull up this arm;
- Find a small triangle on a CPU and align it with a triangle on a socket;
- Gently place a CPU into a socket;
- And finally, return the same arm down to lock a CPU in place.
Storage (SSD)
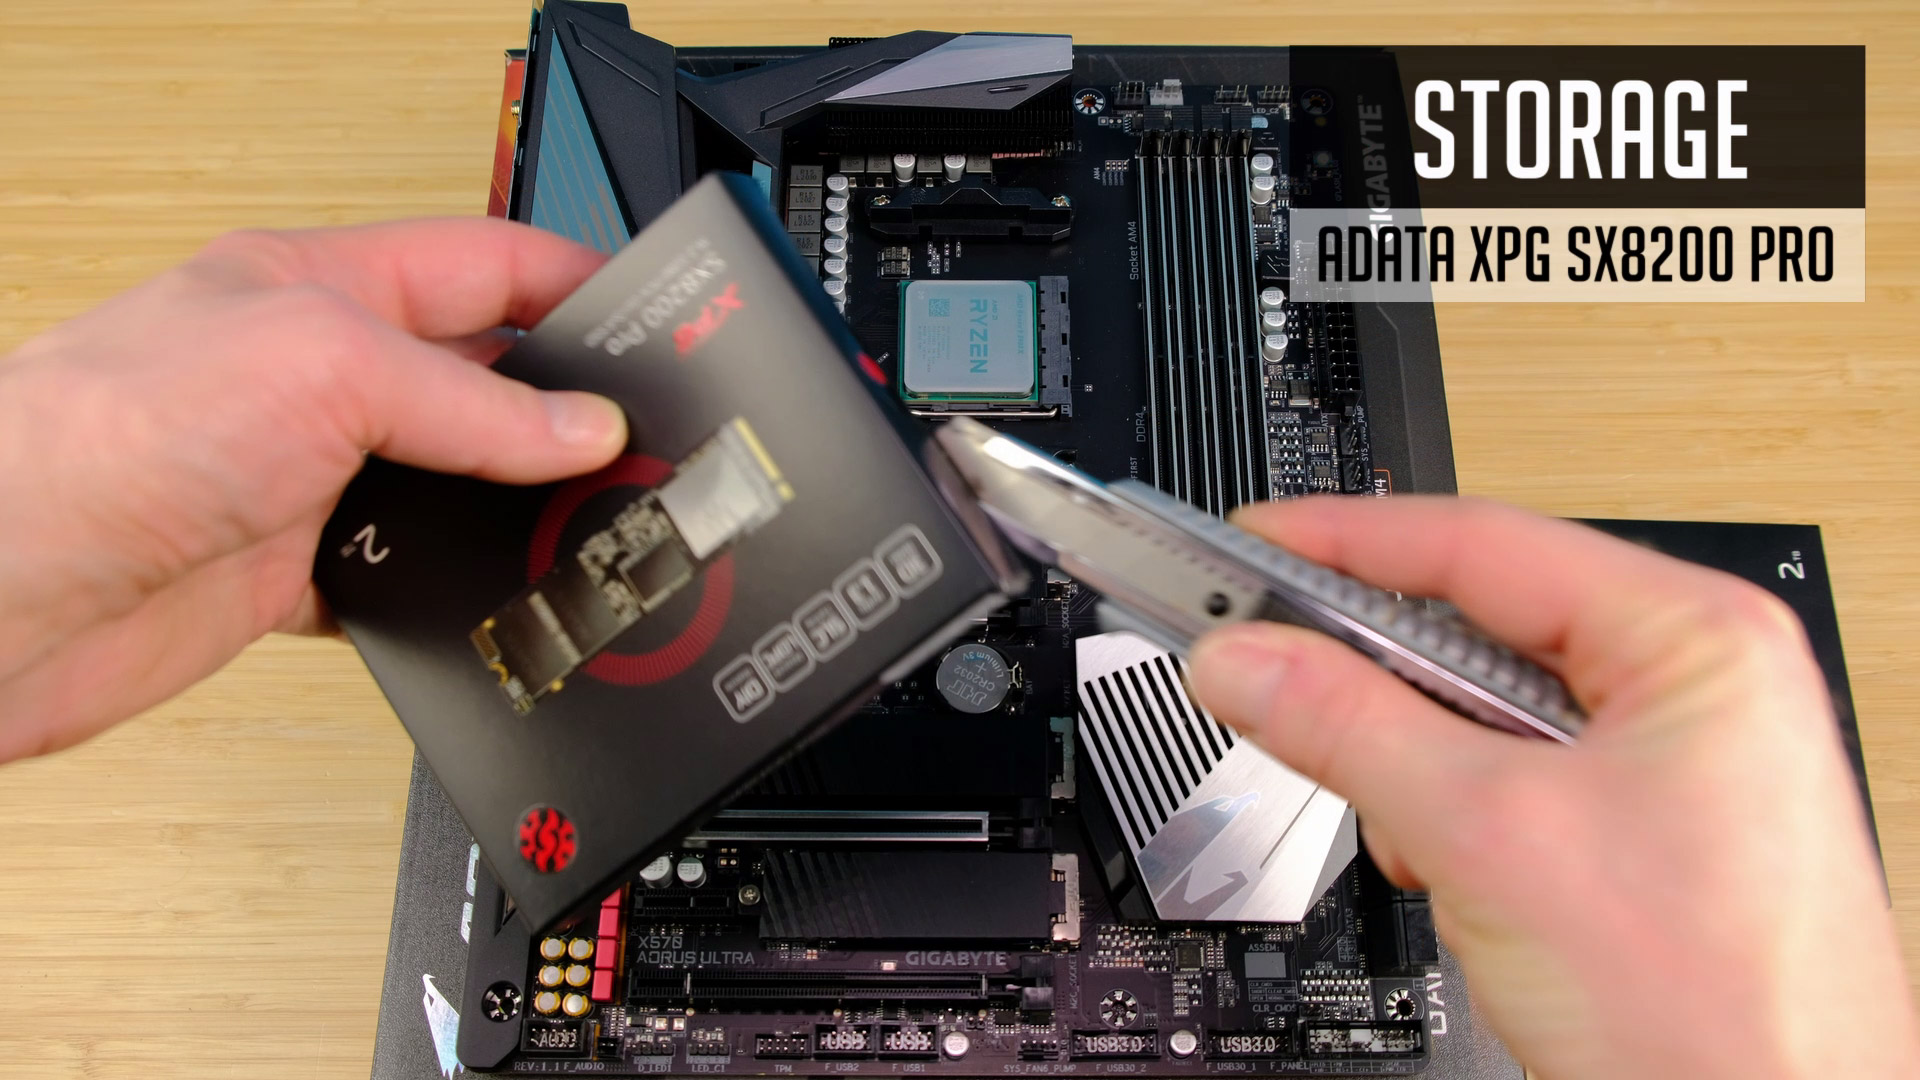


Next, we have a few NVME SSDs to install. Even though our motherboard support PCIe. 4.0 drives, they are still expensive and not worth paying a premium for now.
I’m using Adata SX8200 PRO – 2 TB SSDs. This particular model is performing very well, but costs less than say a Samsung NVME counterpart.
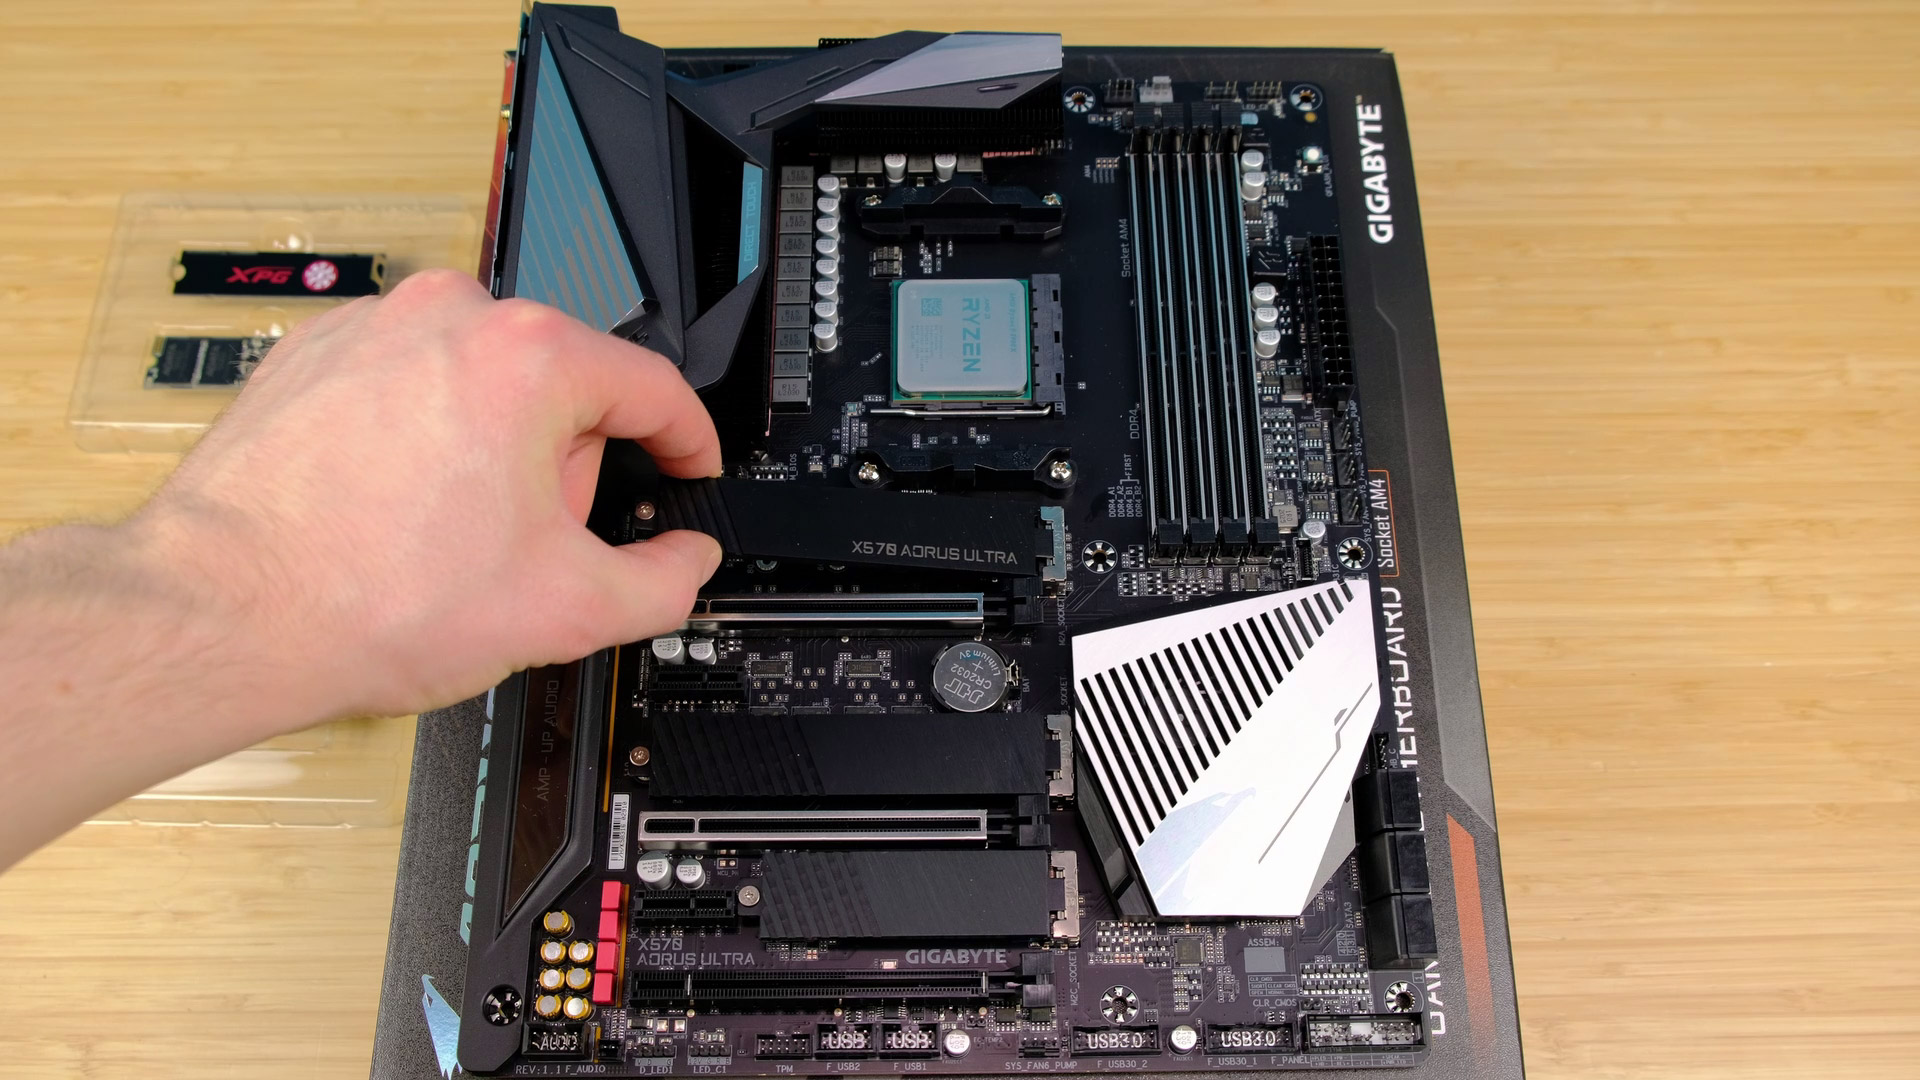
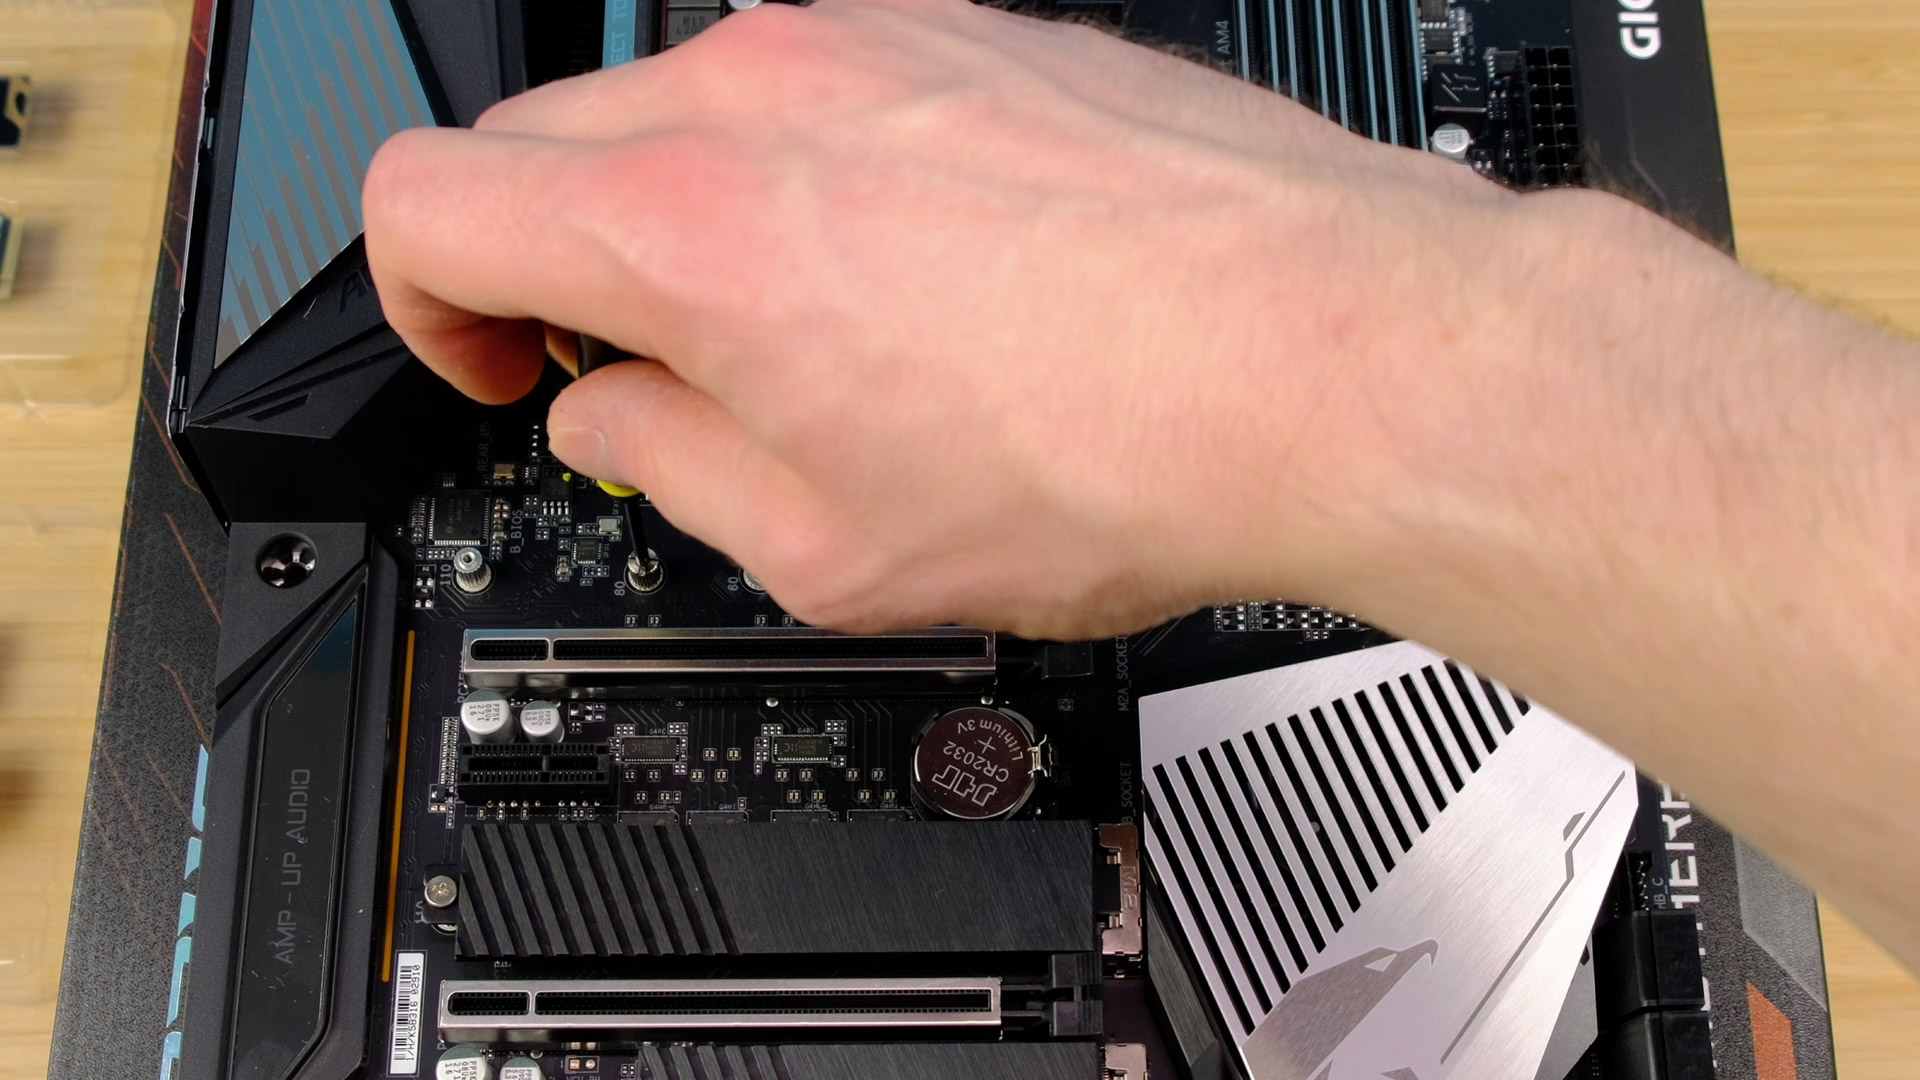
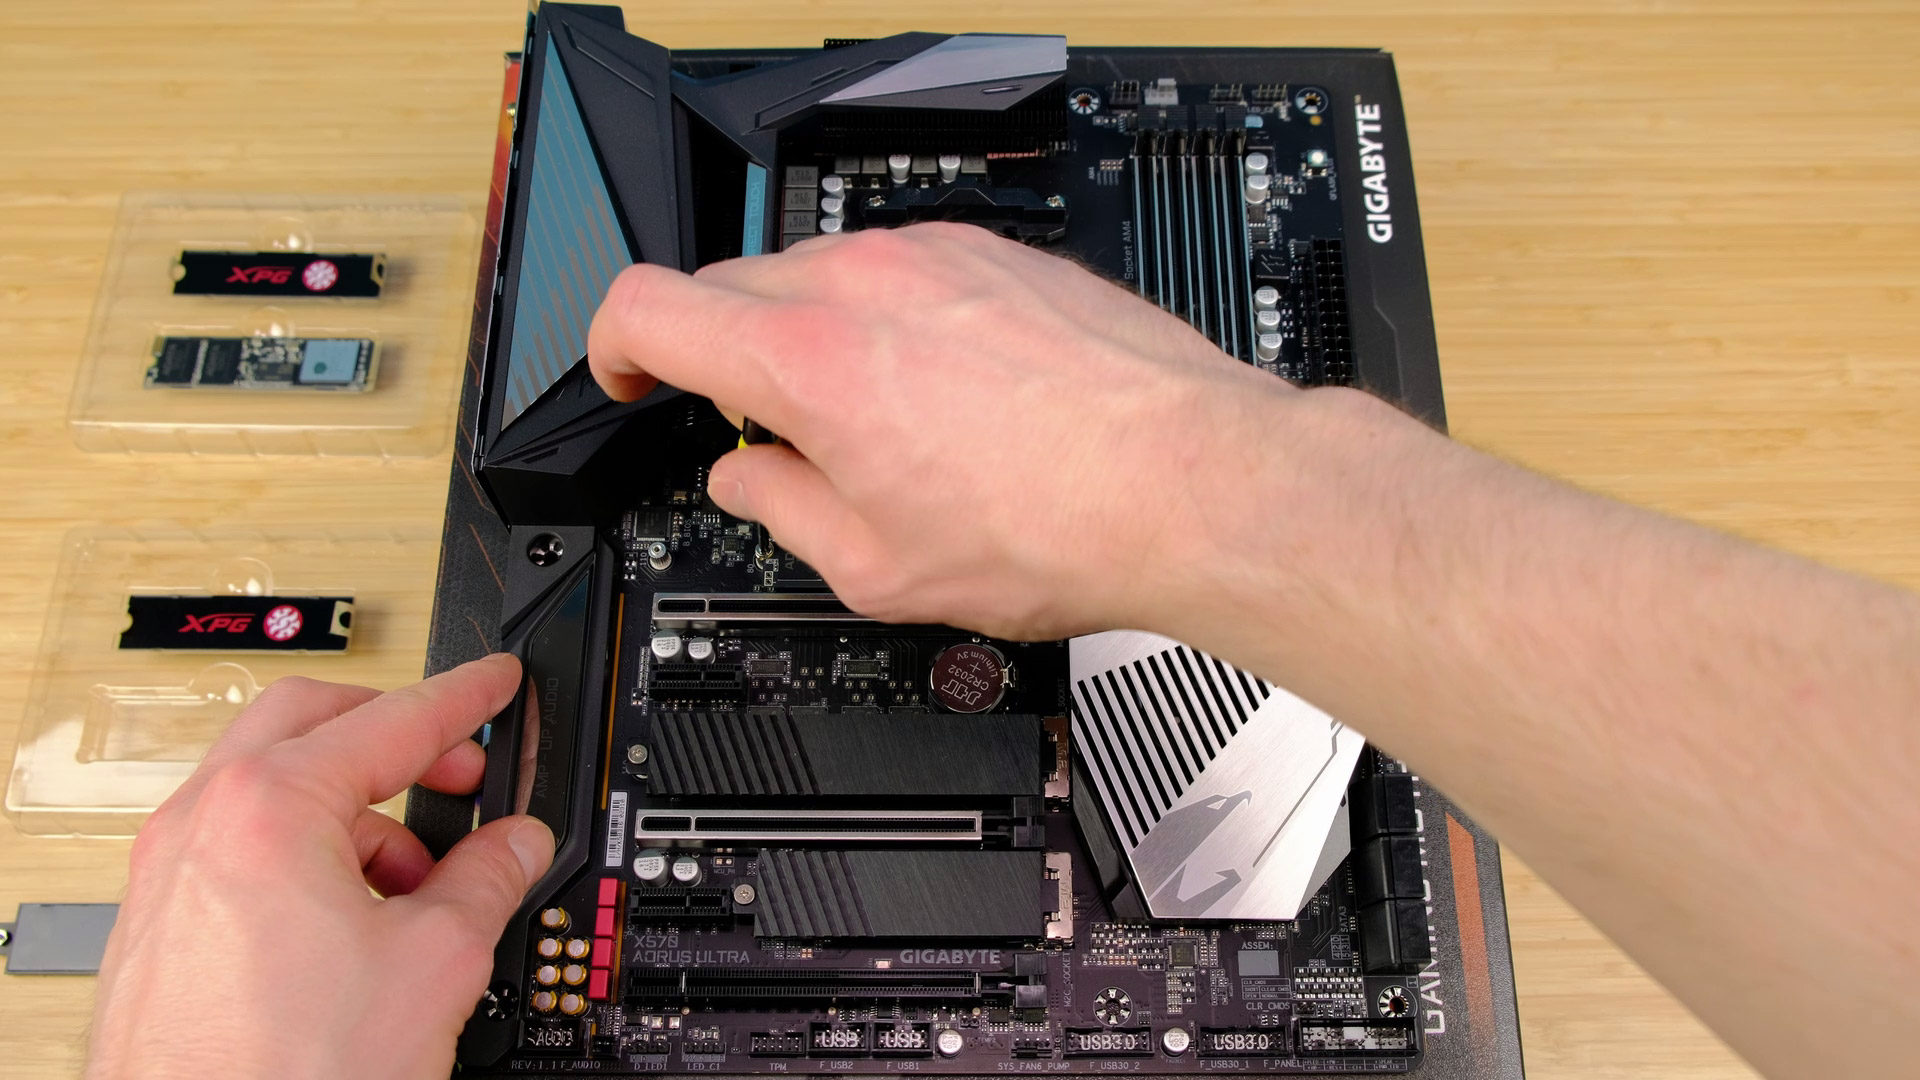
- Firstly, we need to remove the m.2 shield;
- Then screw m.2 standoff that should be included with your motherboard;
- Insert m.2 drive at around 30-degree angle;
- Then use a super small m.2 screw to secure it in place;
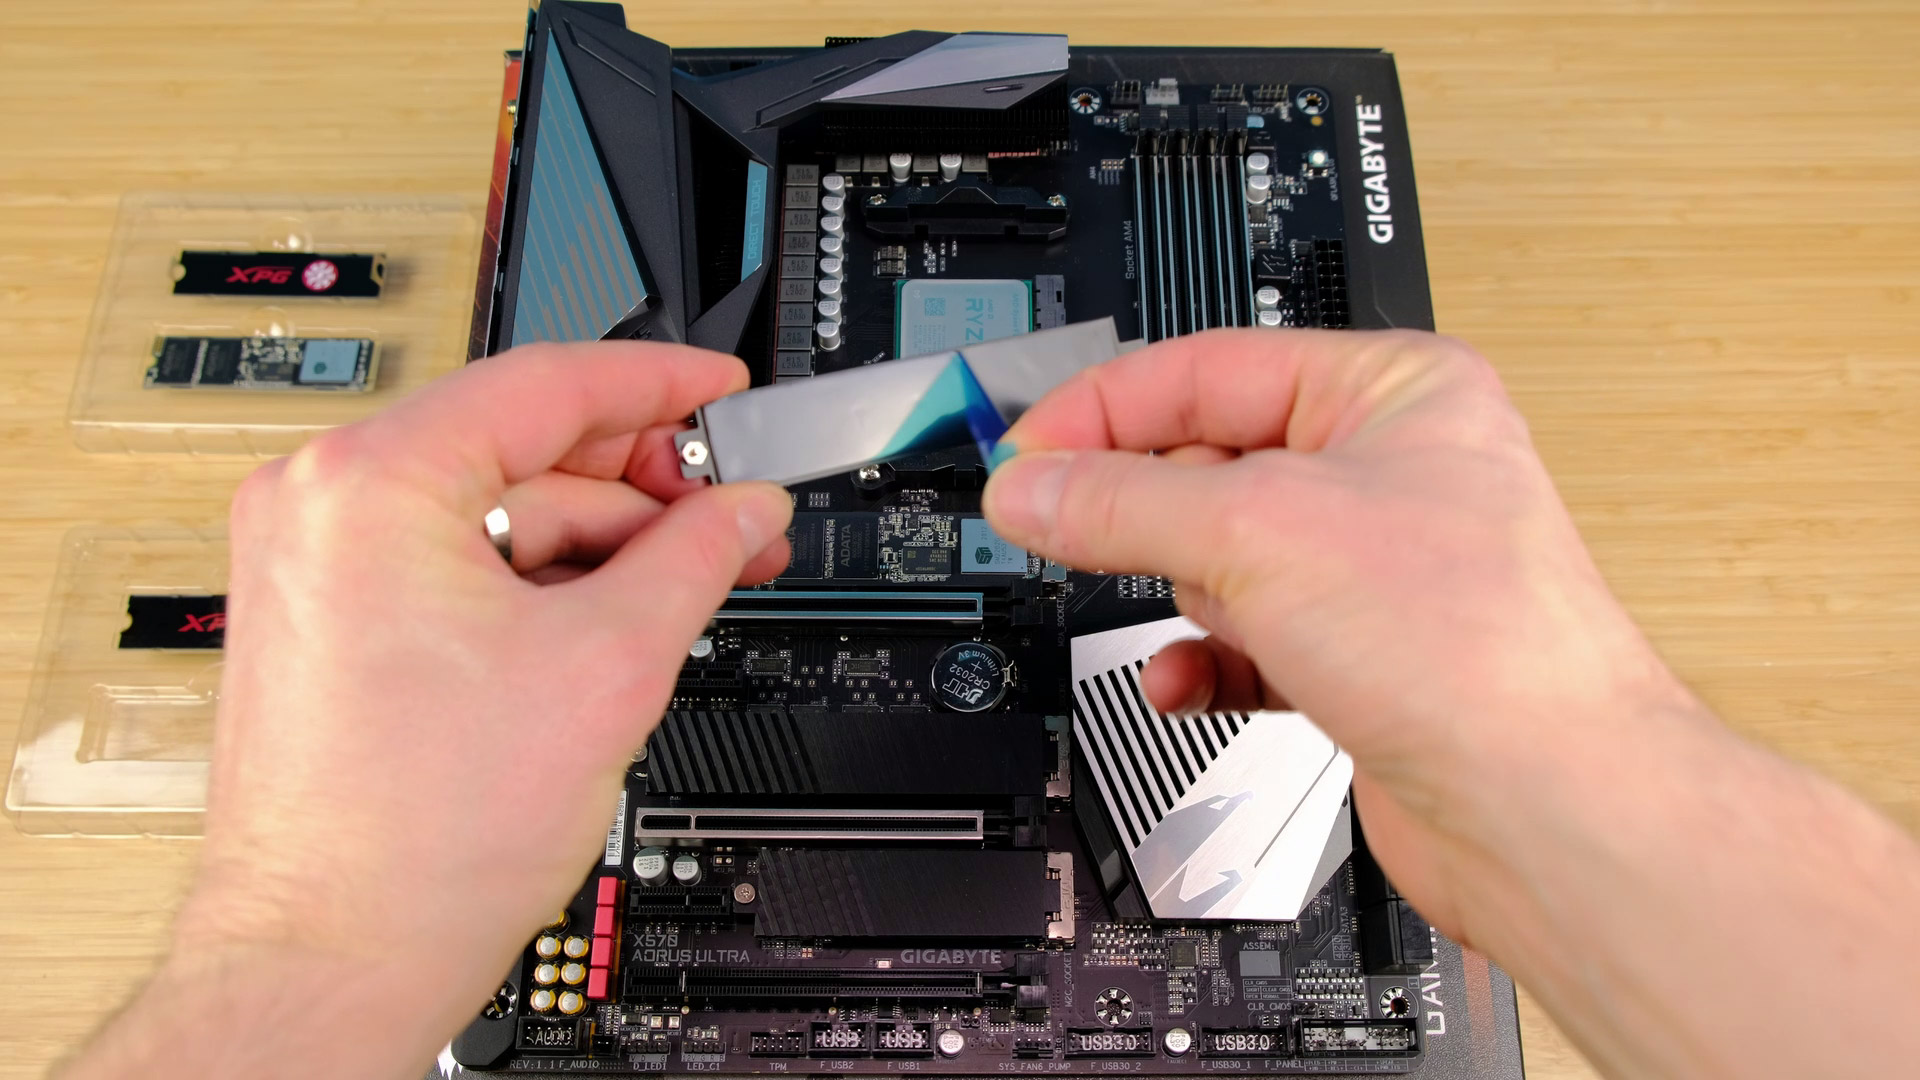
- And finally, peel protection if any from an m.2 shield and screw it in place.
Same procedure for the 2nd NVME drive and we are ready to move on.
Memory (RAM)
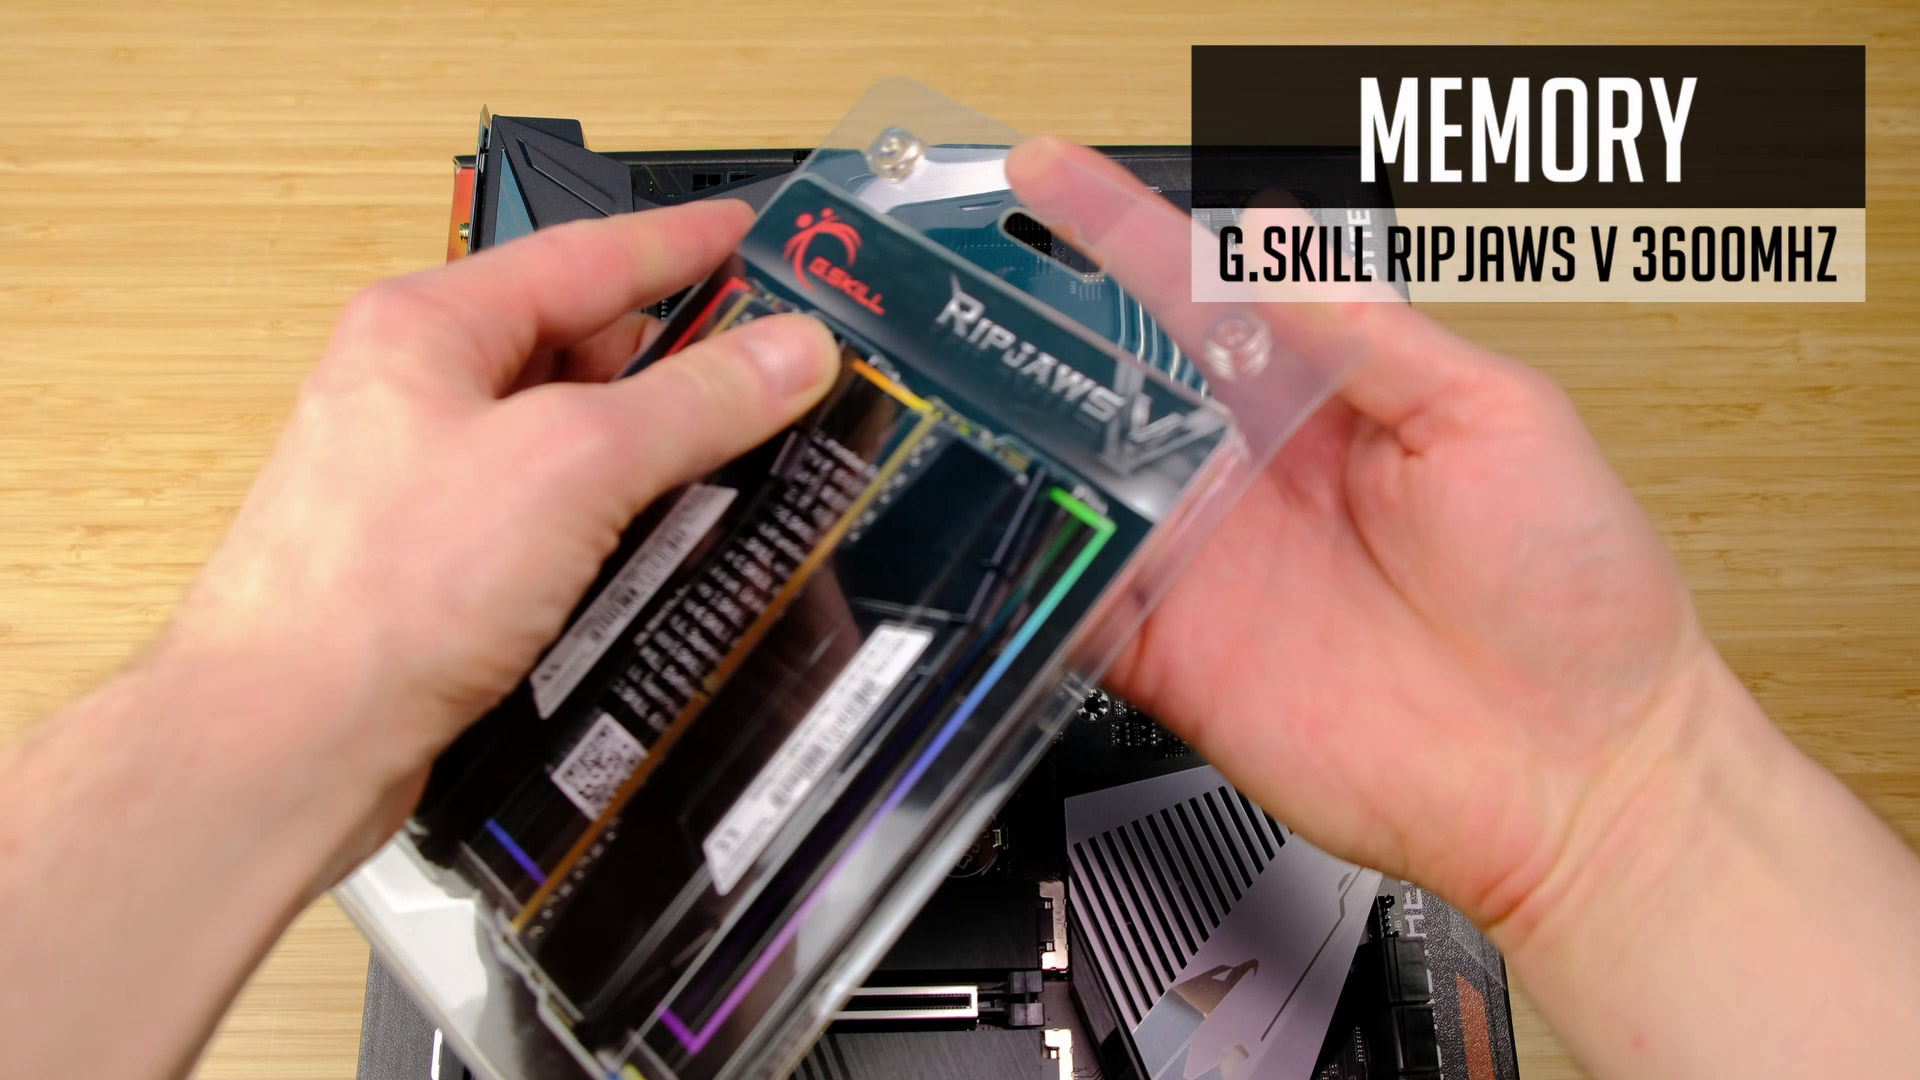
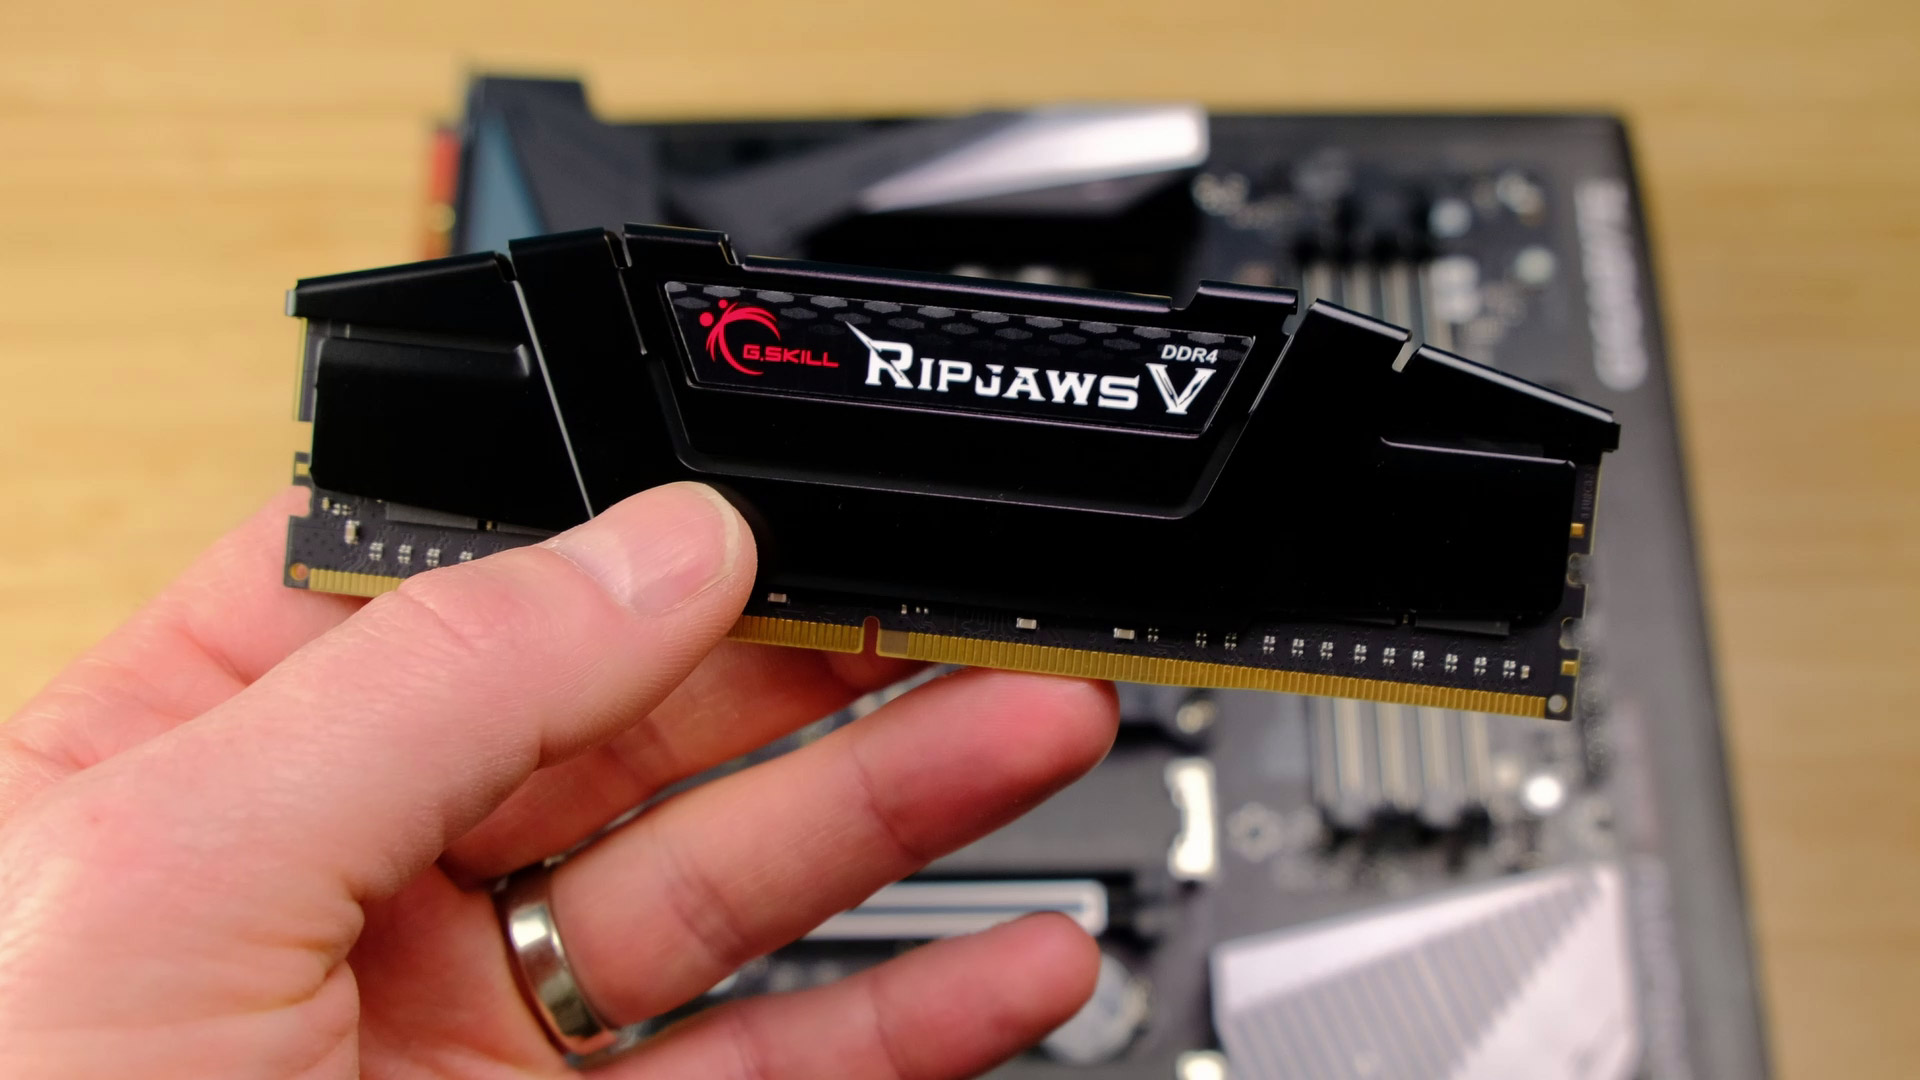
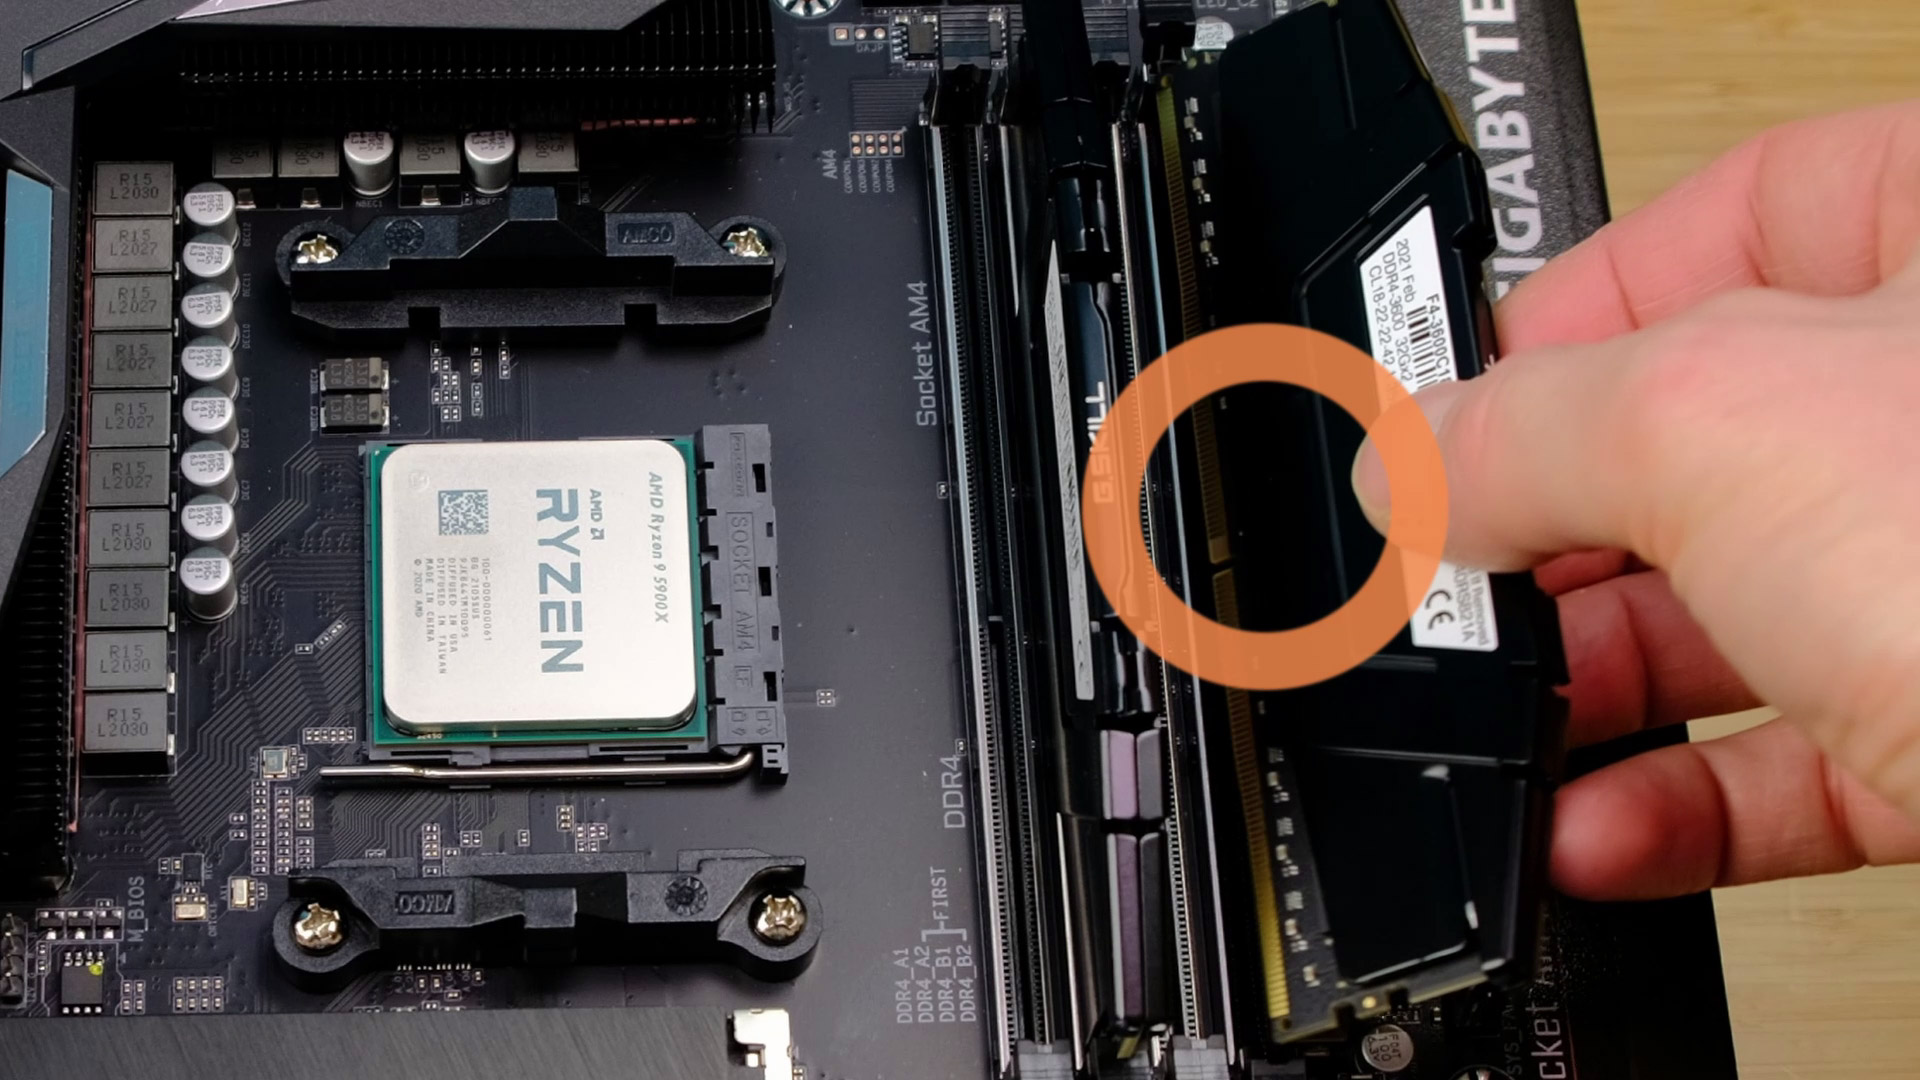
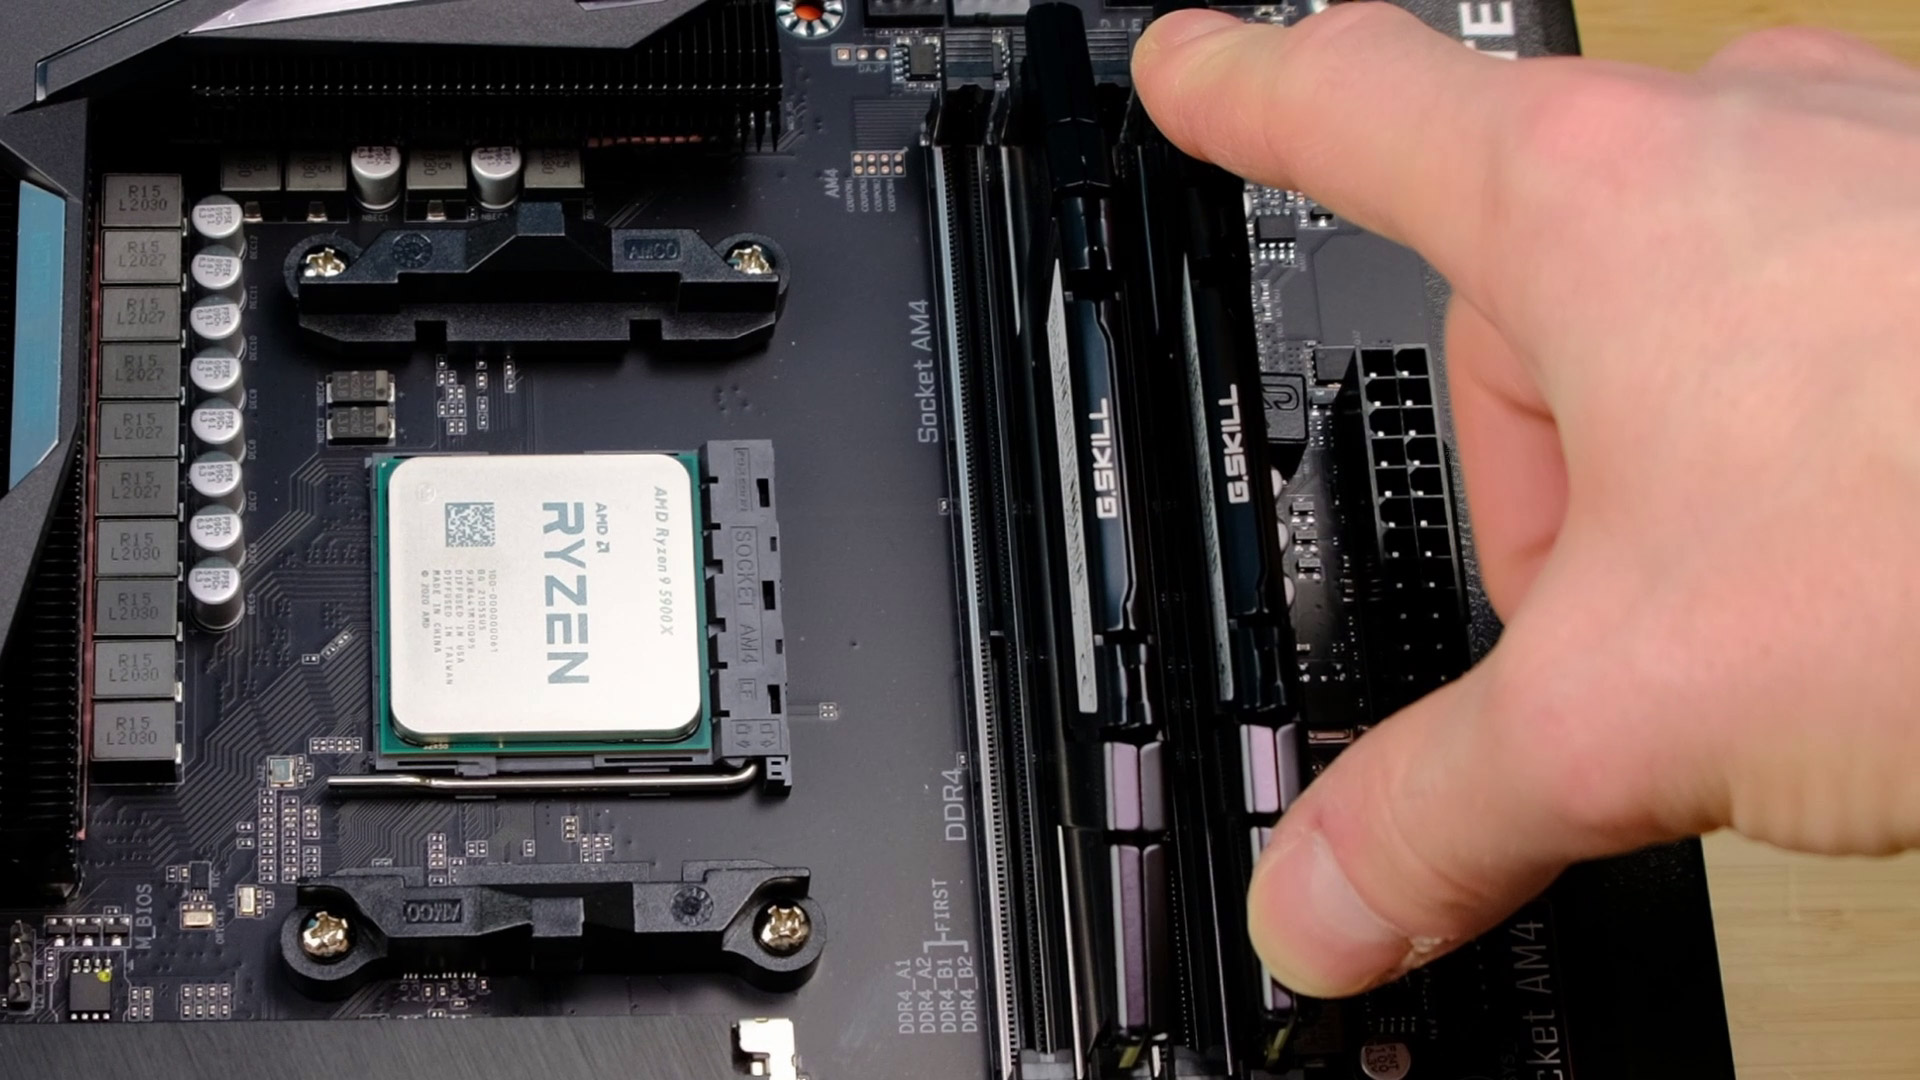
Our ram choice for today is a 64GB kit from a G.Skill. Ram is rated at 3600mhz so it should play well with Ryzen 9 5900x.
It’s definitely an overkill for a gaming system and you should probably go for a 16GB or 32GB kit for sure. But in our case, it will be used for video editing as well, so additional ram is needed.
Be sure your rams stick height is compatible with a CPU cooler you want to use since high-end air coolers are so big and they can cover a few or even all of your RAM slots.
Installing RAM is straightforward:
- Pull back those tabs on DIMM slots you will be installing your RAM sticks;
- Line up a gap at the bottom of a ram sticks and DIMM slots;
- And slide them in.
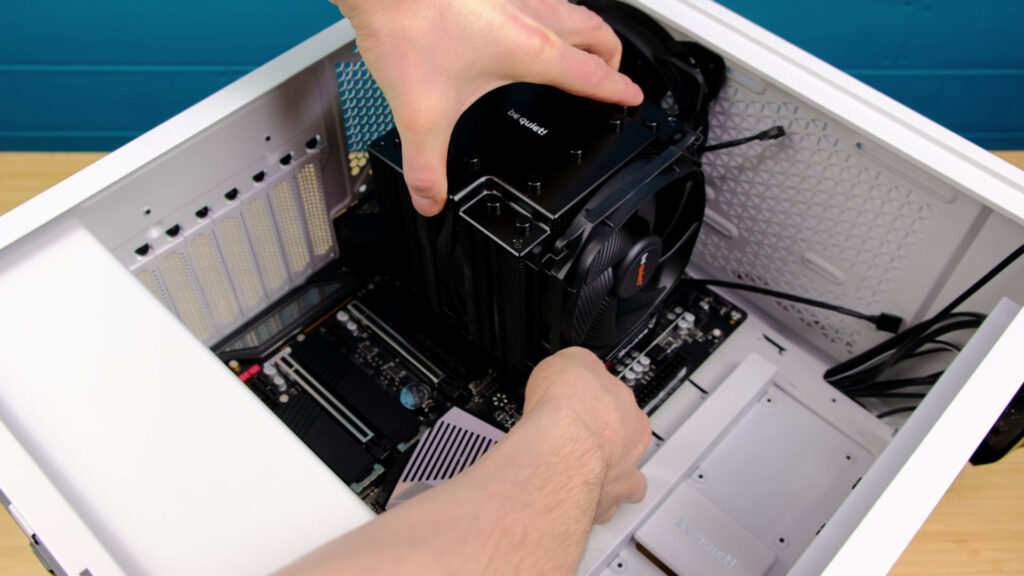
Processor (CPU) Cooler

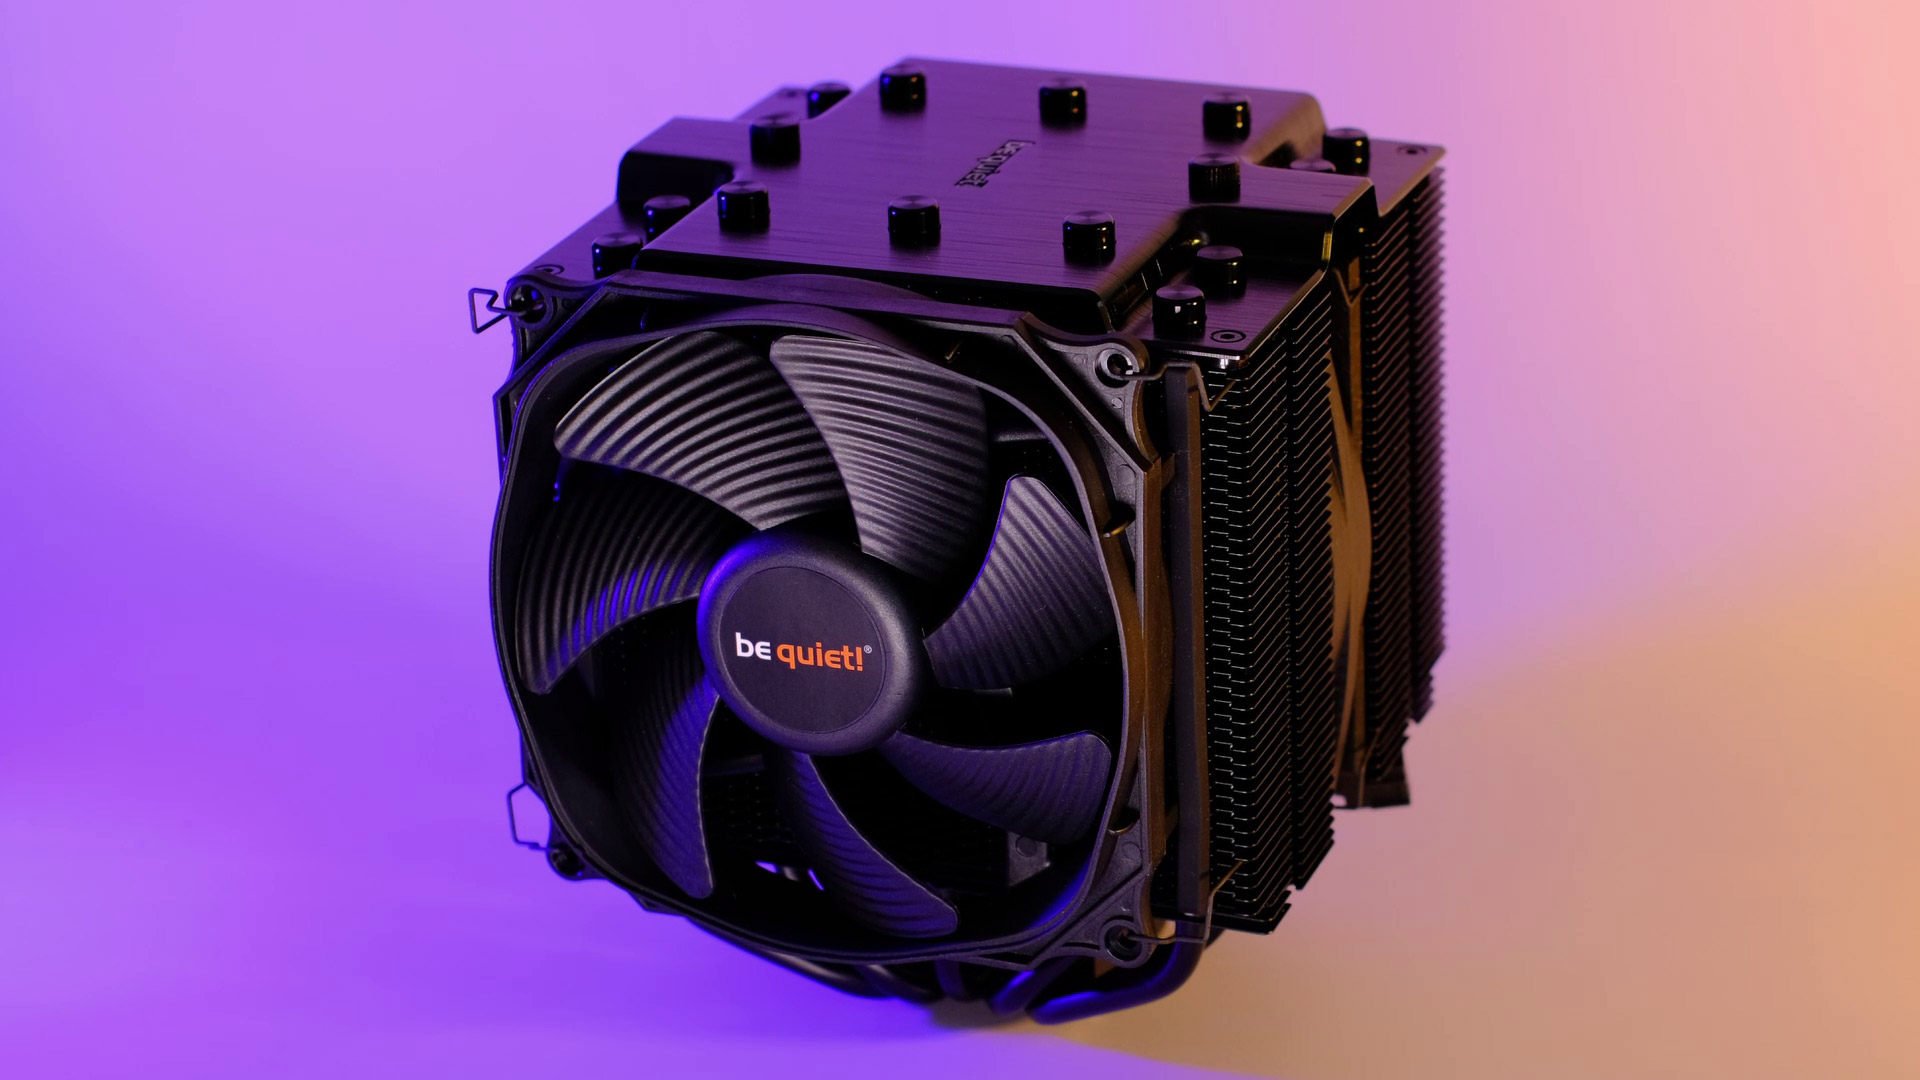
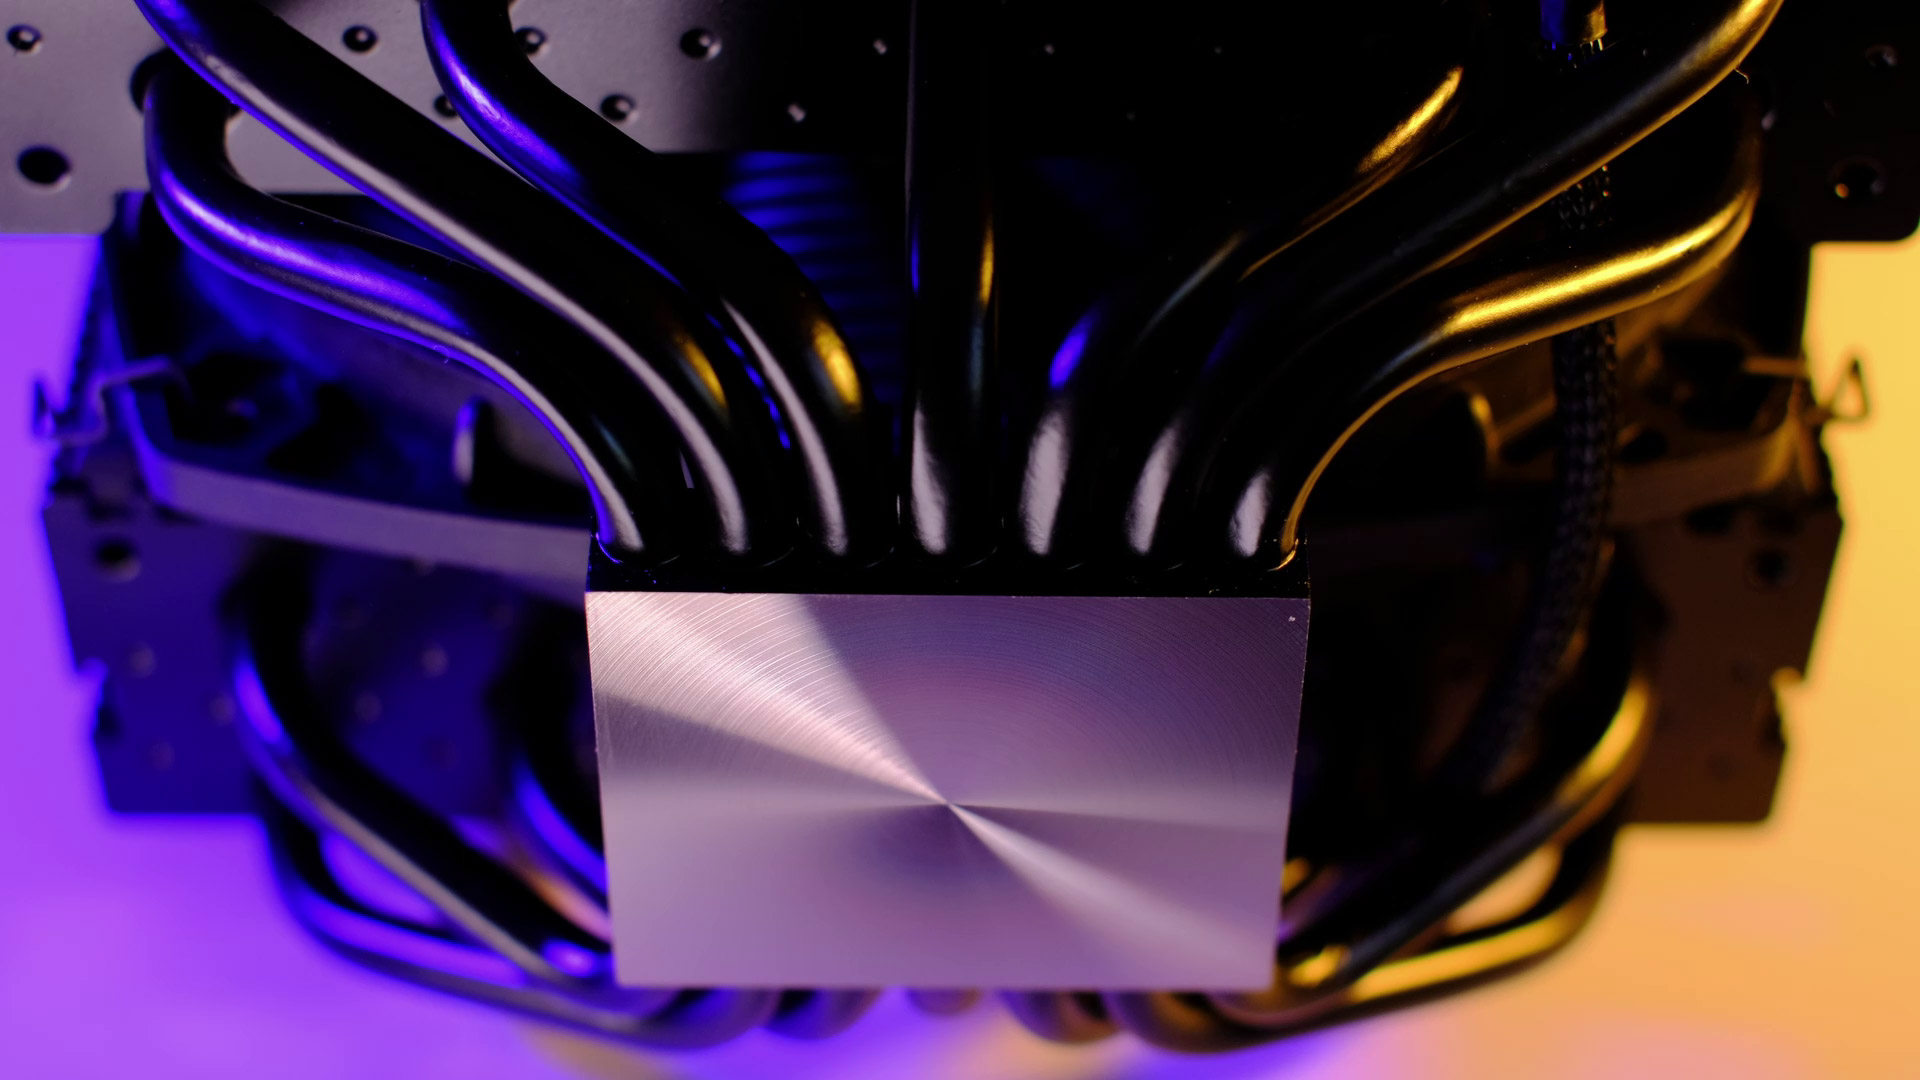


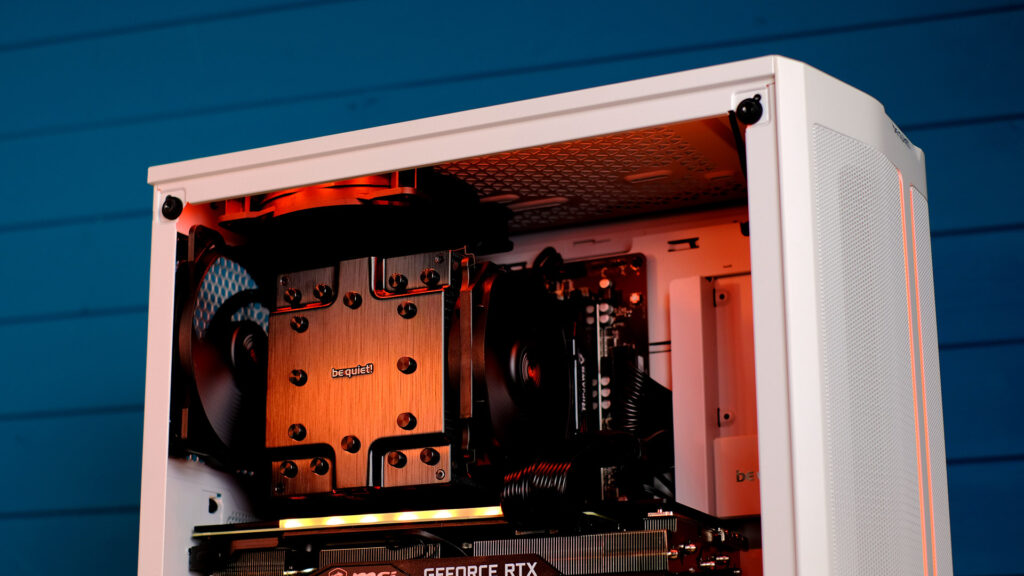
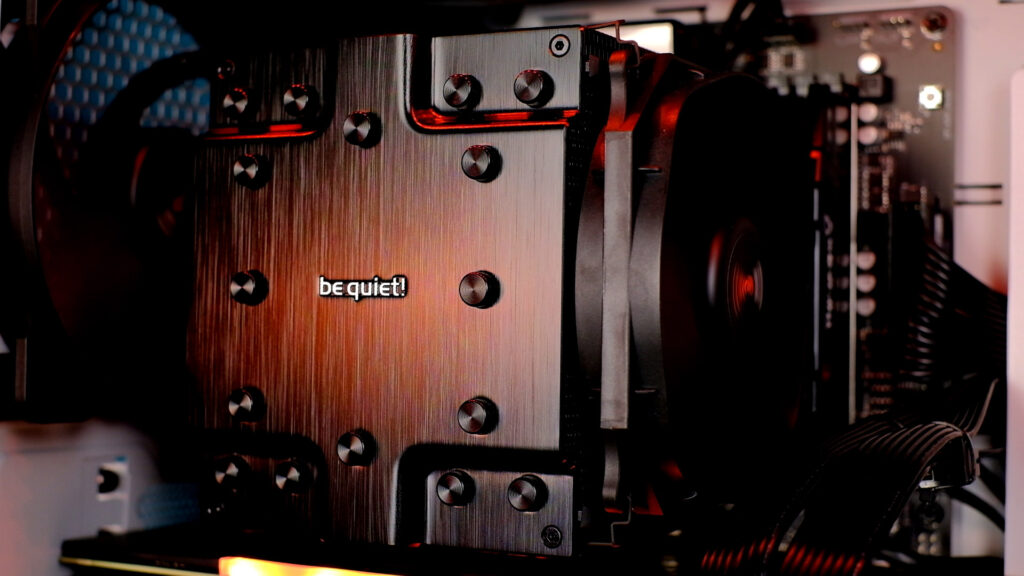
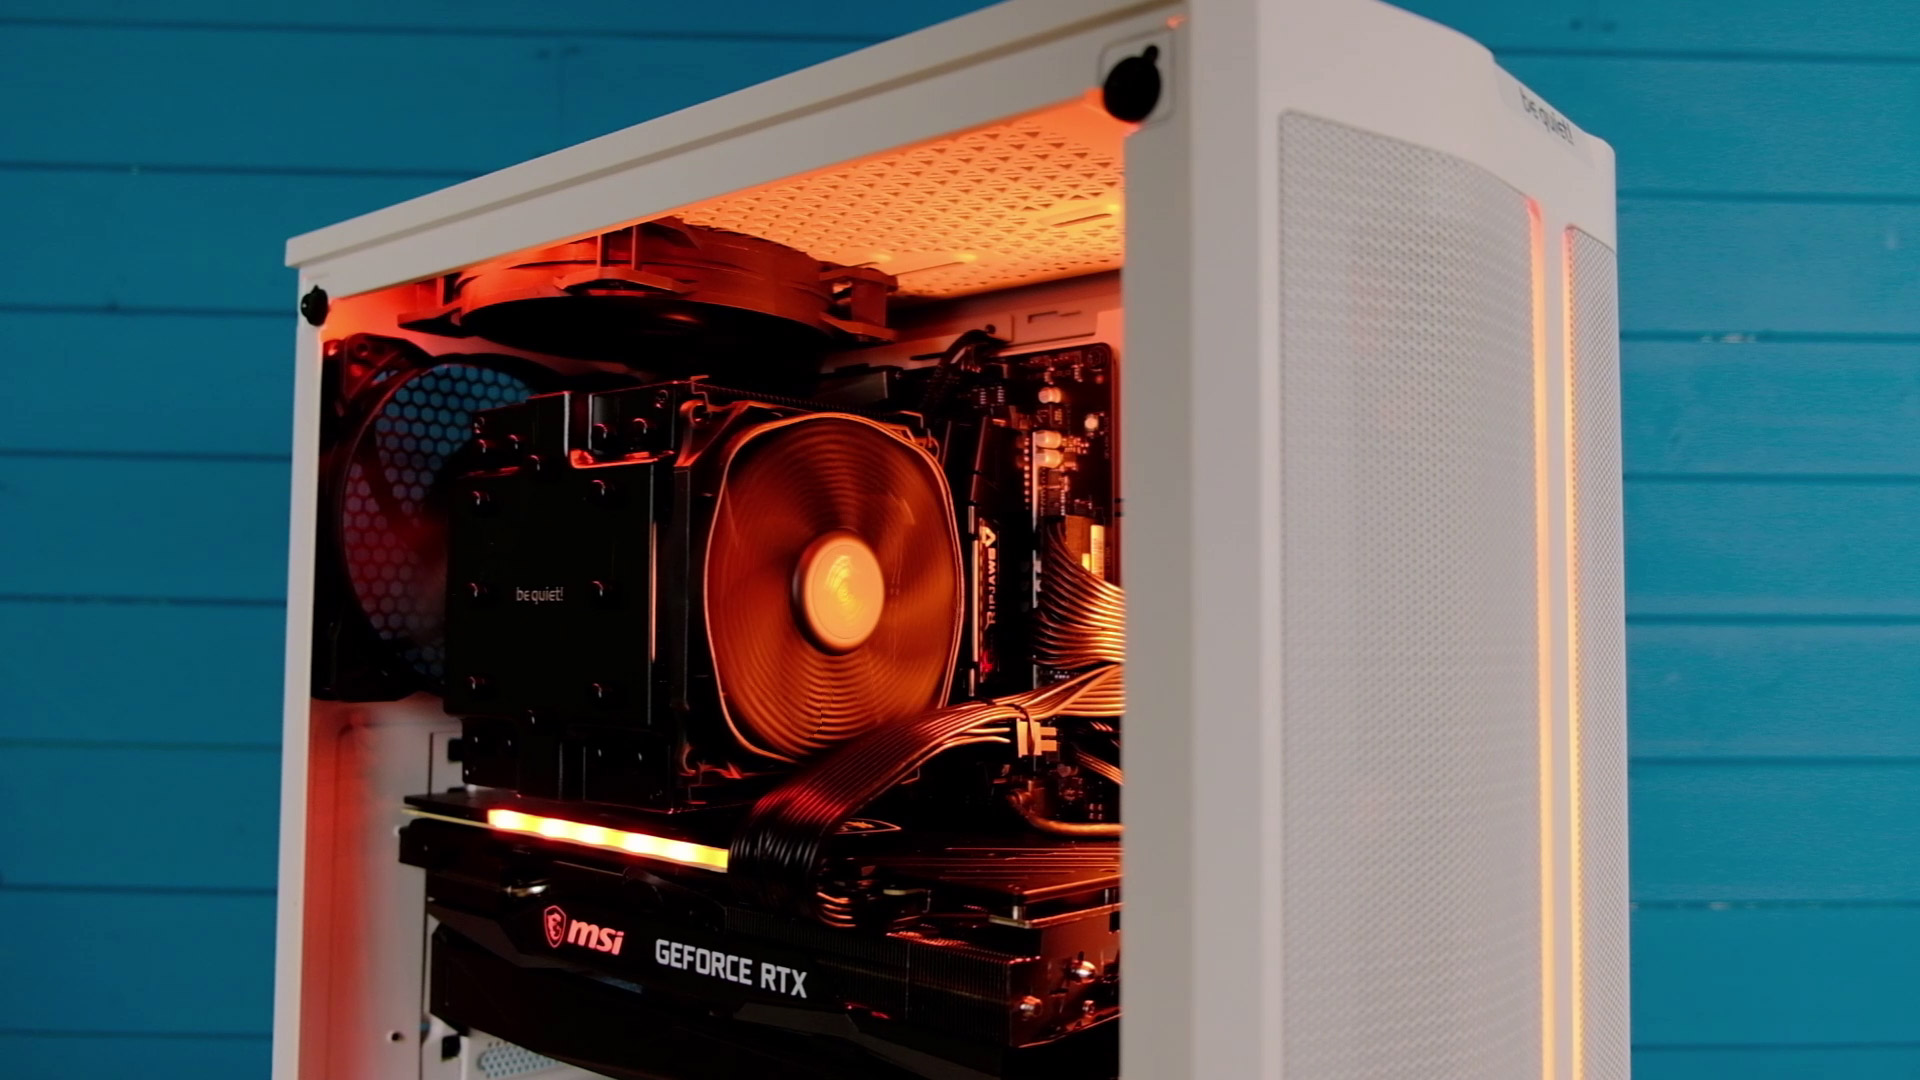
Moving on, next we have be quiet! Dark Rock Pro 4. It’s a silent, top-performing CPU cooler with 7 copper heat pipes. This cooler has two fans and it’s even possible to mount the third one in case you want to.
The front fan is a bit smaller, meaning 120mm and so it has quite a decent ram compatibility.
You will have to add some effort when installing this CPU cooler, but I wouldn’t say it’s complicated. The included mounting manual is quite clear so you will have no issues here.
And so I’m really eager to see the temperatures when stress testing a CPU later on.
PC Case
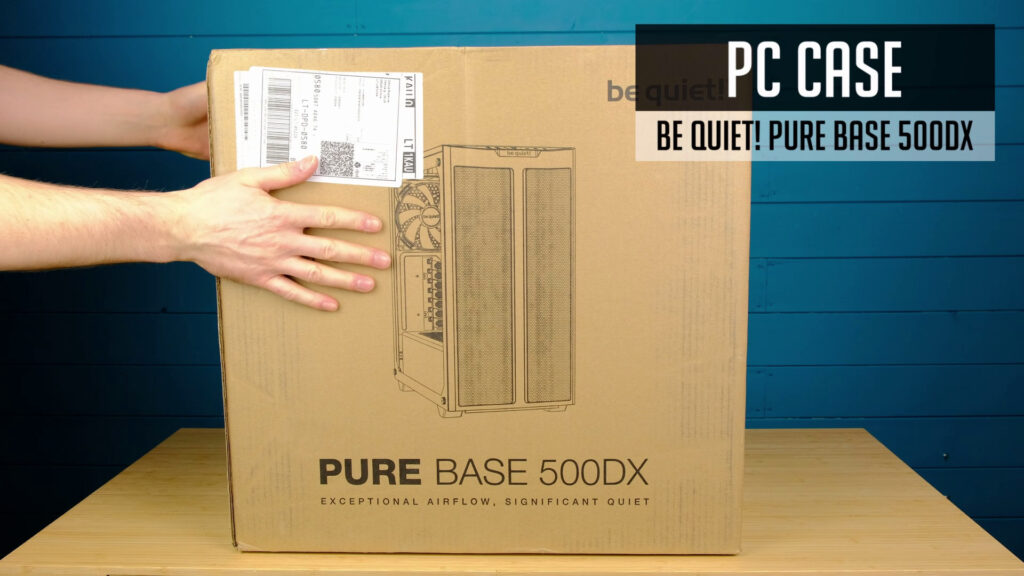
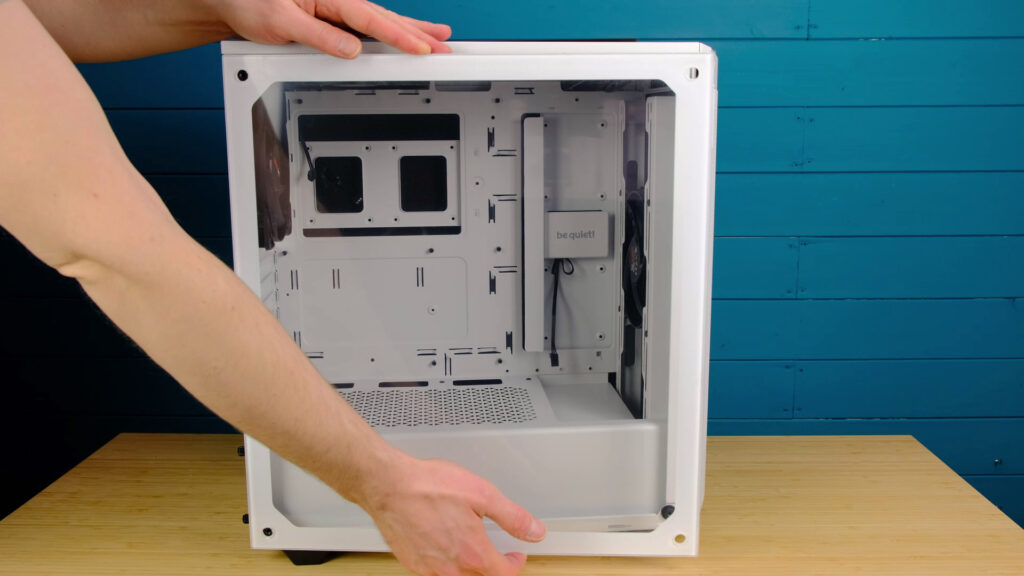
Since our focus is good airflow and acoustics, we will be using be quiet! 500DX. Probably you can feel our theme for today’s build, right. be quiet! makes really quiet PC cases and fans and so it’s no surprise we are using them today.
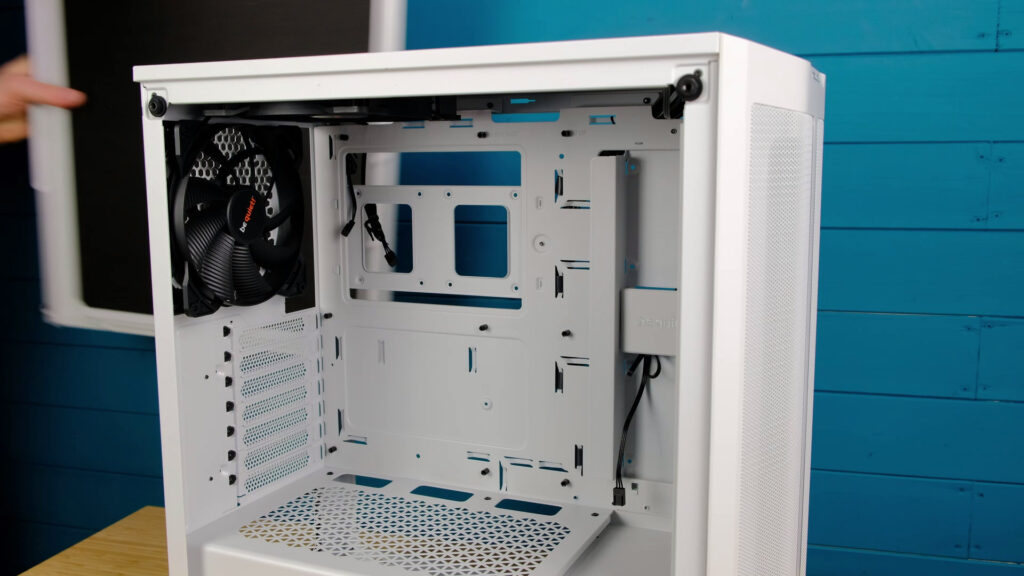
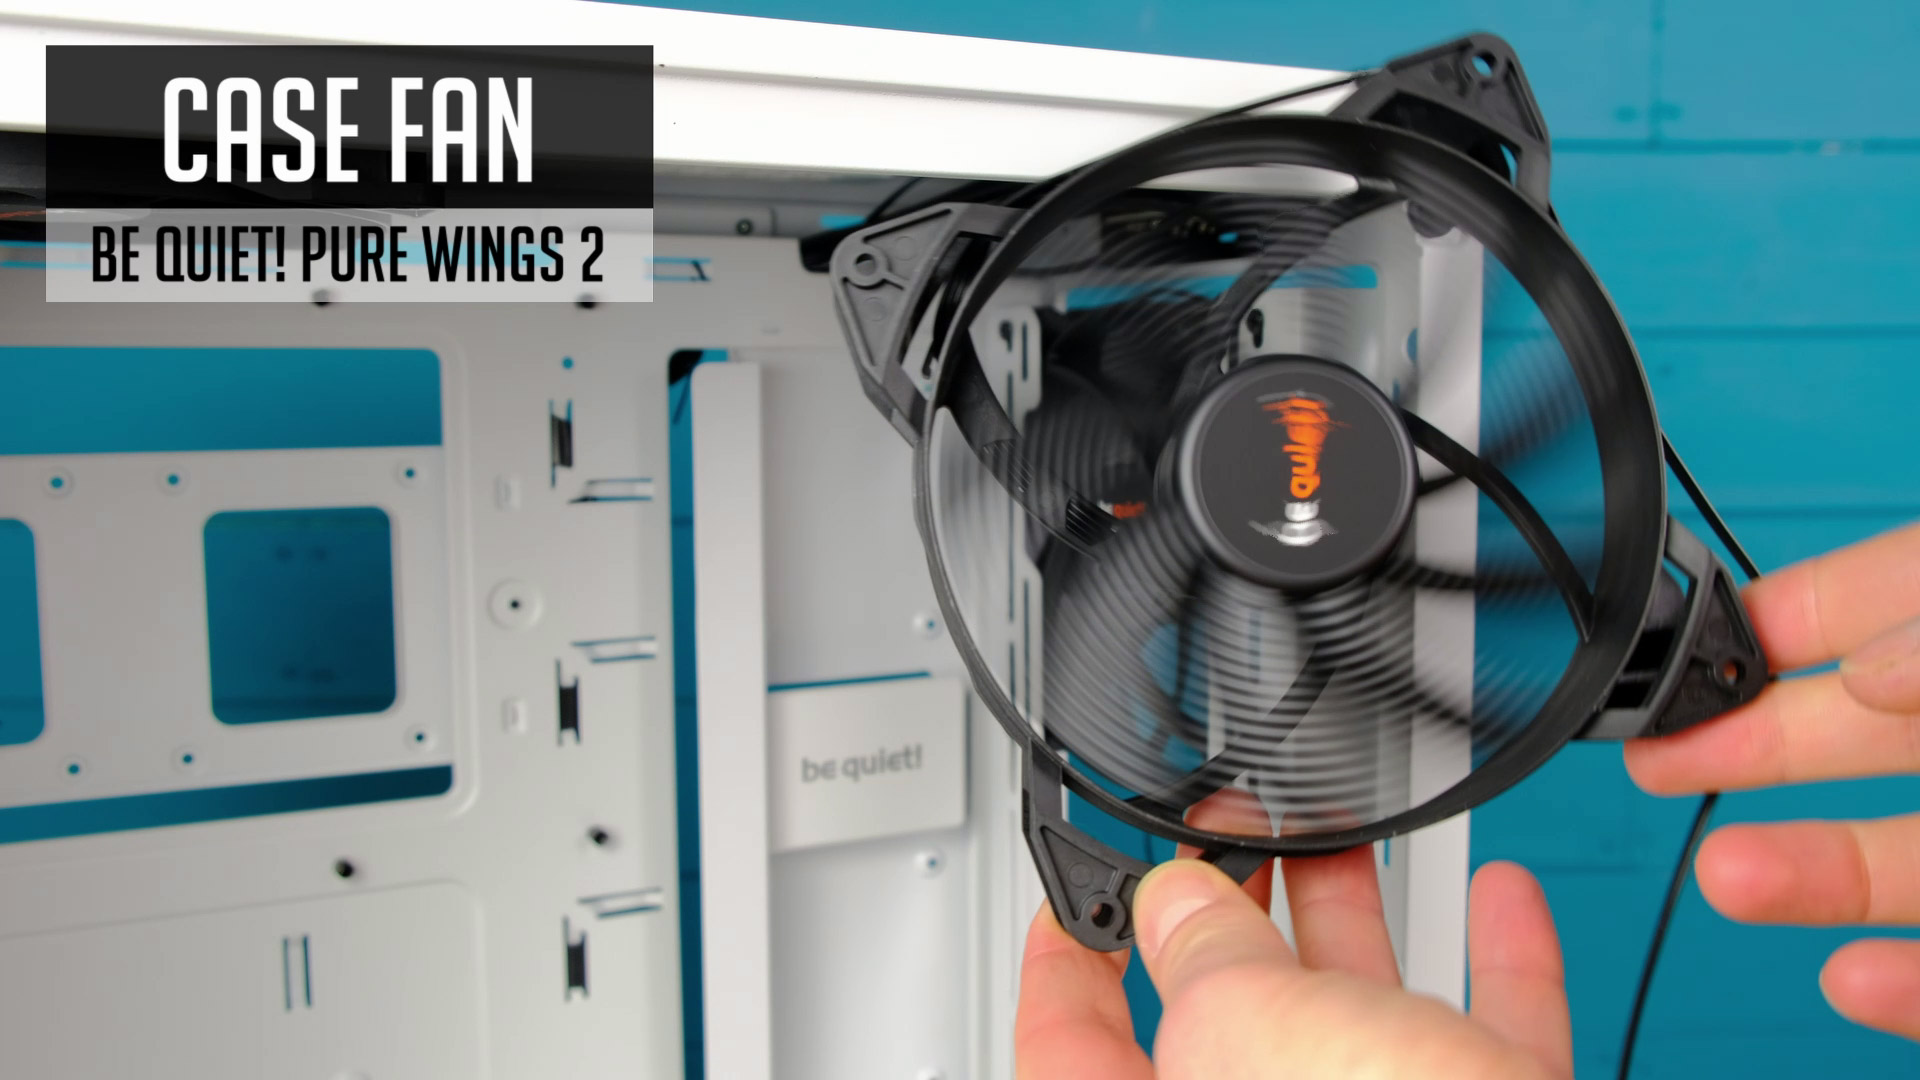
This case is oriented toward a better airflow meaning there are even more silent models from a be quiet!. 500DX comes with one 140mm intake and two 140mm exhaust fans. Whenever possible, I try to make a positive or neutral air pressure. To achieve that, I will be using an additional intake fan (be quiet! Pure Wings 2 140mm).

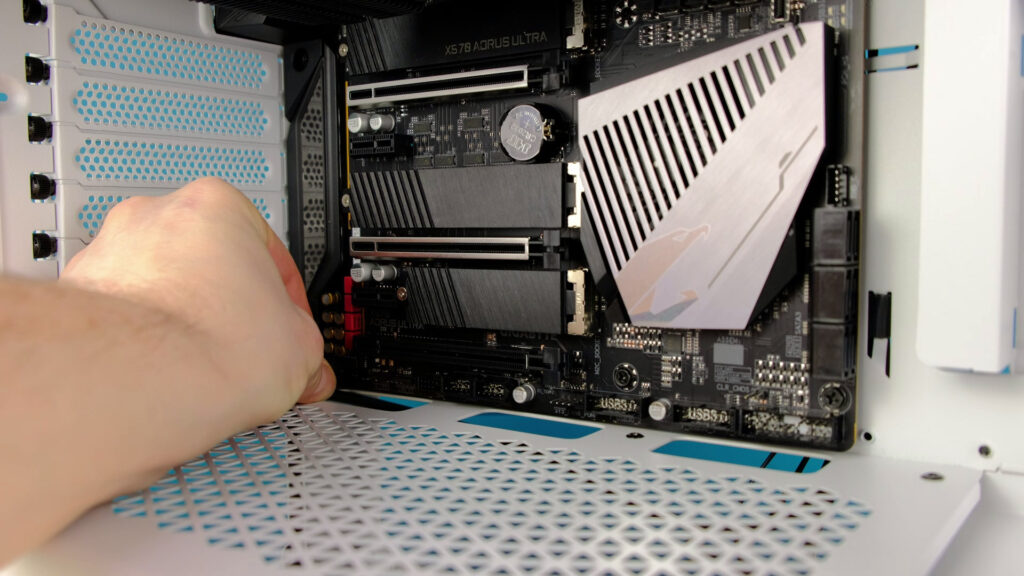
It’s time to install our motherboard. 500DX has pre-installed standoffs for an ATX motherboard, so in our case, we do not need to adjust anything here as it fits perfectly.
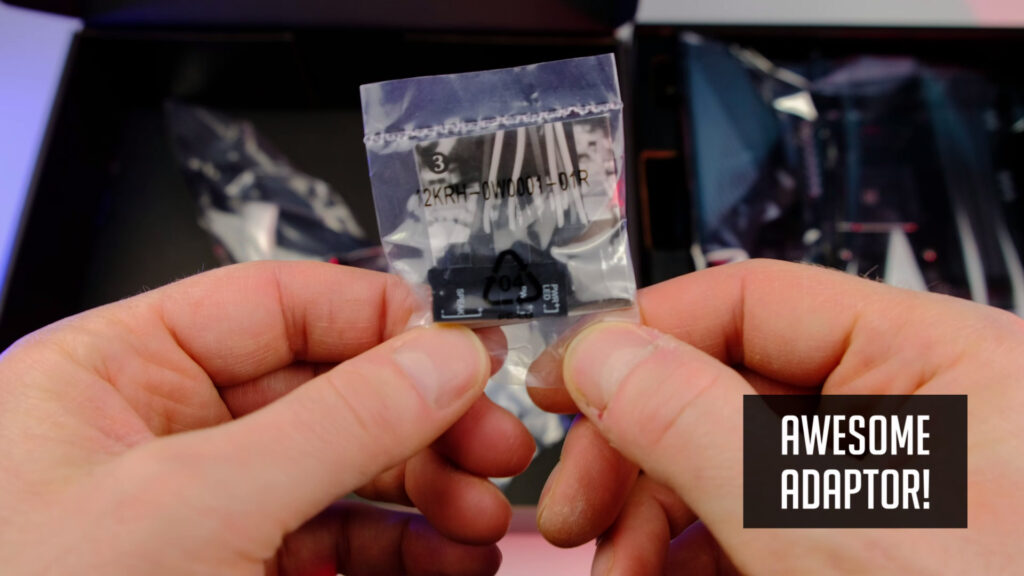
Connecting front pannel connectors sometimes can be a pain in the ass, so you should always follow your motherboards manual. And we are lucky since X570 Aorus Ultra has this small adapter. And so you can connect all of the small connectors like power/reset/led to this thing and then easily connect the whole block to a motherboard.
Sometimes I wish pc case or motherboard manufacturers would make some of the connectors say USB 3.0 or type-c with a 90-degree angle or include some kind of adaptor. As in most cases, you have to deal with such cable bending, etc.
Power Supply (PSU)
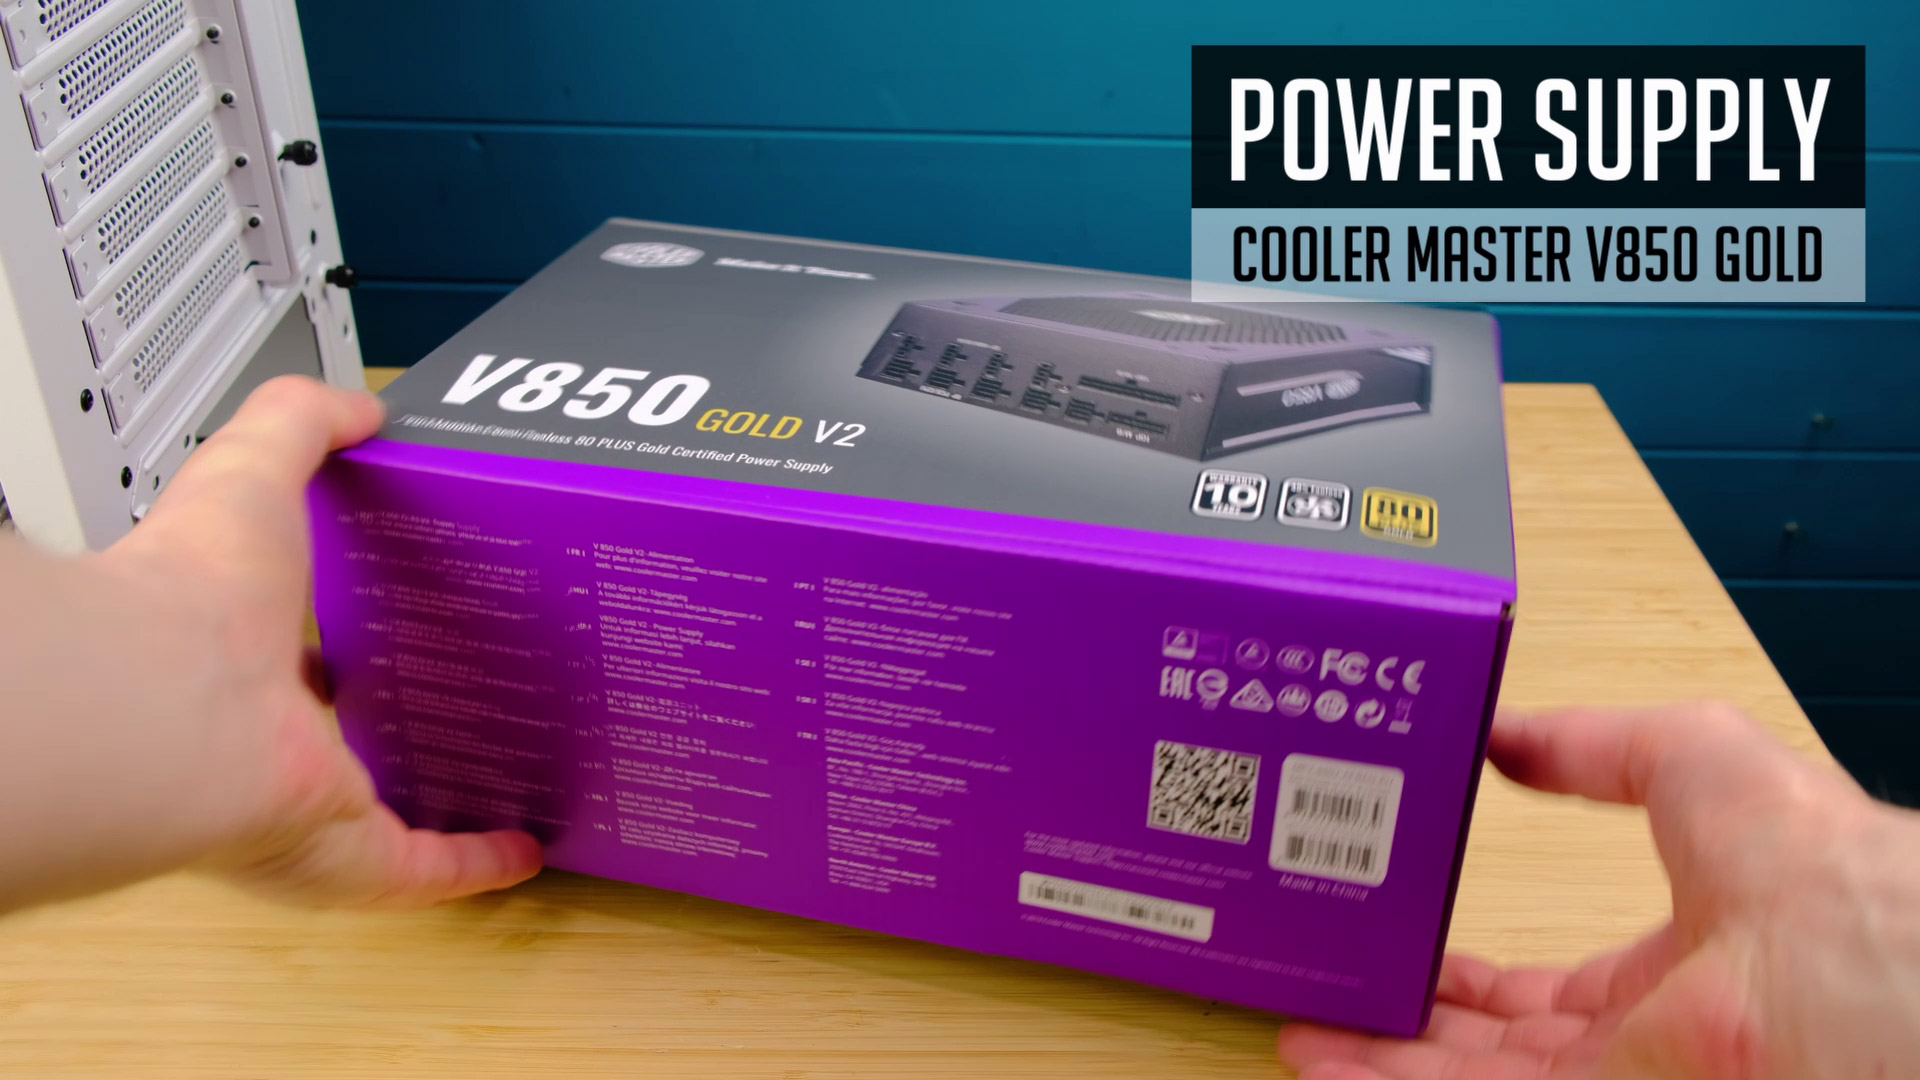
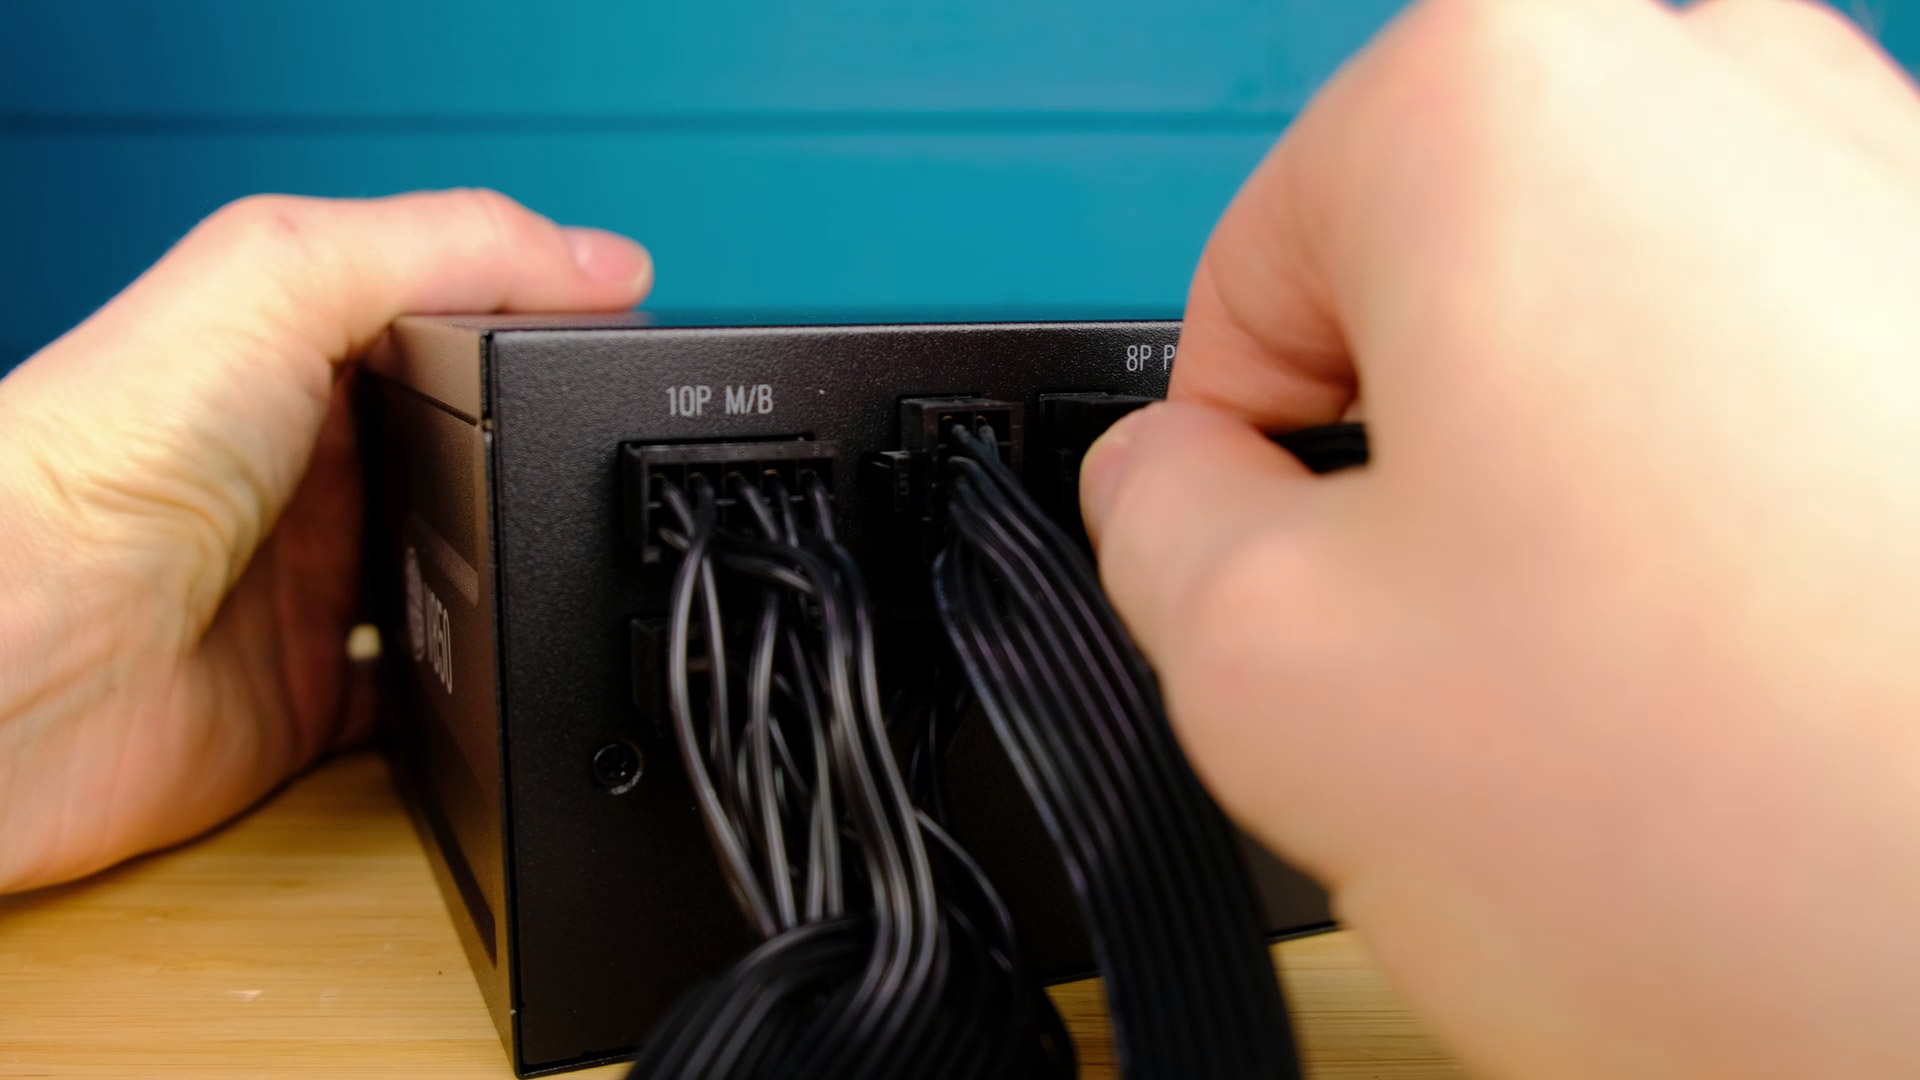
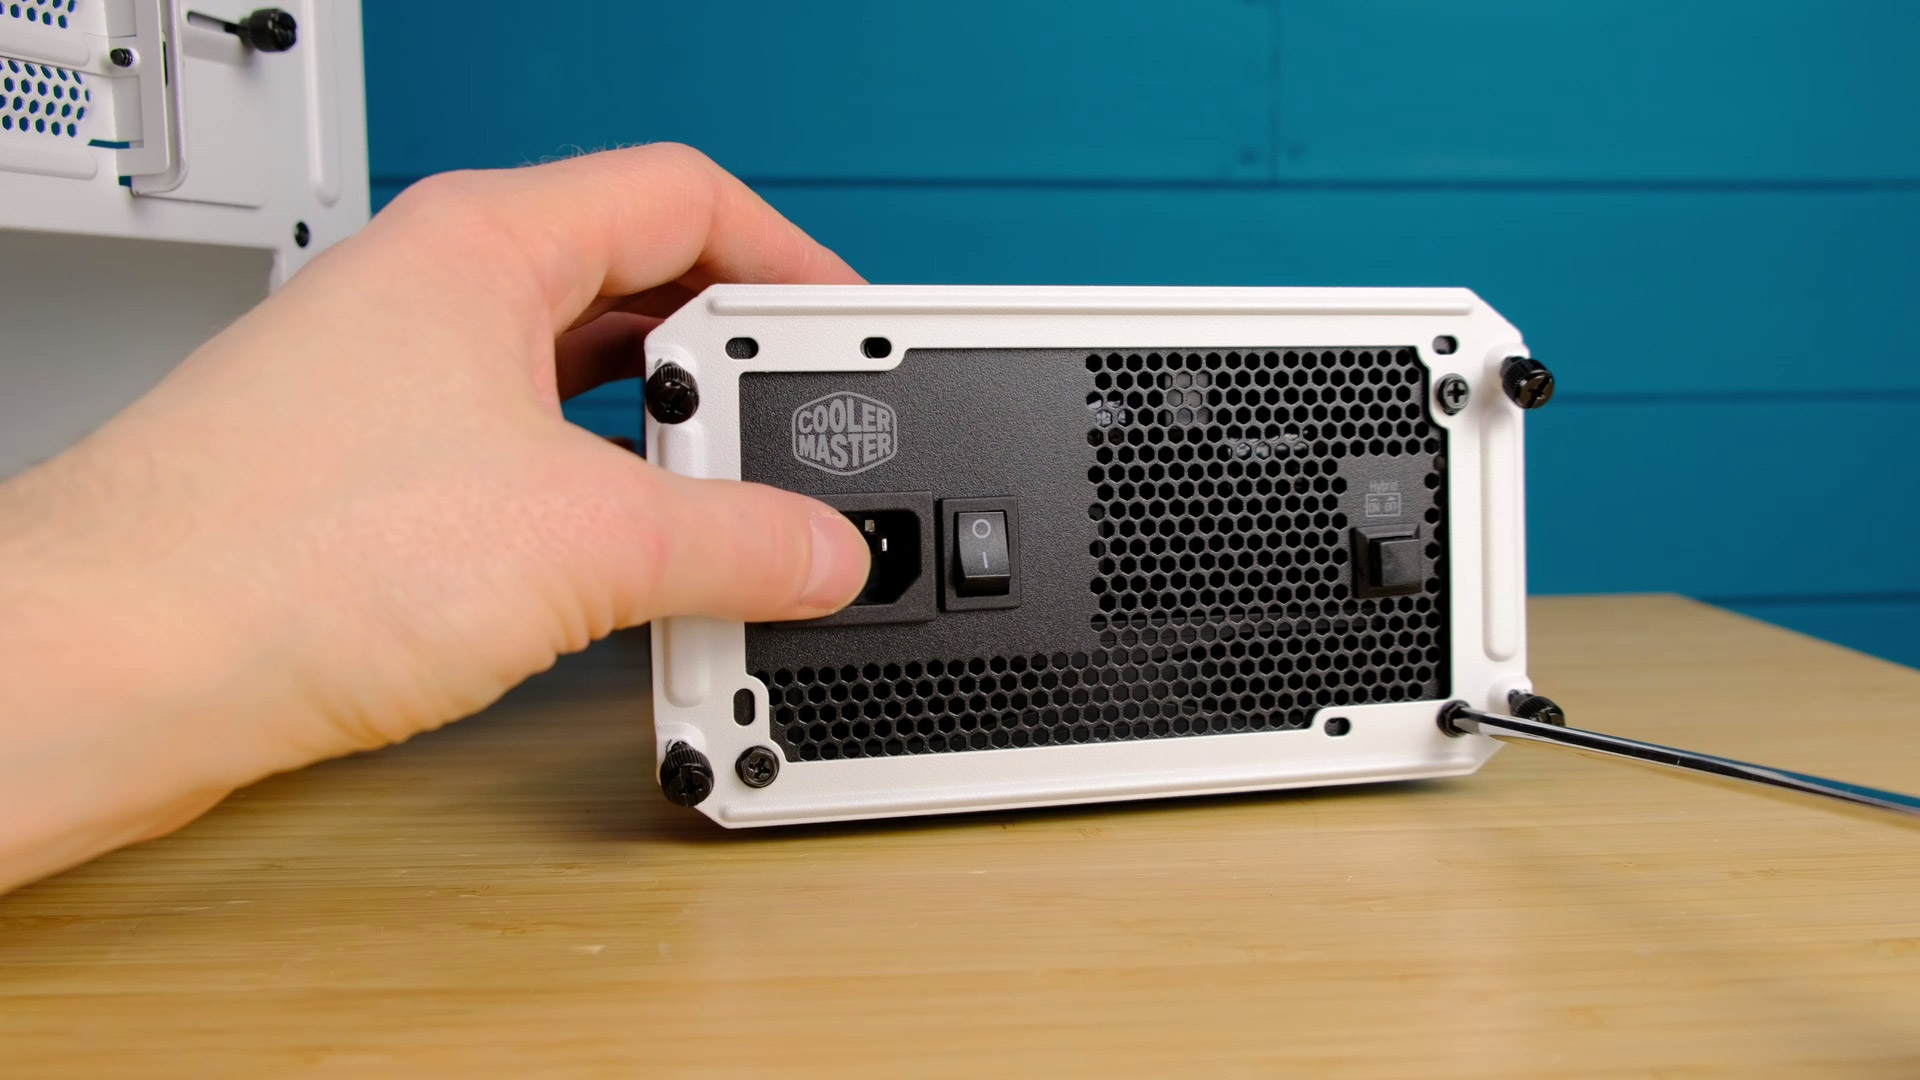
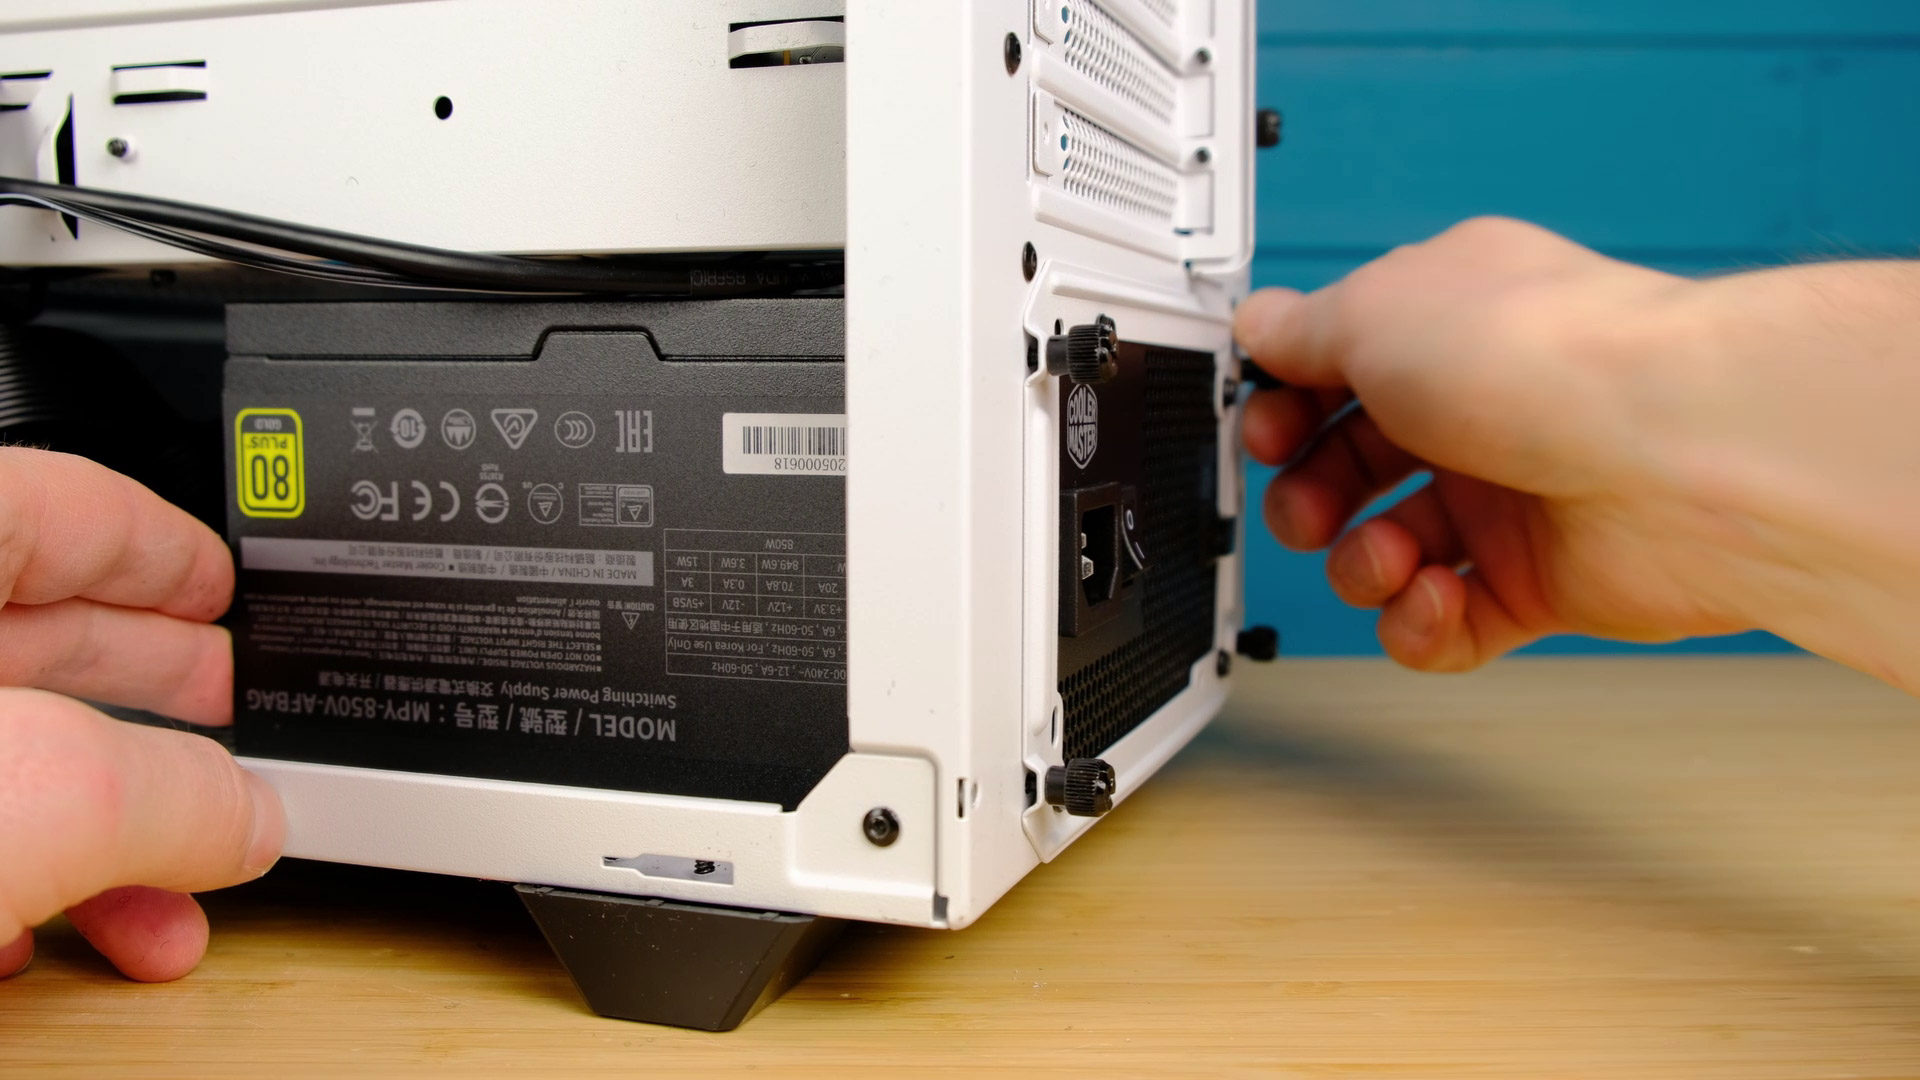
As for a power supply, we will be using Cooler Master V850 Gold. It’s also a bit of overkill having in mind we will be using RTX 3070.
The main reason, we picked this one was a limited PSU stock at that moment, especially between the 650 and 850 watts range. But in case you are planning to opt-in for RTX 3080 or even 3090 in the future, you can be sure, this PSU will be able to handle those GPUs.
Graphics Card (GPU)

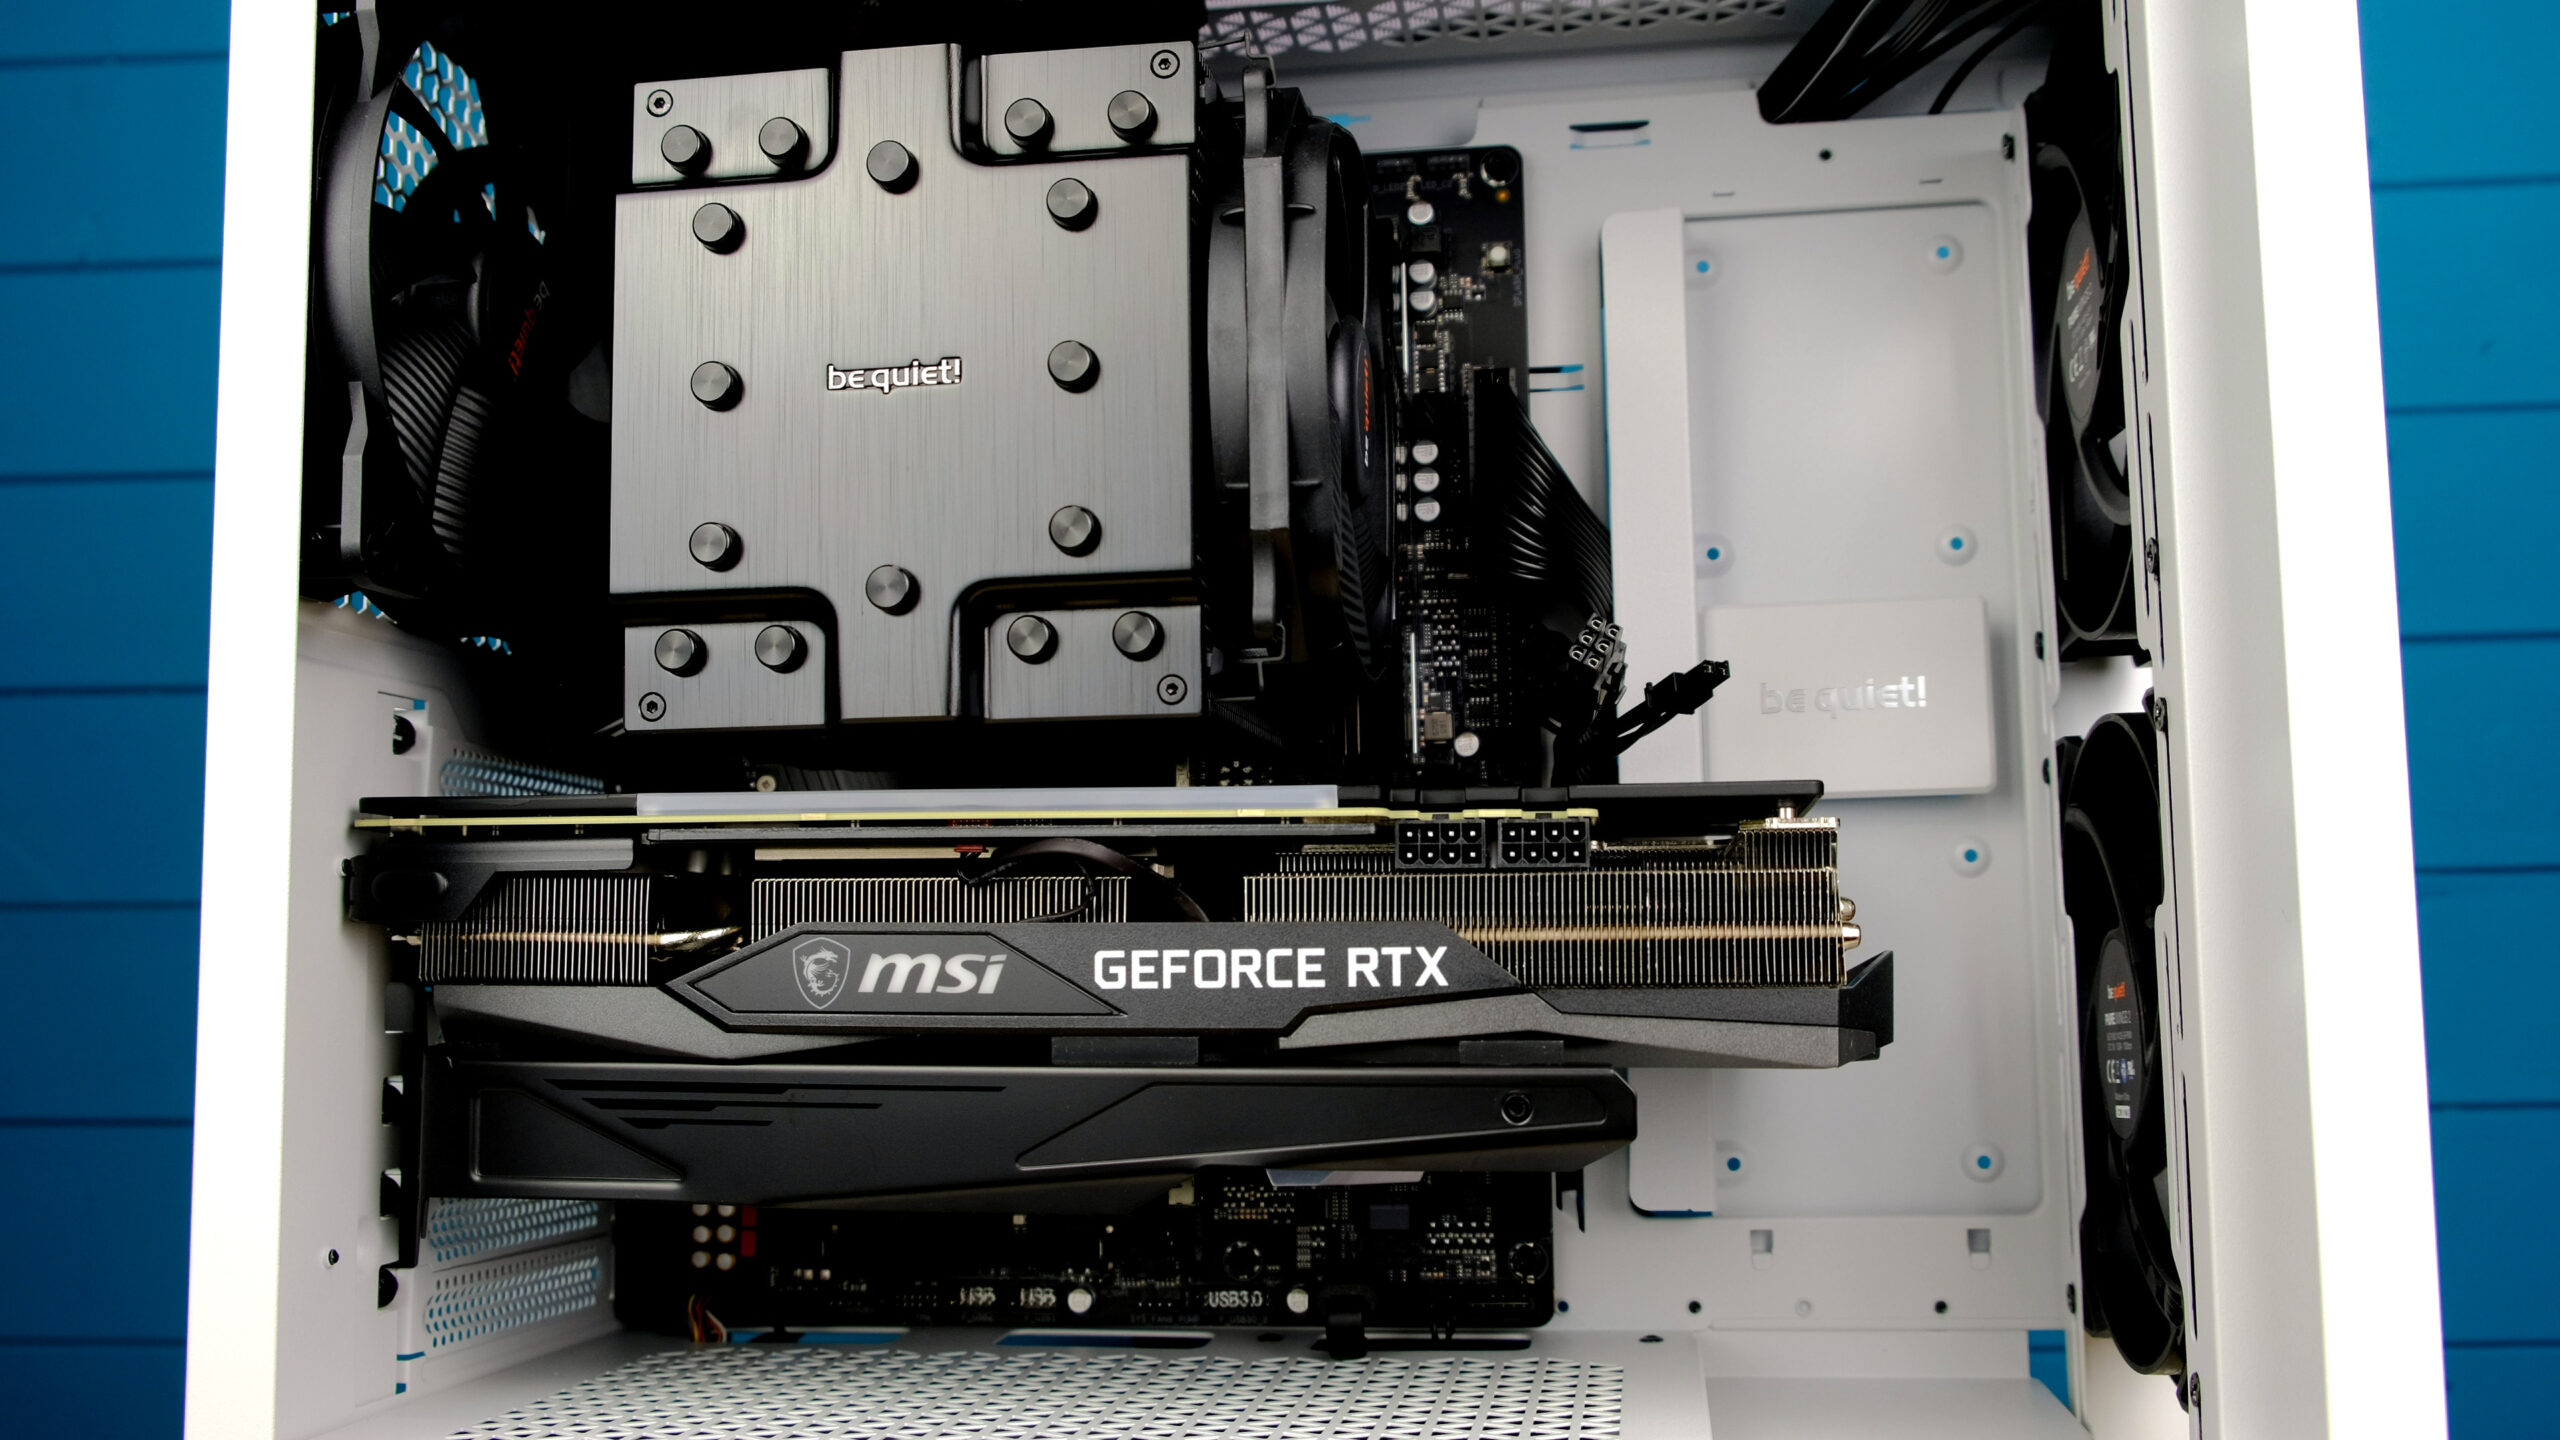
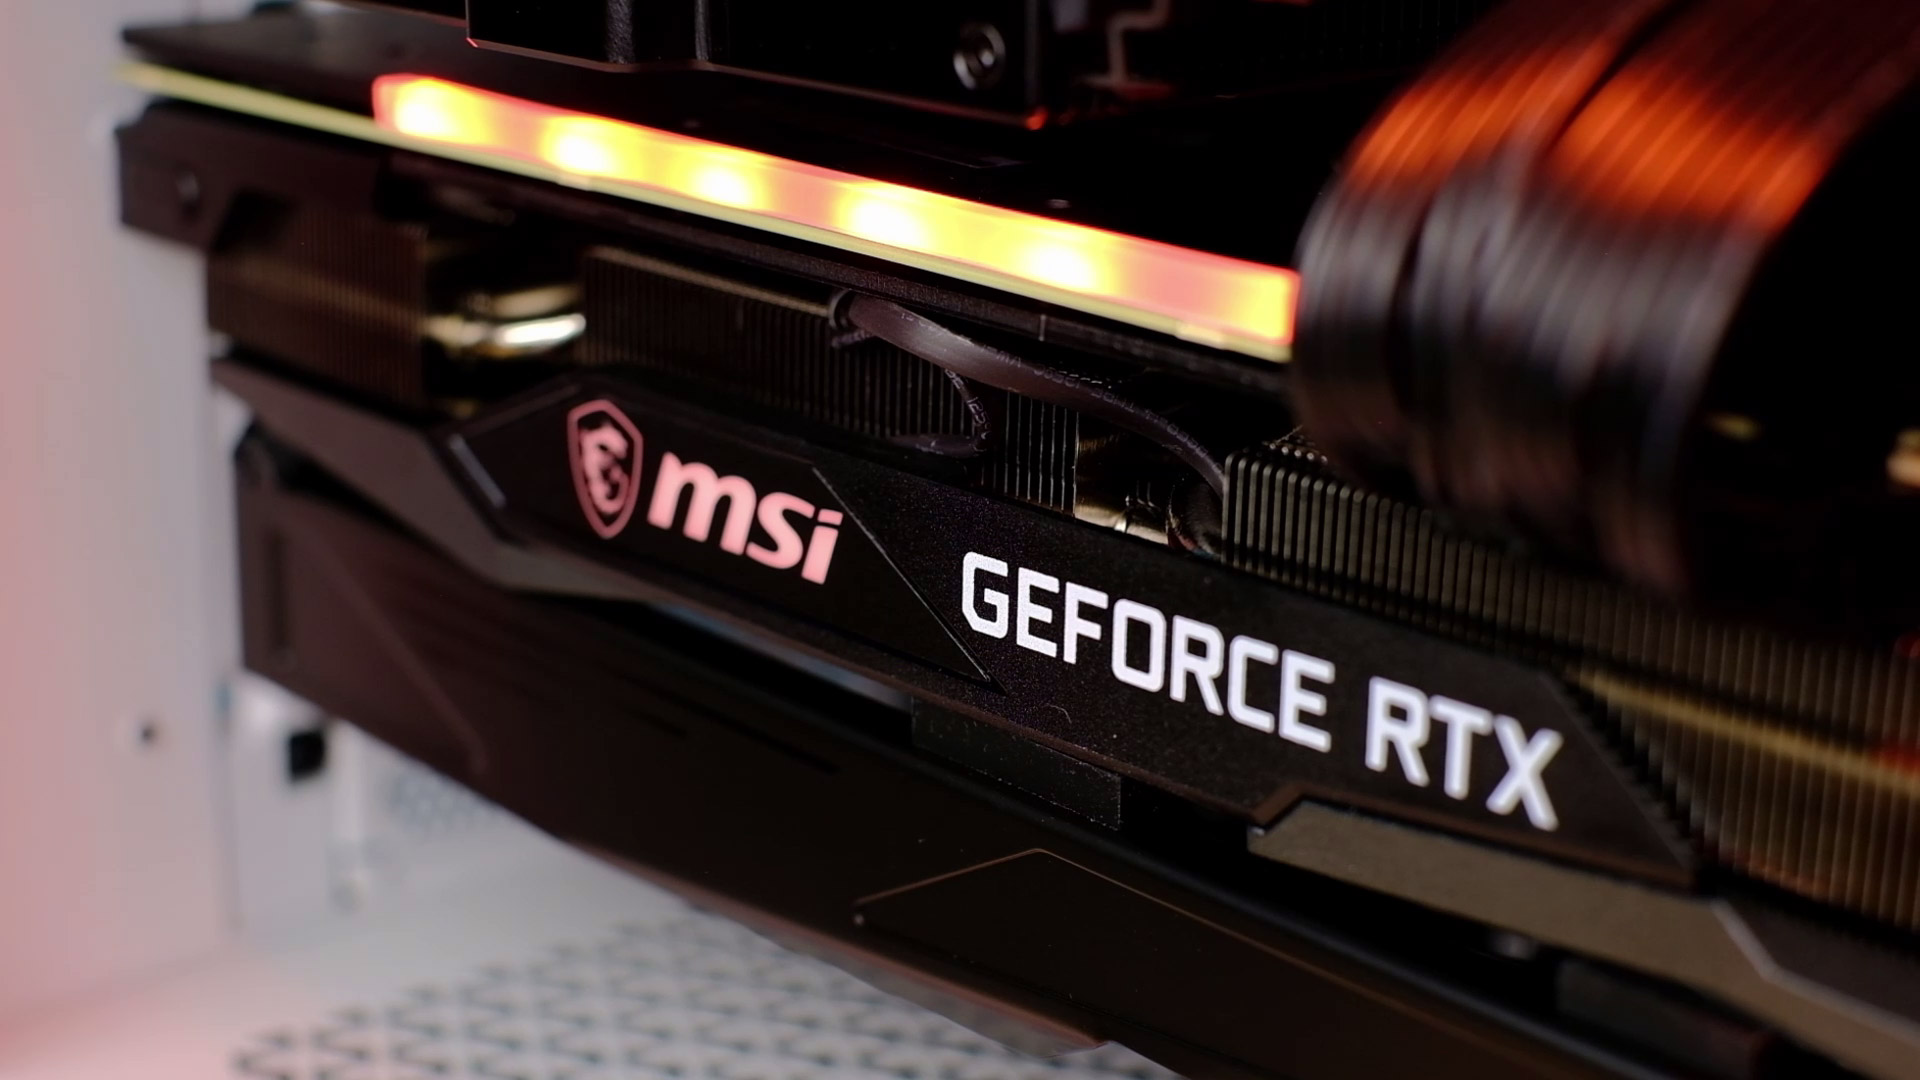
And finally, we have MSI RTX 3070 Gaming X Trio. There is an included anti-sag GPU bracket, but to be frank, it took me a while to install it.
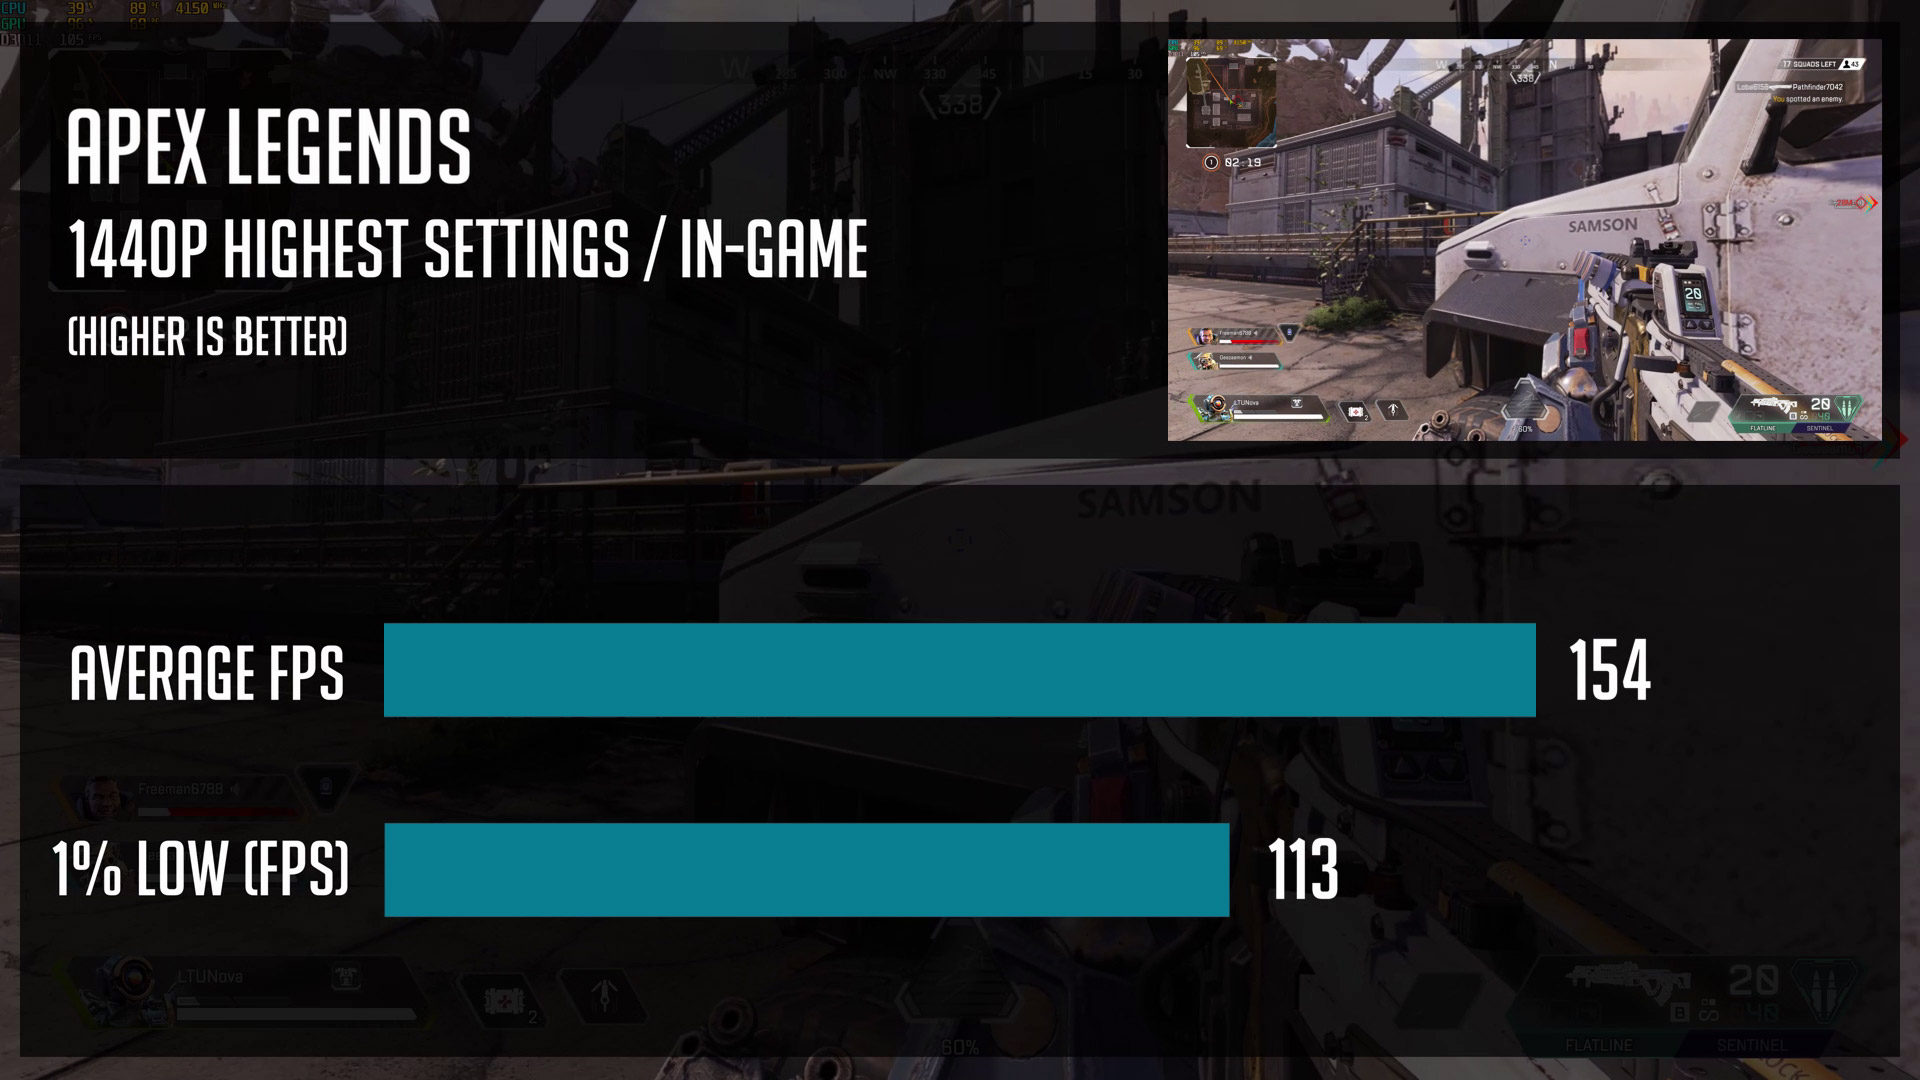
Mainly because it is supposed to cover and hold PCI slot covers, but one cover was falling out even after securing the GPU bracket with screws. Eventually, I’ve used some material in between a bracket and PCI cover and it worked out just fine. I will share 1440p gaming benchmarks later on so you guys will be able to see how it performs.
Cable management
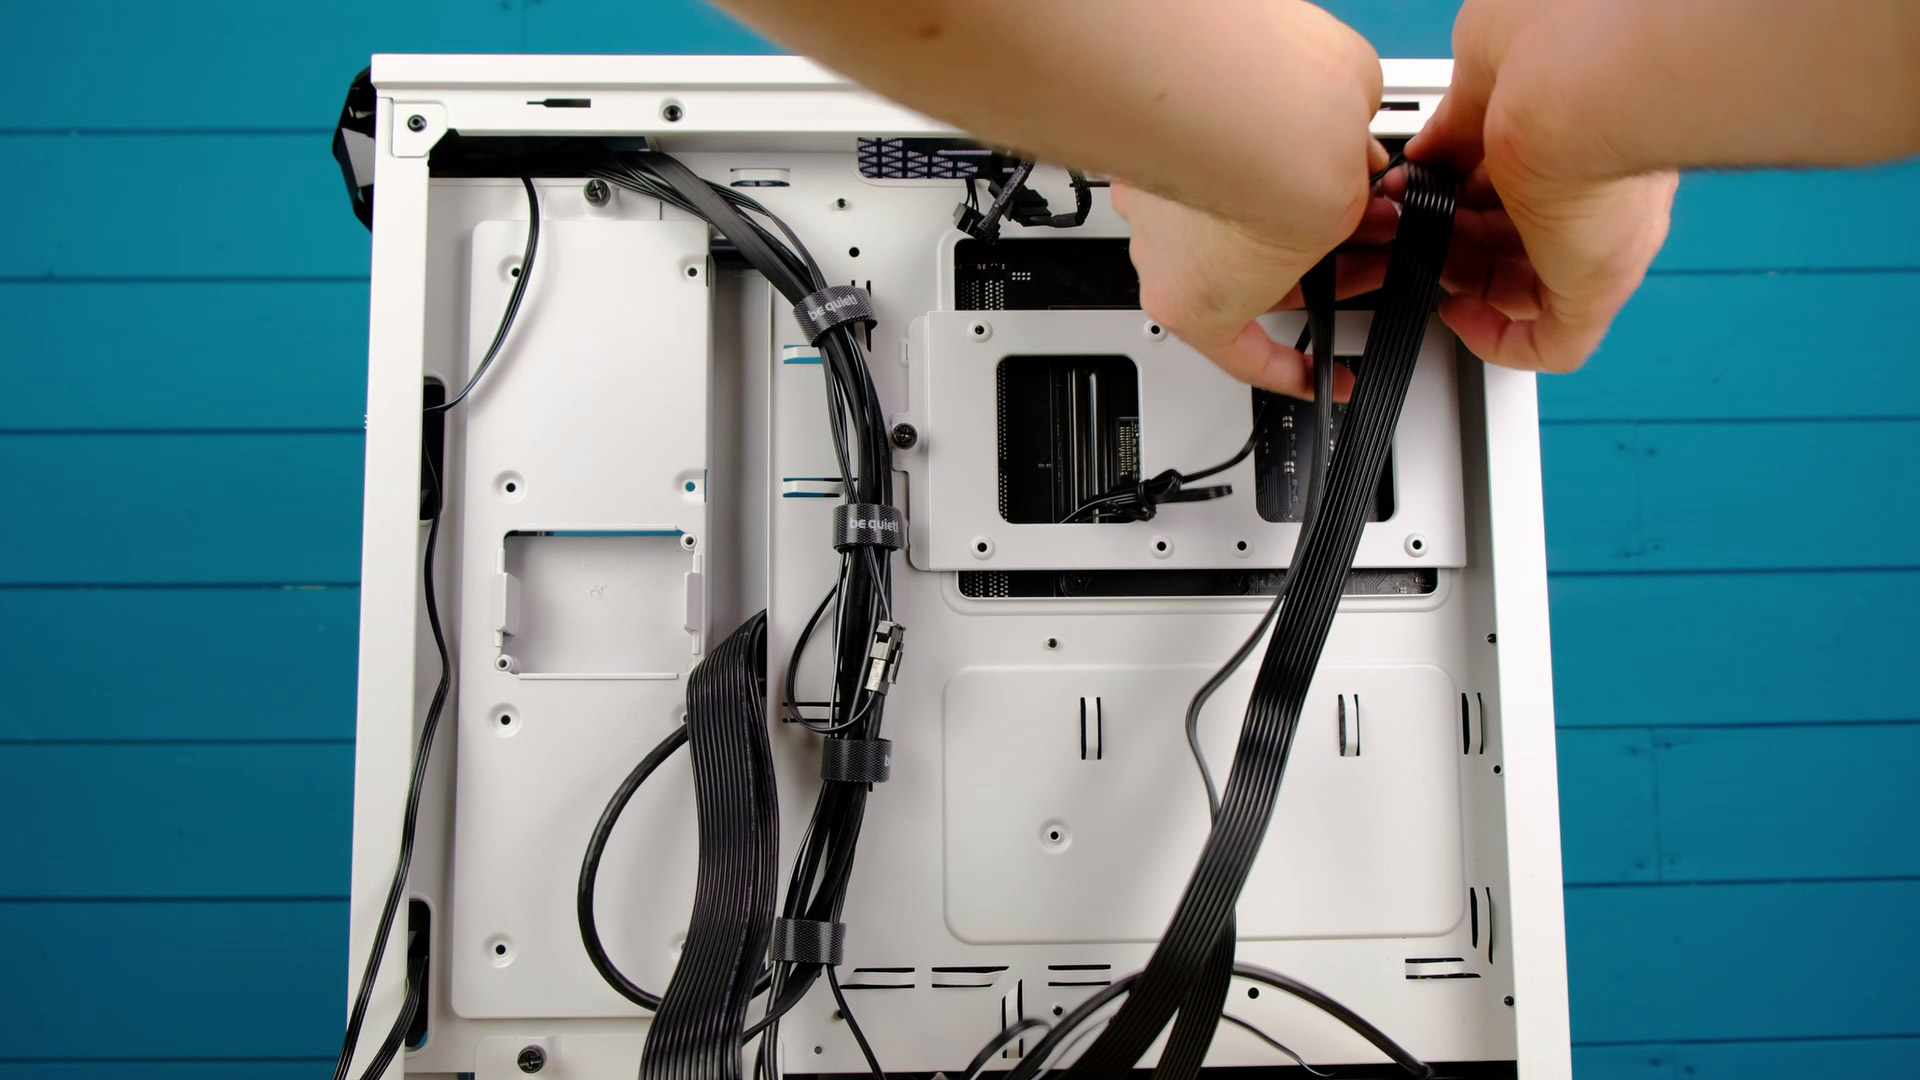
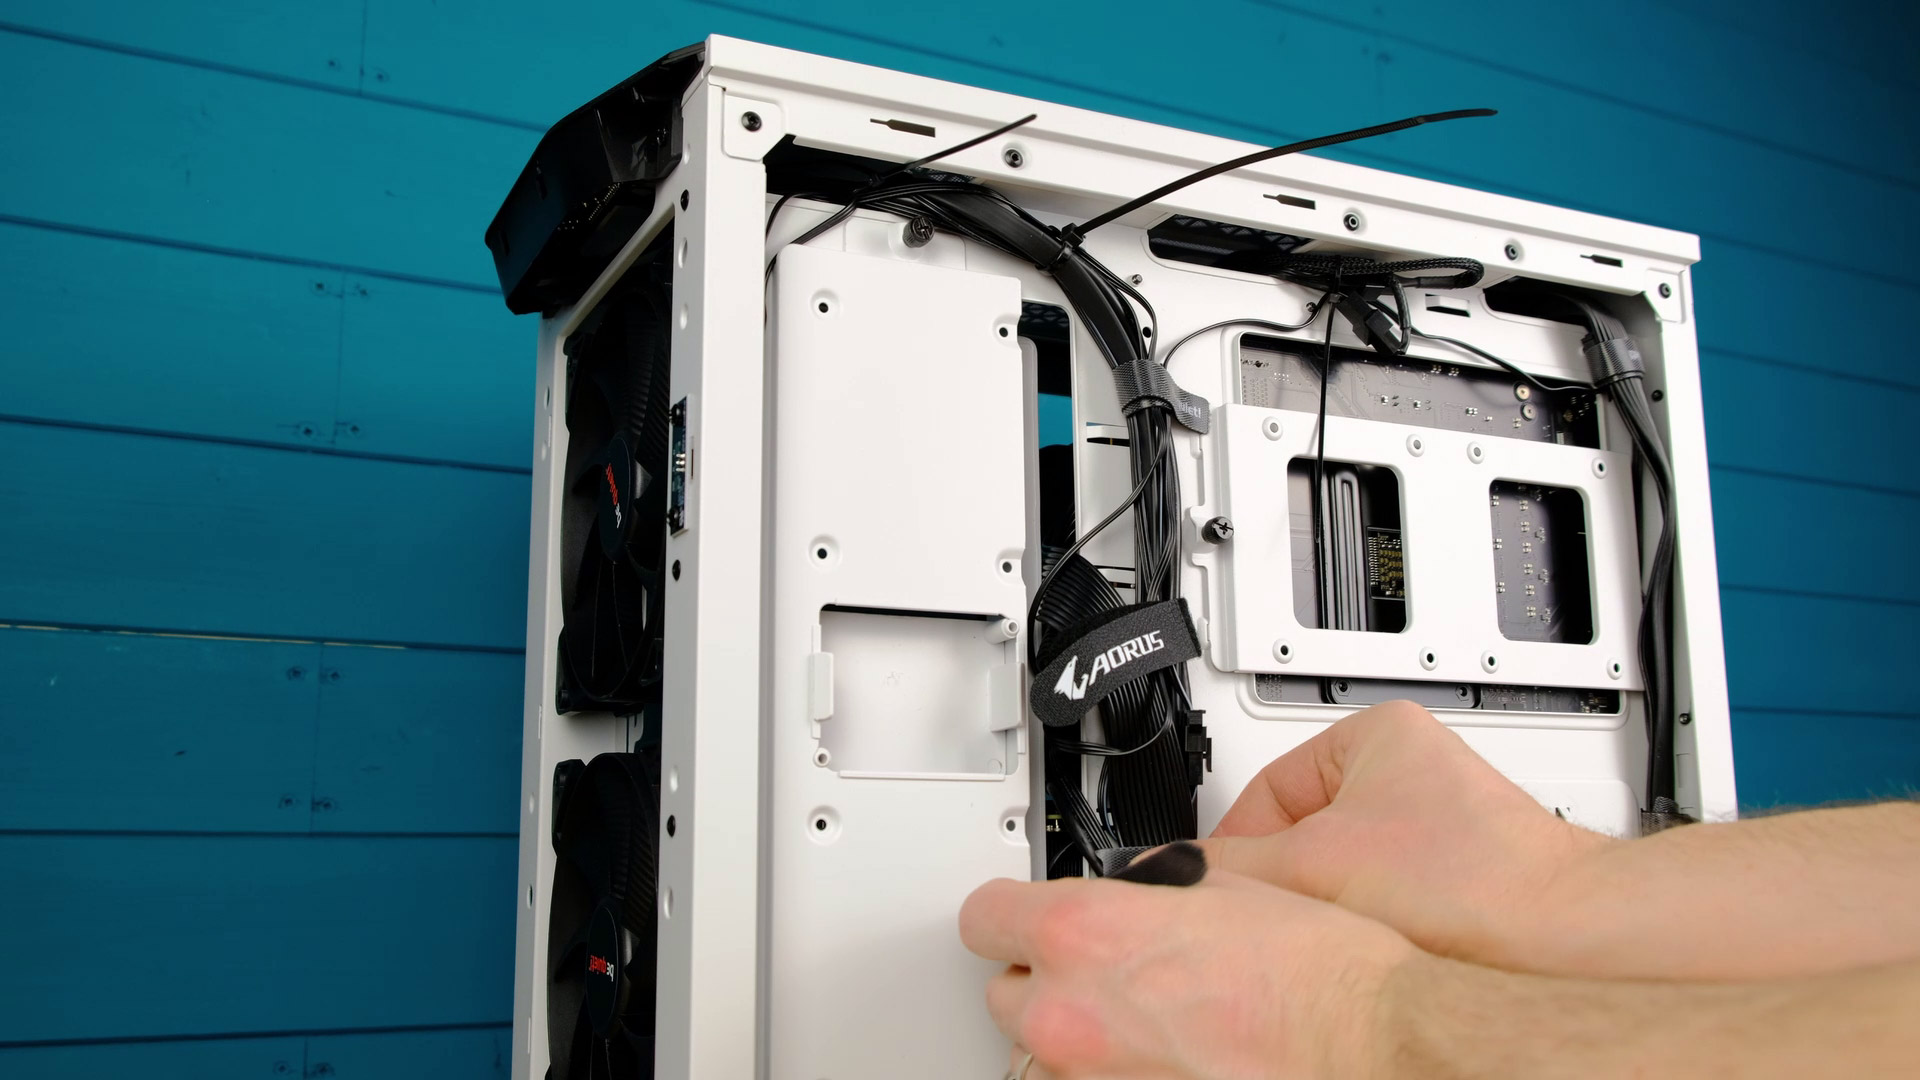

And the final part – cable management. As I was using a modular power supply and no RGB fans, it easy, especially in a 500DX pc case. The included zip ties and velcro straps help a lot here as well.
And so, we are ready.
Consultation
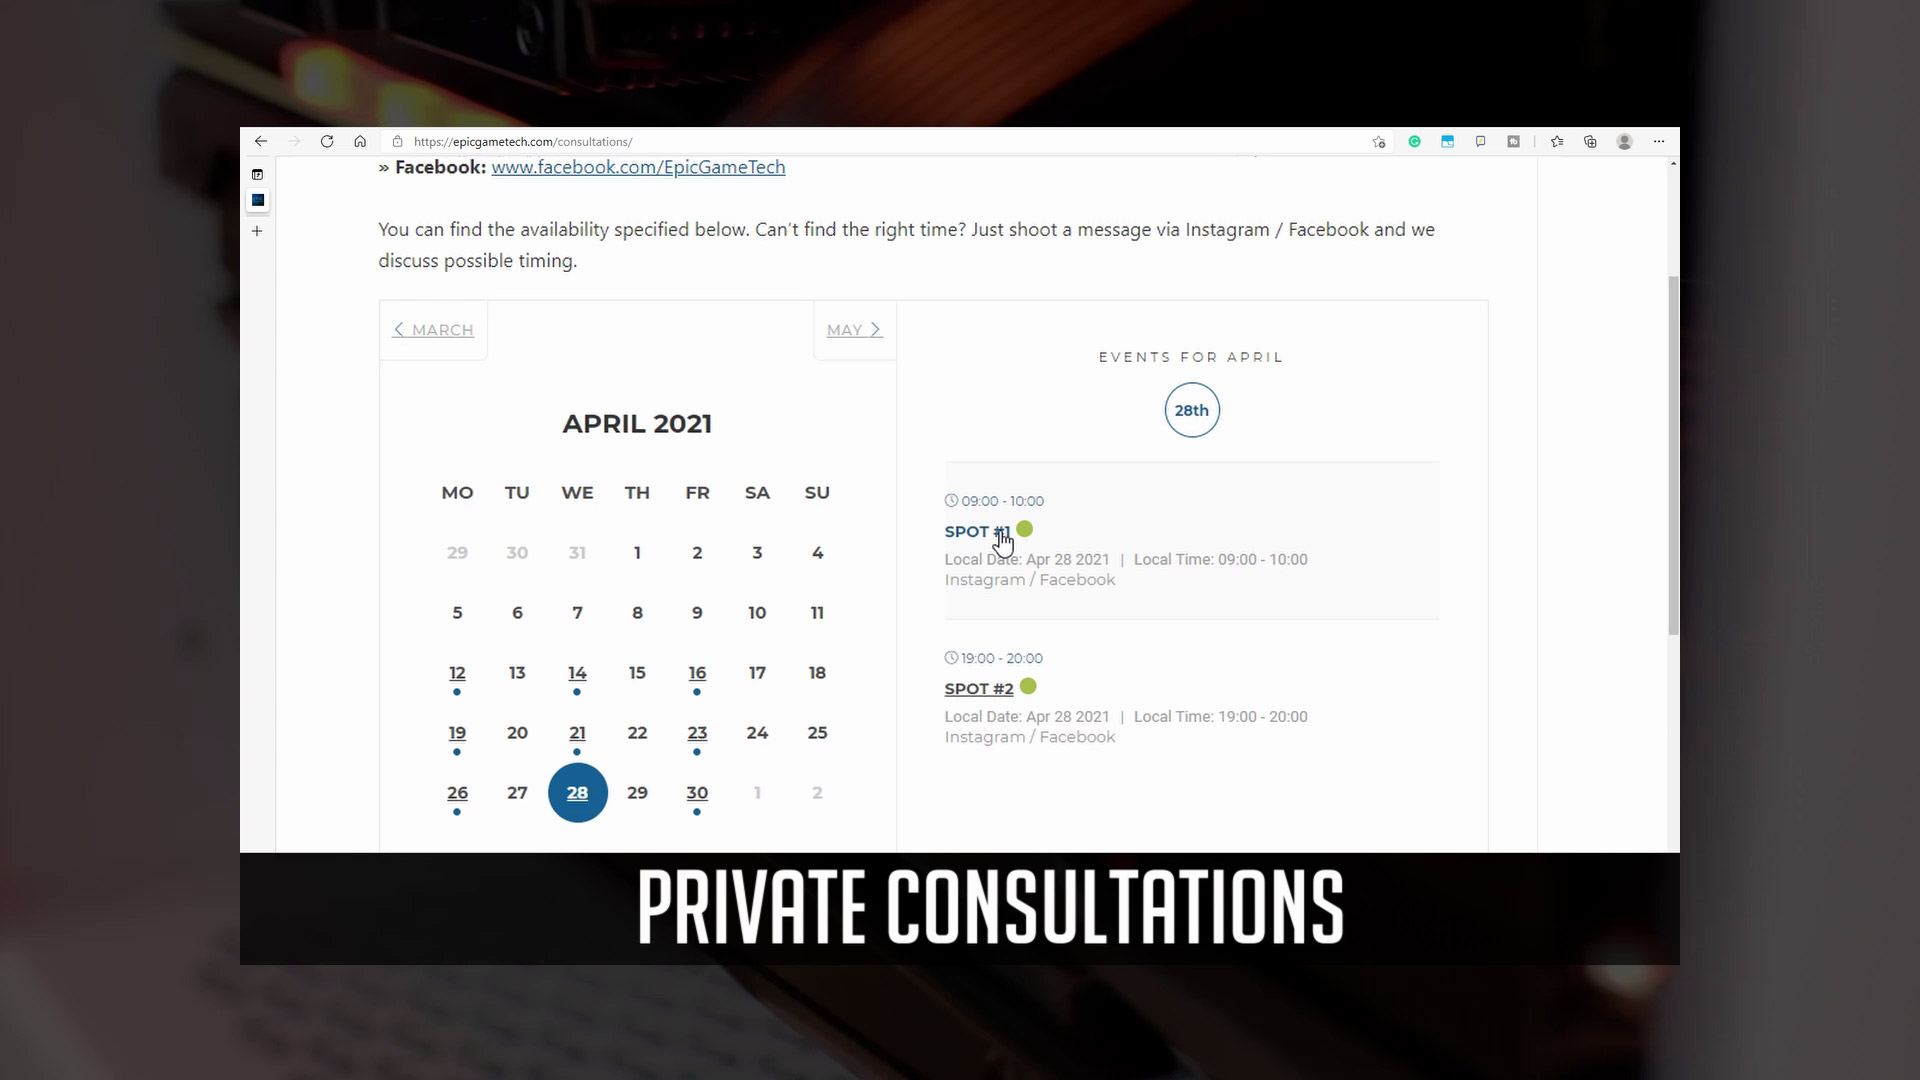
I’ve decided to start some private consultation sessions. It’s for anyone that is planning to build a pc and would like to book a dedicated time for making a personal PC parts list for a certain budget, or just needs some guidance on the best value and quality pc parts in your country.
So if you are interested, you can do it by messaging Epic Game Tech on Instragam or Facebook page. Also, you can check possible timings in this calendar.
Benchmarks
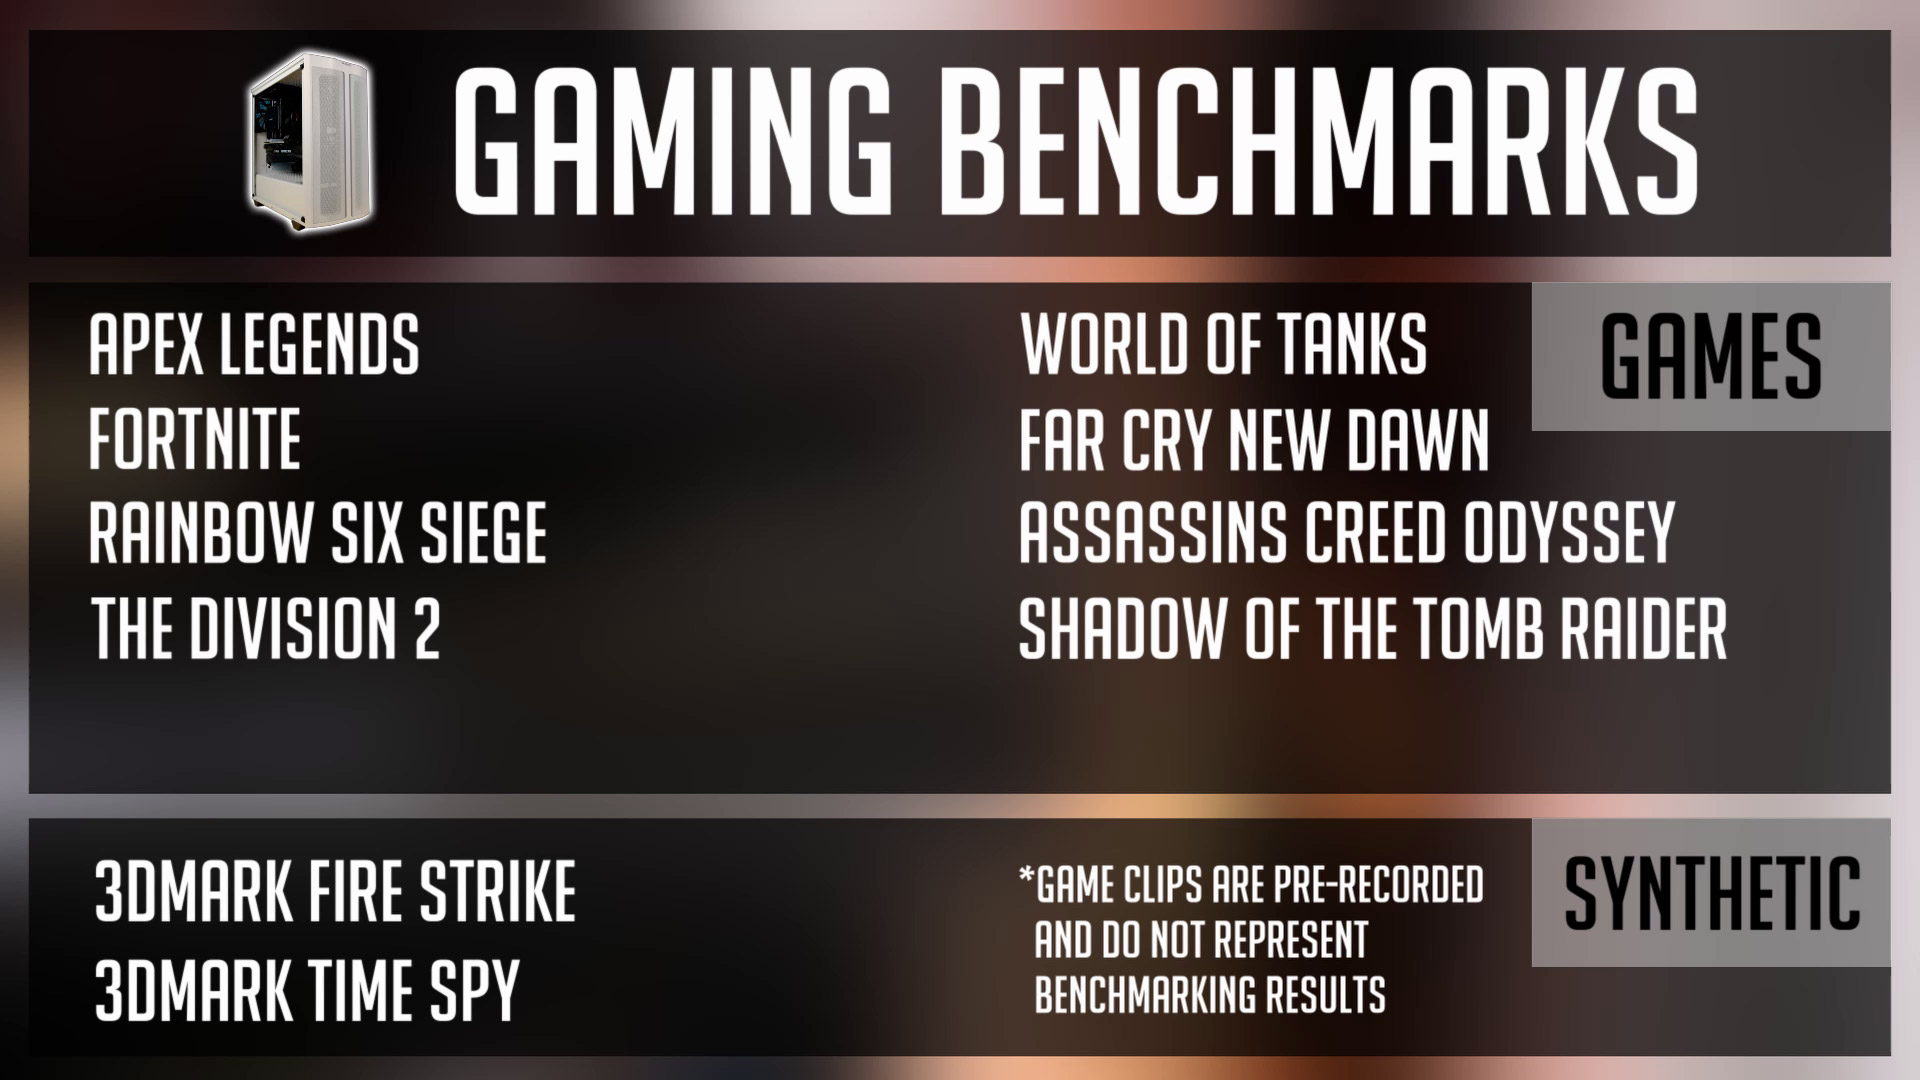

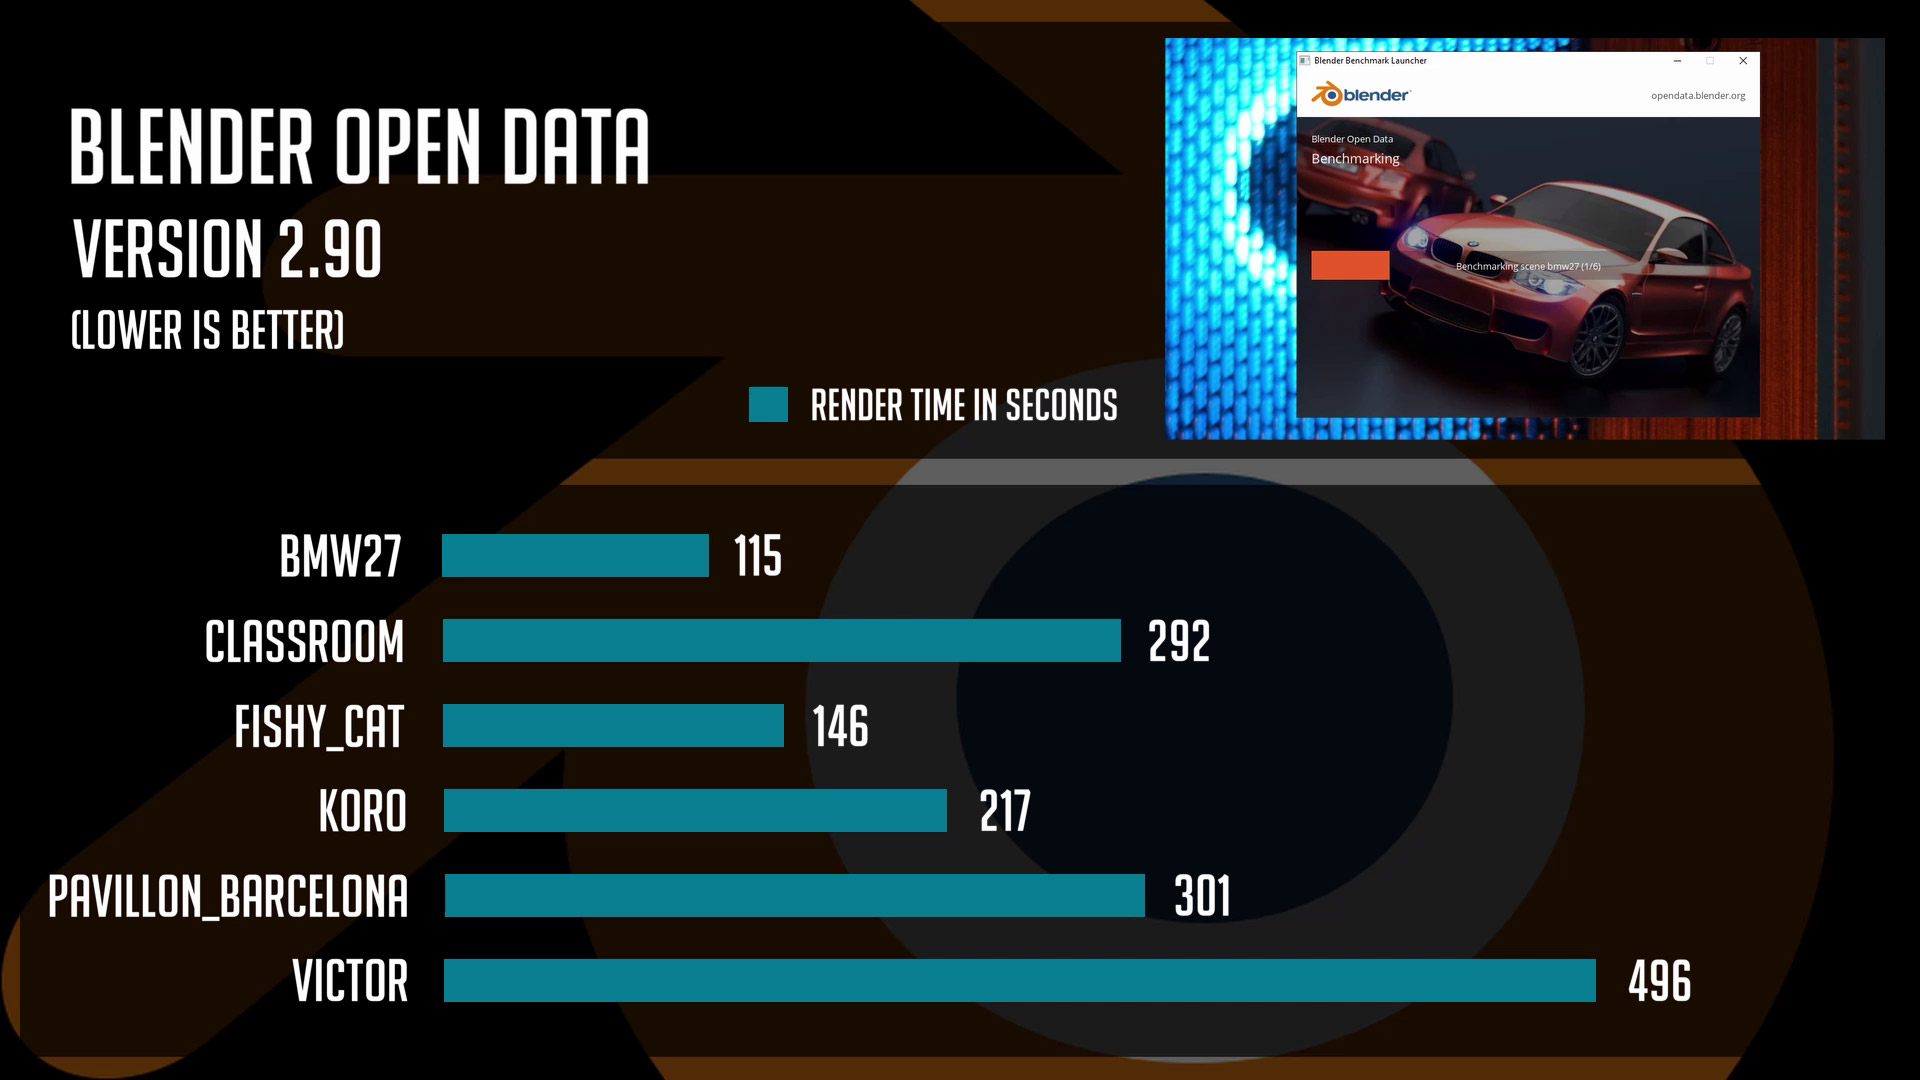
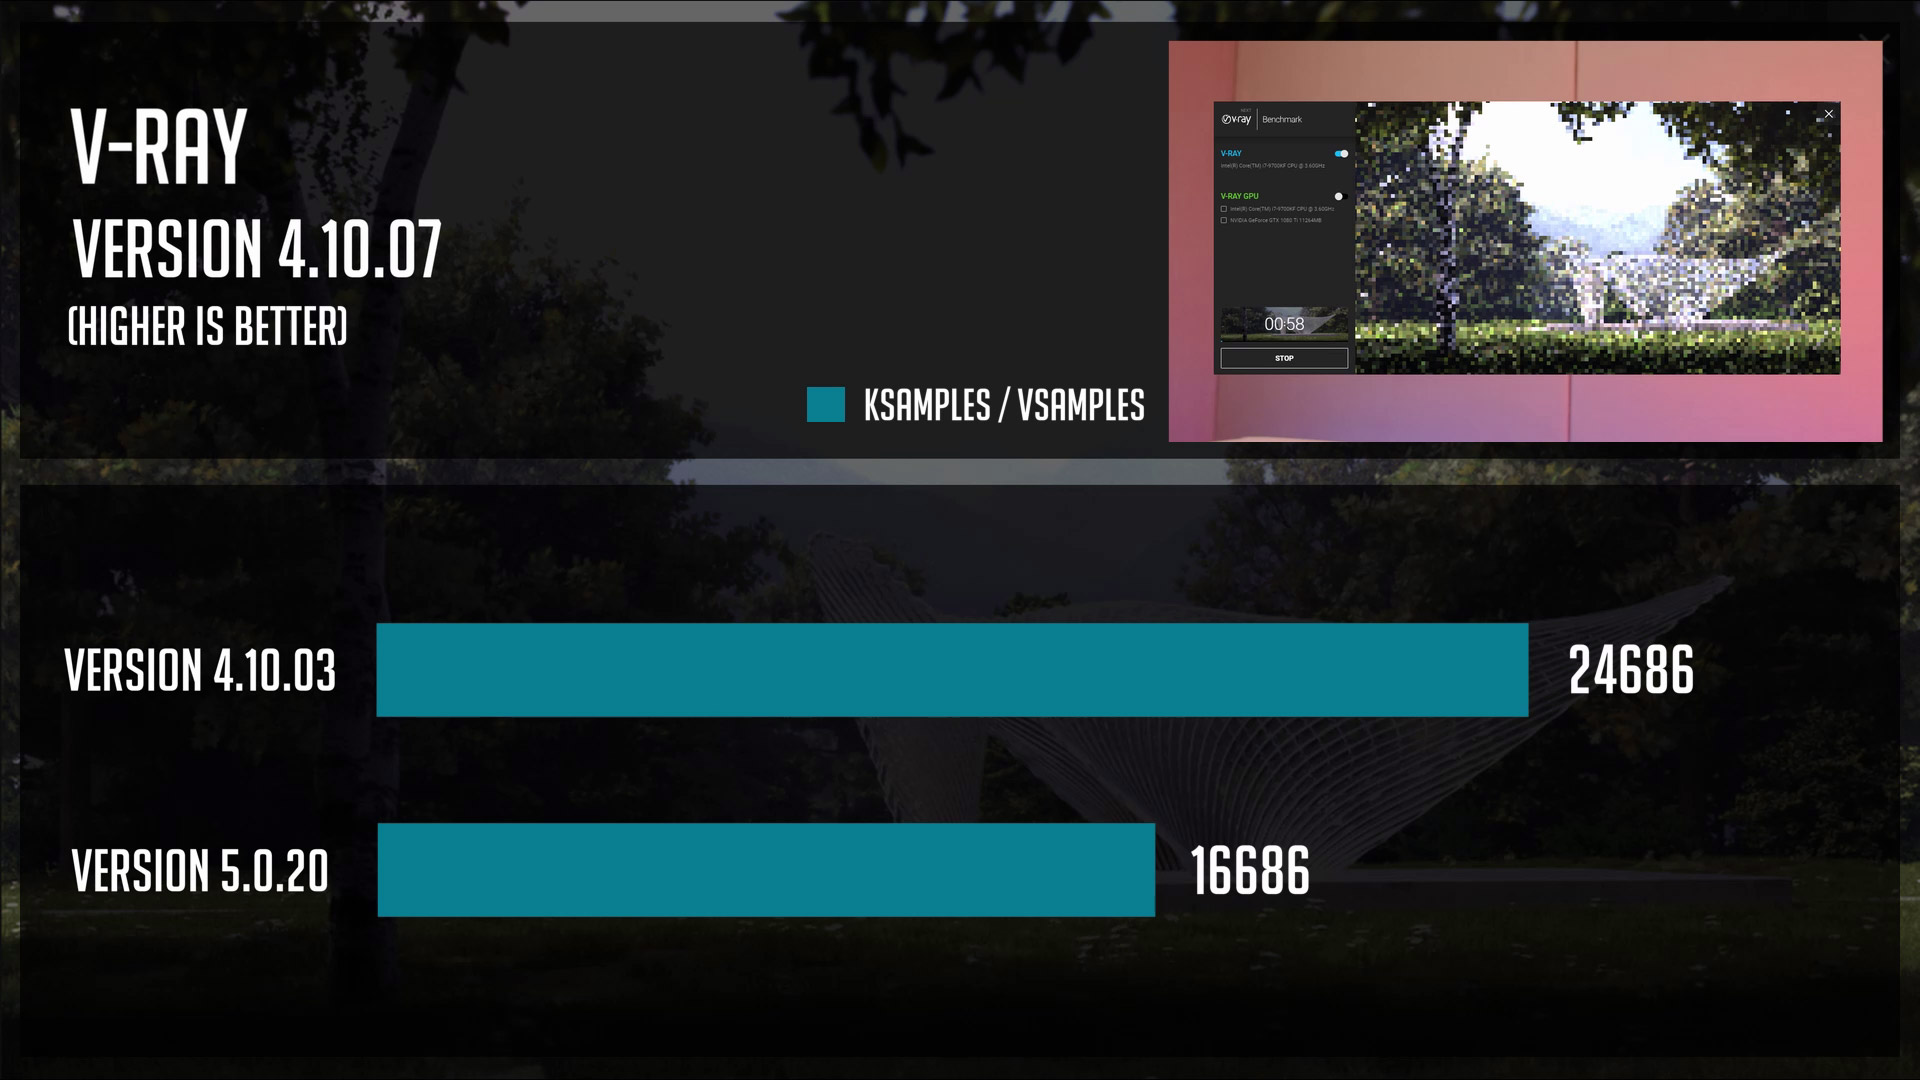
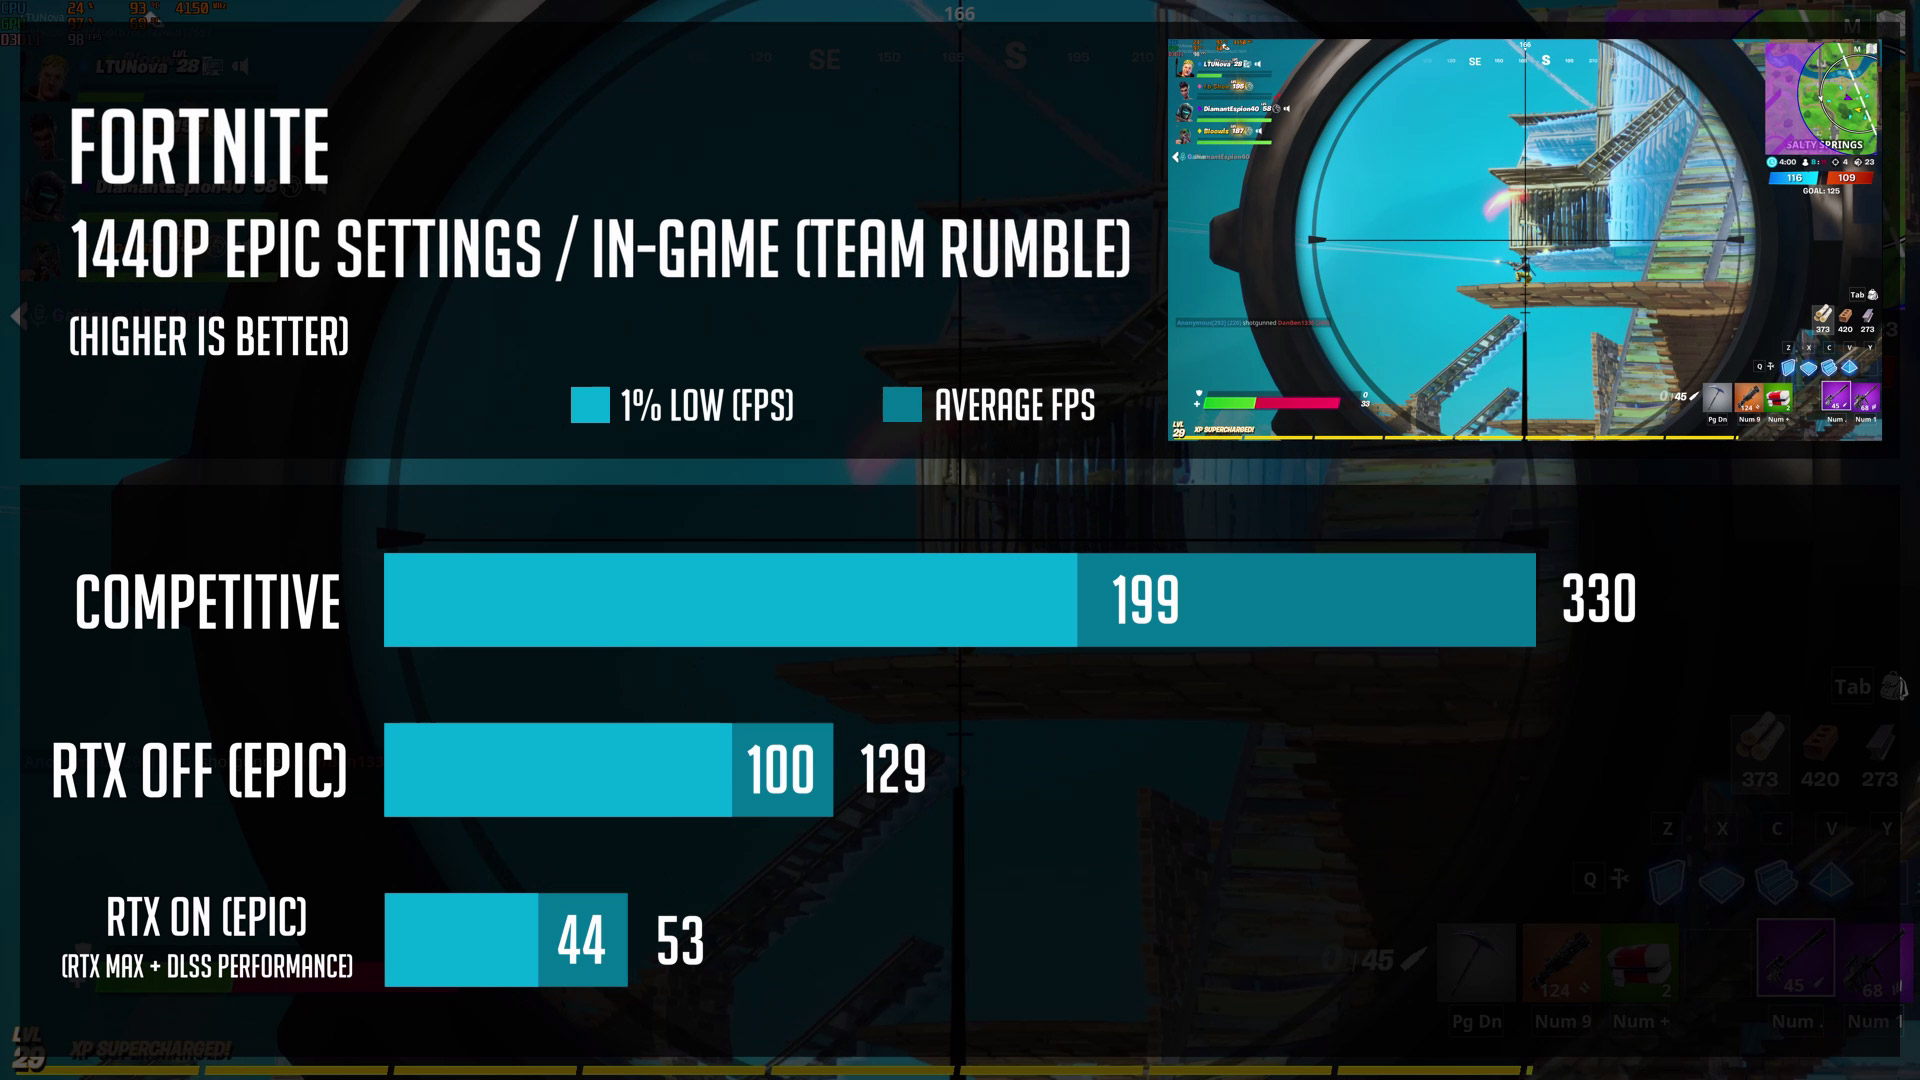

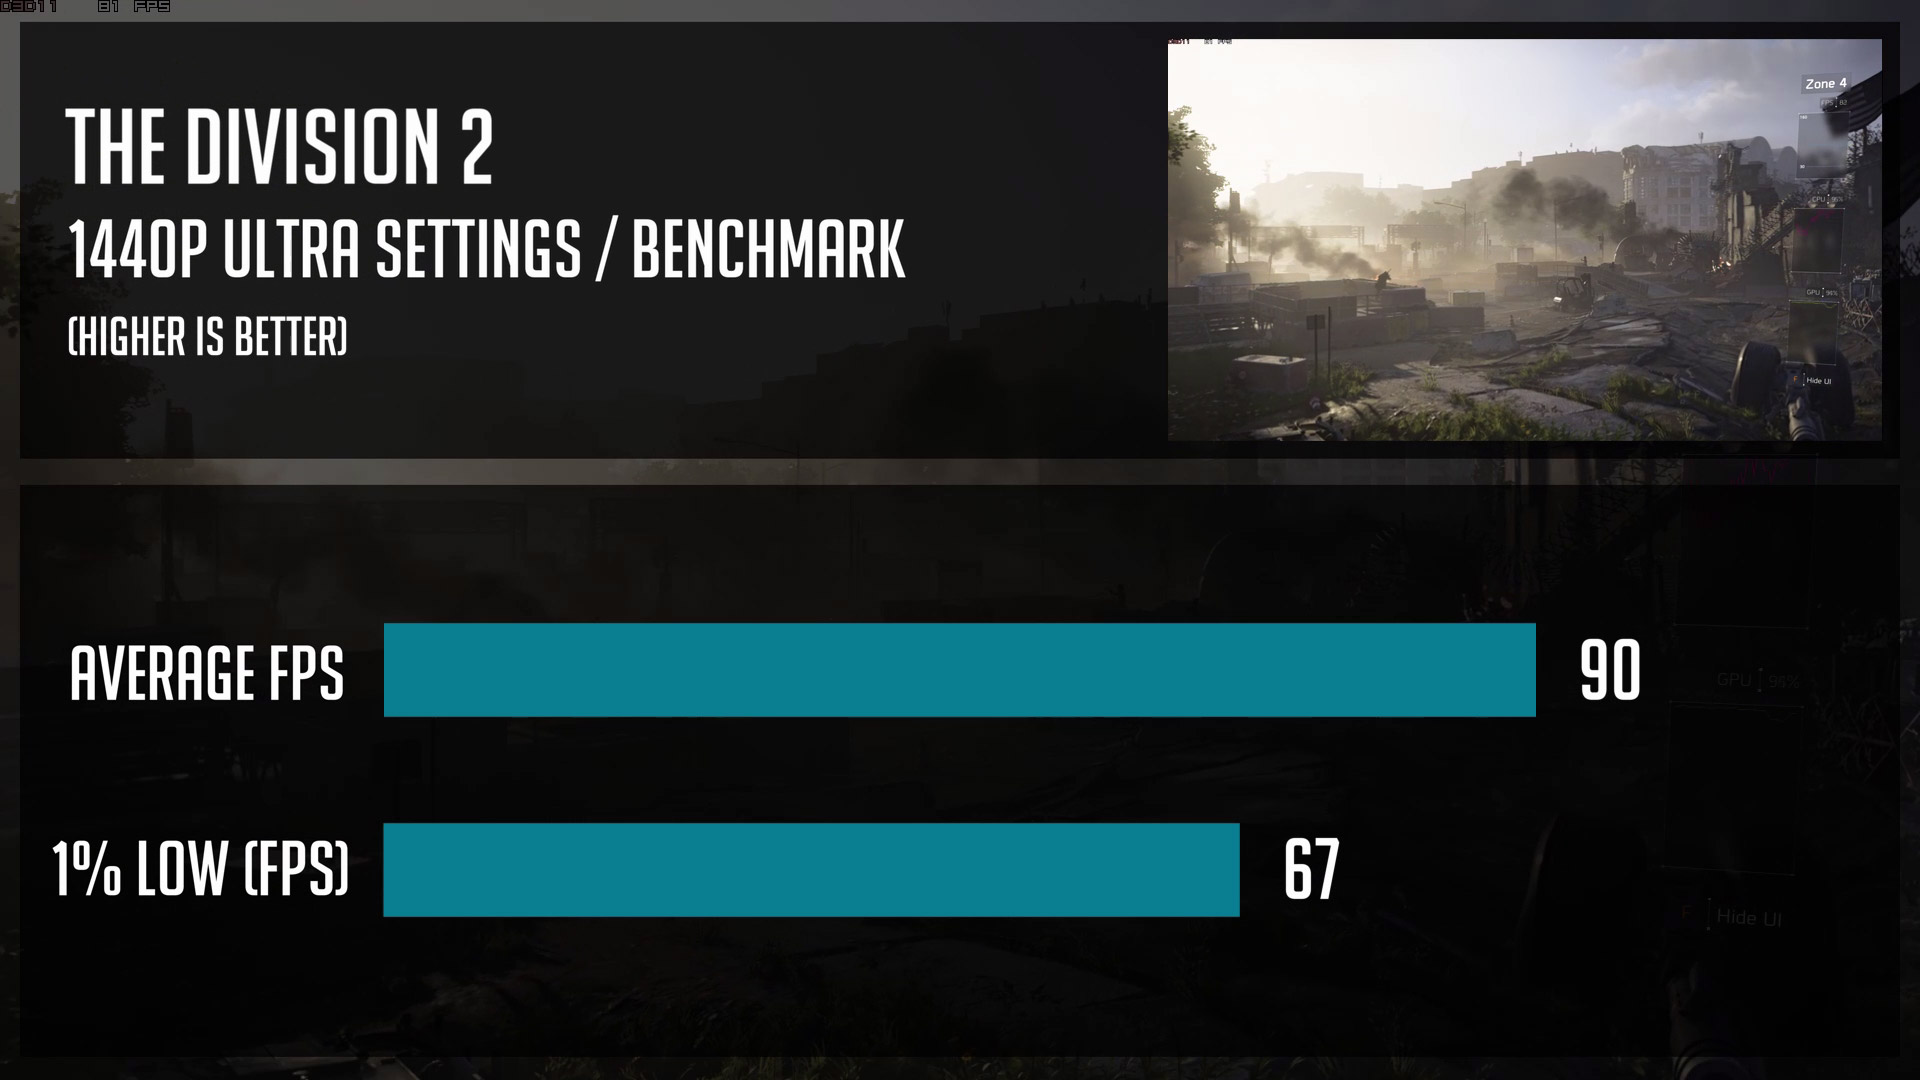

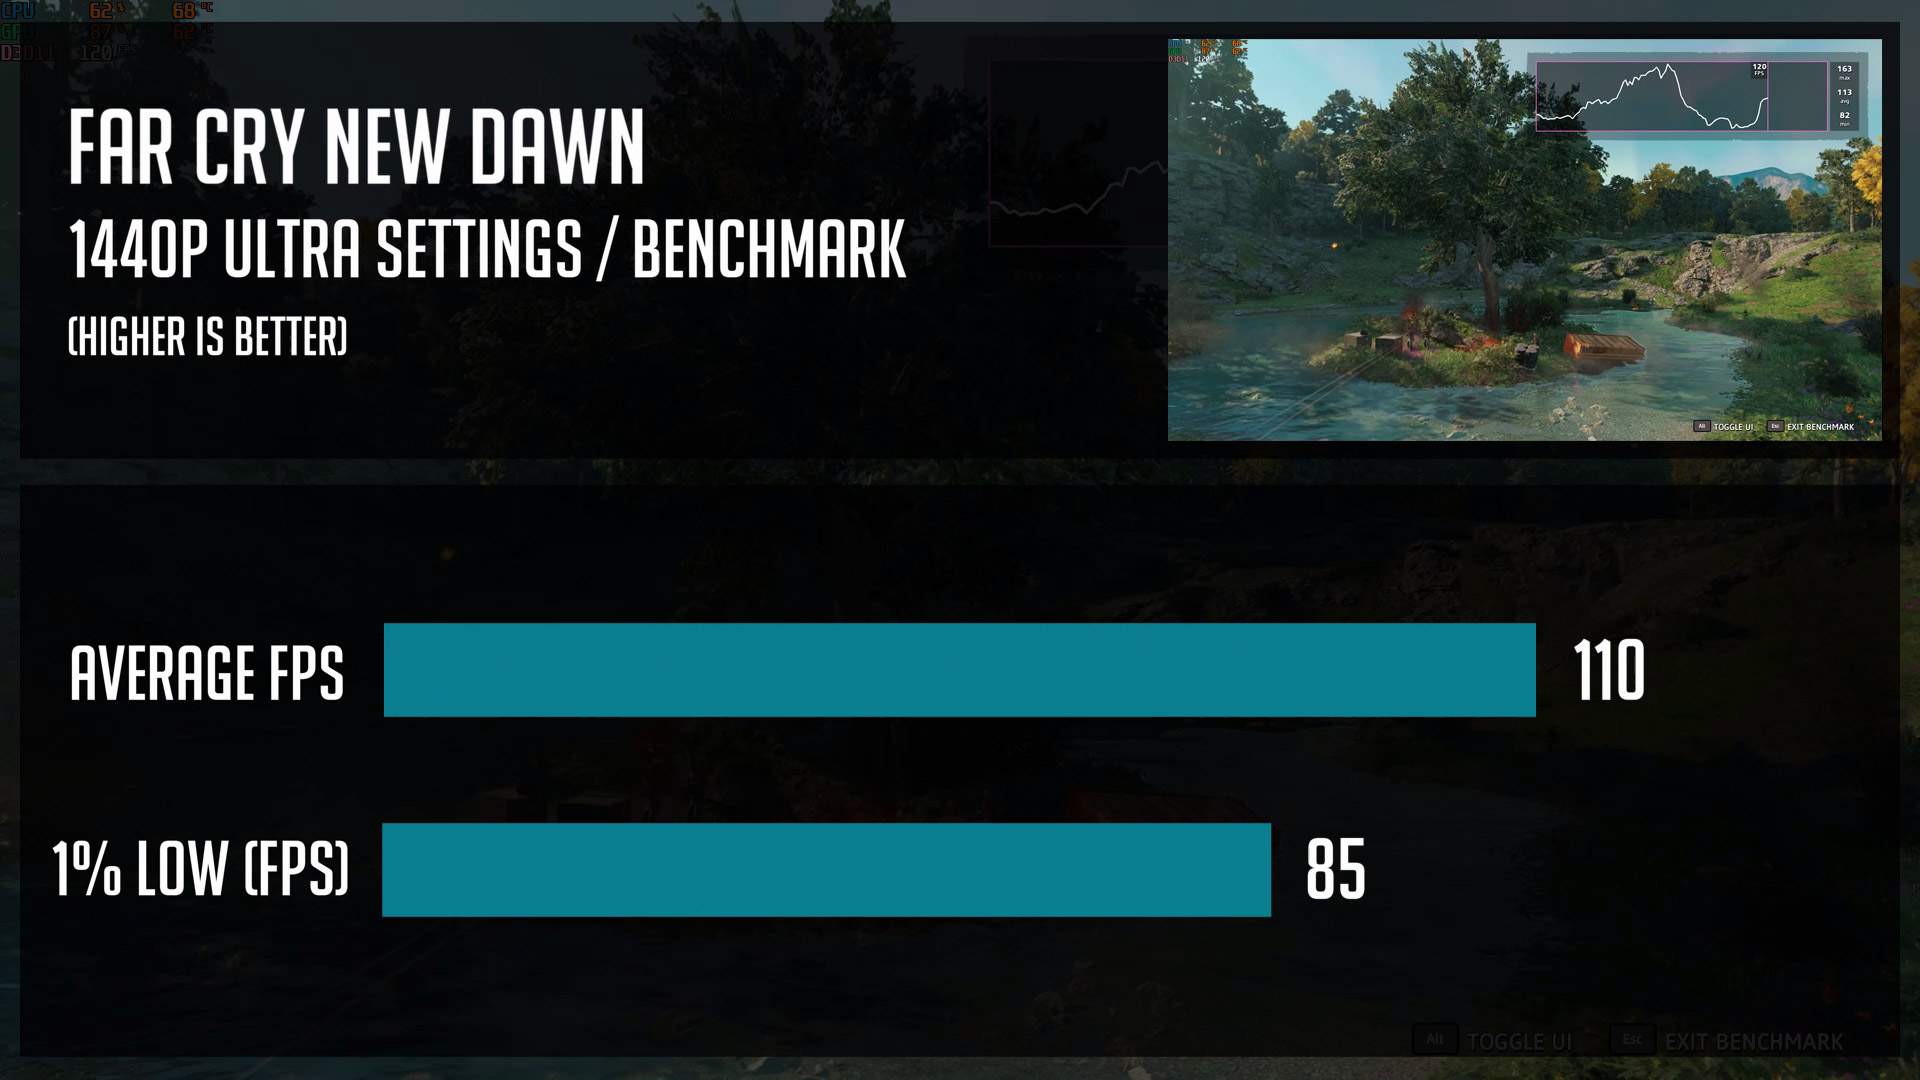
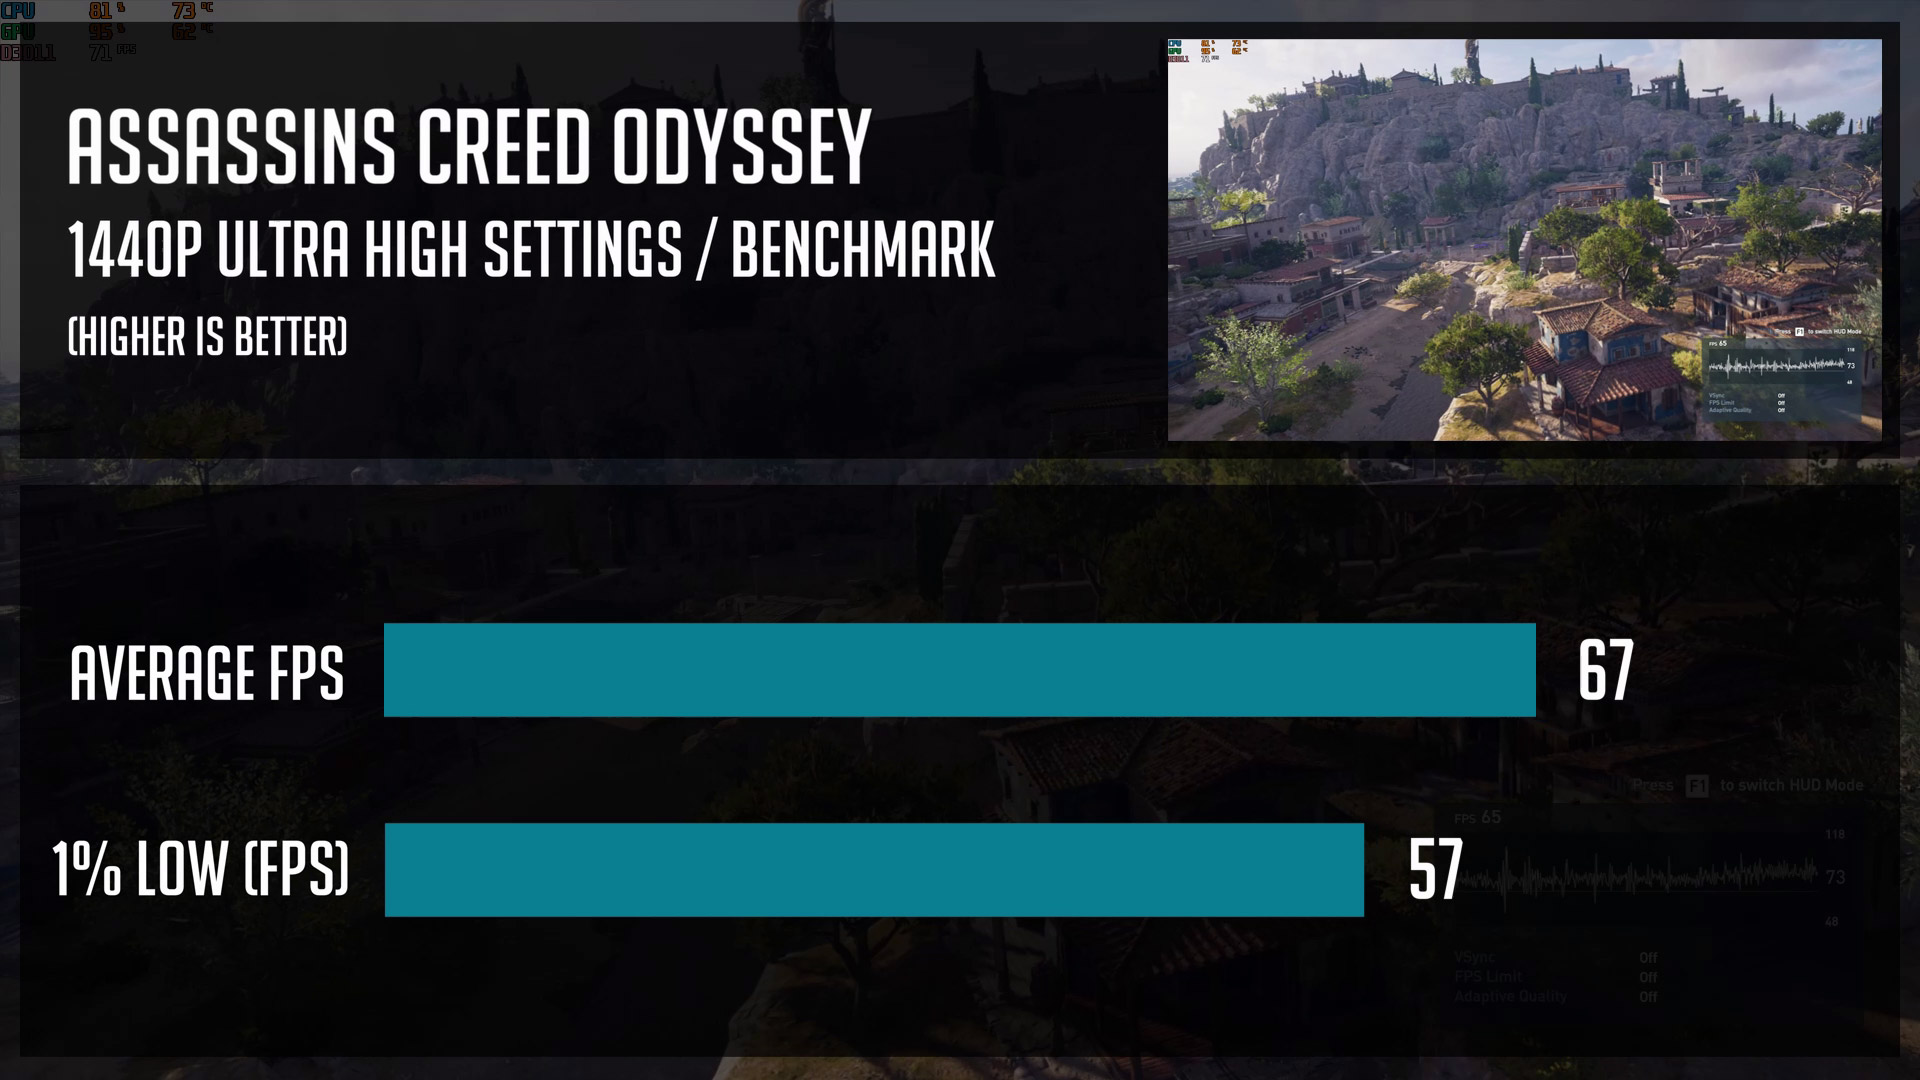
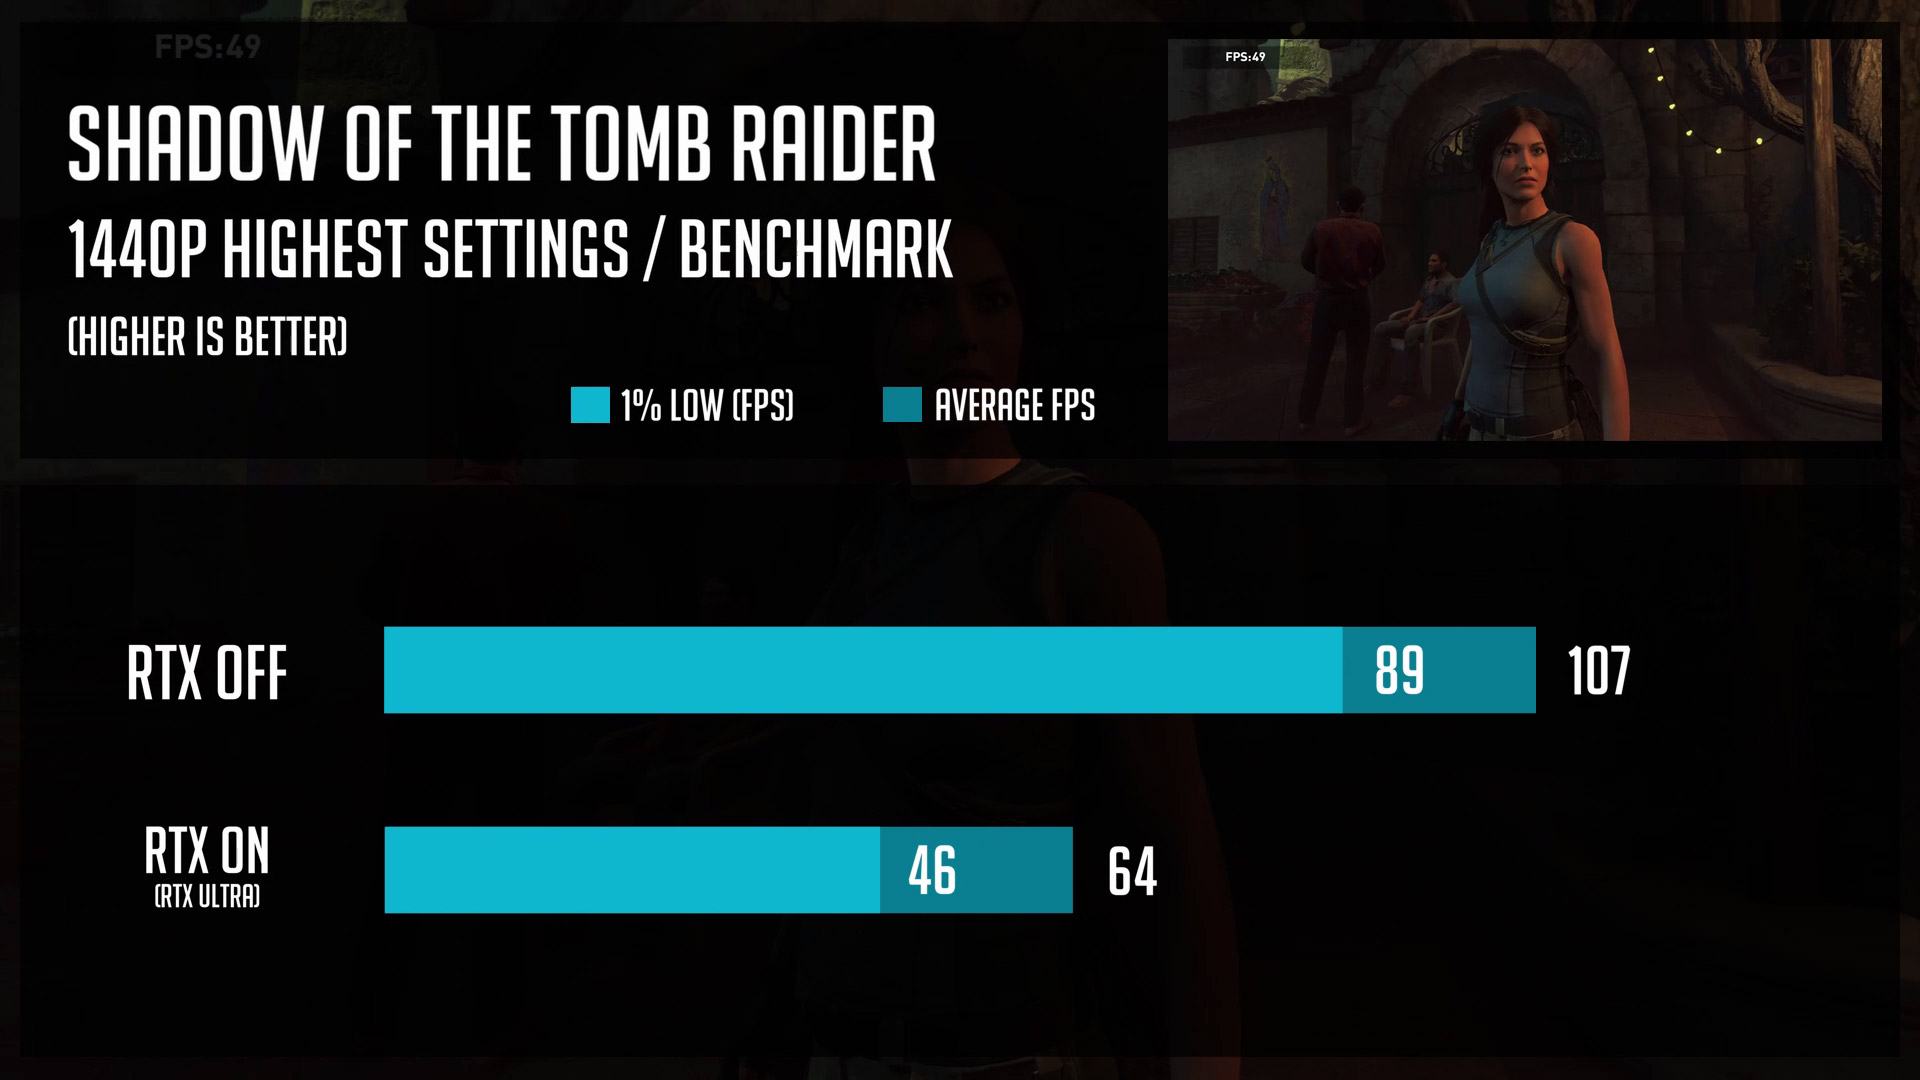
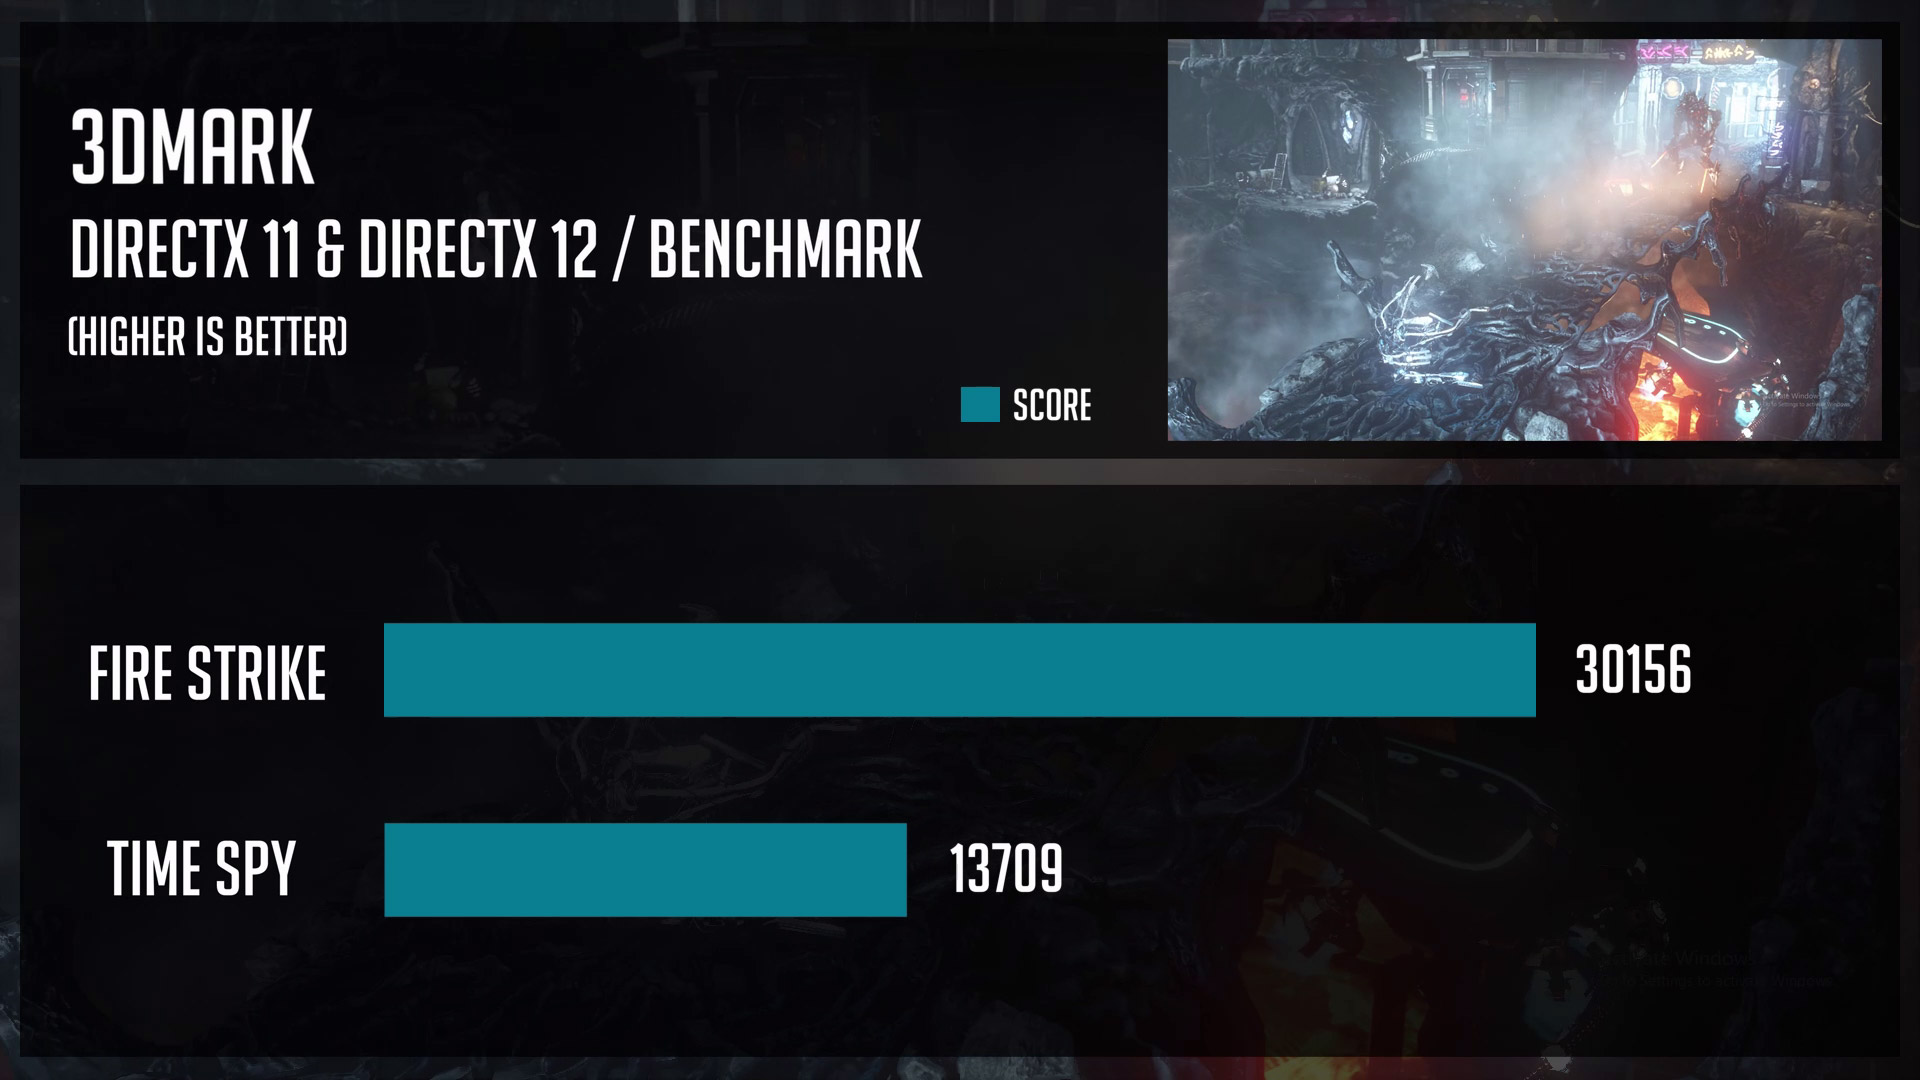
Alright, so for those who are interested in PC Builds performance numbers, I have prepared some productivity benchmarks like blender and v-ray as well as tested this system in various games using 1440p resolution.
Power consumption
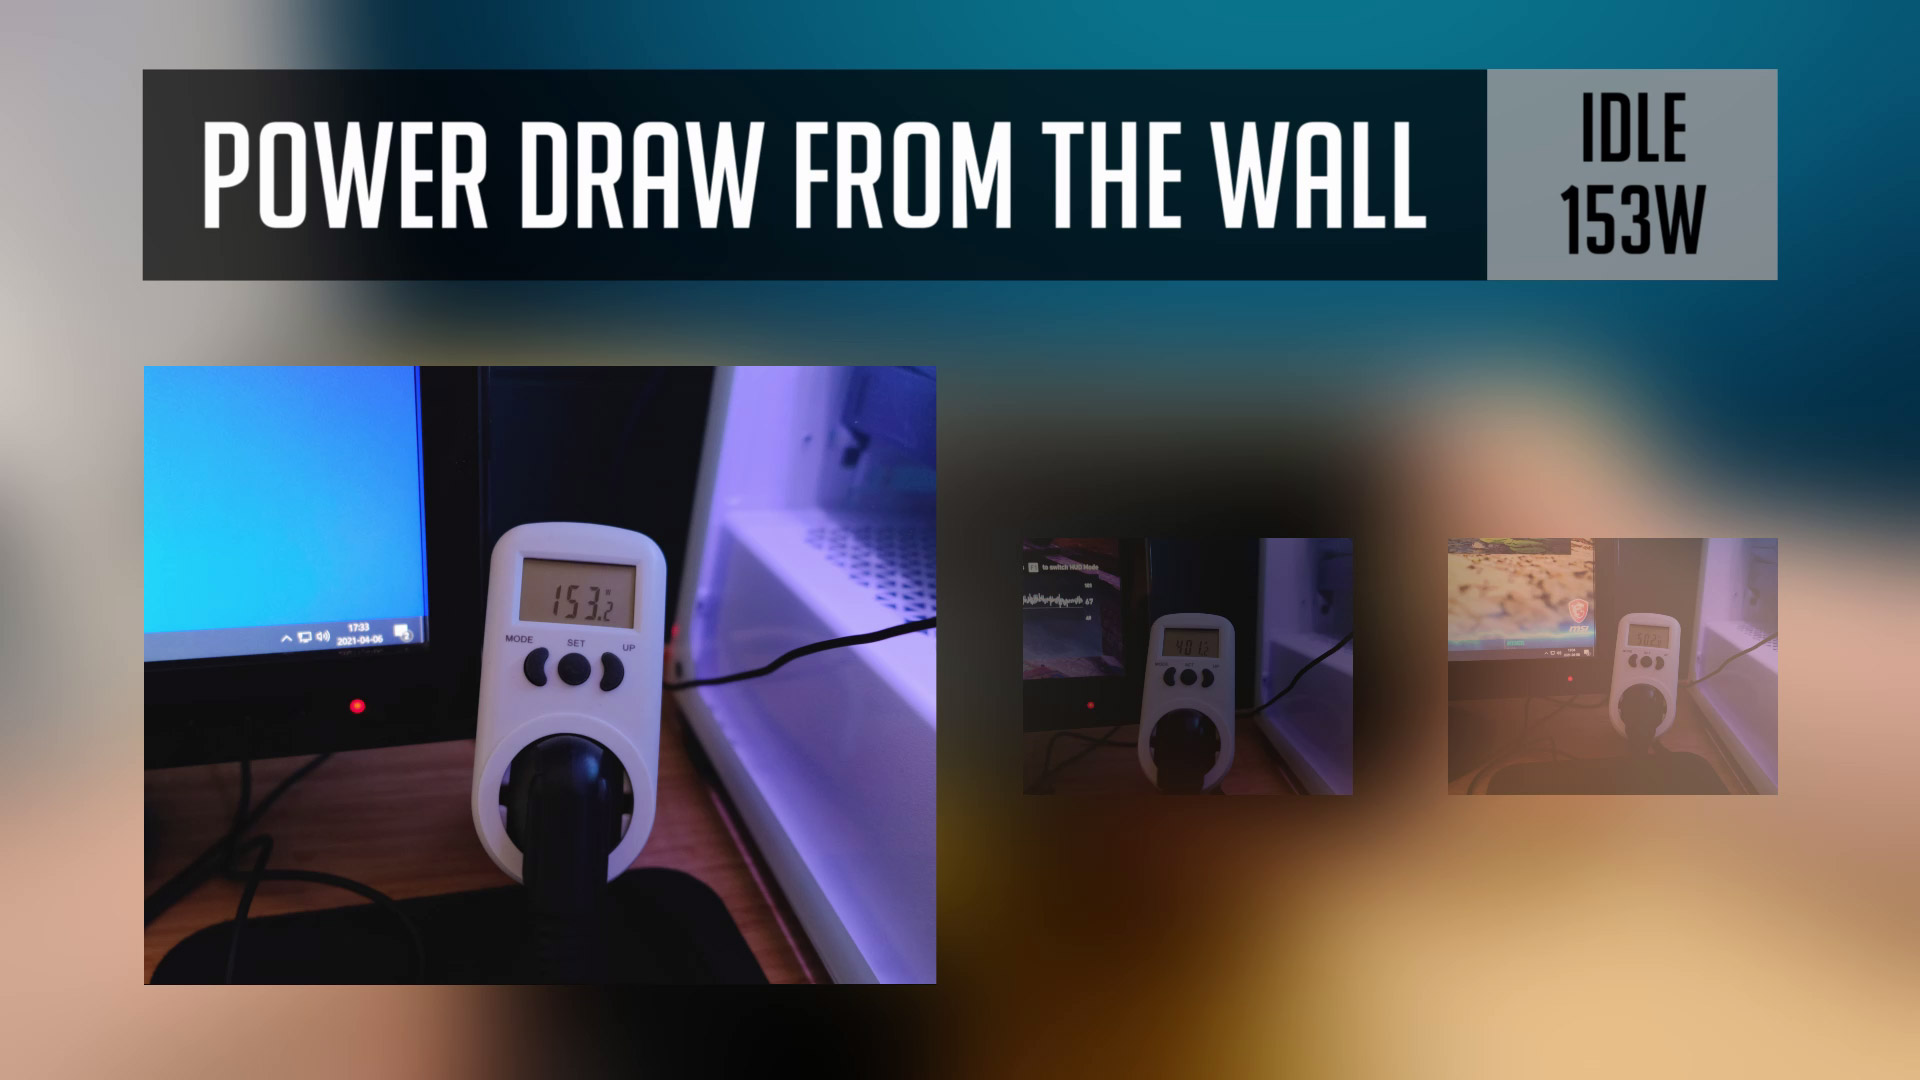
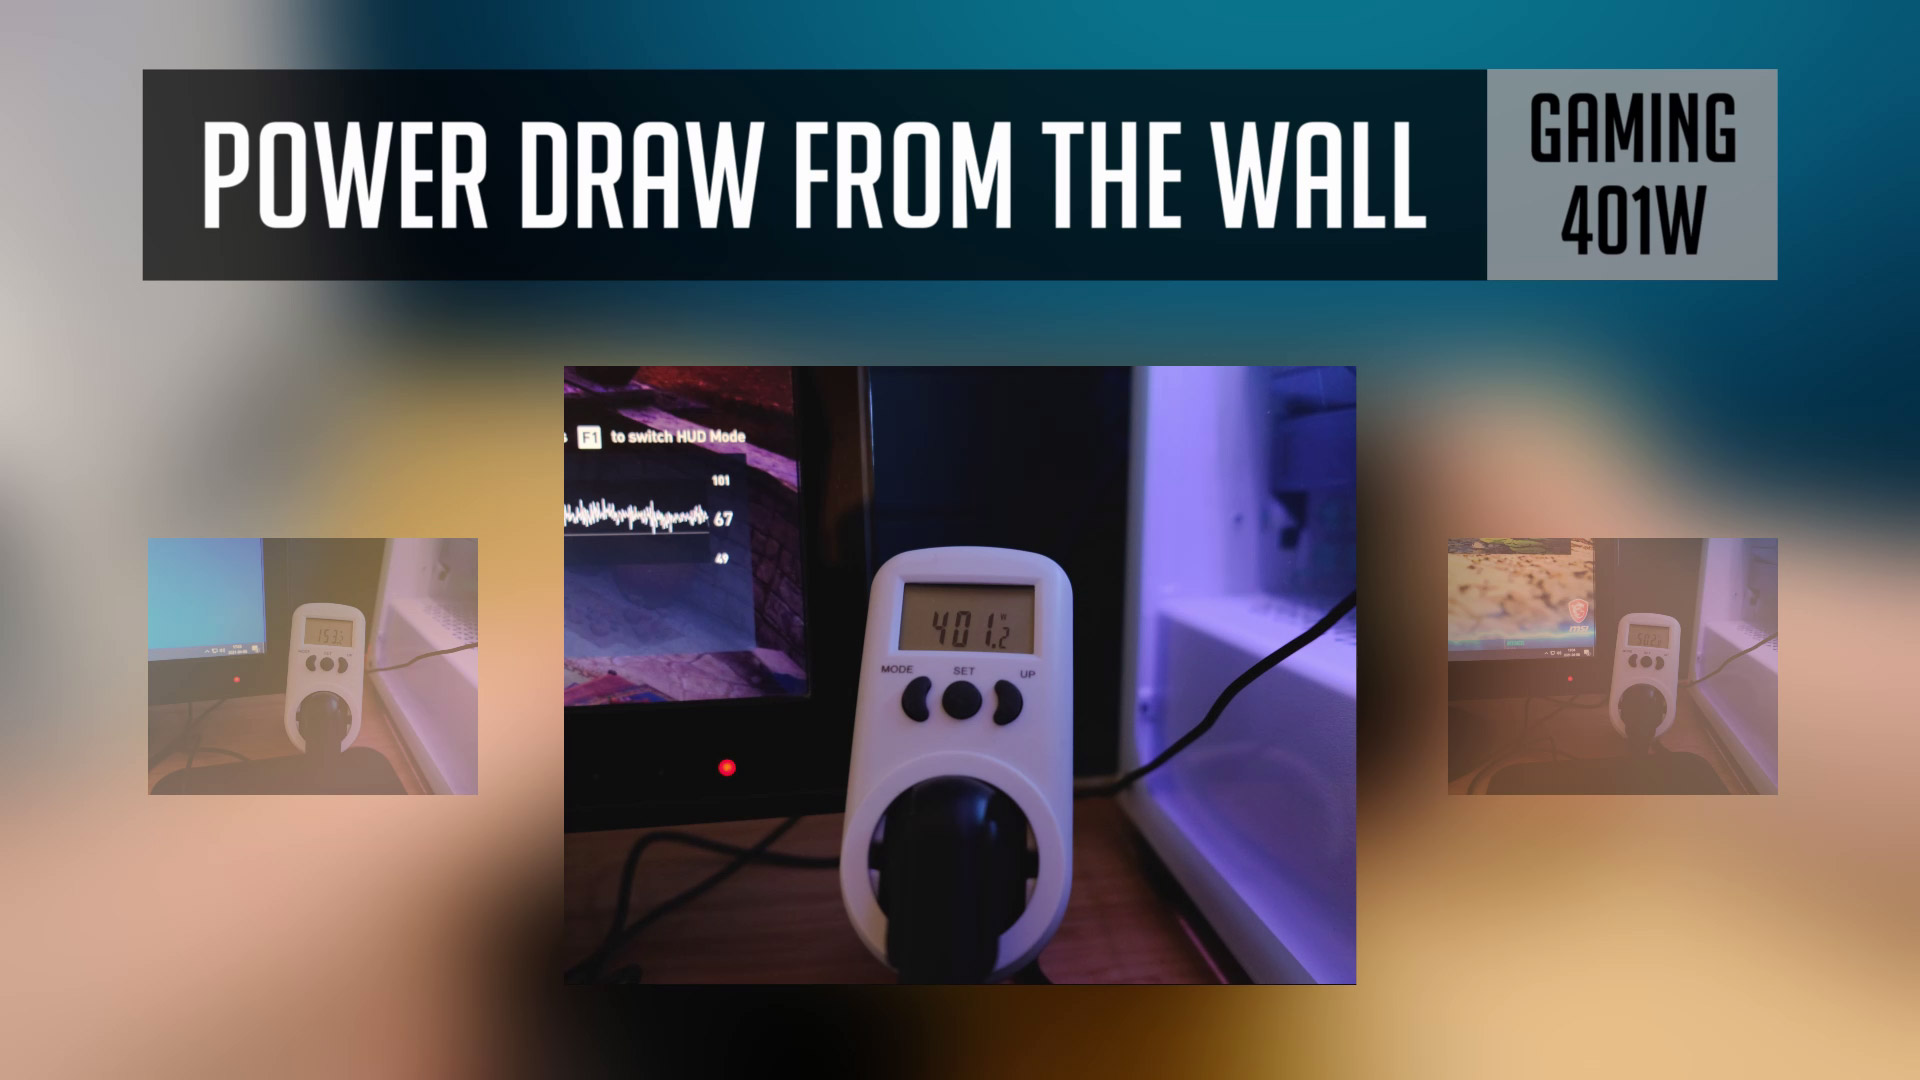
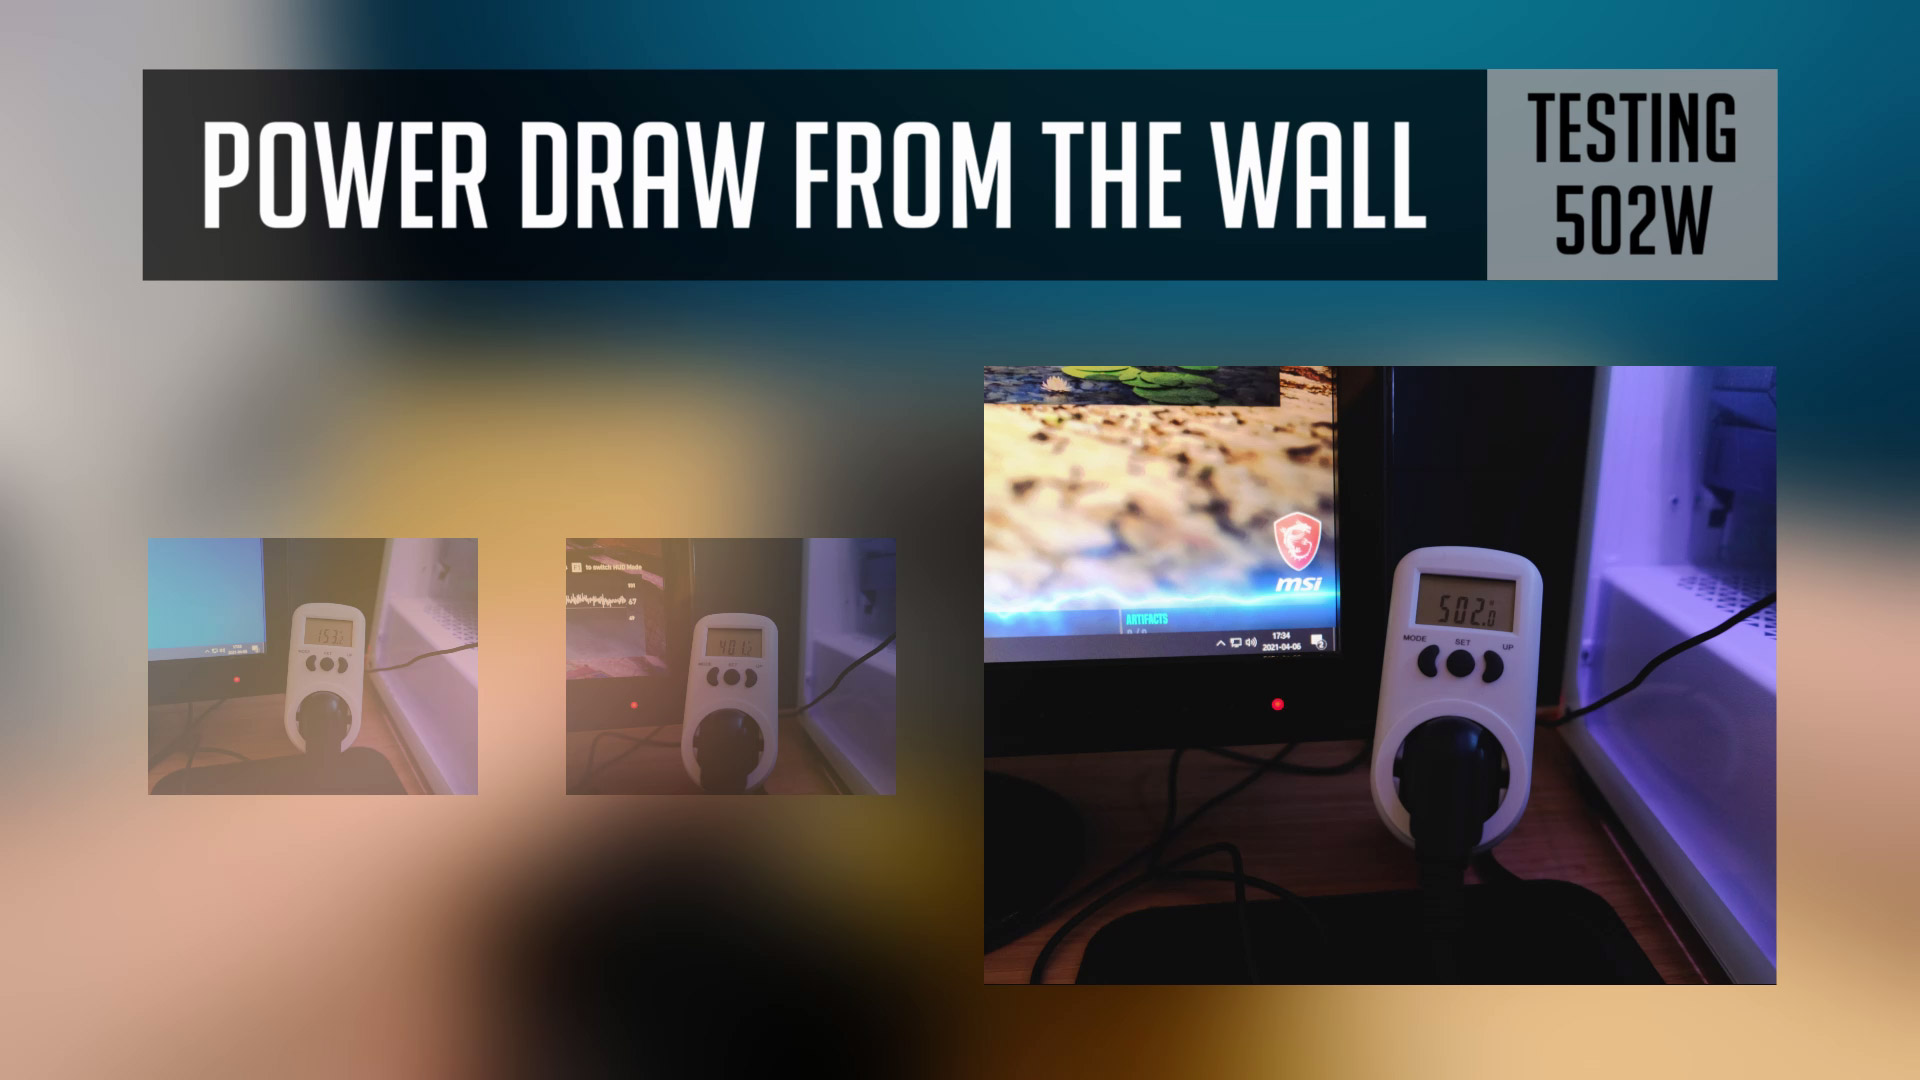
As I’ve mentioned previously, we are using quite an overkill PSU here. But what is the power consumption we can expect?
When idle, I saw power draw around 150watts from the wall. When gaming, around 400watts with some spikes to 440 watts. And the highest number I’ve managed to catch was a bit over 500 watts when stress-testing meaning a CPU and GPU utilization was 100%.


So this a serious video editing, streaming, and gaming machine. My only wish is probably the same as many of you guys, for a GPU market to get back to normal again.
You can watch a video version of this PC Build below or register for a consultation in case you are planning to build and you need some advice.
PC Parts List
CPU: Ryzen 9 5900x – https://geni.us/tENfXo
COOLER: Be Quiet Dark Rock Pro 4 – https://geni.us/KBsw
MB: Gigabyte X570 Aorus Ultra – https://geni.us/K5dcAP
RAM: G.Skill Ripjaws V 3600mhz 64GB – https://geni.us/098hCb
SSD: Adata SX8200 Pro 2TB NVMe – https://geni.us/xXe4QSz
GPU: MSI RTX 3070 Gaming X Trio – https://geni.us/AwRqK
PSU: Cooler Master V850 Gold – https://geni.us/iHuC
CASE: be quiet! Pure Base 500DX – https://geni.us/rdGwu
FANS: be quiet! Pure Wings 2 140mm – https://amzn.to/3nvZ5HU
Disclosure: EpicGameTech gets a small commission when you purchase something via our Amazon links. It doesn’t cost you anything extra since that comes from Amazon’s end. So, please be aware, the links provided to Amazon are affiliate links.