Table of Contents
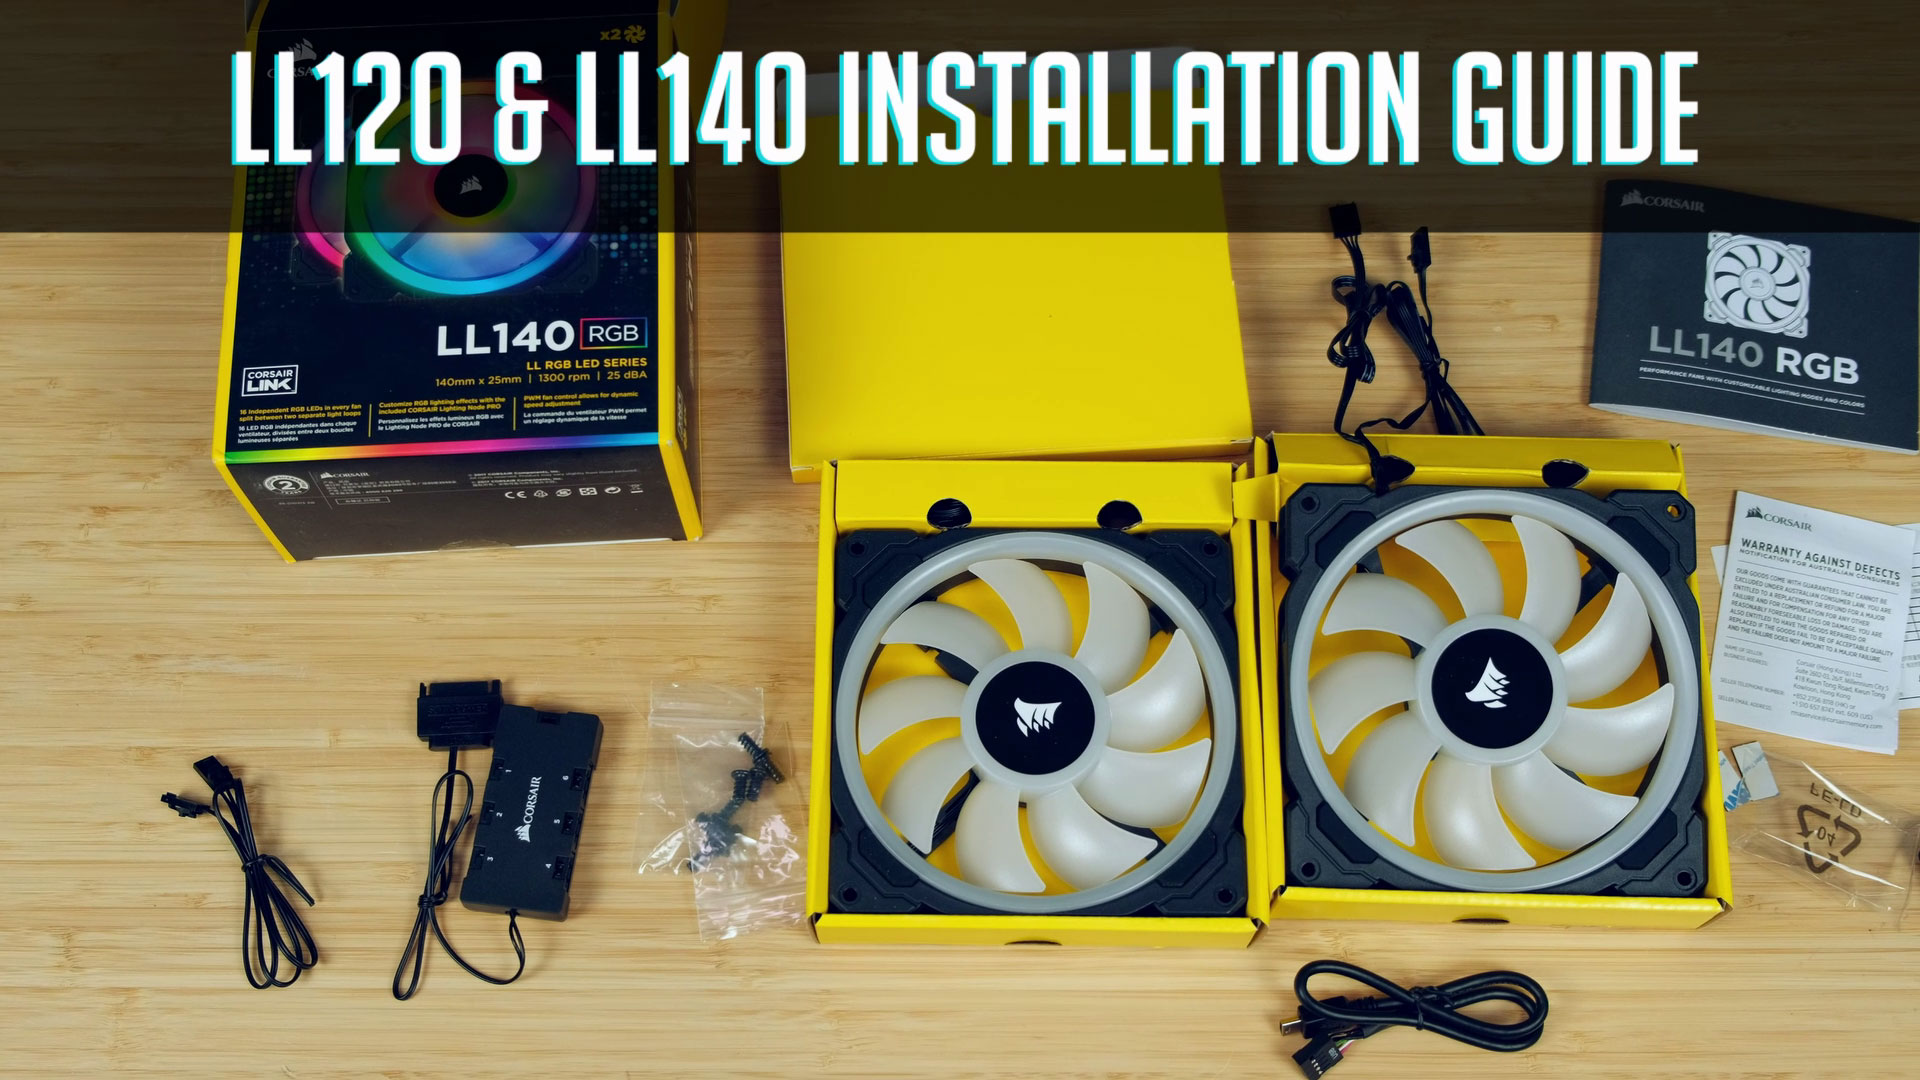
Today, we have premium RGB fans called LL120 and LL140 from Corsair. One thing for sure, the price of corsair fans live up to the premium segment. But what about value? How good they are, is it worth considering Corsair for your gaming PC Build?
Well, stick around since we will be unboxing, testing sound and airflow, as well as I, will show you guys how to connect these fans to your motherboard.
Unboxing LL120
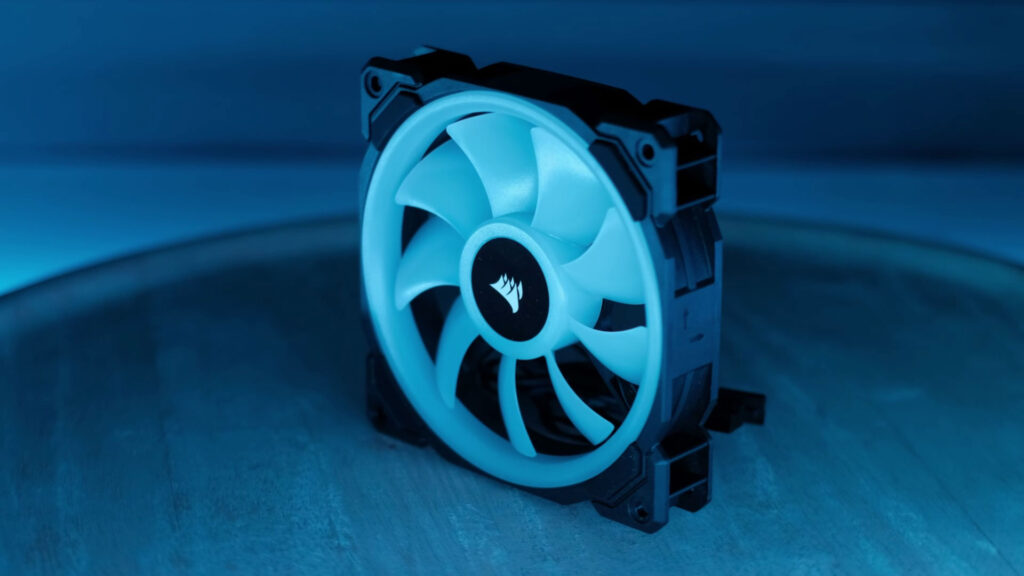
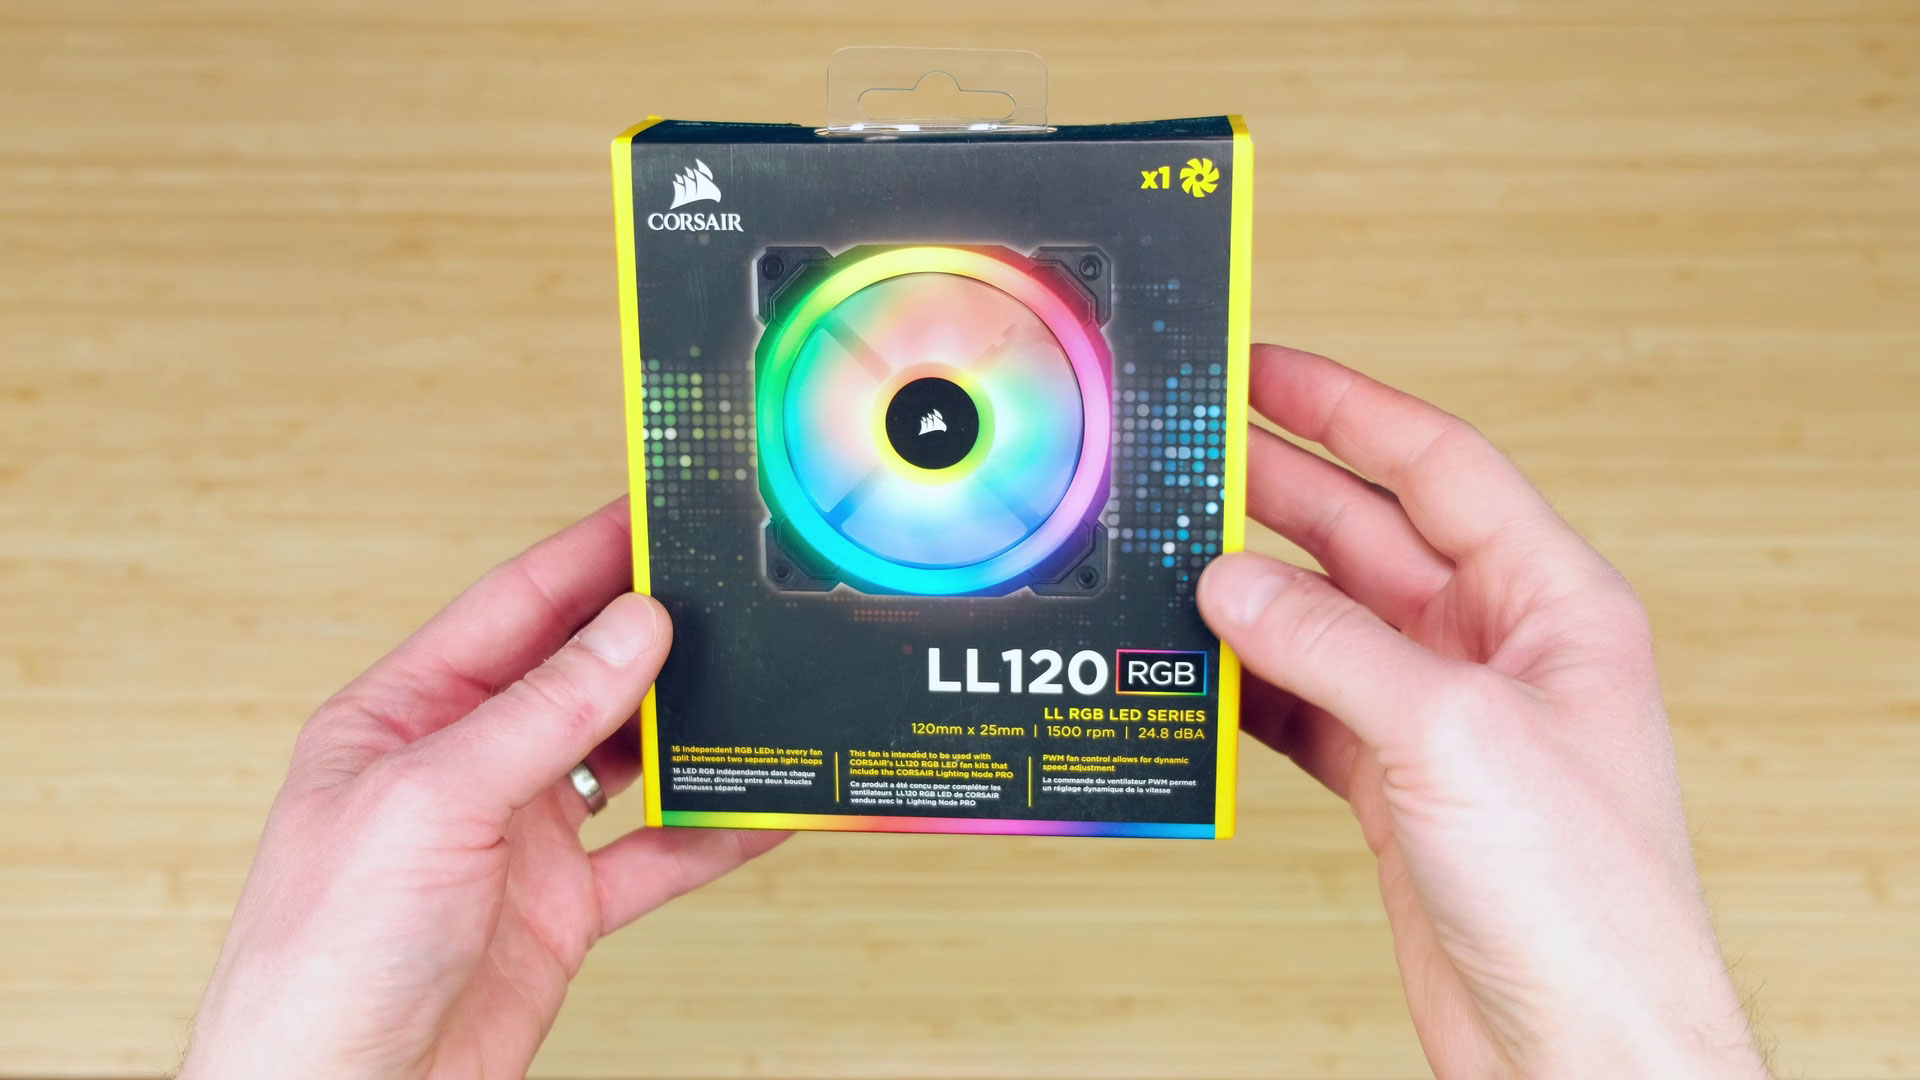
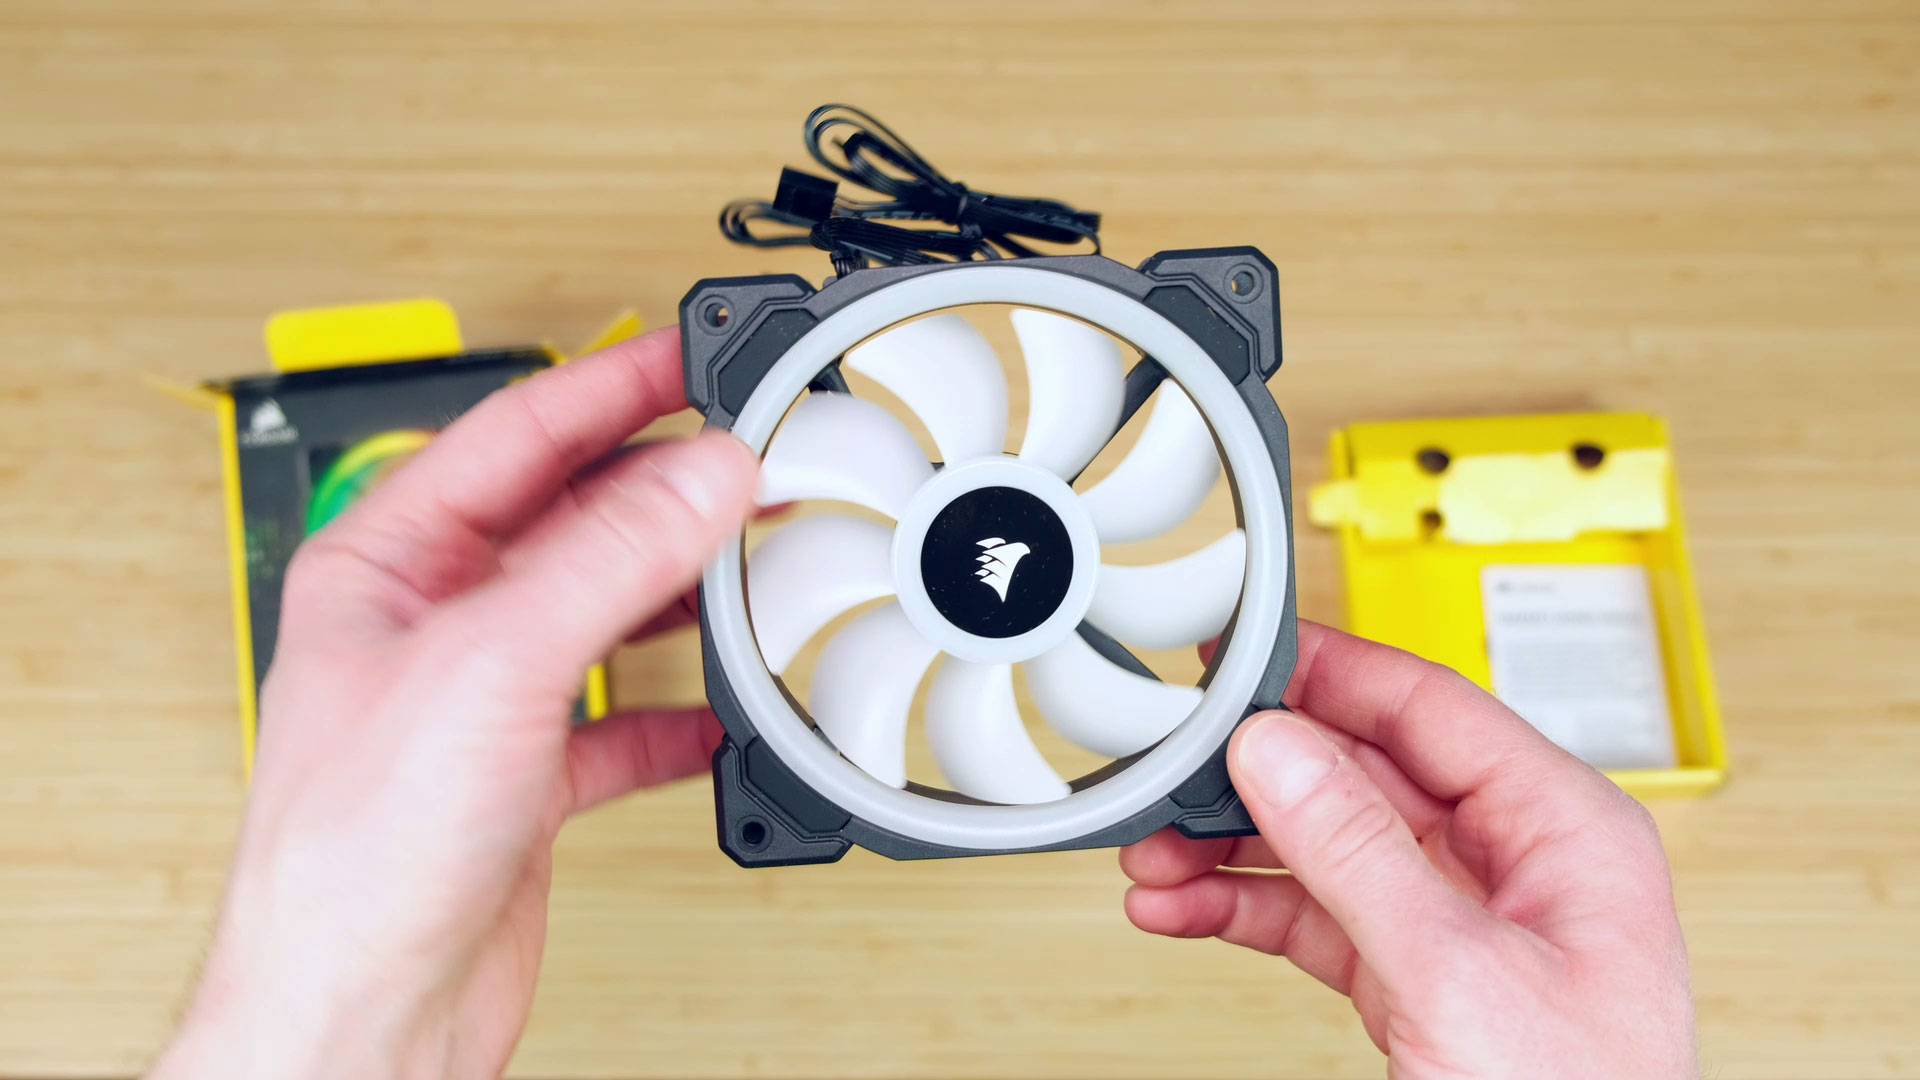
Alright, first of all, let’s check what is included when you get Corsair LL120 or LL140 RGB fans. Let’s do LL120 first. Here we go, we have nice looking 120mm fan here. It has rubber pads and so they absorb fans vibration.
Most fans have rubber around screw holes and here, as you can see, it’s a bit on a different spot, more towards the center of a fan. The fan itself looks a bit beefy, lots of plastic and it feels very durable.

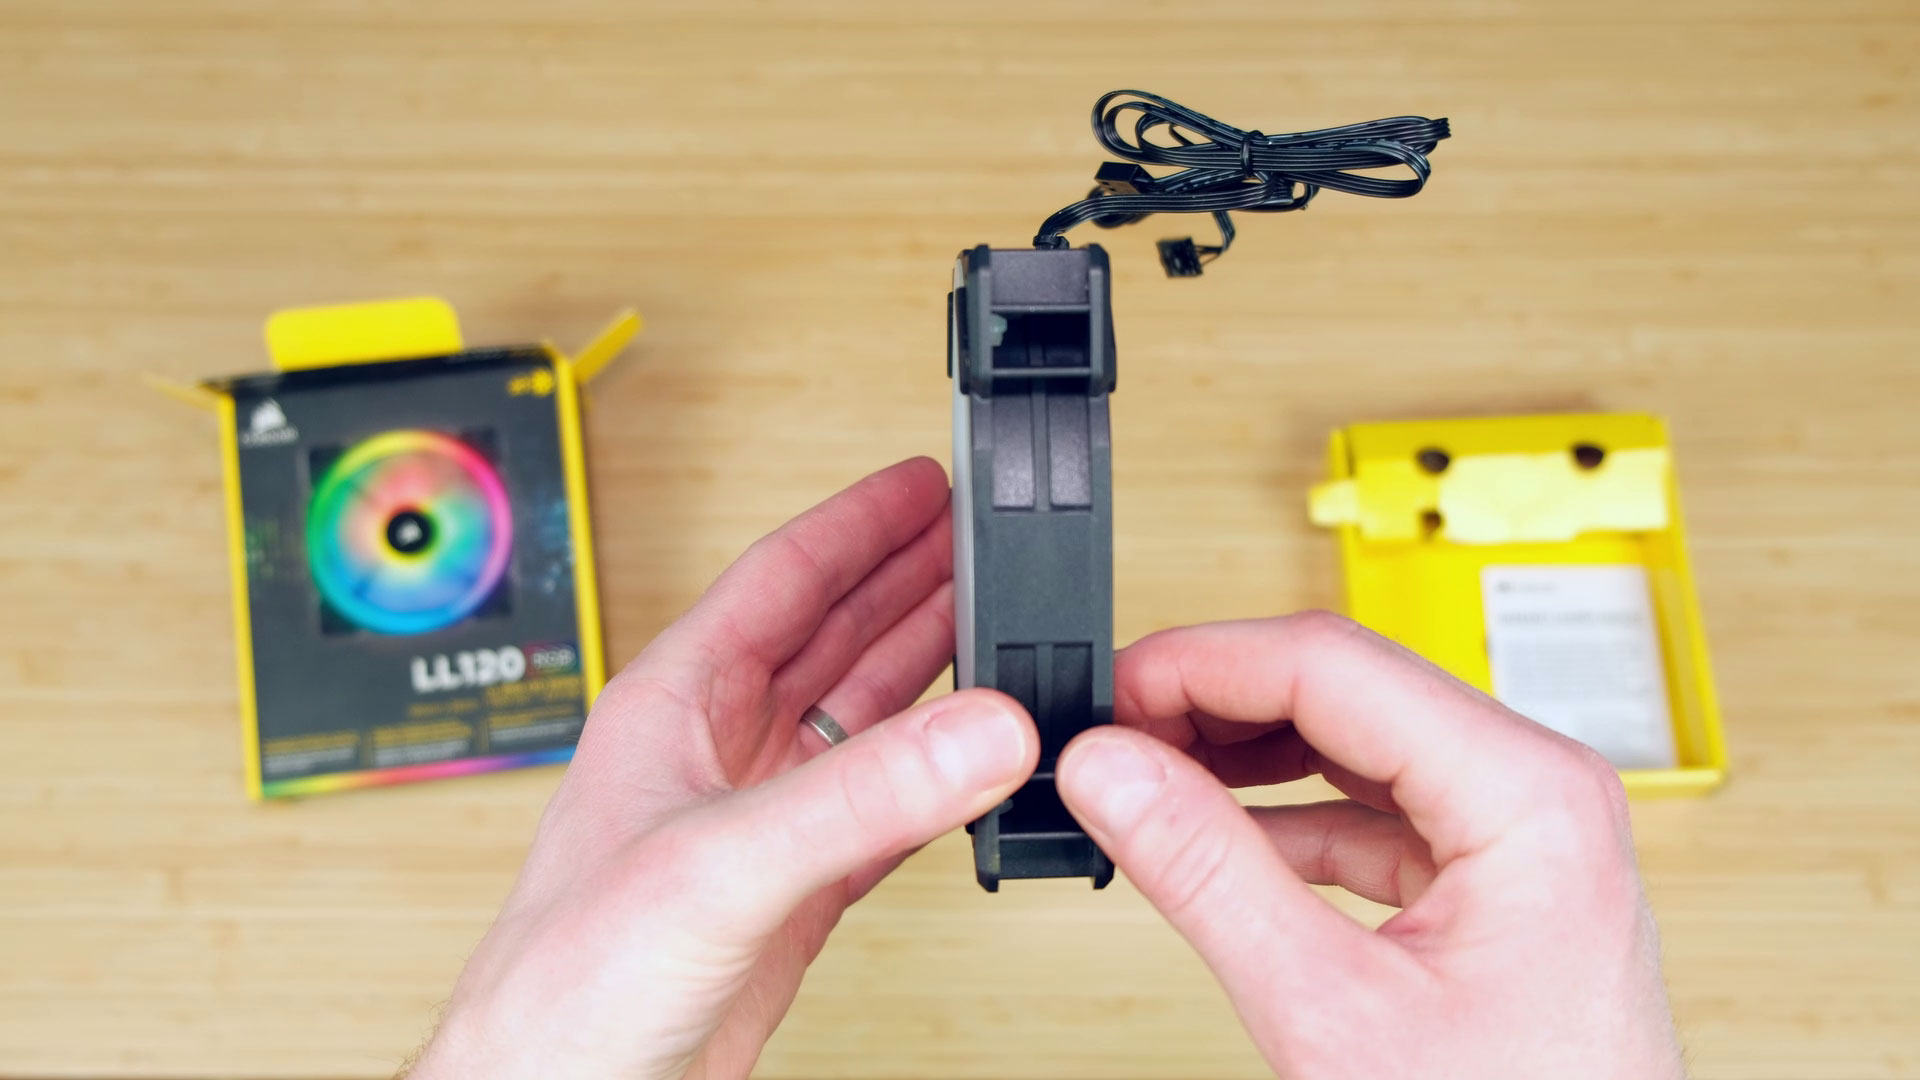

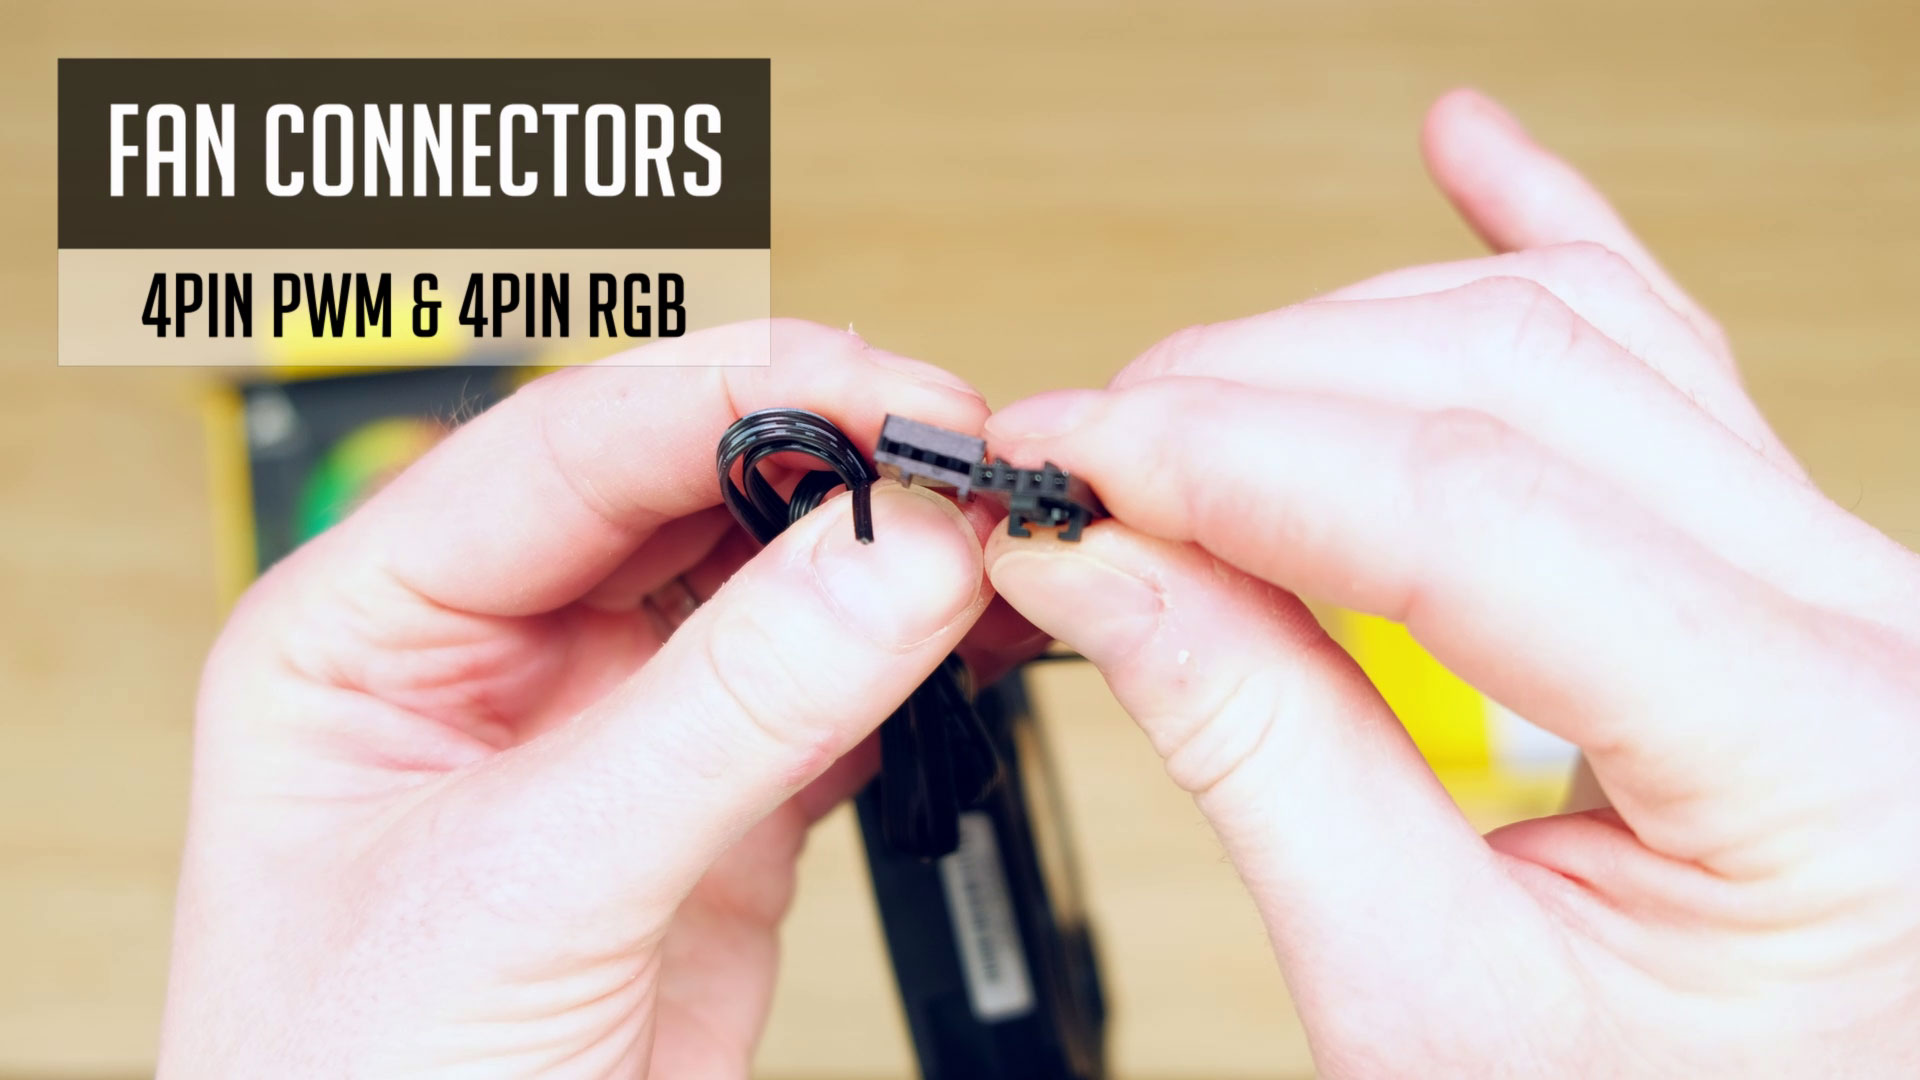
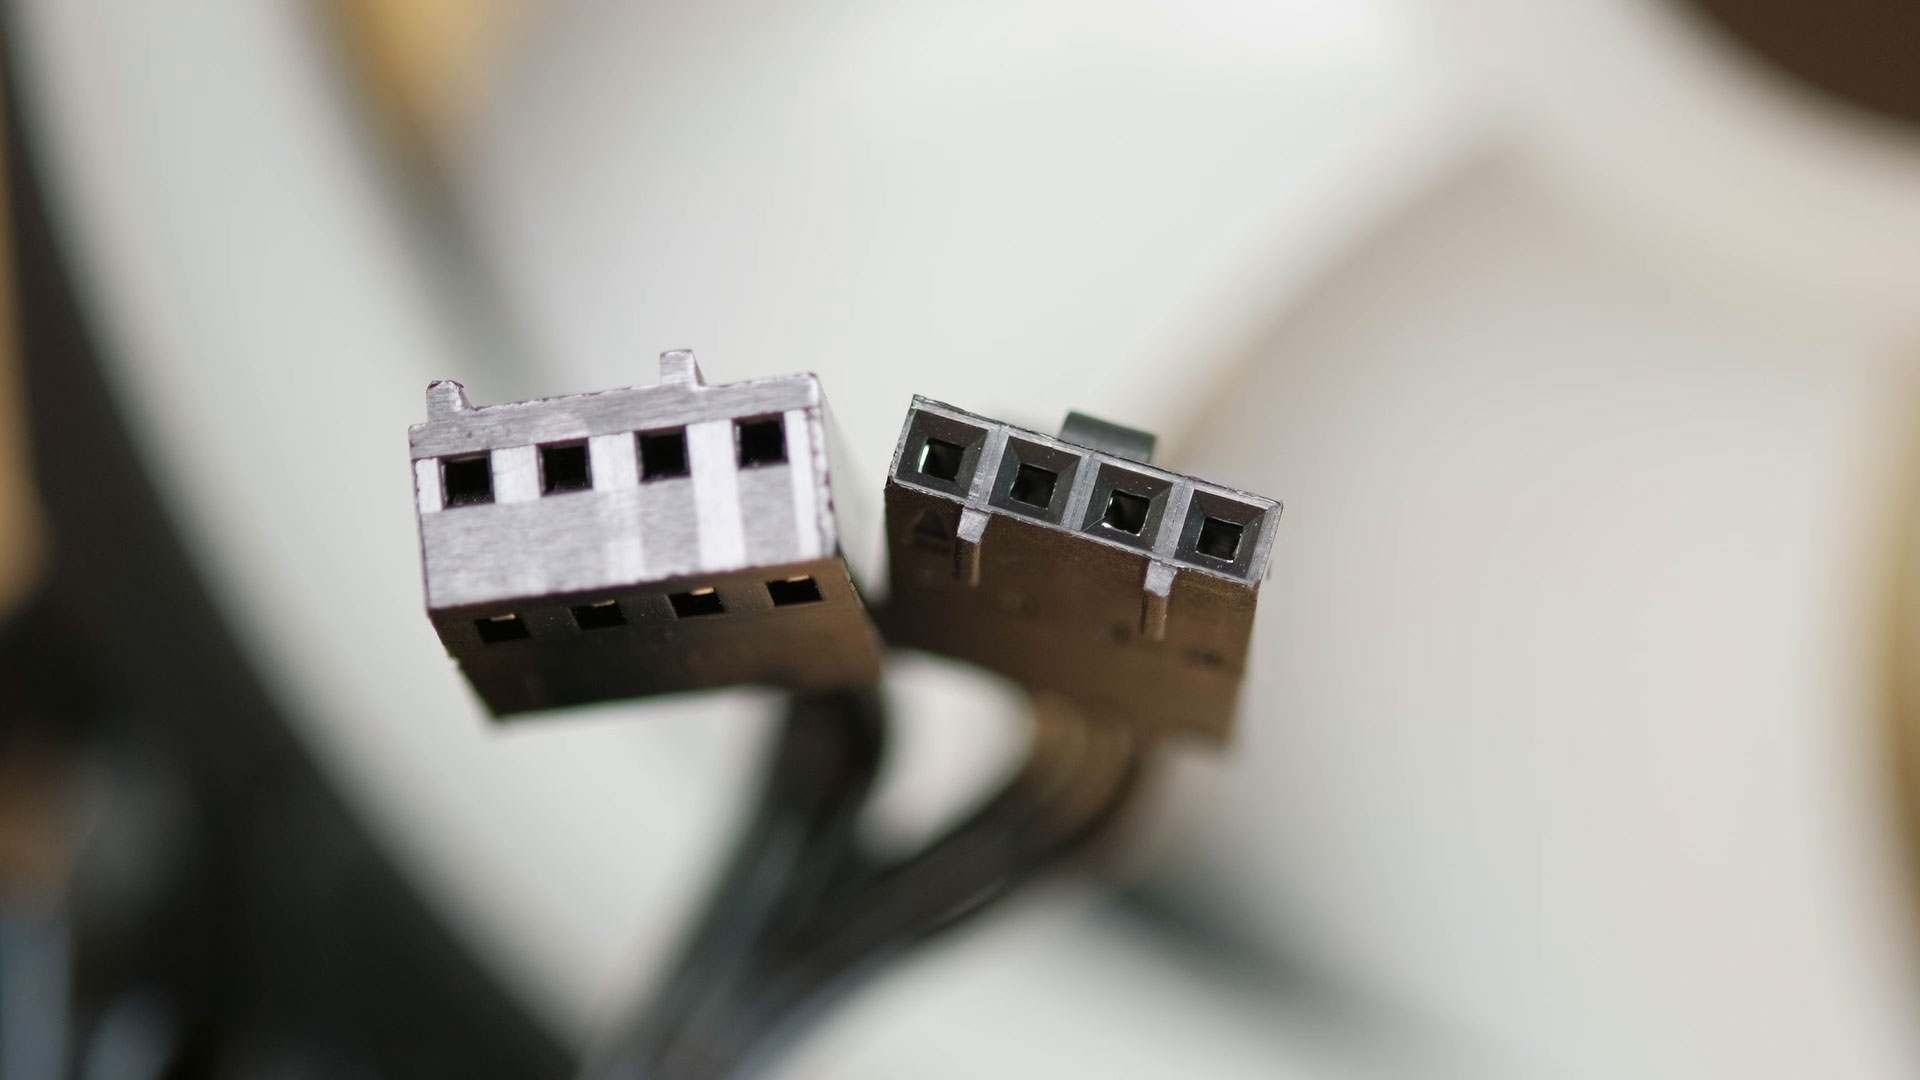
LL120 has two connectors – one is 4 pin PWM fan header and another 4 pin header is for RGB control. But it’s not a standard RGB header, so you can’t connect straight to your motherboard or to some random RGB Controller.
It’s specific to Corsair and so in order for this to work, you will need to use Corsairs RGB Led hub. Unfortunately, it’s not included in case you buy one LL120 fan, but it’s included in a 3 pack when buying.
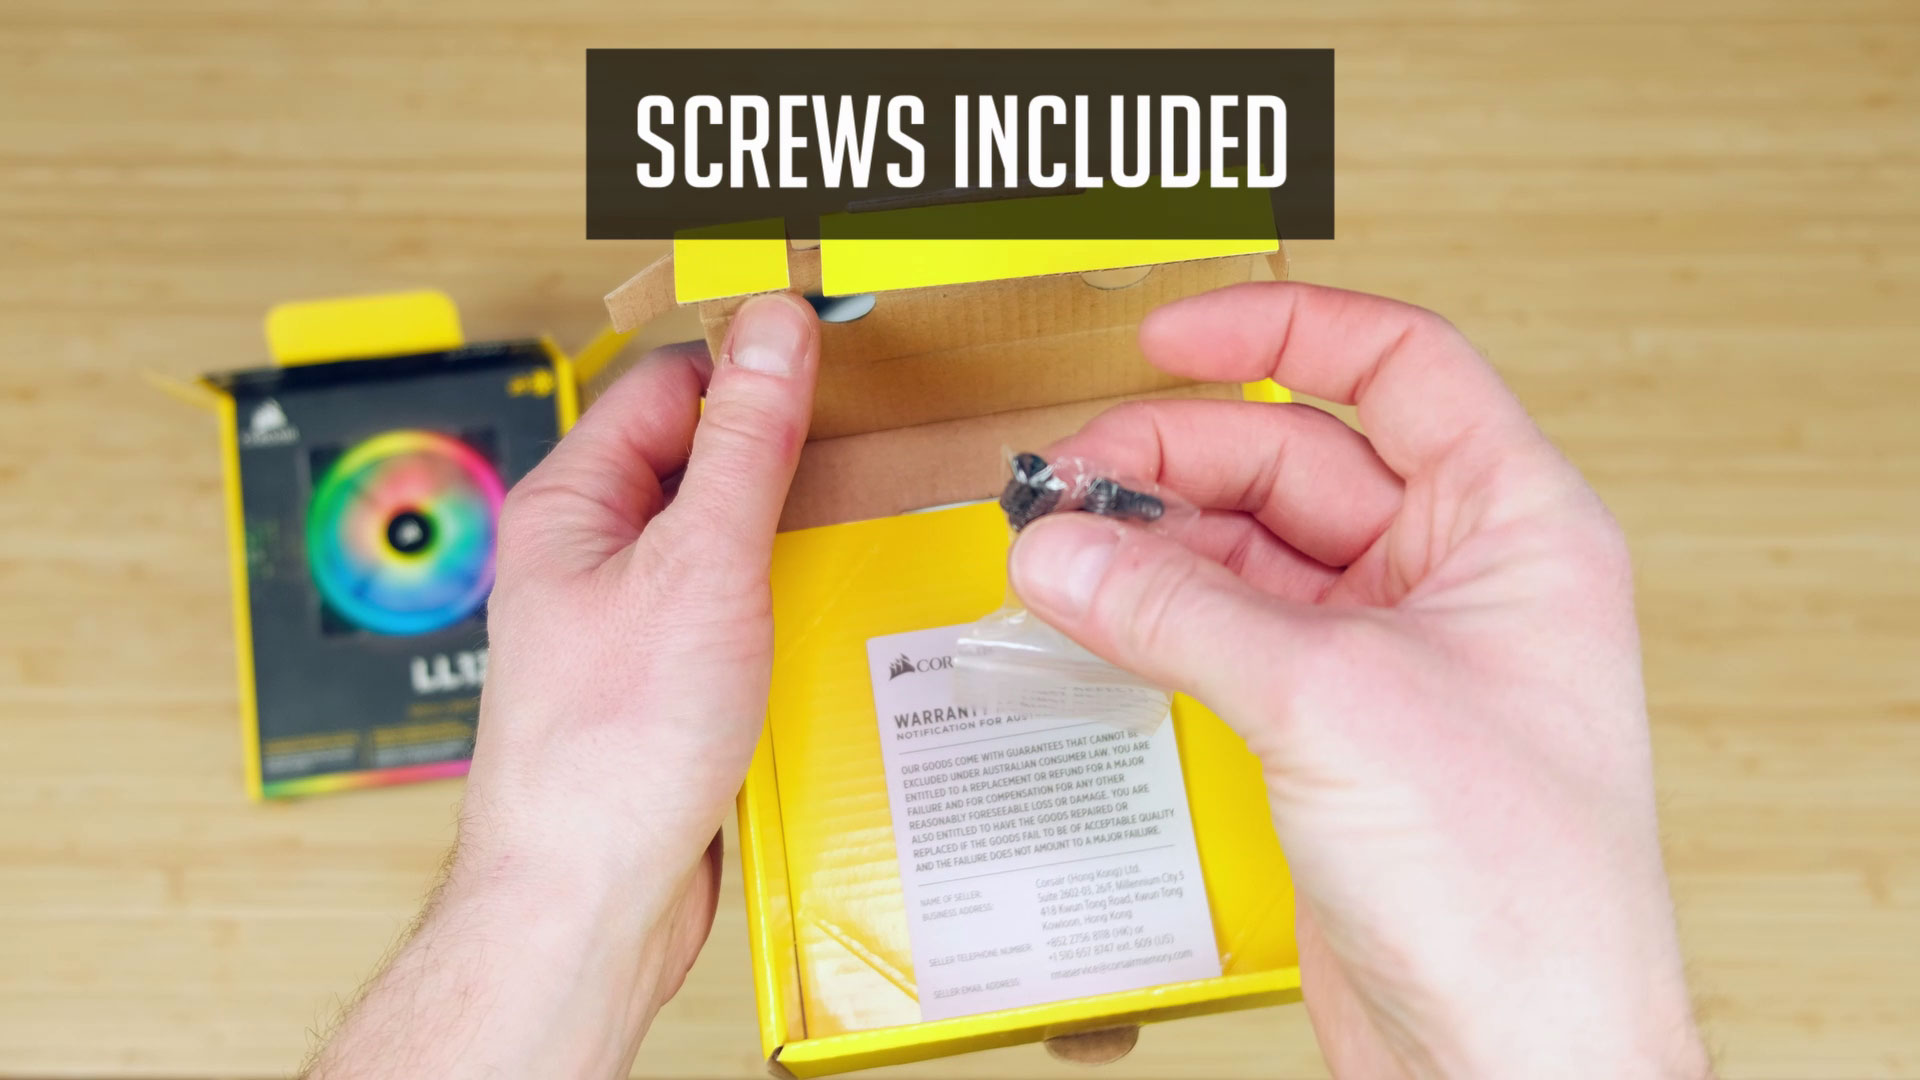
The package also contains 4 screws for your fan mounting.
Unboxing LL140
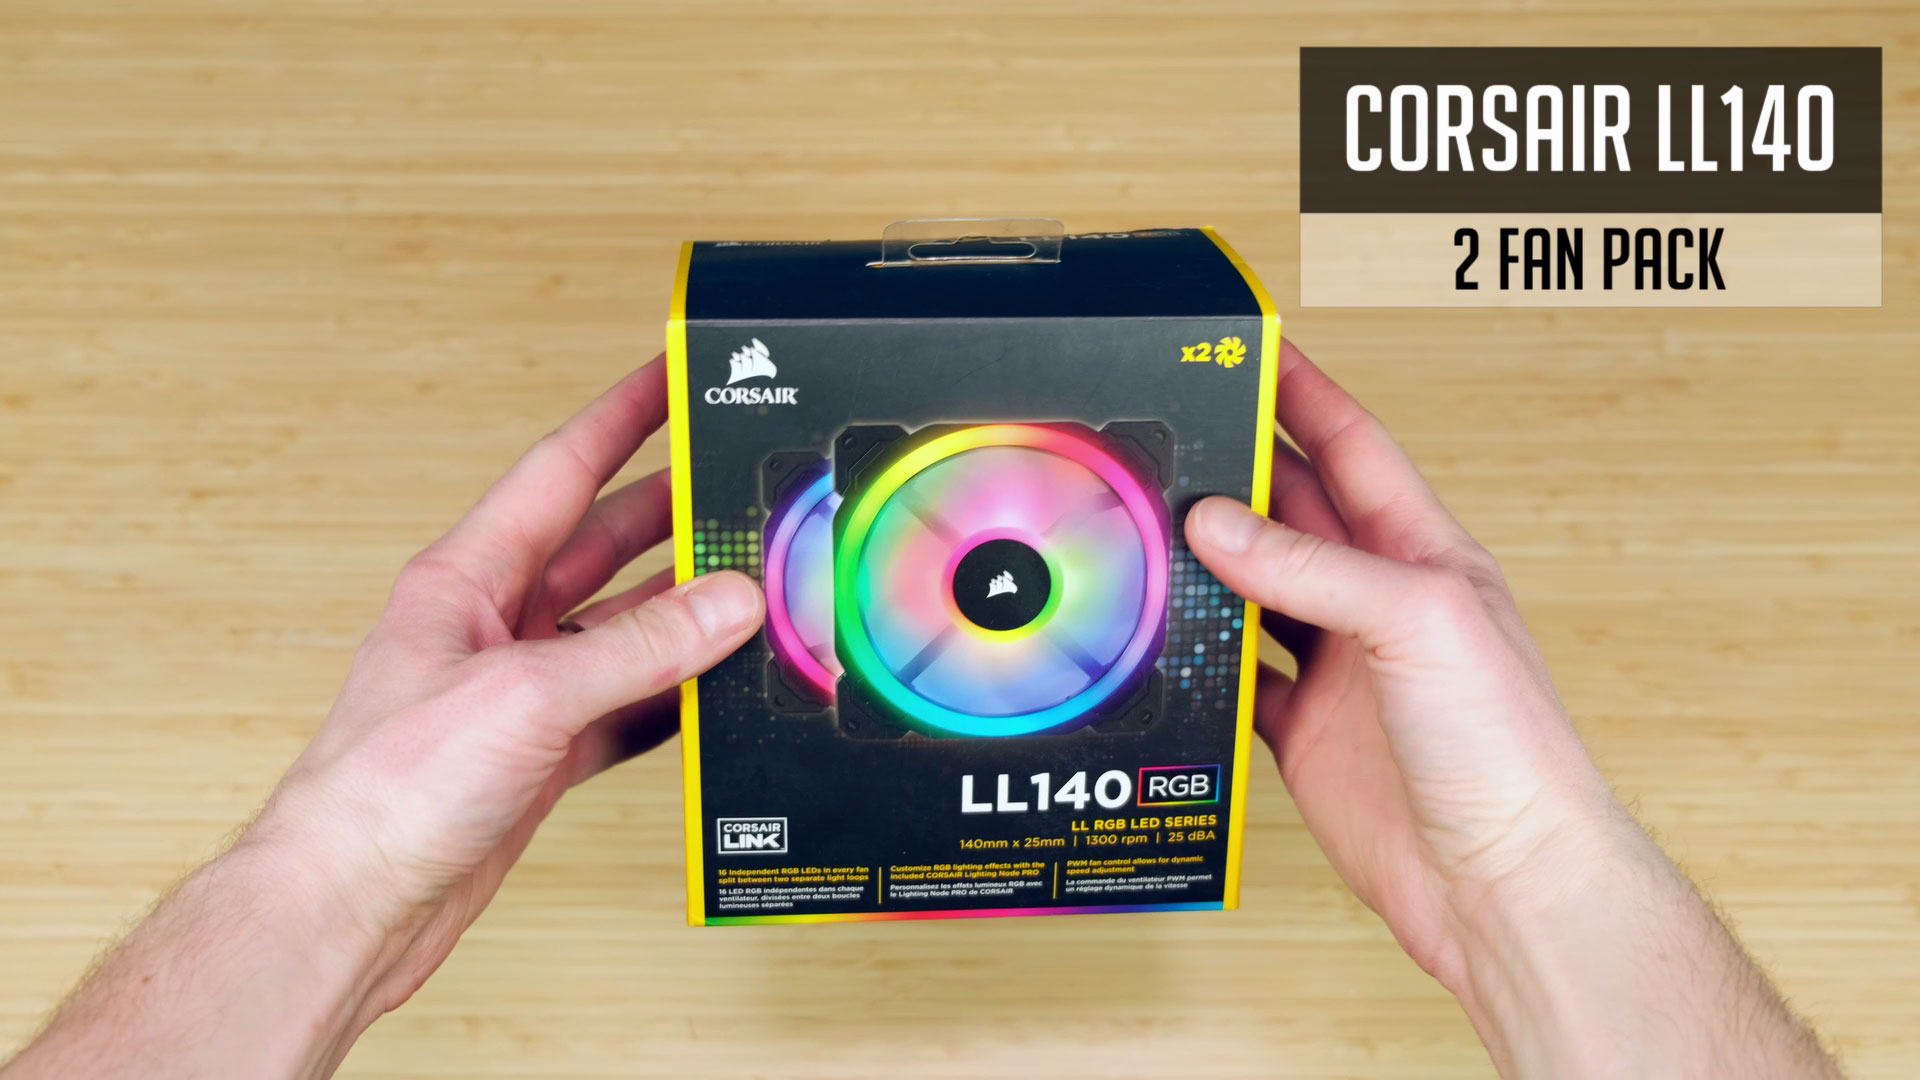
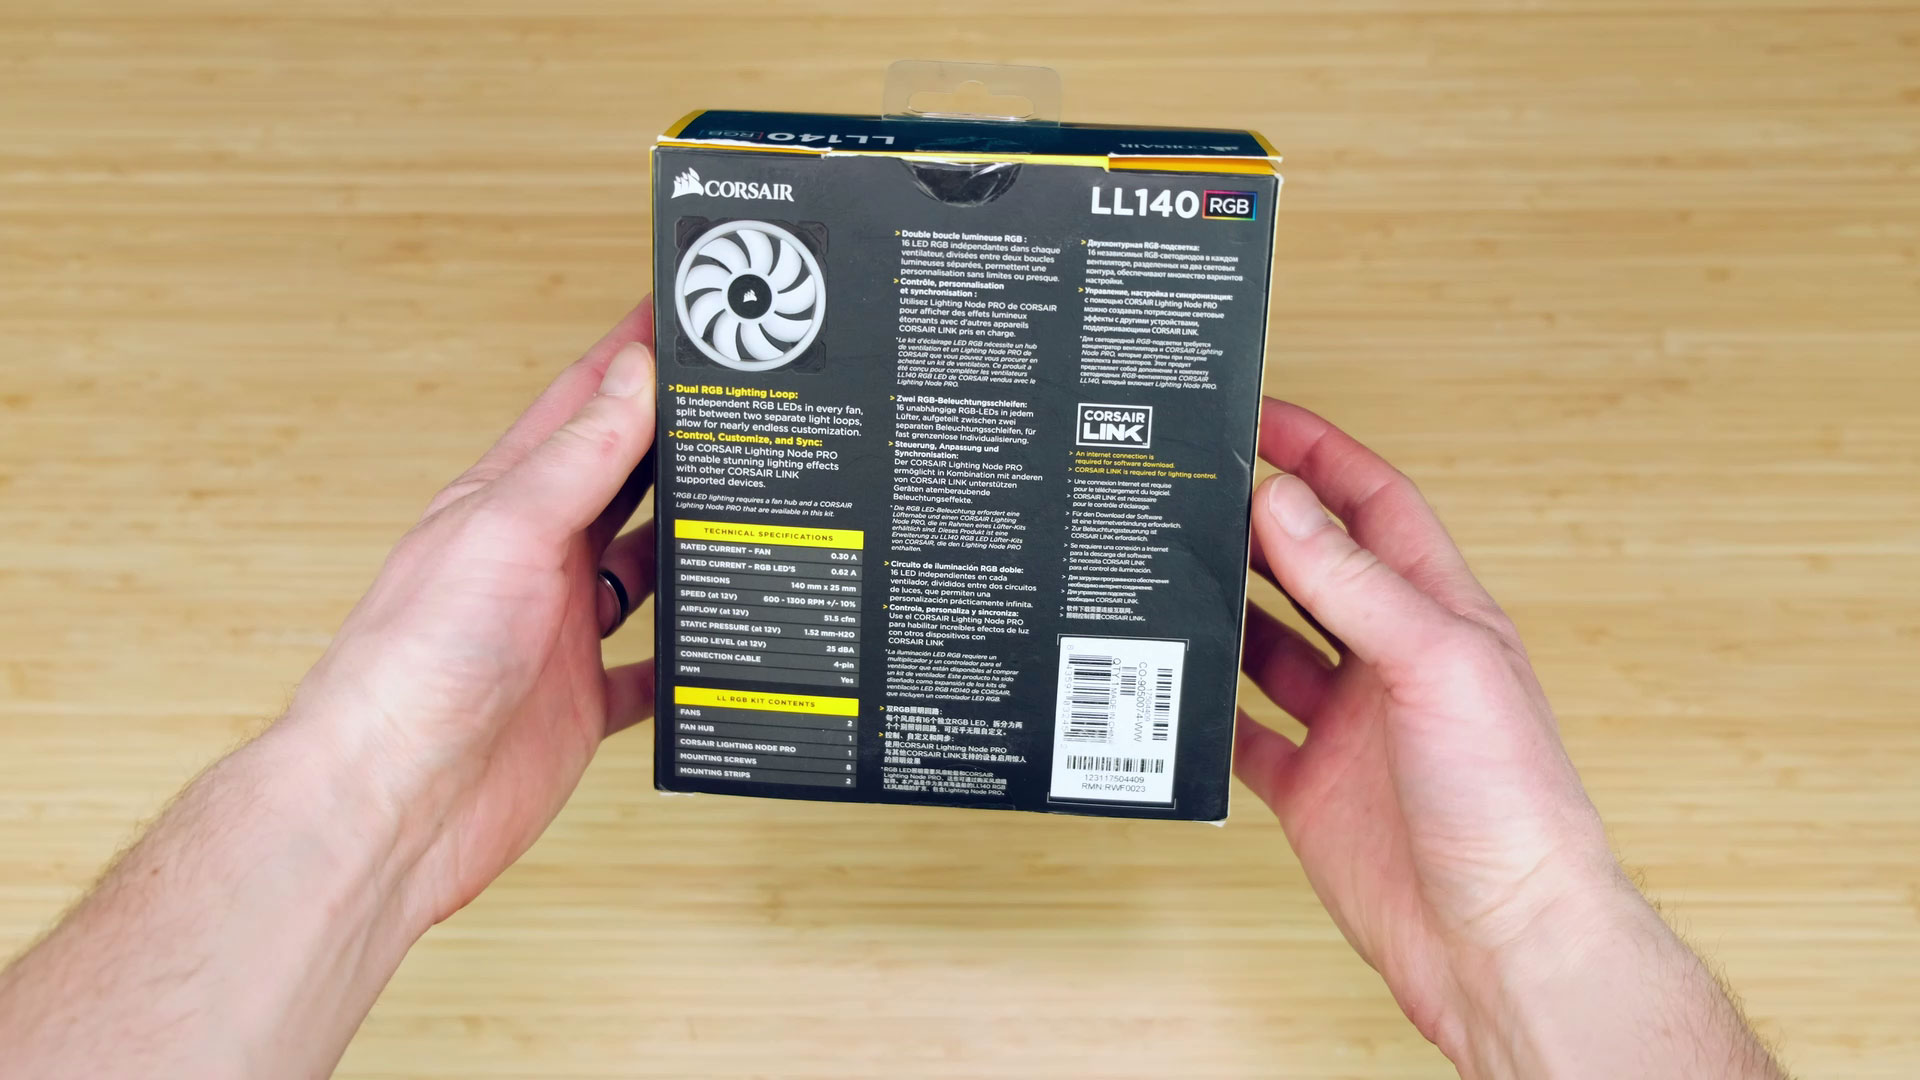
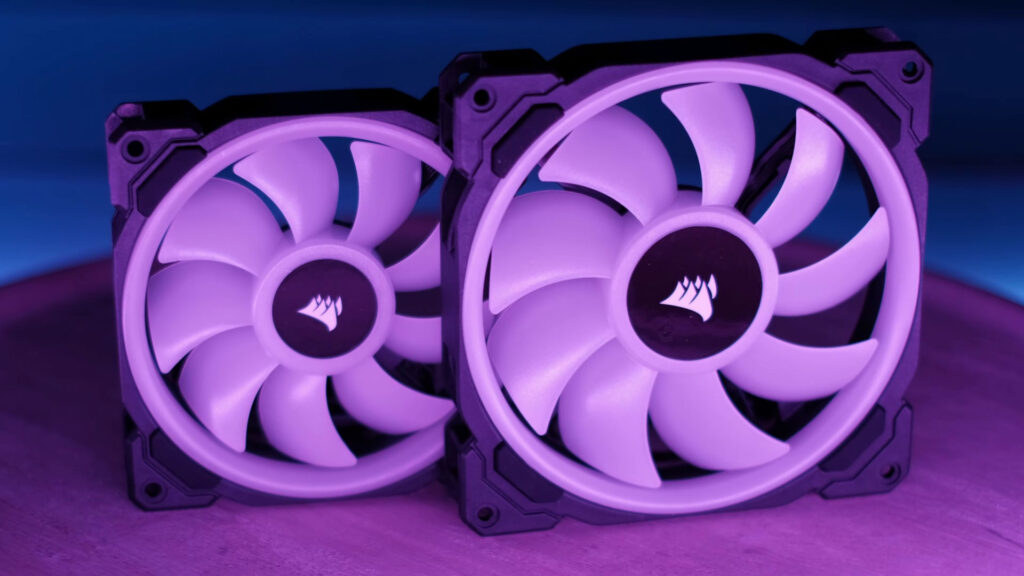
Let’s have a look at Corsair LL140 fans. I’ve got 2 pack meaning it’s 2 fans included in a box. But you can buy just one fan if needed. Anyway, here we go. It’s a 140mm fan that looks identical to 120mm version, just a little bigger.
Same connectors here – 4pin PWM fan header and a 4pin RGB header.
But, we have more accessories included in this package.
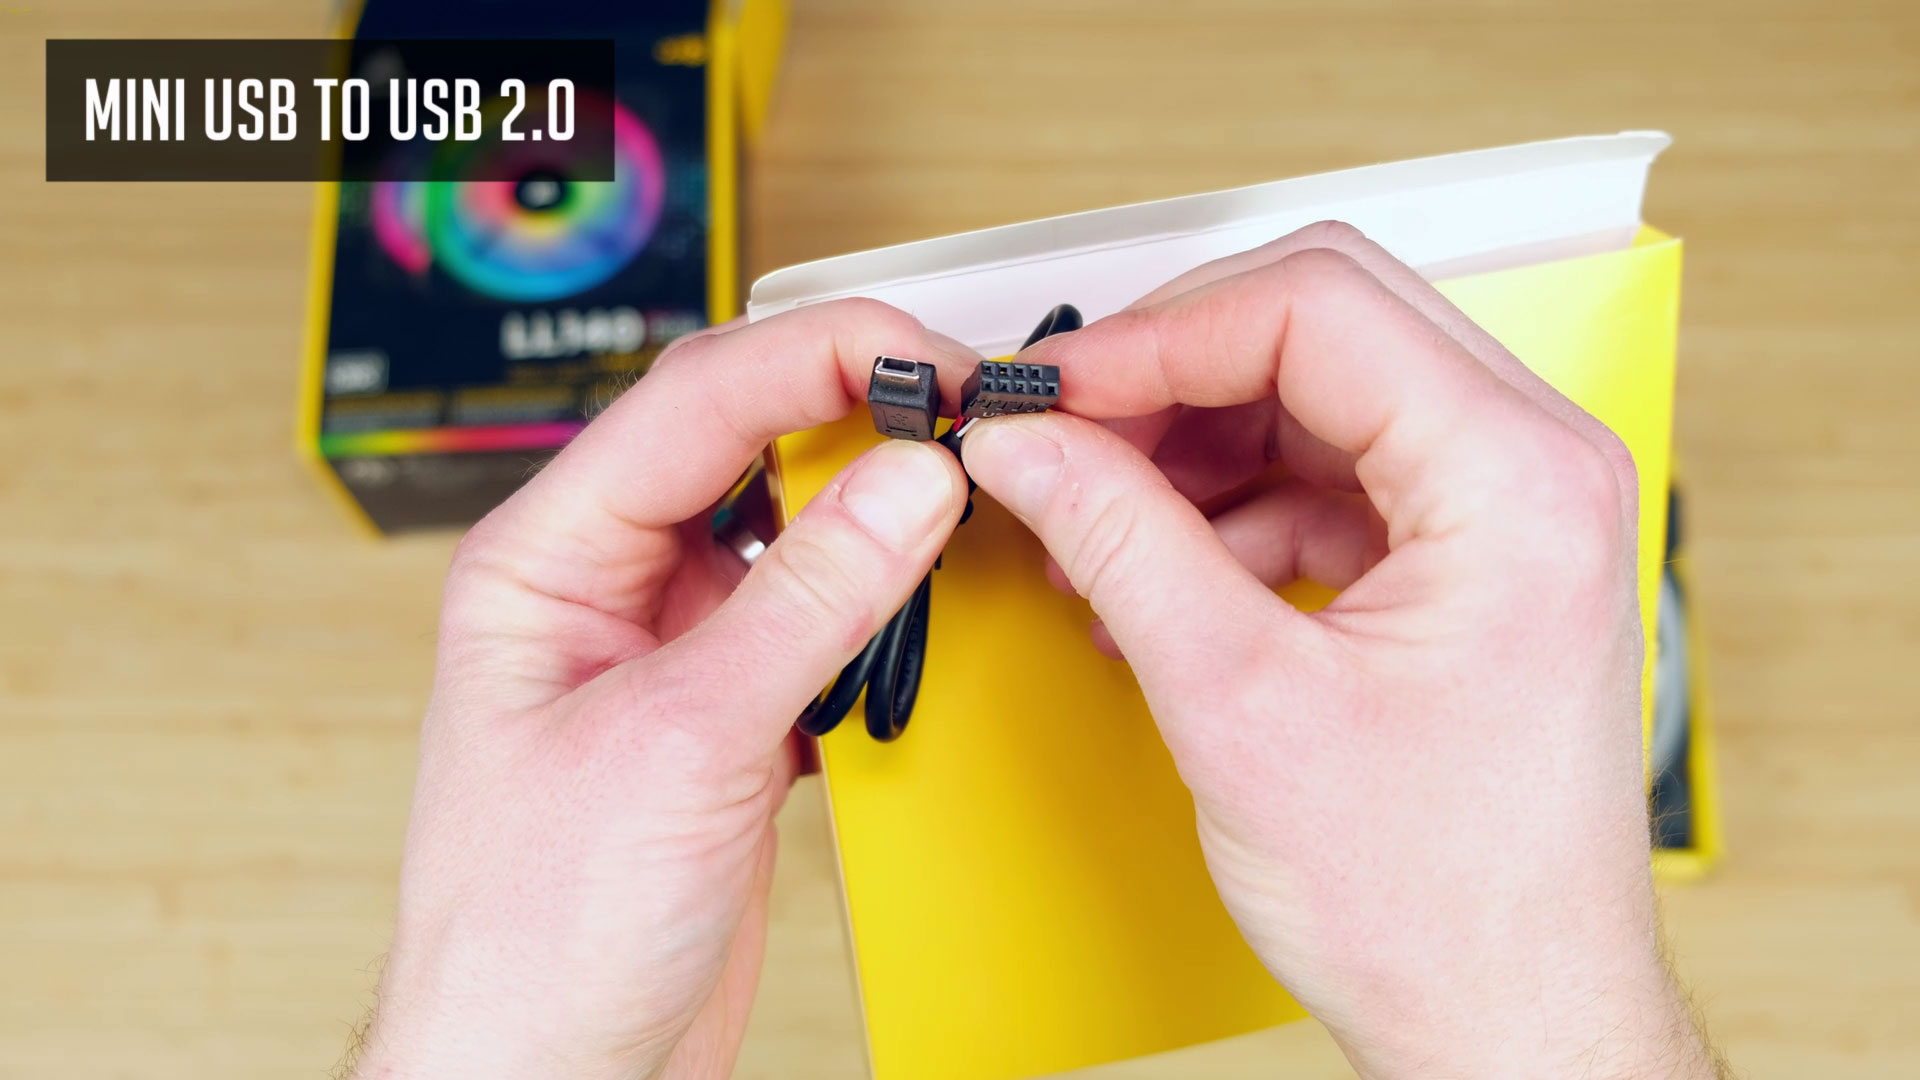

- So, 1st of all we have a mini USB to USB 2.0 cable that connects the Corsair Lighting Node to your motherboard via USB 2.0 header. This is where a corsair is a little bit different than most of the other RGB fans.
They do not need an RGB header on your motherboard and so it’s very handy in case you do not have it. - Then we have some screws.
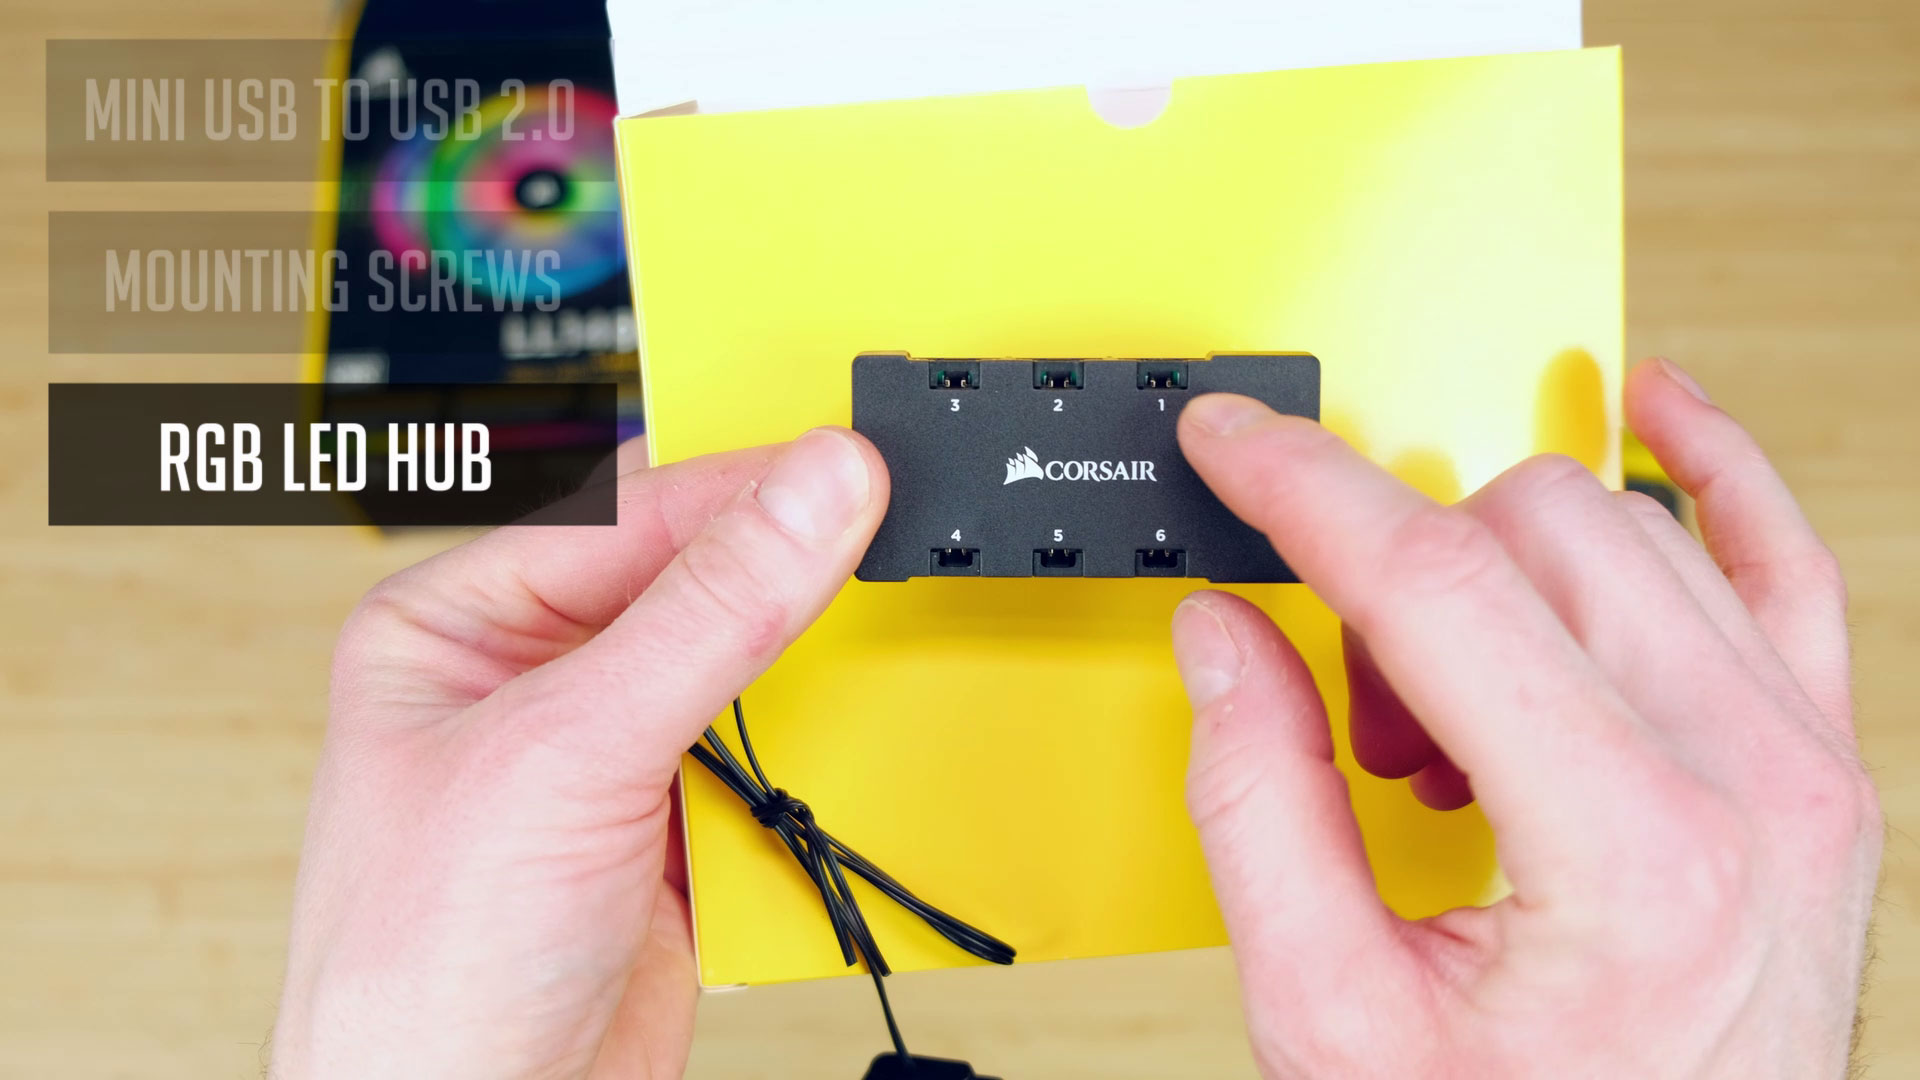
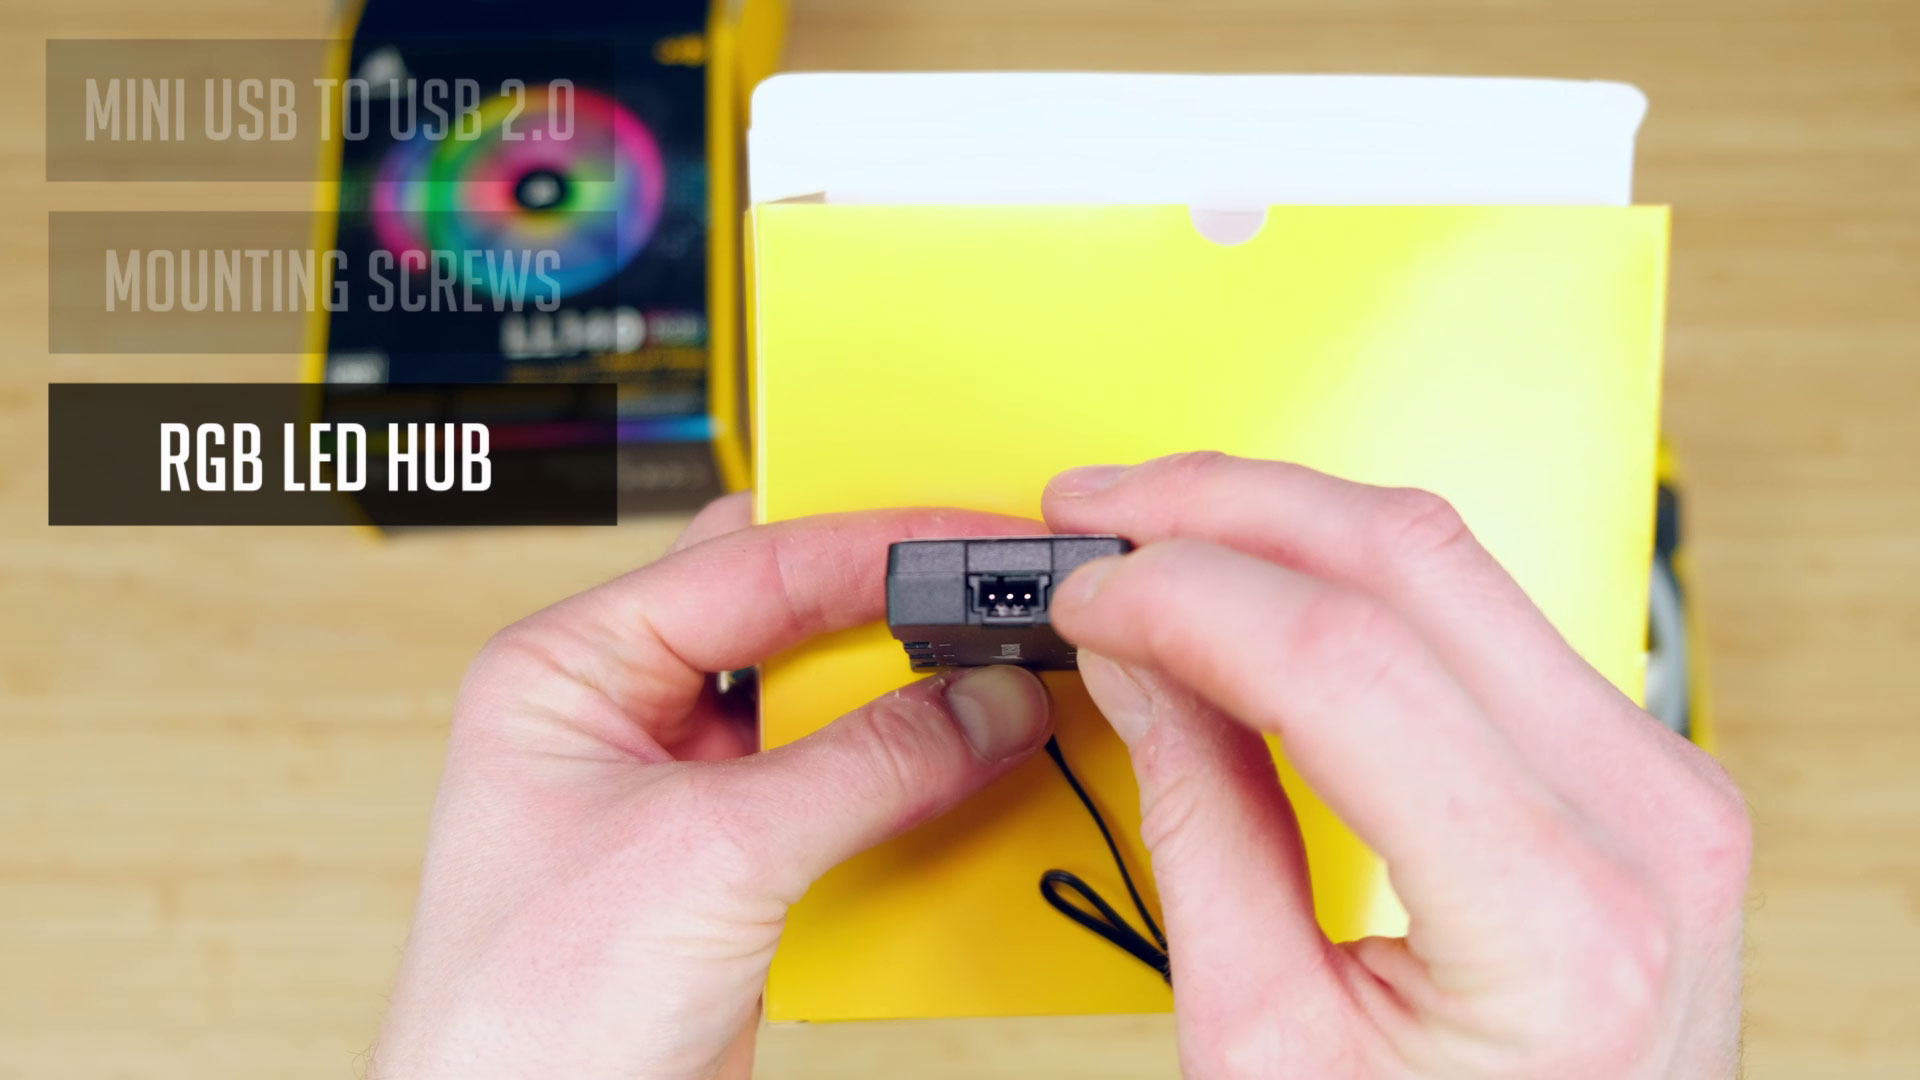
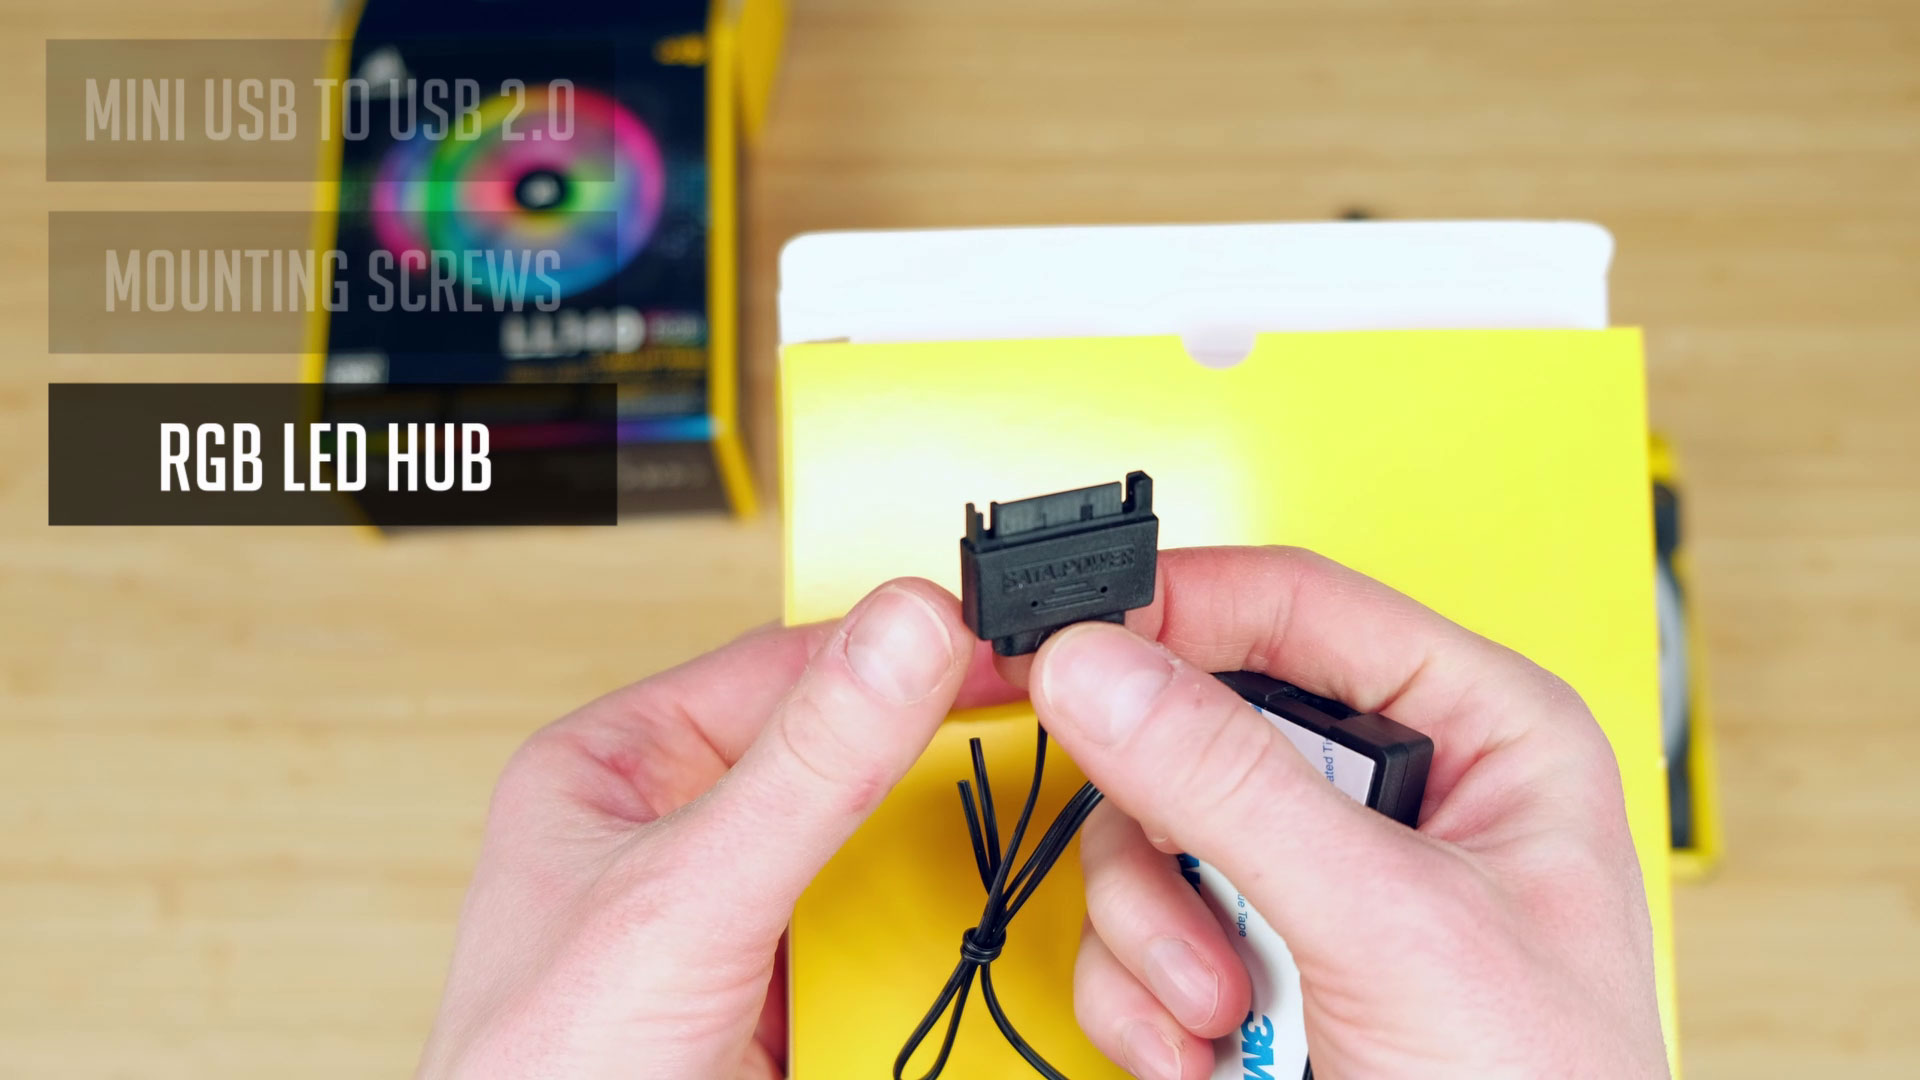
- RGB LED hub – this is where all of your RGB fan headers will be connected. You can connect up to 6 Corsair RGB fans and it uses a SATA connector to power this hub.
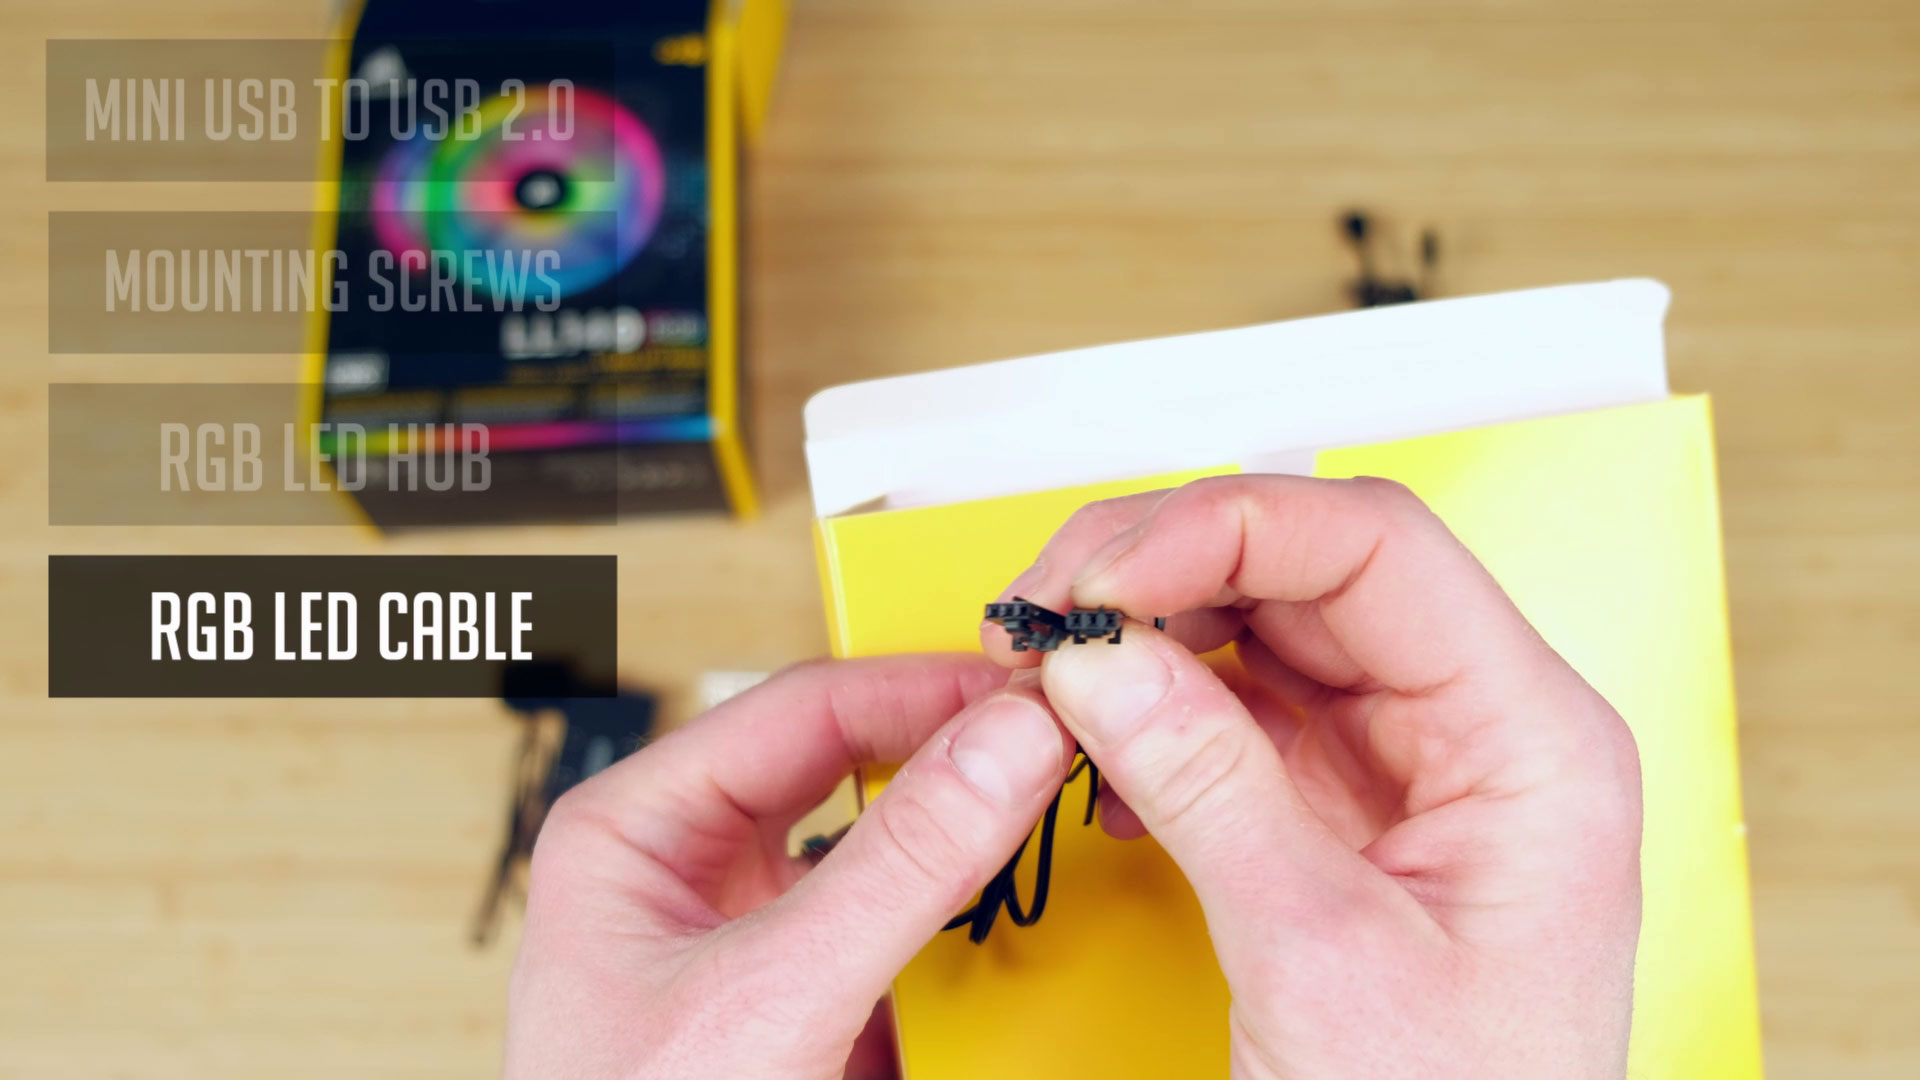
- This 3pin cable is included for connecting RGB LED hub to a Lighting Node. It seems to be confusing, but I will show you on how to connect everything later on and it’s really not that complicated.
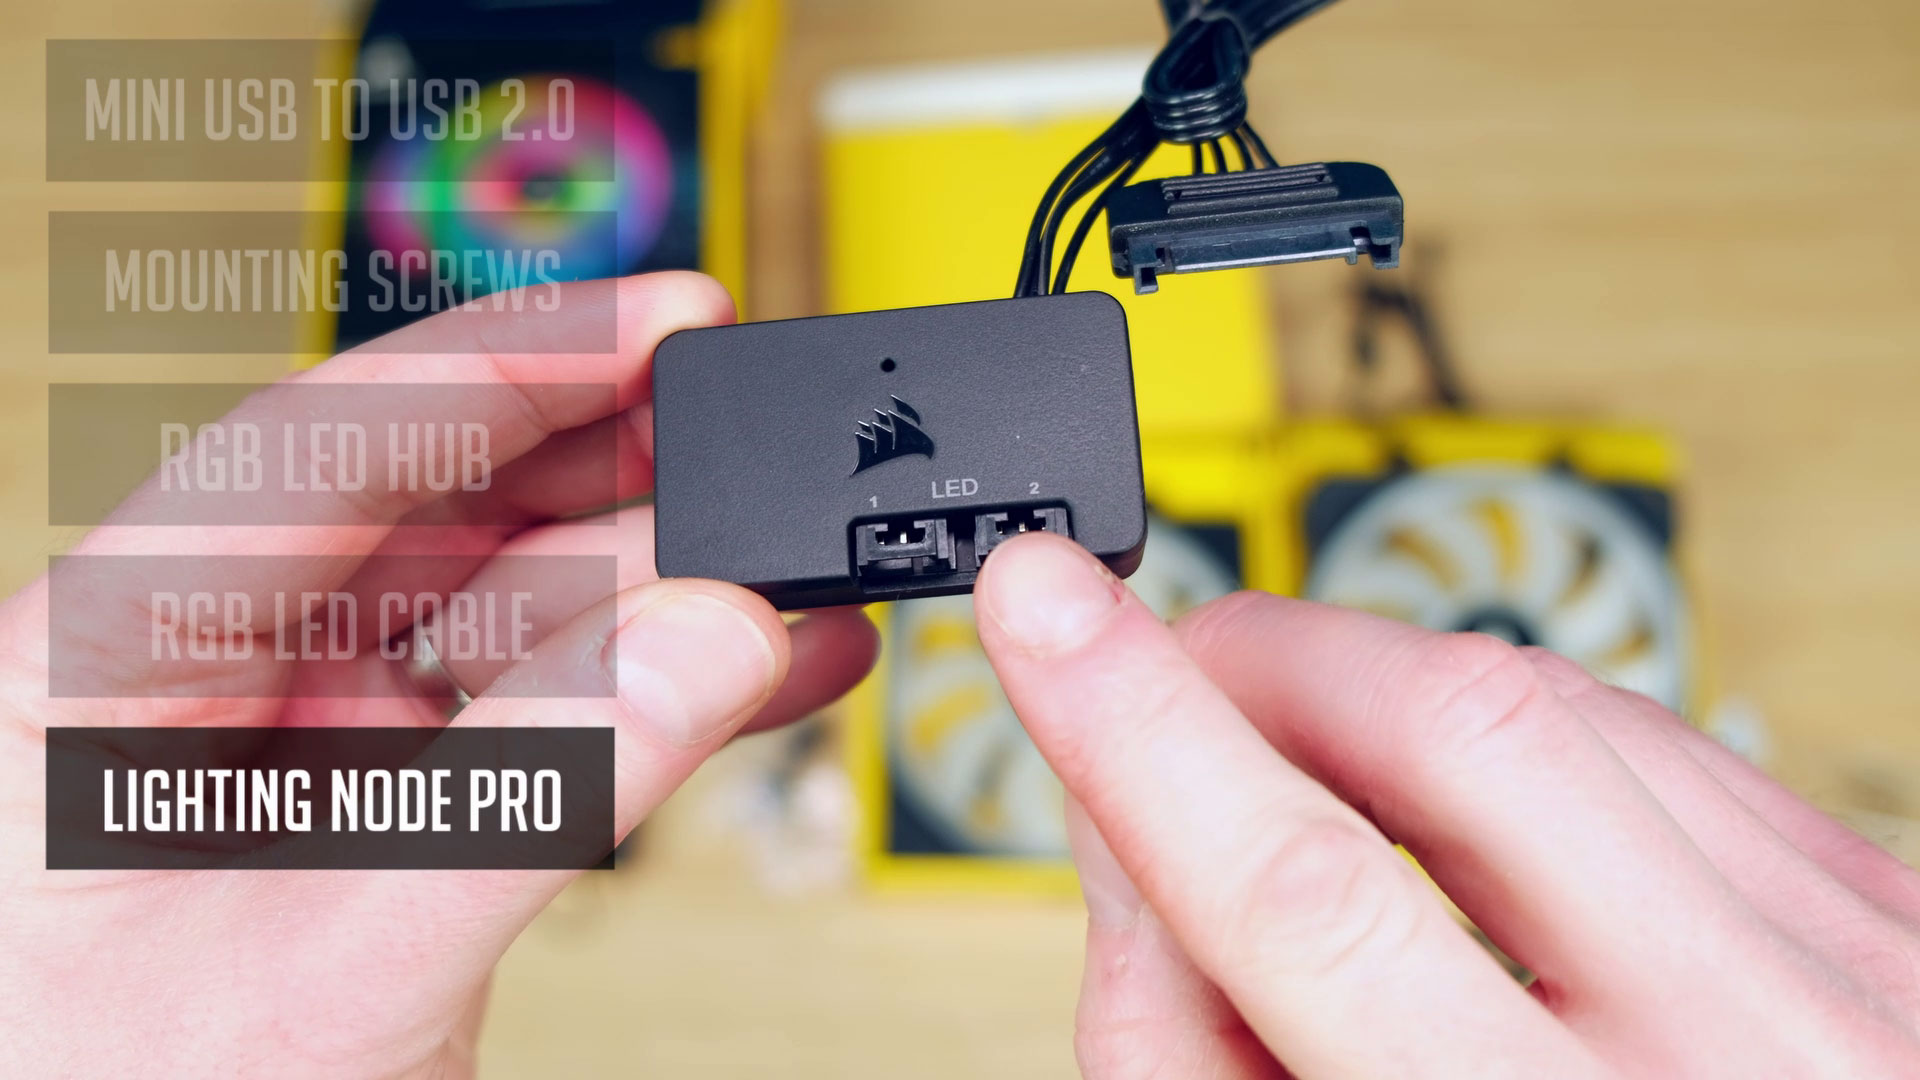
- A Lighting Node PRO that is also powered by a SATA cable. You will also find some double-sided type in order to secure it to your PC case.
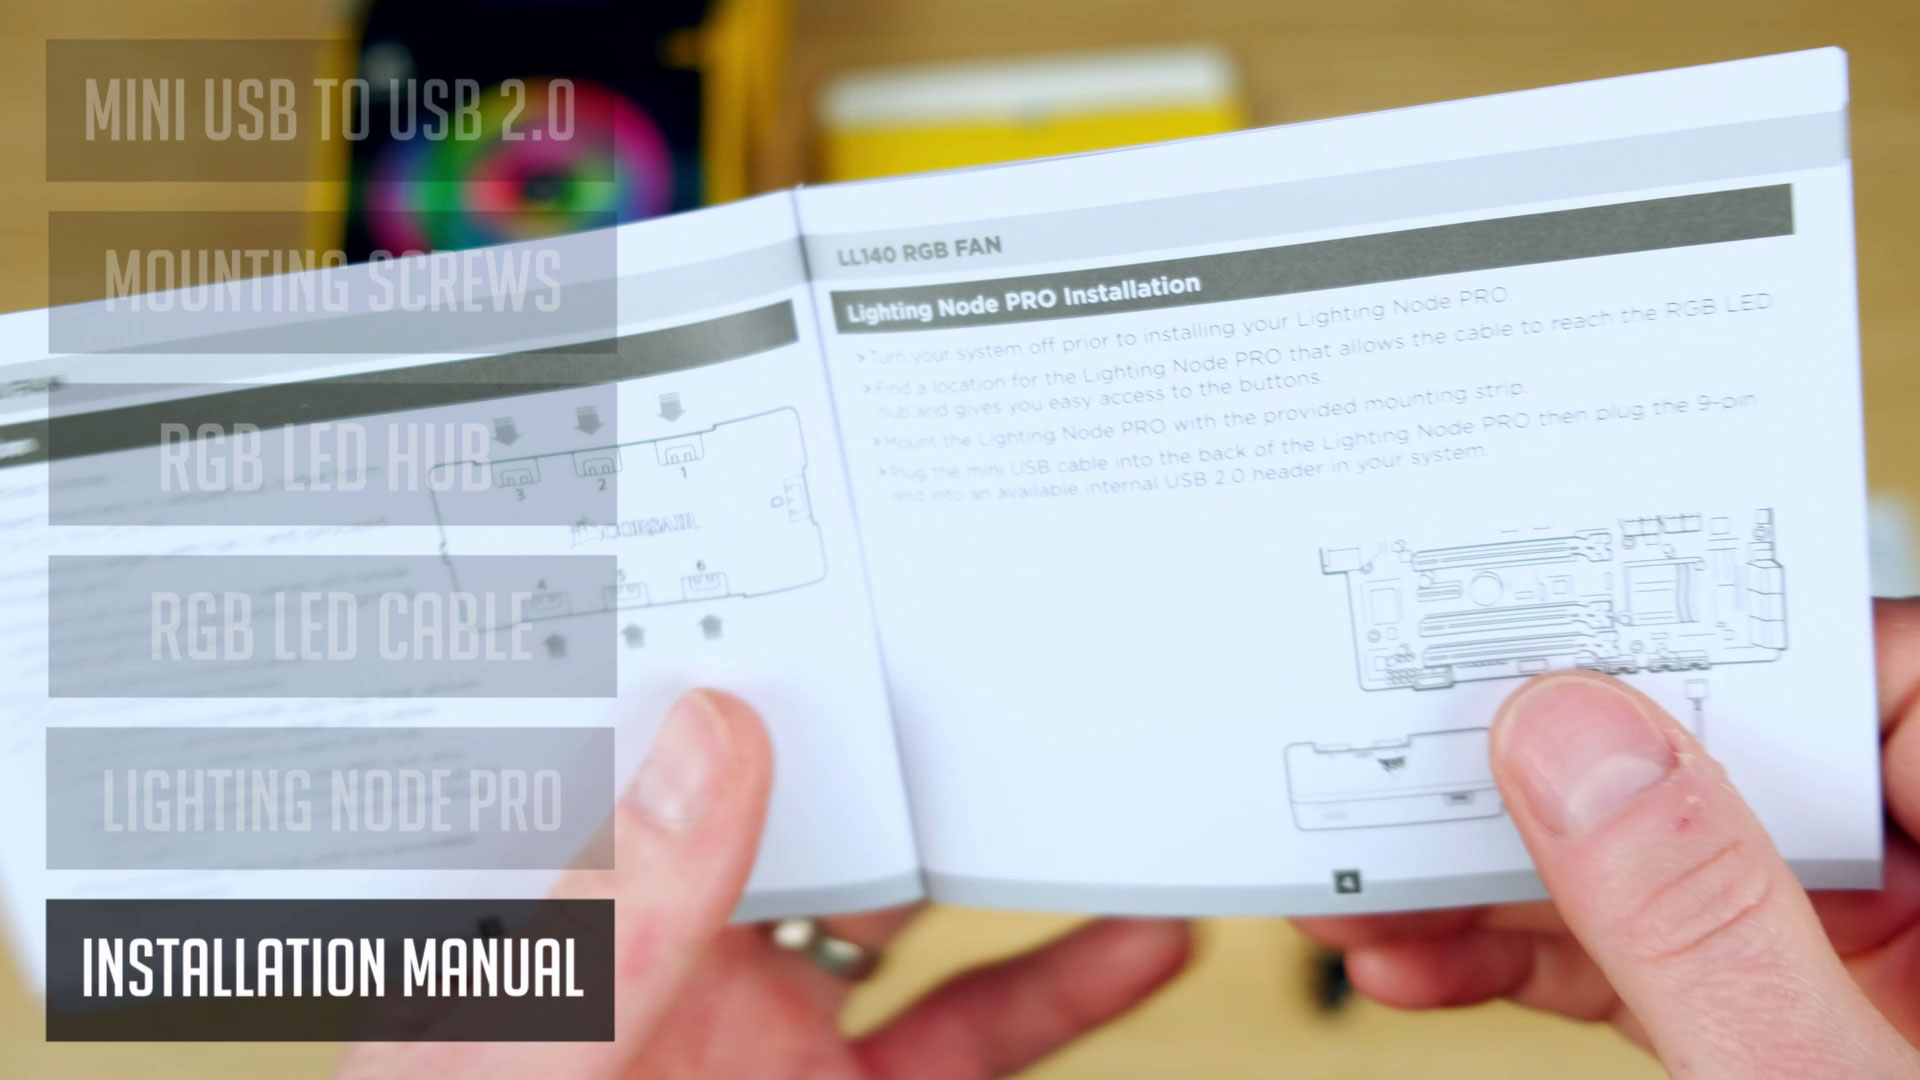
- And a manual on how to connect everything in the right way. Especially if it’s a 1st time you decided to use Corsair RGB fans.
Installing / Connecting fans
Let’s check on how to connect all these fans, hubs and your motherboard together so you could control RGB lights with Corsair software.
I will use one LL120 and LL140 fan for this demo.
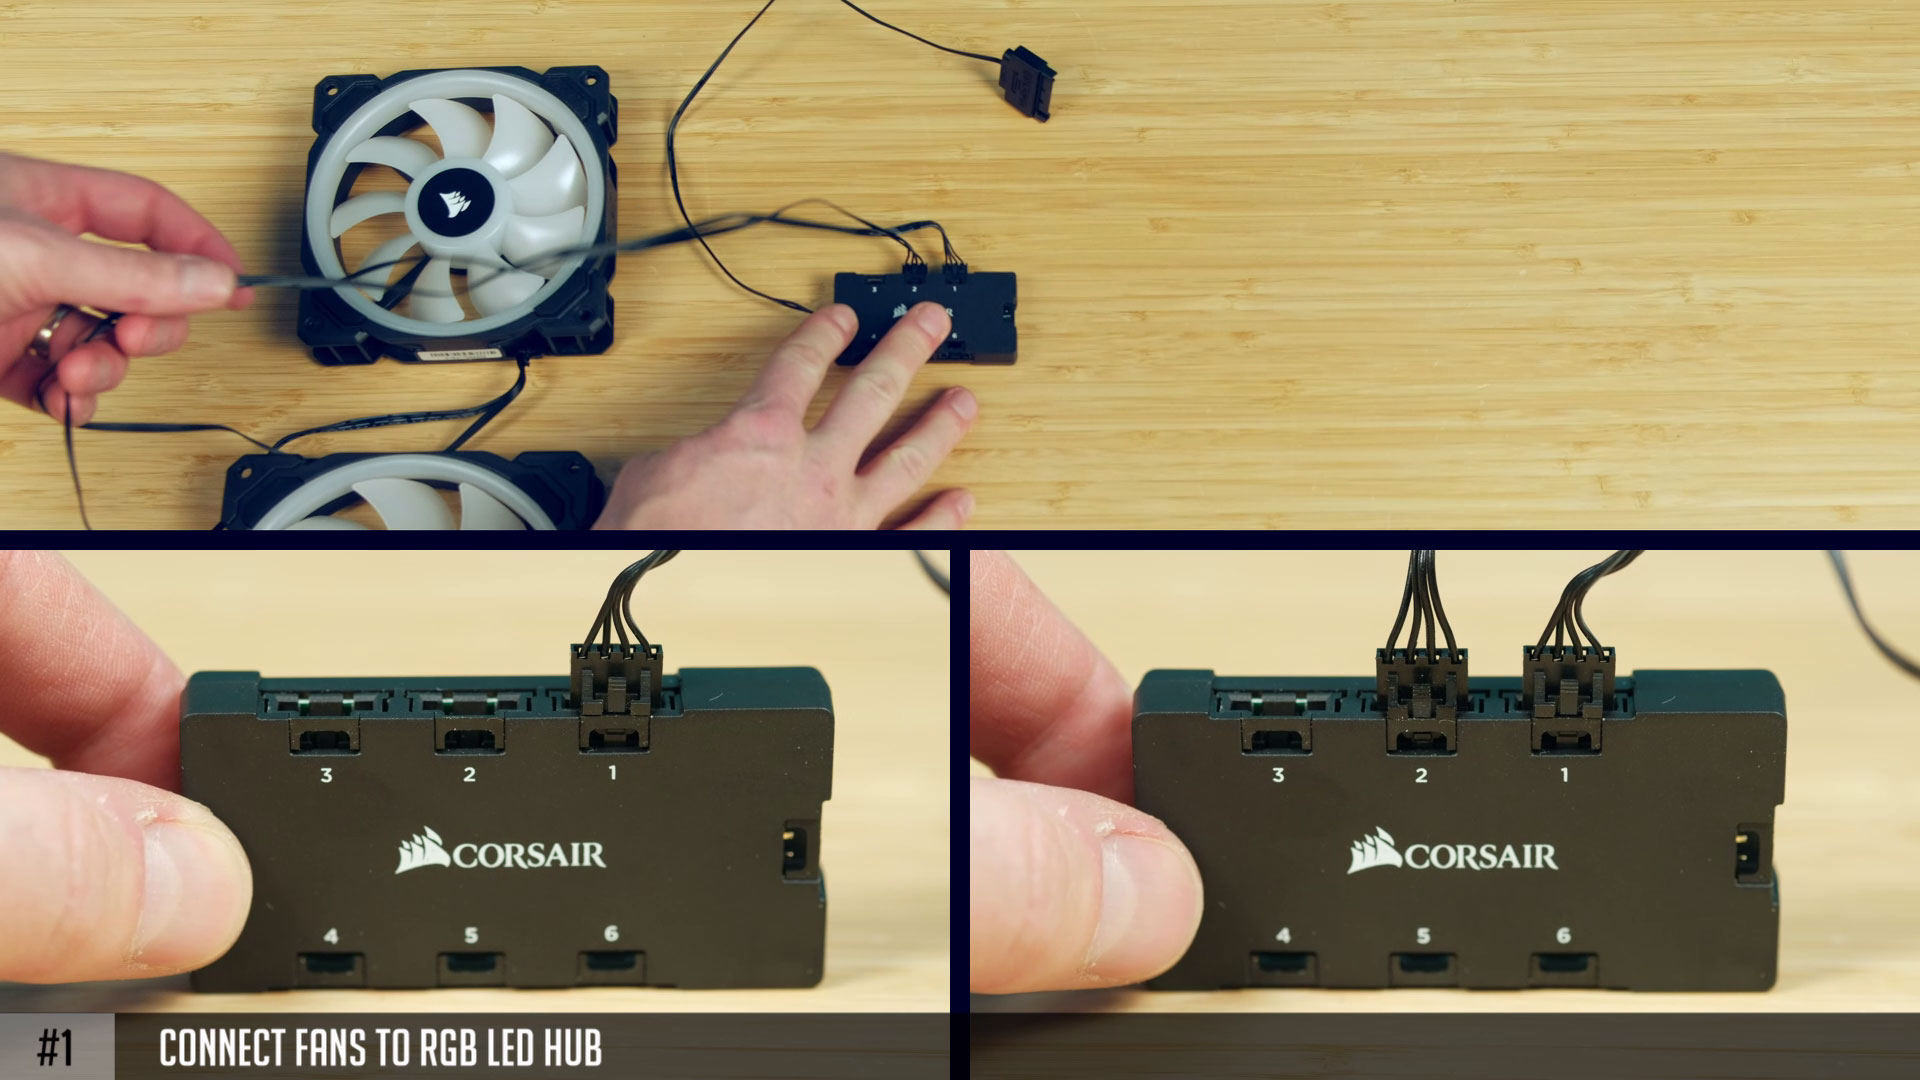
- #1 – first of all we need to connect fans to RGB LED hub. Connect them in sequential order meaning 1st, 2nd and so on.
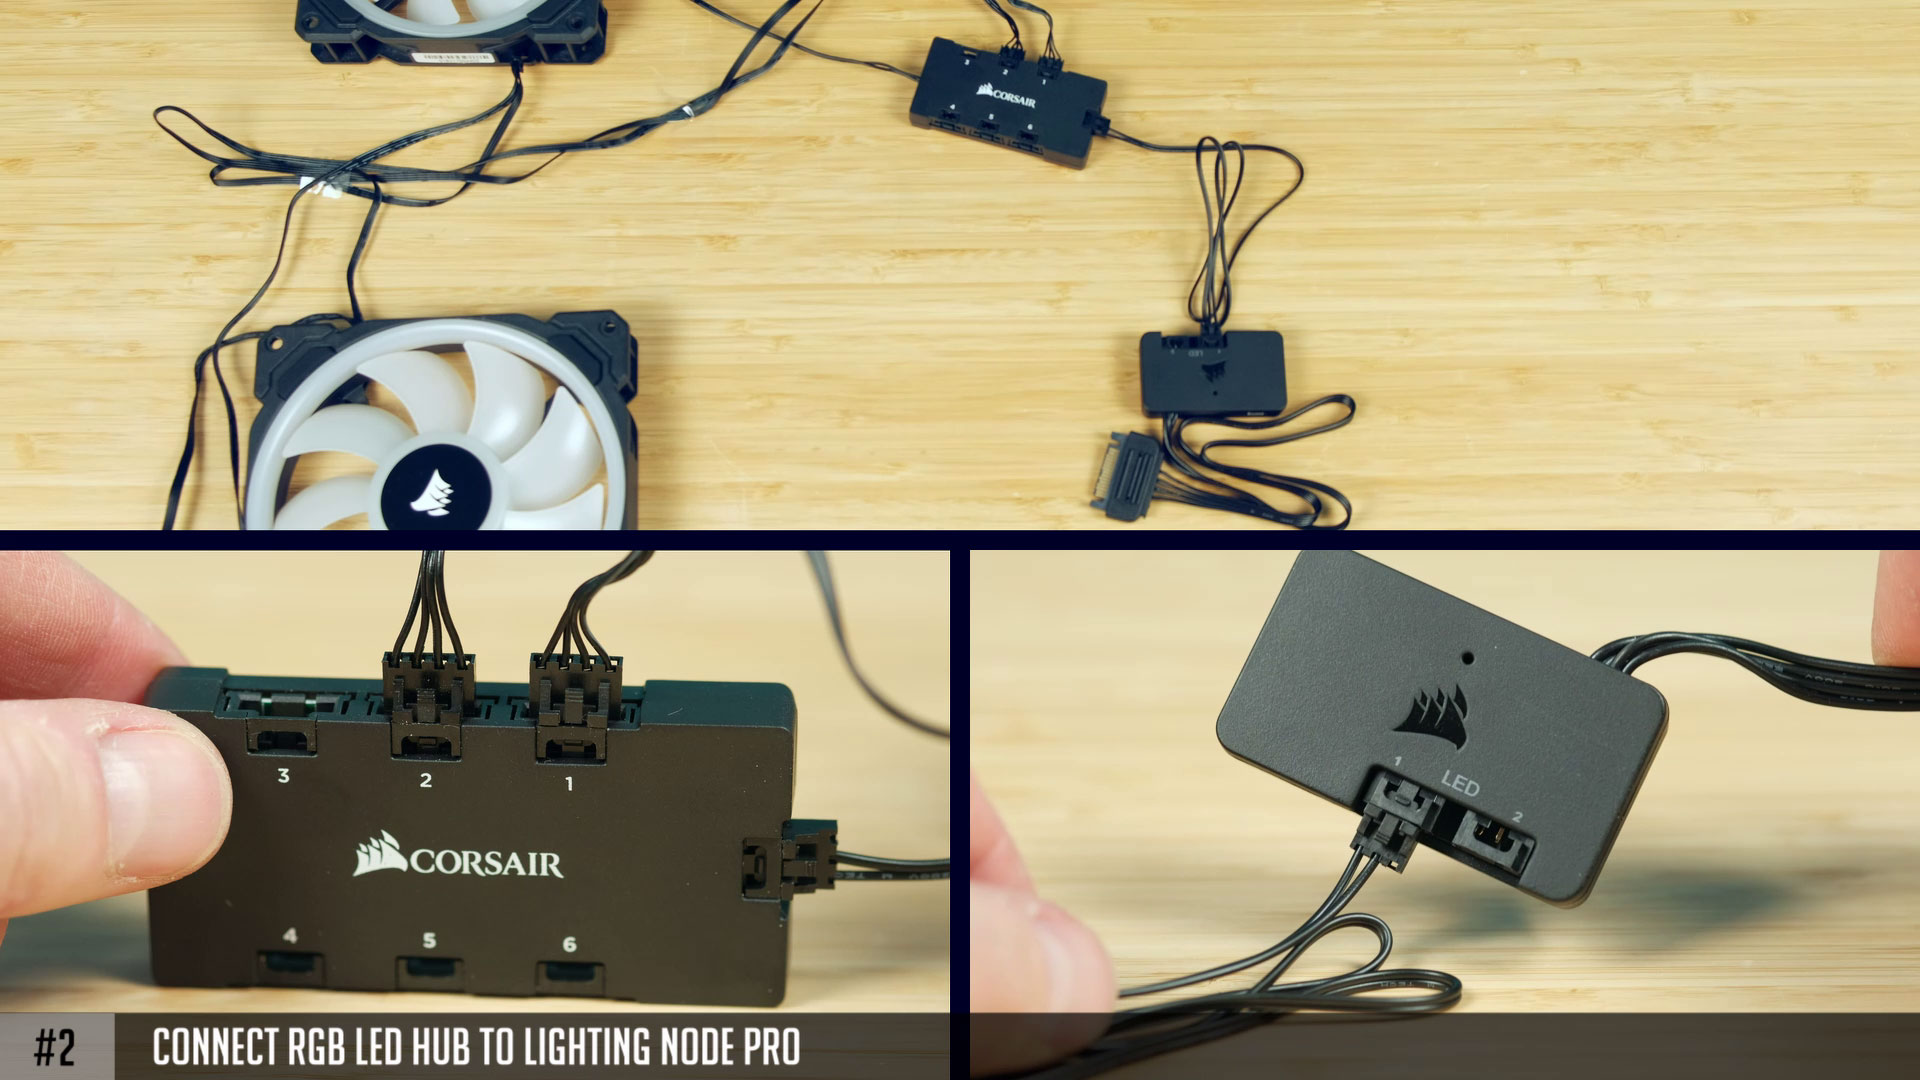
- #2 – then you will need to use an included 3 pin cable that connects your hub and a Lighting Node. Connect one side of a cable to RGB LED hub.
- #3 – connect the other side of a cable into an available header on a Lighting Node. It doesn’t actually matter to witch one, since you will be able to choose it in Corsair software later on.
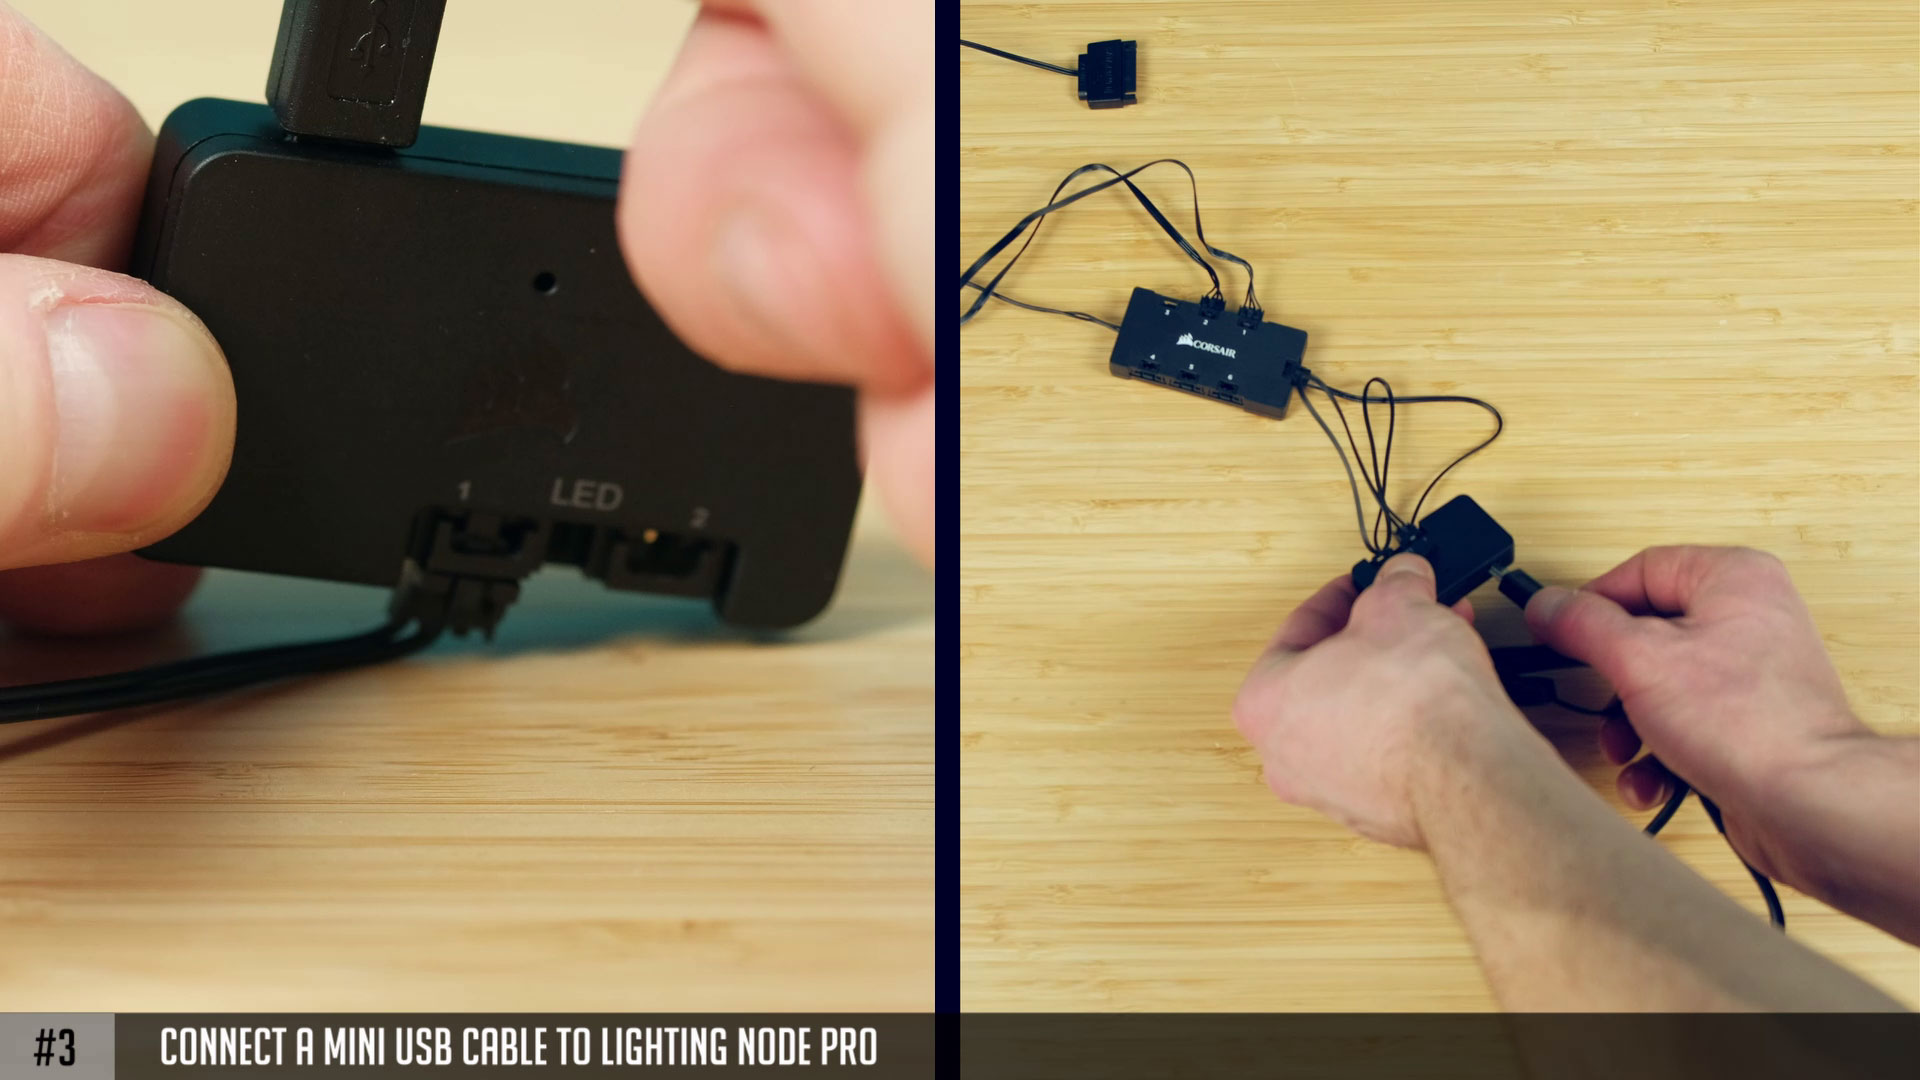
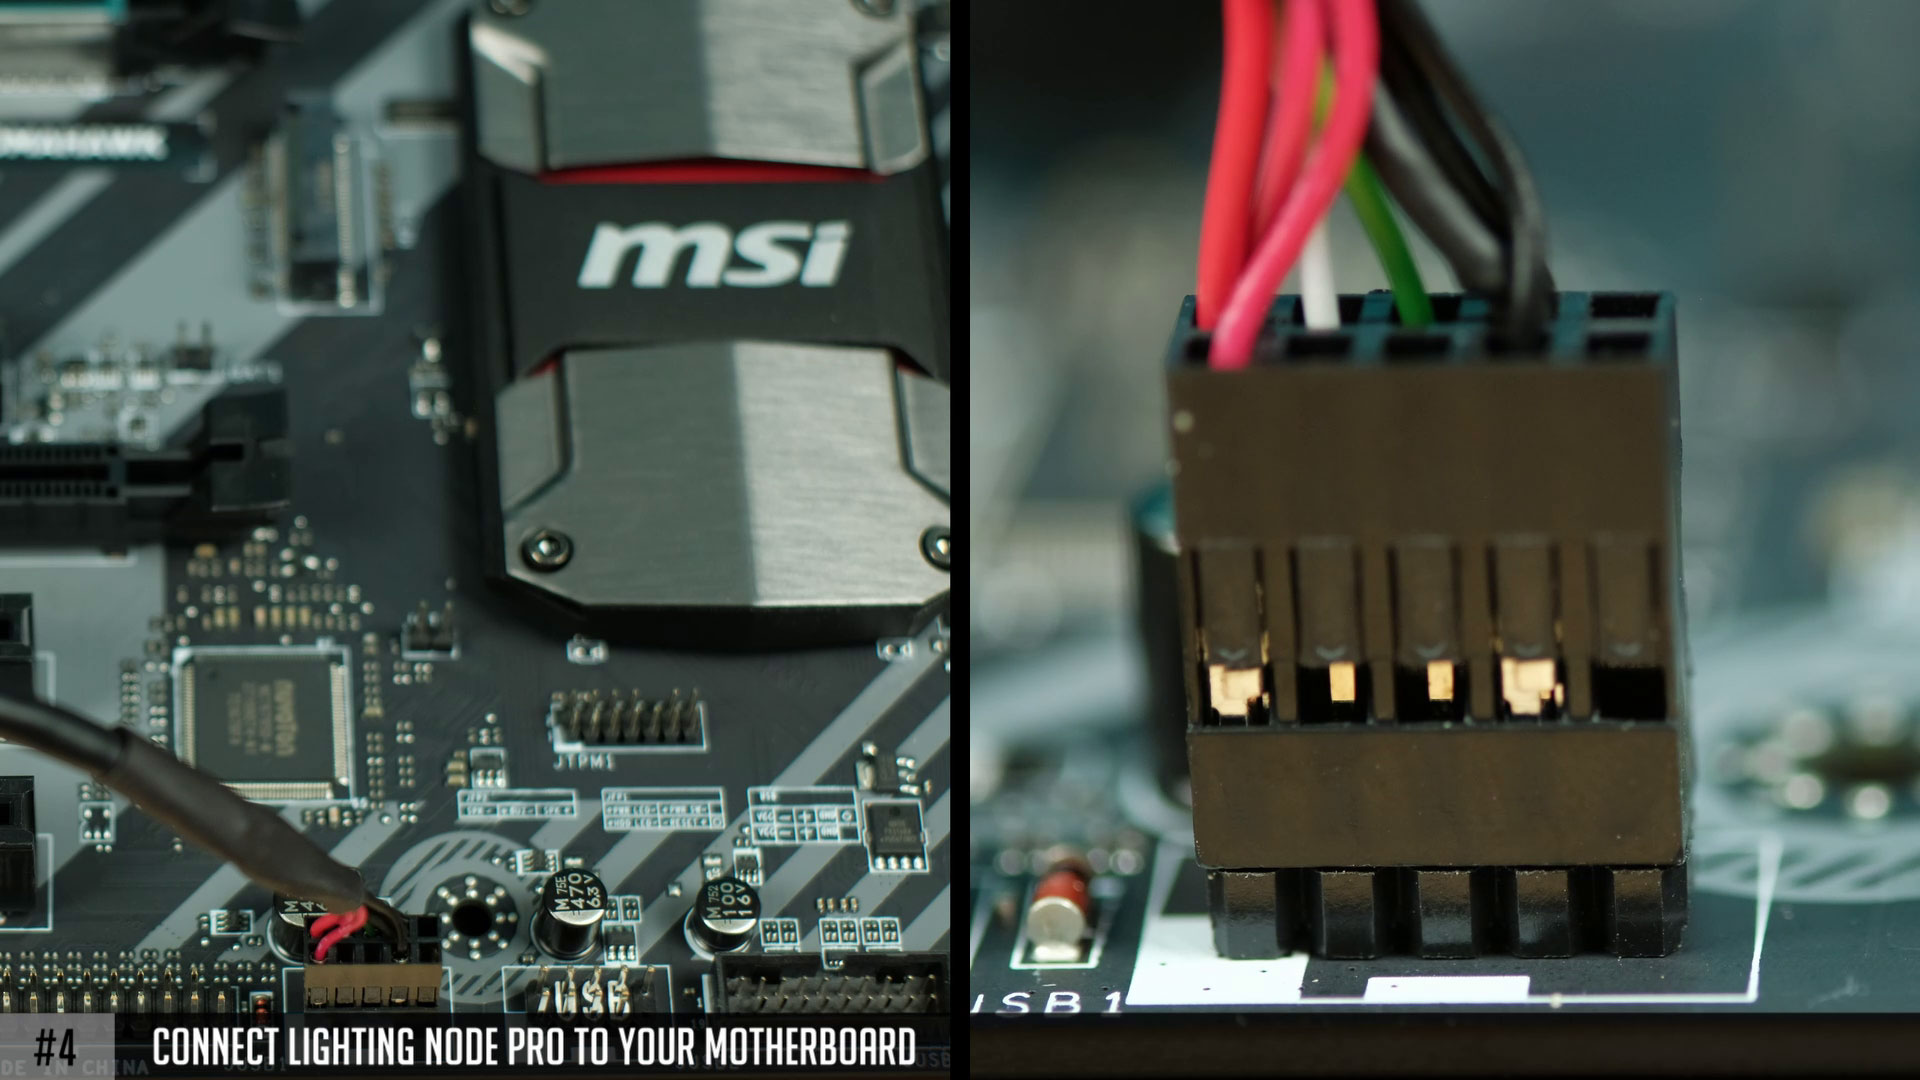
- #4 – use an included mini USB cable and connect it to a Lighting Node.
- #5 – the other side of the same cable needs to be connected to your motherboard USB 2.0 internal header.
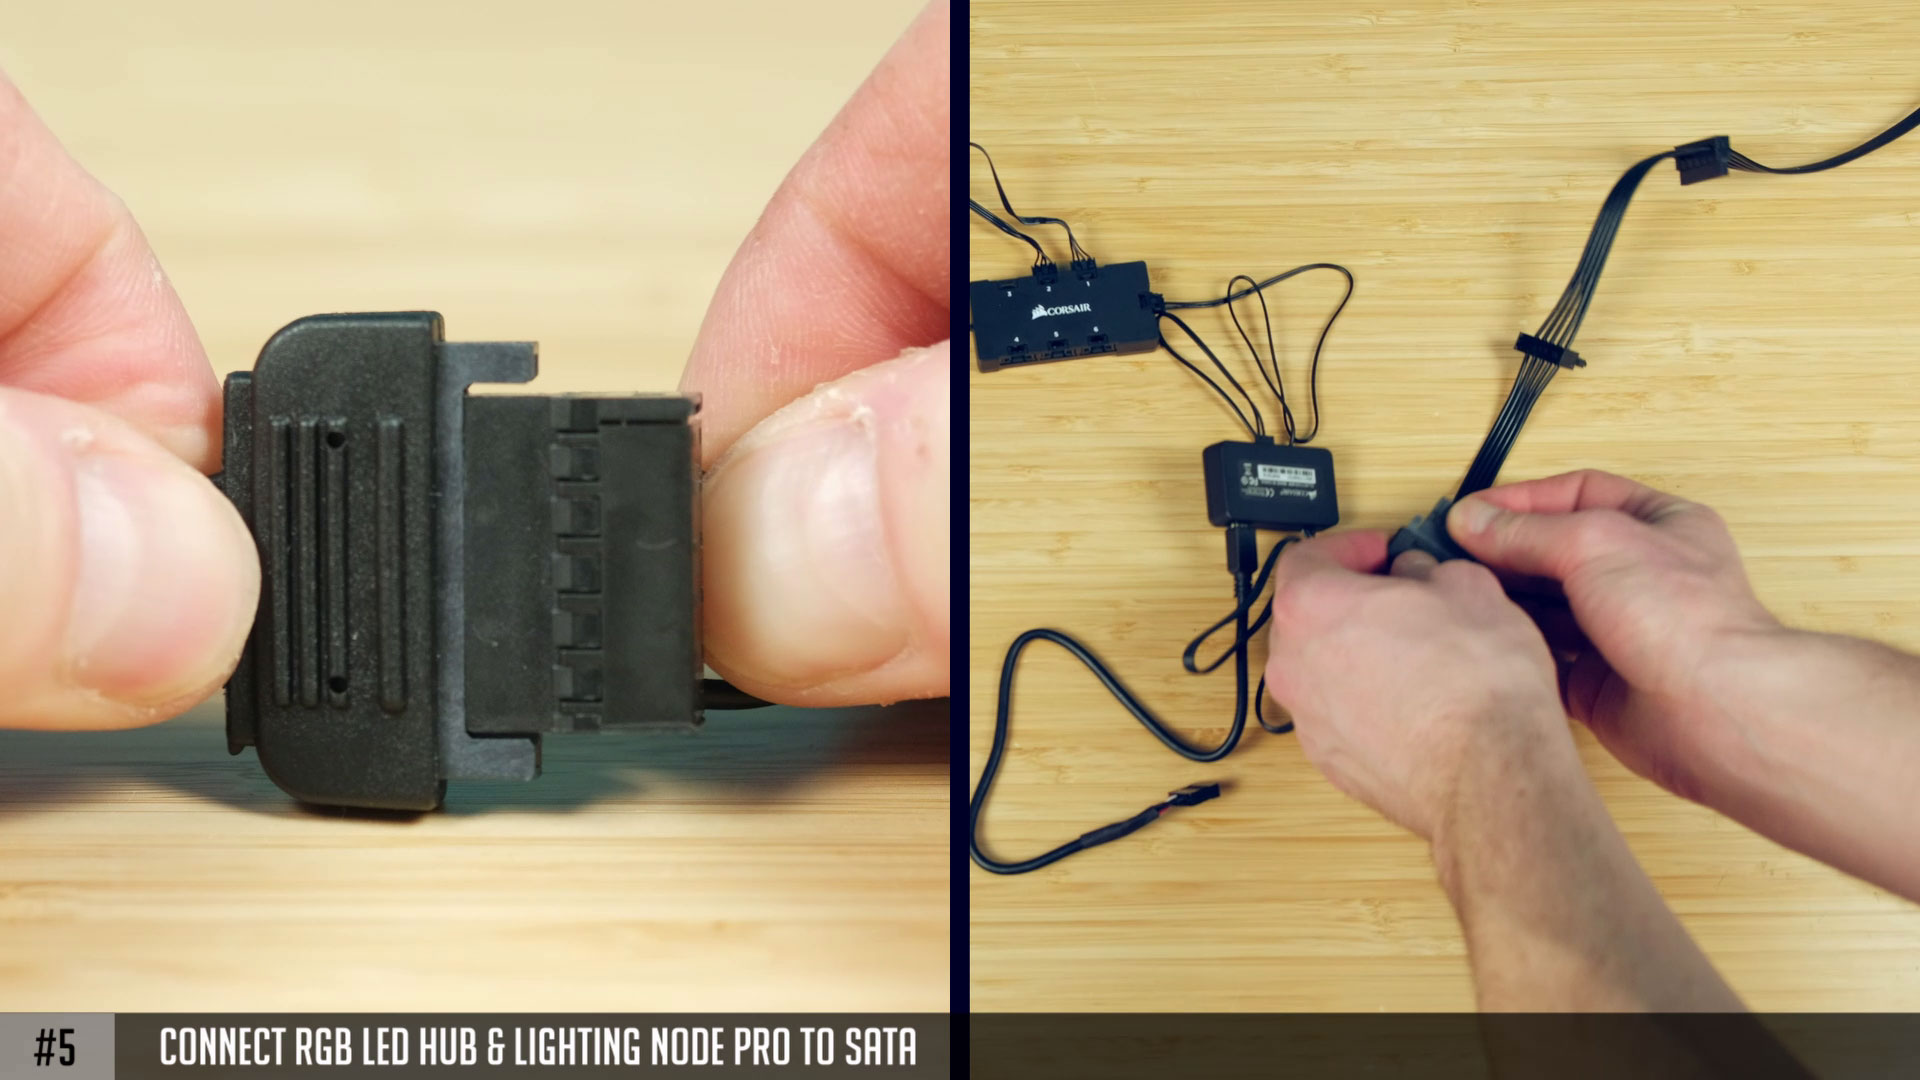
- #6 – in order to power RGB LED hub and a Lighting Node, connect both of them to a power supply SATA connectors.
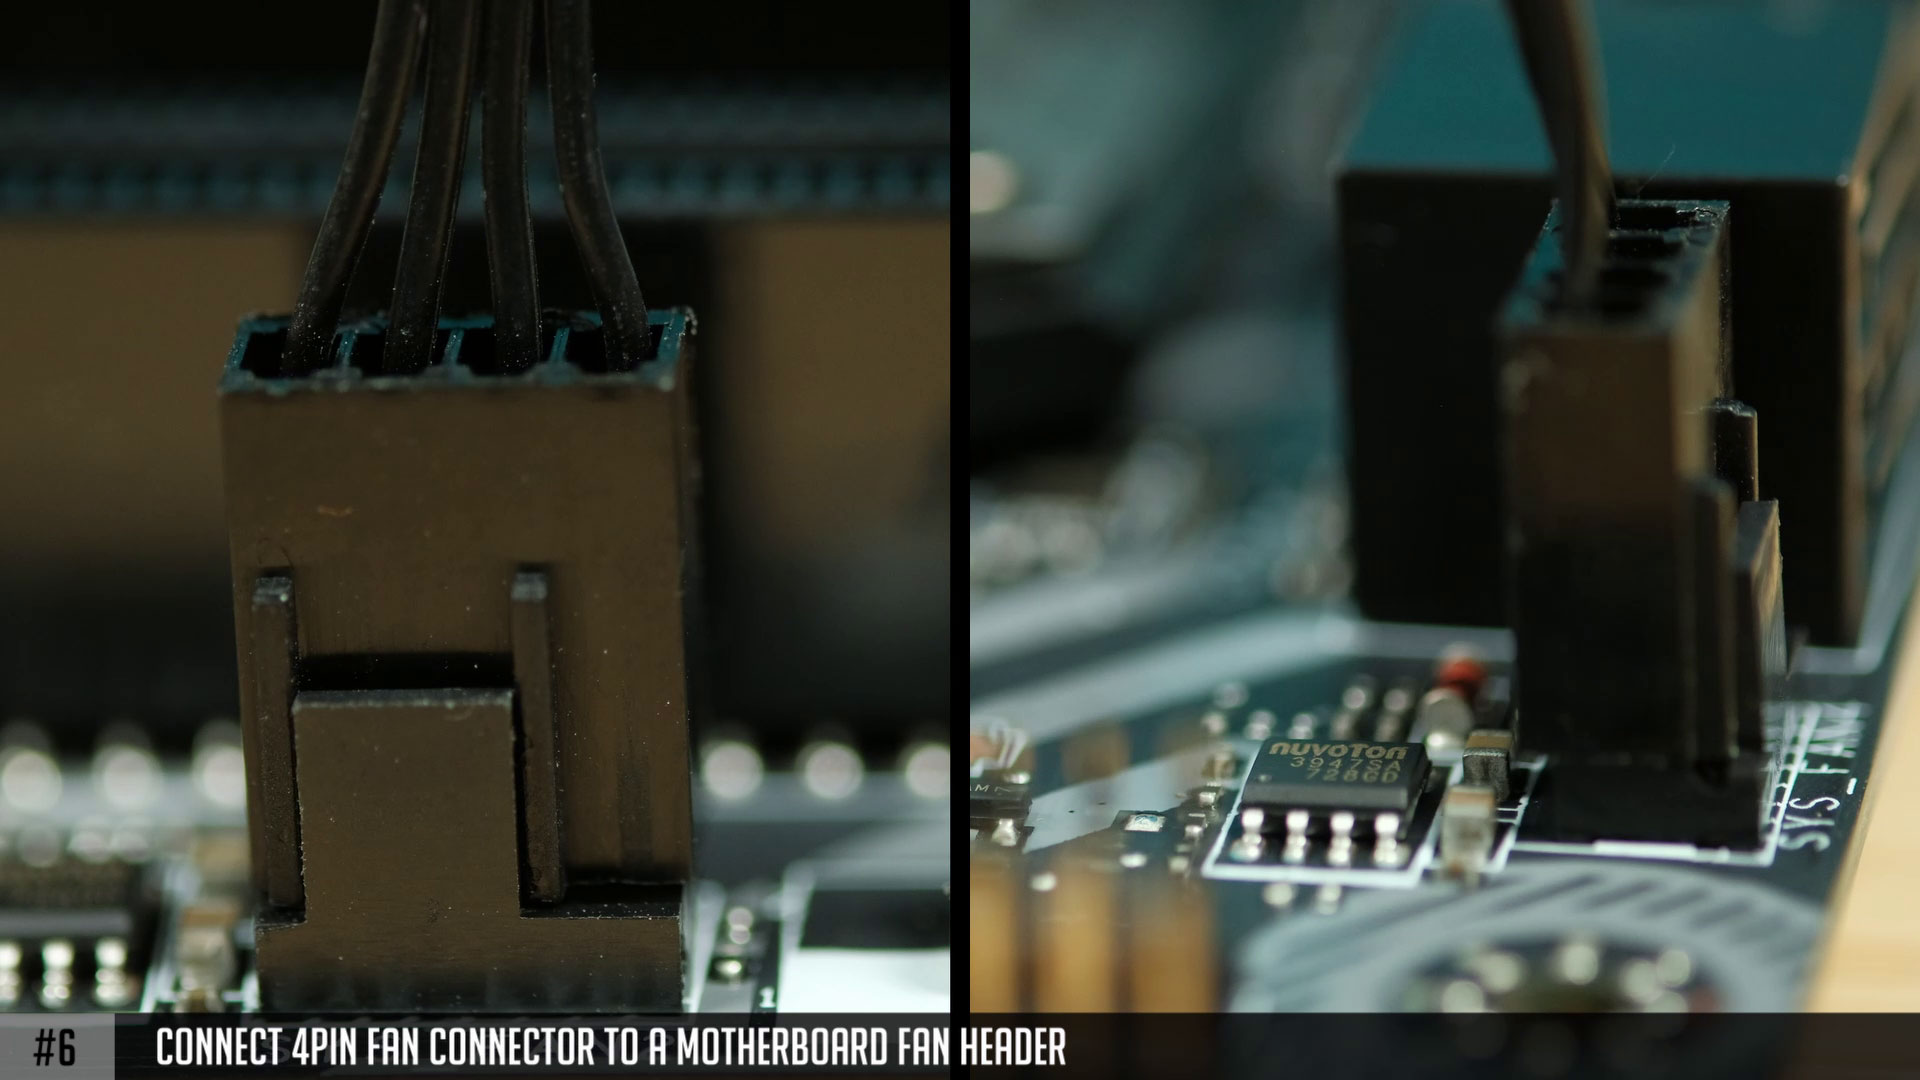
- #7 – and finally, connect your 4 pin PWM fan headers to a motherboard.
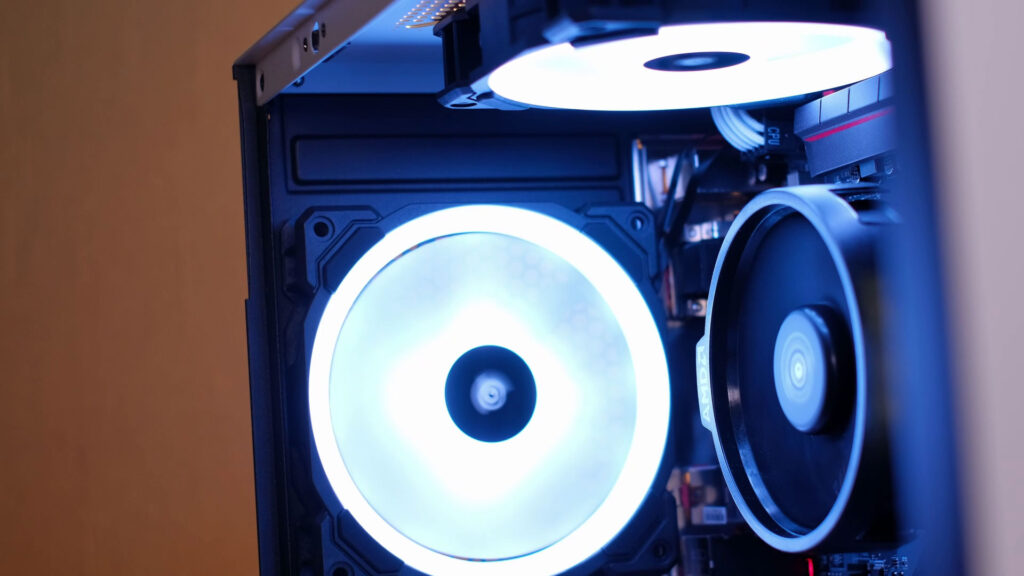
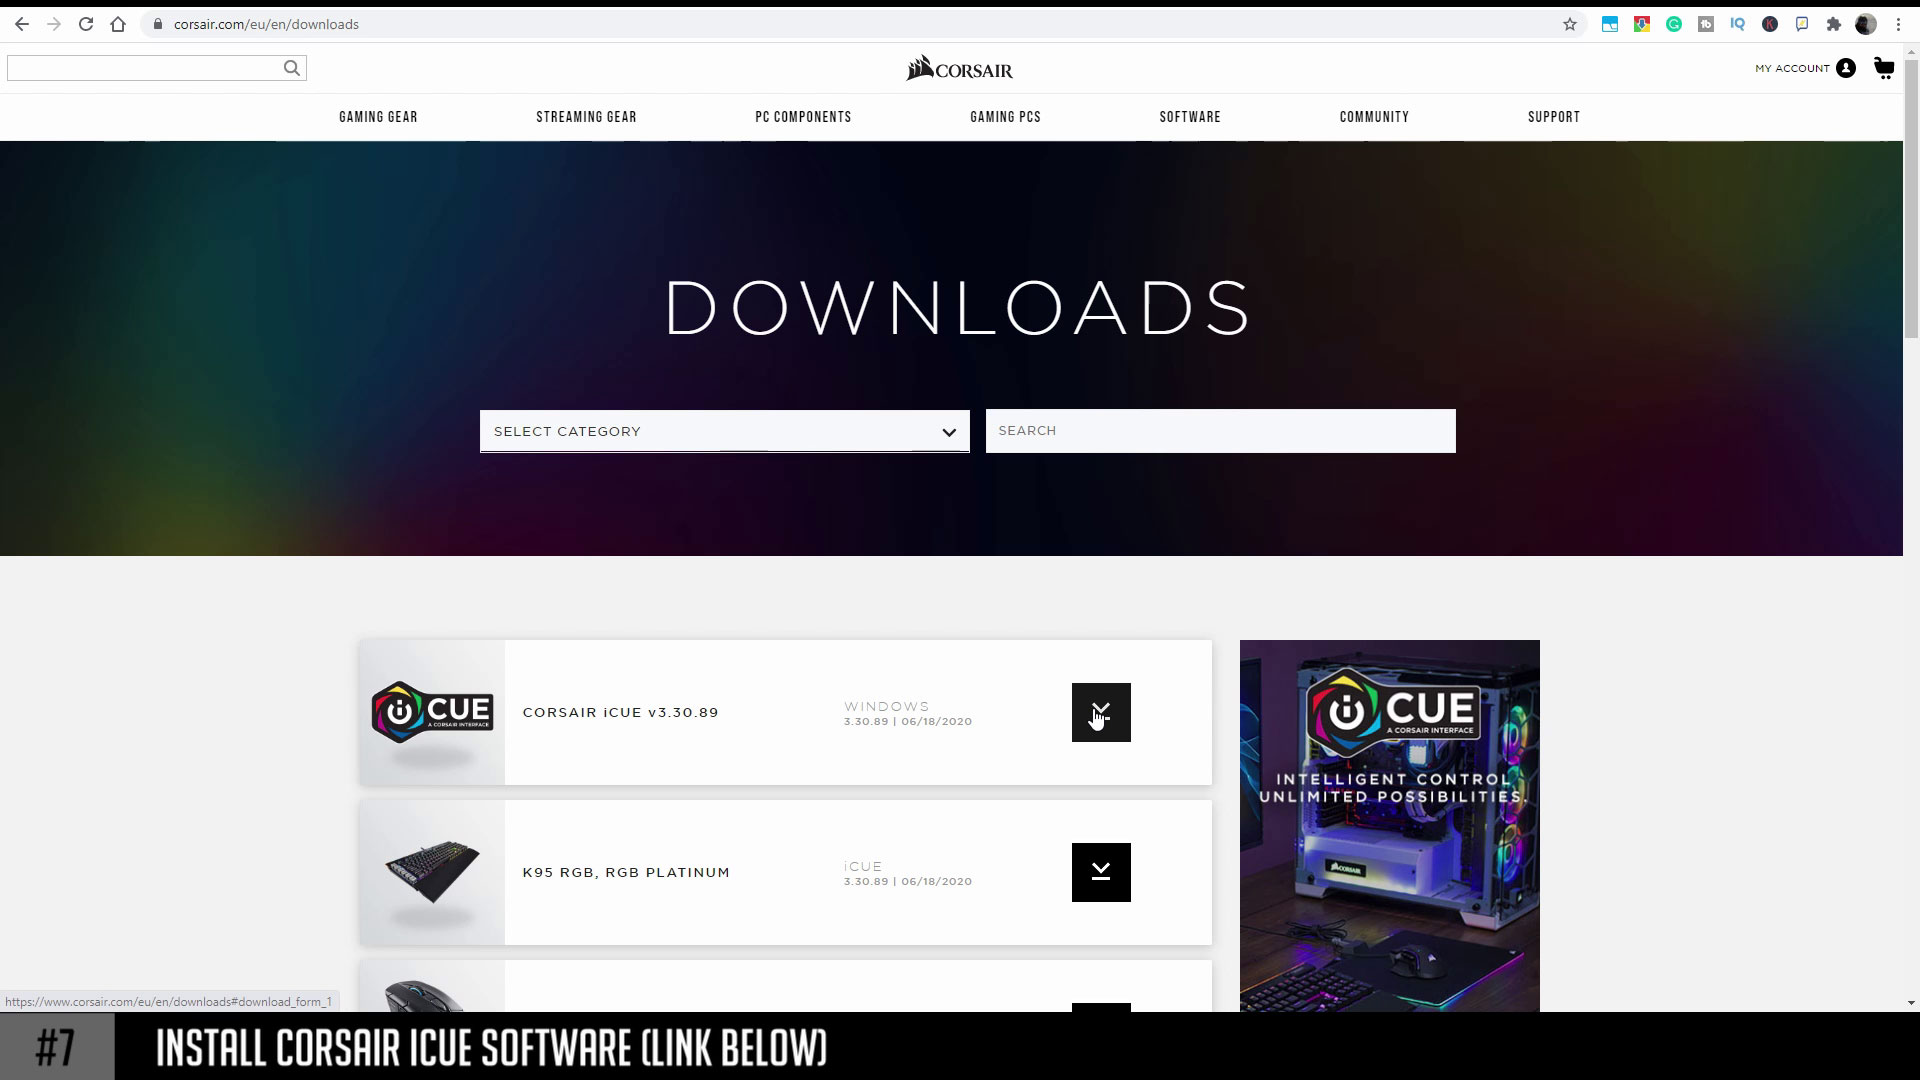
You are done. Just install CORSAIR iCUE software from their website and you will be able to customize and set a desired RGB effect on to your fans.
Sound test
I’ve also recorded a sound using my mic and used a simple paper sticker method, just to show how this sticker is affected at different fan speeds.
So it’s just a visual representation of airflow since I do now have any professional equipment to test it.
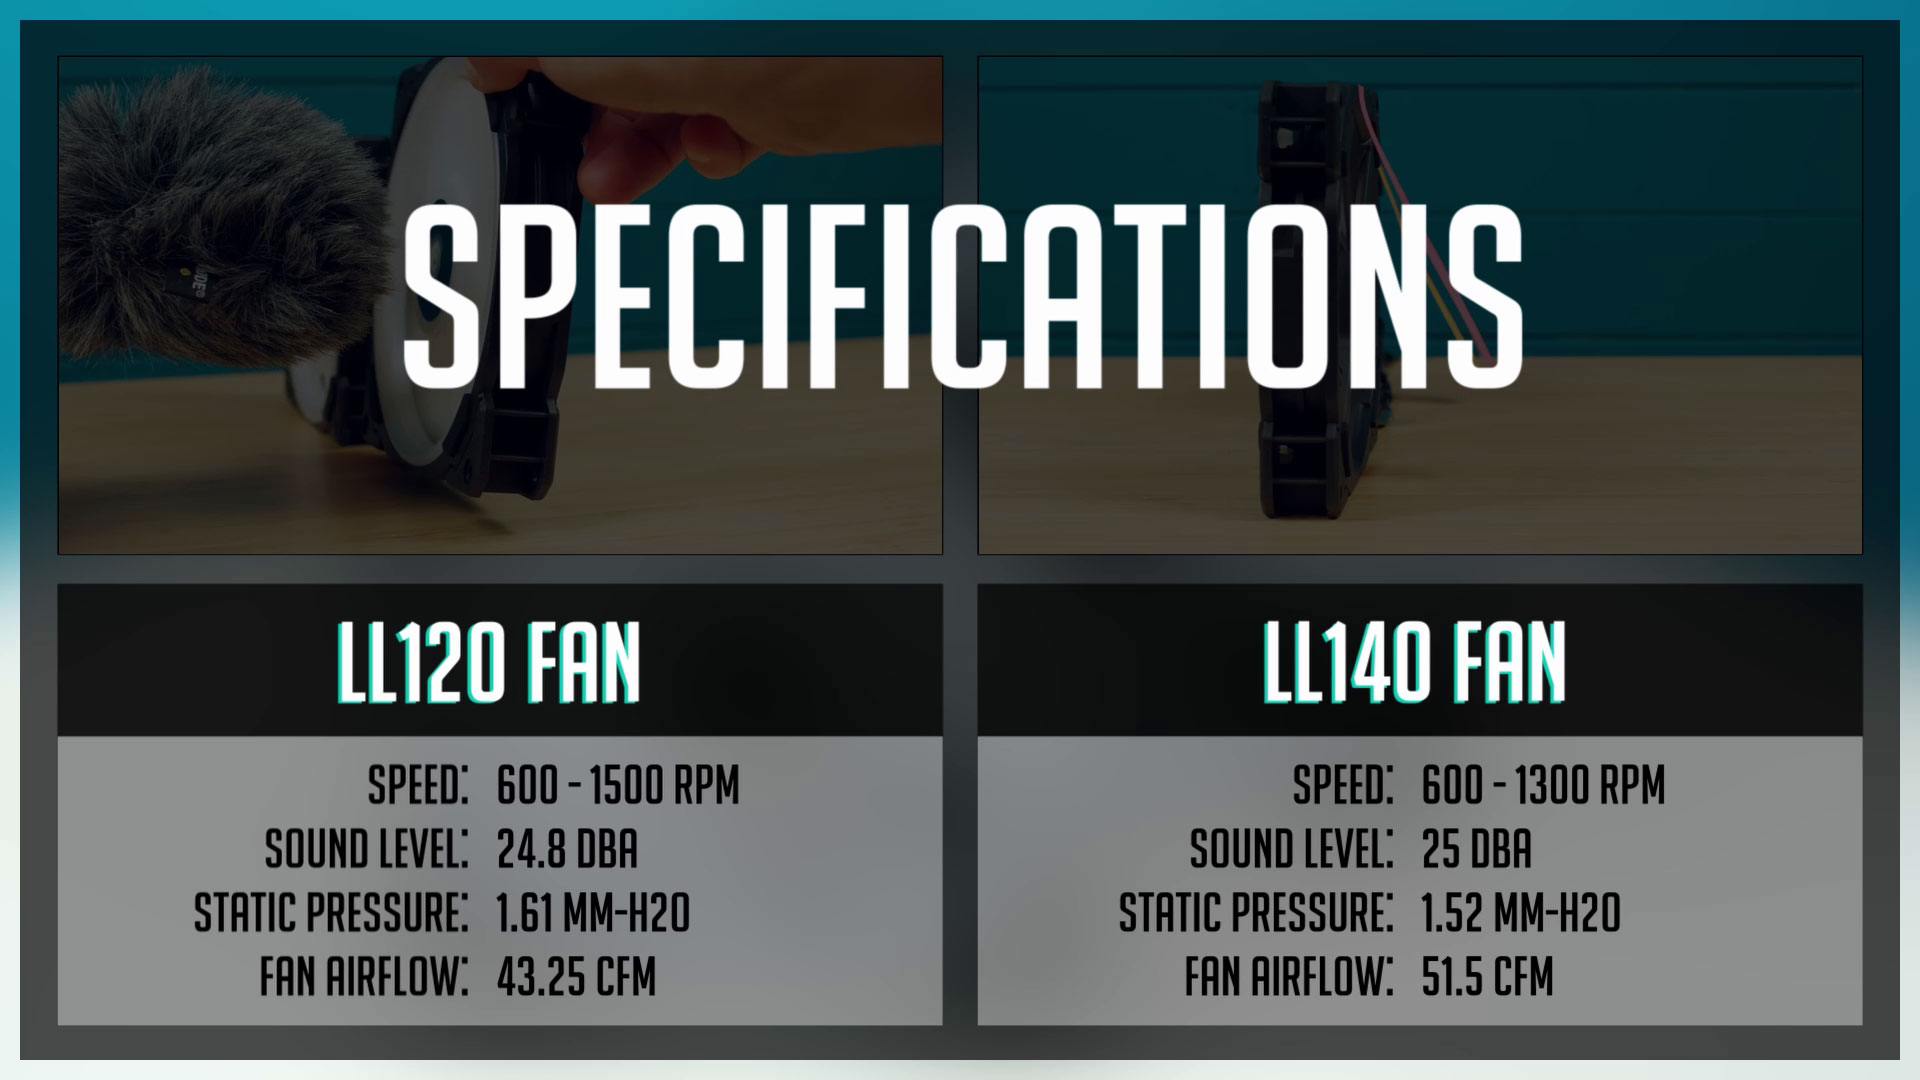
Both 120mm and 140 mm fans were placed side by side and were tested at the same RPM. Even though LL120 can get a higher max rpm, 140mm fans will be getting more airflow even with lower rpm since they are bigger.
- #1 – the first test was done at minimum speed both fans can operate and that’s 600rpm.
- #2 – then I’ve tested at 1000rpm.
- #3 – 1300 rpm
- #4 – and finally, at max rpm each fan can handle. Witch is 1500 rpm on 120mm fan and 1300rpm on 140mm fan.
And so it’s time for a conclusion. Both of these fans look and feels like really quality made, plastic is thick and they seem to be very durable. Also, Corsair has its own way to control RGB via USB 2.0 header.
Witch is actually a nice feature for someone that has no RGB headers on their motherboards. Software is well made and has tons of possibilities on how you can configure your RGB.
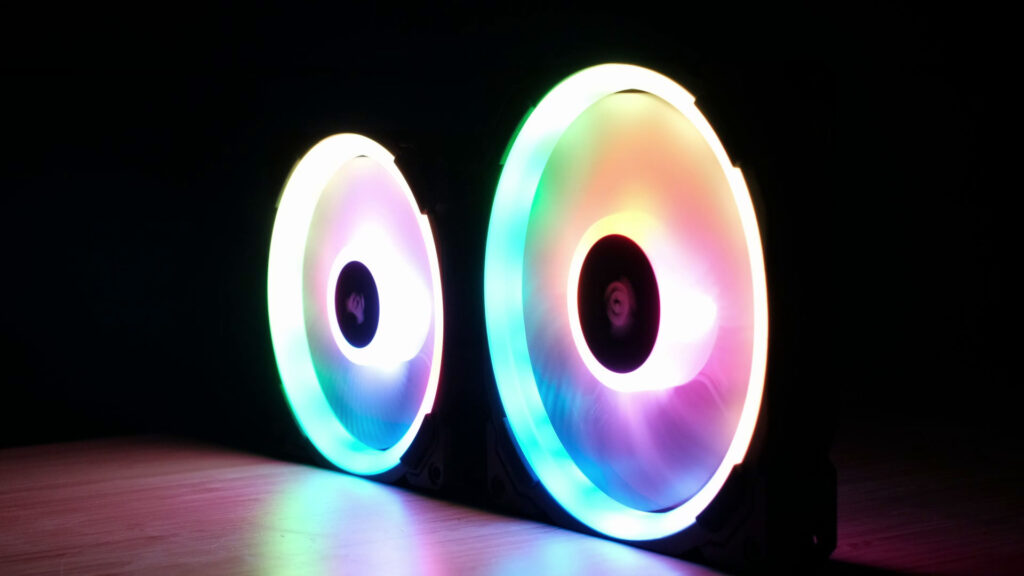
But on the other hand, at least for me, RGB colors look softer, at least when compared to some other fans I’ve tested. Also, I would say they are quite expensive.
So unless you are building an ultimate 1500 or a few 2000 USD dollars gaming rig, I would strongly suggest checking PCCOOLER Halo or DeepCool RF120m fans.
All in all, they are good quality fans that have really nice RGB customization possibilities. Should you get them? Well, you had a chance to see Corsair fans in action and I hope that helps you with your decision.
Thank you so much and I hope you enjoyed this review. Do not forget to check our review in a video format below. And see you soon.
Corsair LL Fans
Corsair LL120 (3 pack)
https://geni.us/nQpmhn
Corsair LL120 (single)
https://geni.us/ps1ZTZG
Corsair LL140 (2 pack)
https://geni.us/WGBeNAB
Corsair LL140 (single)
https://geni.us/JE0r
Disclosure: EpicGameTech gets a small commission when you purchase something via our Amazon links. It doesn’t cost you anything extra since that comes from Amazon’s end. So, please be aware, the links provided to Amazon are affiliate links.